Introduction
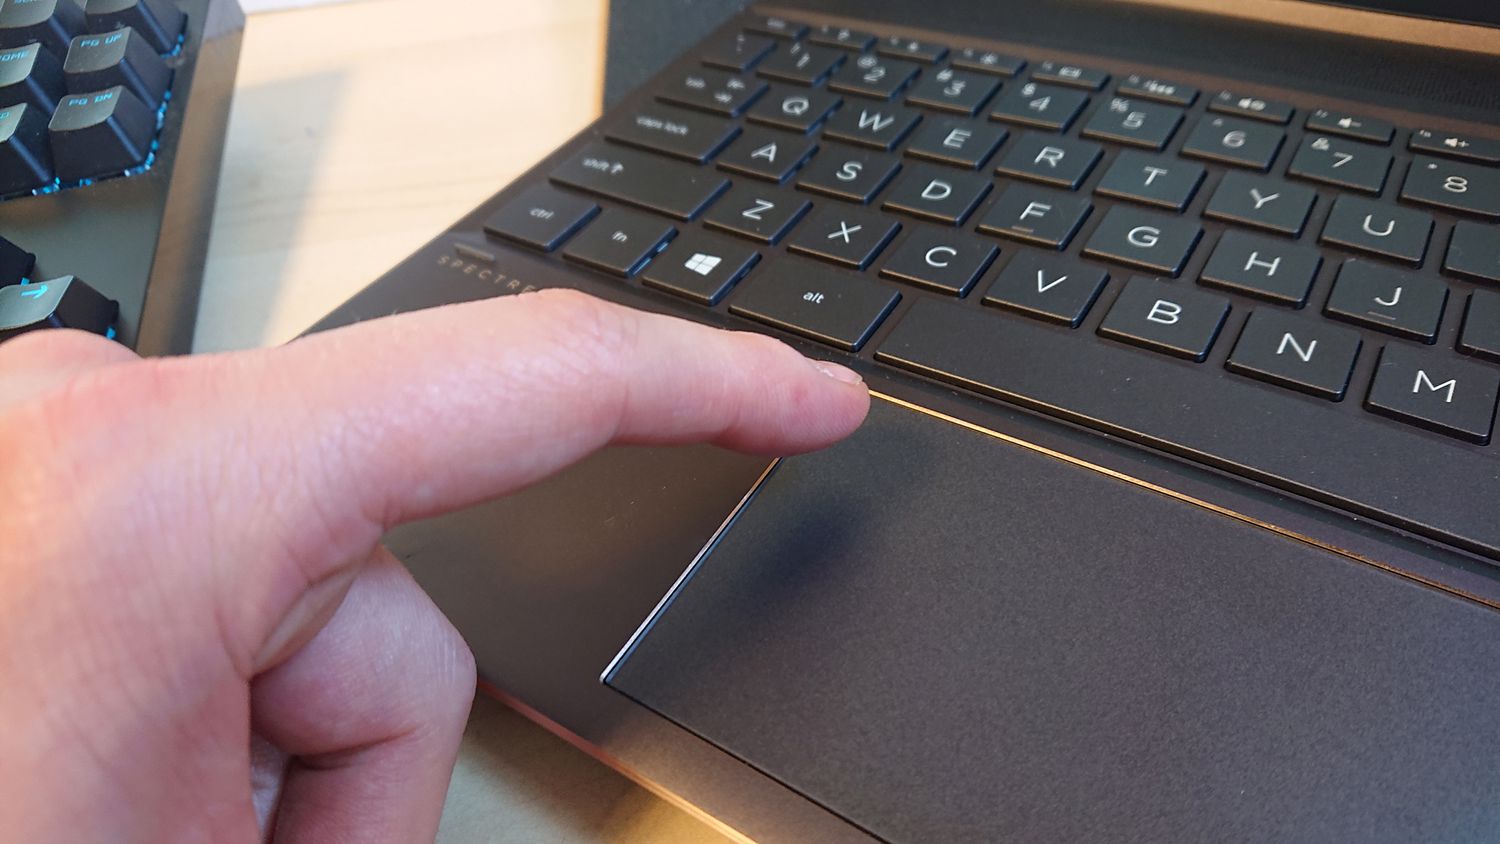
Your HP Ultrabook is designed to offer a seamless computing experience, and one of its key features is the touchpad. The touchpad allows you to navigate your Ultrabook effortlessly, executing tasks with a swipe or a tap of your fingers. However, there may be instances when the touchpad is disabled, preventing you from taking advantage of this convenient feature. Whether it’s due to accidental touchpad deactivation or a deliberate action, enabling the touchpad is a simple process that can be done through the control panel of your HP Ultrabook.
In this guide, we will walk you through the step-by-step process of enabling the touchpad on your HP Ultrabook. We will also provide tips for adjusting touchpad settings to suit your preferences.
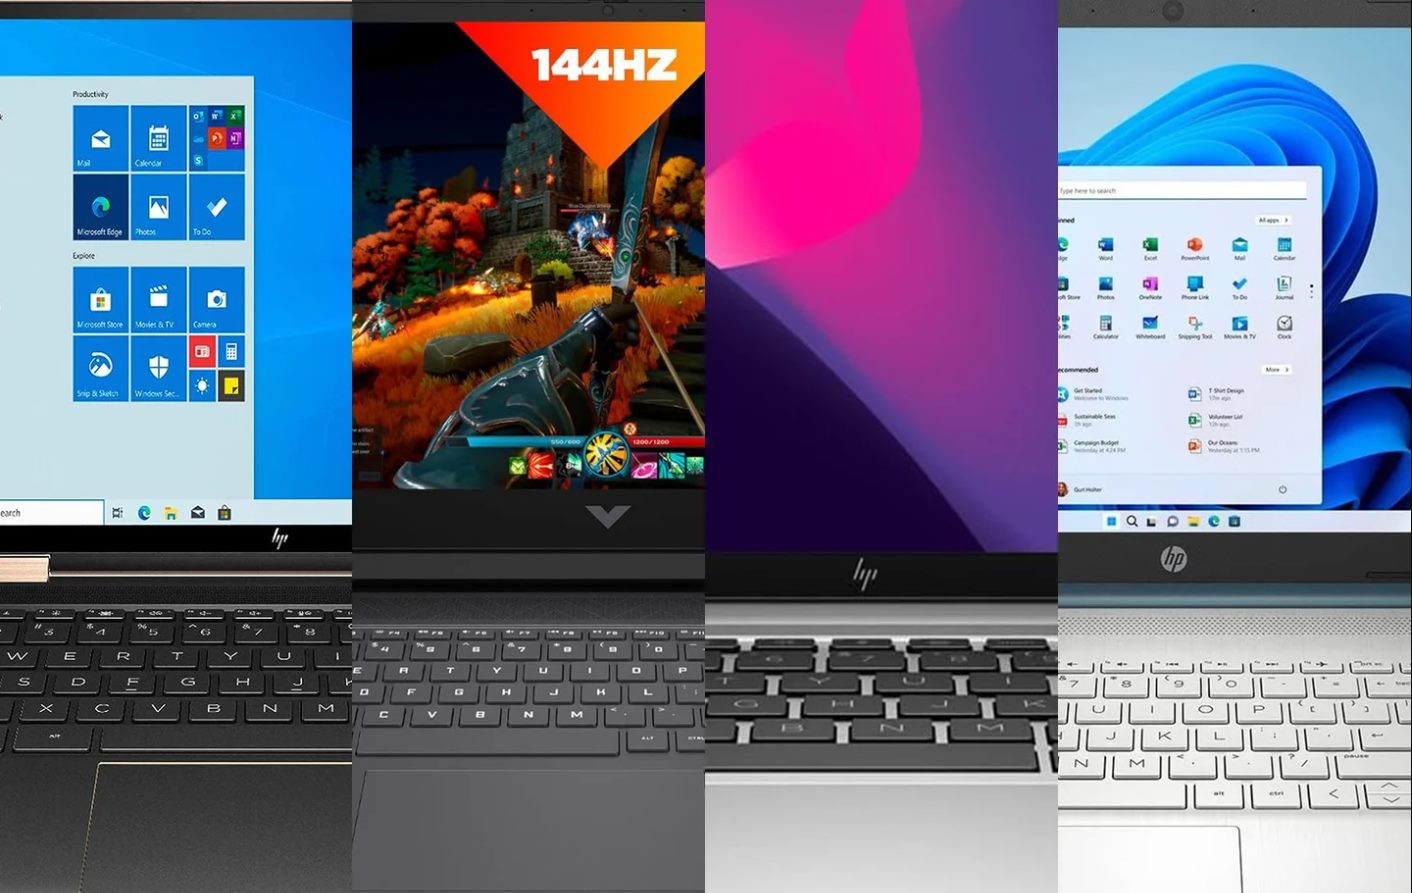
Please note that the instructions provided here are tailored specifically for HP Ultrabooks and may vary slightly depending on the model and operating system version. It’s always a good idea to consult your device’s user manual or visit the HP support website for model-specific instructions if you encounter any difficulties.
Step 1: Accessing the Control Panel
The control panel is where you can access various settings and customization options for your HP Ultrabook, including the touchpad settings. To enable the touchpad, start by accessing the control panel:
- Click on the “Start” button located on the bottom left corner of your screen. It is usually represented by the Windows logo.
- In the search bar, type “Control Panel” and press Enter. This will open the Control Panel window.
- Once the Control Panel window is open, you can proceed to the next step to locate the touchpad settings.
Note: Depending on your Windows version or HP Ultrabook model, the steps to access the control panel may vary slightly. If you are unable to locate the control panel using the above steps, refer to the user manual or the HP support website for specific instructions for your device.
Step 2: Locating the Mouse Settings
Now that you have accessed the Control Panel, the next step is to locate the mouse settings. The touchpad settings can be found within the mouse settings, which allow you to customize various aspects of the touchpad functionality. To find the mouse settings:
- Within the Control Panel window, locate the search bar in the top right corner.
- Type “Mouse” in the search bar and press Enter. This will display a list of options related to the mouse settings.
- Click on the “Mouse” option from the search results. This will open the Mouse Properties window.
- Once the Mouse Properties window is open, you can proceed to the next step to enable the touchpad.
Note: The steps to locate the mouse settings may vary slightly based on your Windows version. If you are using a different version of Windows, or if you are unable to find the mouse settings following the above steps, consult the user manual or the HP support website for specific instructions for your device.
Step 3: Enabling the Touchpad
Once you have accessed the Mouse Properties window, you can proceed with enabling the touchpad. Here’s how:
- In the Mouse Properties window, navigate to the “Device Settings” or “Touchpad” tab. The specific name may vary depending on your Ultrabook model and Windows version.
- Look for an option that allows you to enable or disable the touchpad. This option is usually located towards the top of the window.
- Ensure that the checkbox or toggle switch next to the touchpad option is checked or in the “On” position. This indicates that the touchpad is enabled.
- Click on the “Apply” or “OK” button to save the changes and enable the touchpad.
Once you have completed these steps, the touchpad on your HP Ultrabook should be enabled and ready for use. You can now proceed to the next step to adjust the touchpad settings according to your preferences.
Note: If you are unable to locate the touchpad enable/disable option or encounter any difficulties enabling the touchpad, refer to the user manual or the HP support website for model-specific instructions.
Step 4: Adjusting Touchpad Settings
Now that you have successfully enabled the touchpad on your HP Ultrabook, you may want to customize its settings to enhance your user experience. Here are some common touchpad settings that you can adjust:
- Pointer Speed: You can adjust the speed at which the cursor moves when you glide your fingers on the touchpad. Experiment with different settings to find your preferred pointer speed.
- Scrolling: Touchpad scrolling allows you to navigate through documents and webpages. You can customize the scrolling direction and speed. Some touchpads also support gestures, such as two-finger scrolling or pinch-to-zoom.
- Tap to Click: By enabling this option, you can tap the touchpad instead of pressing the physical click buttons to perform a left-click action. This can be more convenient for some users.
- Touchpad Sensitivity: Adjusting the touchpad sensitivity determines how responsive it is to your touch. Higher sensitivity may lead to faster cursor movement, while lower sensitivity reduces the speed.
- Palm Rejection: This feature helps prevent accidental touchpad input when your palm or wrist brushes against the touchpad while typing. You can adjust the palm rejection sensitivity to find the right balance between typing freedom and accidental touchpad activation.
To adjust these touchpad settings, follow these steps:
- Return to the Mouse Properties window by following Step 1 and Step 2 mentioned earlier.
- Navigate to the “Device Settings” or “Touchpad” tab, depending on your Ultrabook model and Windows version.
- Look for the settings related to the options mentioned above and customize them according to your preferences.
- Click on the “Apply” or “OK” button to save the changes.
By adjusting these touchpad settings, you can optimize your touchpad experience and make it more tailored to your needs and preferences.
Note: The available touchpad settings may differ between Ultrabook models and Windows versions. If you are unable to find specific options or encounter any difficulties adjusting touchpad settings, consult the user manual or the HP support website for instructions specific to your device.
Step 5: Testing the Touchpad Functionality
After enabling the touchpad and adjusting the settings, it’s crucial to test its functionality to ensure that everything is working correctly. Here’s how you can test the touchpad on your HP Ultrabook:
- Close the Mouse Properties window, and navigate to a program or application where you can use the touchpad.
- Place your fingers lightly on the touchpad surface to move the cursor around. Verify that the cursor movement accurately reflects the motion of your fingers.
- Try using the various touchpad gestures, such as scrolling, tapping, and multi-finger gestures (if supported). Verify that these gestures perform the desired actions.
- Check if the touchpad responds correctly to different levels of pressure and whether it accurately detects your taps and clicks.
- If you made any changes to the touchpad settings, such as adjusting sensitivity or enabling tap to click, ensure that these modifications are working as intended.
If you encounter any issues while testing the touchpad functionality, double-check the settings in the Mouse Properties window and make any necessary adjustments. If the problem persists, you can try restarting your Ultrabook or contacting HP support for further assistance.
By thoroughly testing the touchpad, you can ensure that it’s functioning properly and meets your requirements for ease of use and precision. If everything is working as expected, you can now enjoy the full functionality of your HP Ultrabook’s touchpad!
Conclusion
Enabling the touchpad on your HP Ultrabook is a straightforward process that can be done through the control panel. By following the steps outlined in this guide, you can easily enable the touchpad and customize its settings to suit your preferences.
Remember to access the control panel and locate the mouse settings to find the touchpad options. Ensure that the touchpad is enabled and make any necessary adjustments to enhance its functionality, such as adjusting sensitivity, enabling tap to click, or customizing scrolling settings.
Once you have enabled and adjusted the touchpad settings, it’s essential to test its functionality to verify that all the changes you made are working as expected. Test the cursor movement, gestures, and responsiveness to ensure a seamless and efficient user experience.
If you encounter any difficulties or have specific questions regarding touchpad functionality on your HP Ultrabook, refer to the user manual or visit the HP support website for model-specific instructions and assistance.
With the touchpad now enabled and tailored to your preferences, you can enjoy the convenience of navigating your HP Ultrabook with ease and efficiency, making your computing experience even more pleasurable.


