Introduction
Welcome to this guide on finding the charger port on a Windows 7 Acer Ultrabook. If you’re new to using this sleek and powerful laptop model, you may be wondering where to plug in the charger to keep your device powered up. In this article, we will walk you through the process step by step, ensuring that you can easily locate the charger port and keep your Acer Ultrabook battery charged.
The Acer Ultrabook is known for its slim design and portability, making it a popular choice for users on the go. While the sleek appearance might make it seem like finding the charger port would be a challenge, the process is quite straightforward once you know where to look.
Whether you recently purchased your Acer Ultrabook or you’ve had it for a while and are just getting acquainted with its features, this guide will help you locate the charger port so that you can ensure a steady flow of power to your device. So, let’s dive in and find out where you need to plug in your charger to keep your Acer Ultrabook up and running.
Checking the Power Supply
Before we start looking for the charger port, it’s important to make sure that you have a functioning power supply. Without a proper power supply, your Acer Ultrabook won’t be able to charge or power on. Here are a few steps you can follow to check the power supply:
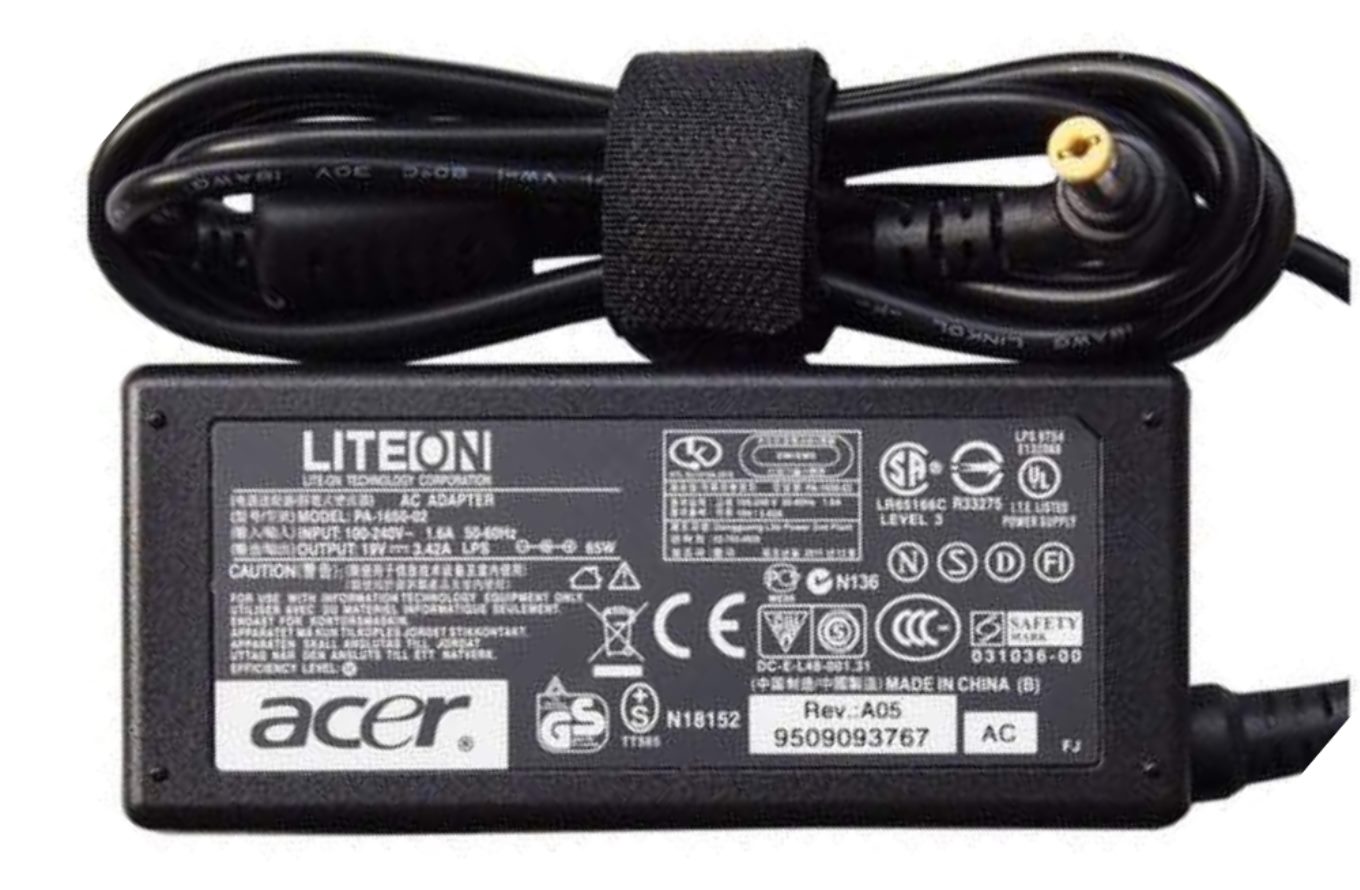
- Verify the power cable: Start by checking the power cable that connects to the charger. Inspect it for any signs of damage, such as frayed wires or bent connectors. If you notice any issues, replace the power cable with a new one.
- Inspect the power adapter: Take a close look at the power adapter, which is the box-shaped component that connects the power cable to the laptop. Check for any physical damage, such as cracks or loose connections. If you notice any problems, it’s recommended to replace the power adapter.
- Test the outlet: Plug the power adapter into a different outlet to make sure that the issue is not with the power source. If the laptop still doesn’t receive power, try using a different power outlet or testing the outlet with another device.
If you have completed these steps and confirmed that the power supply is working properly, it’s time to move on to the next step: locating the charger port on your Acer Ultrabook.
Locating the Charger Port
Now that you’ve confirmed that the power supply is functional, let’s proceed to finding the charger port on your Windows 7 Acer Ultrabook. Follow these steps to locate it:
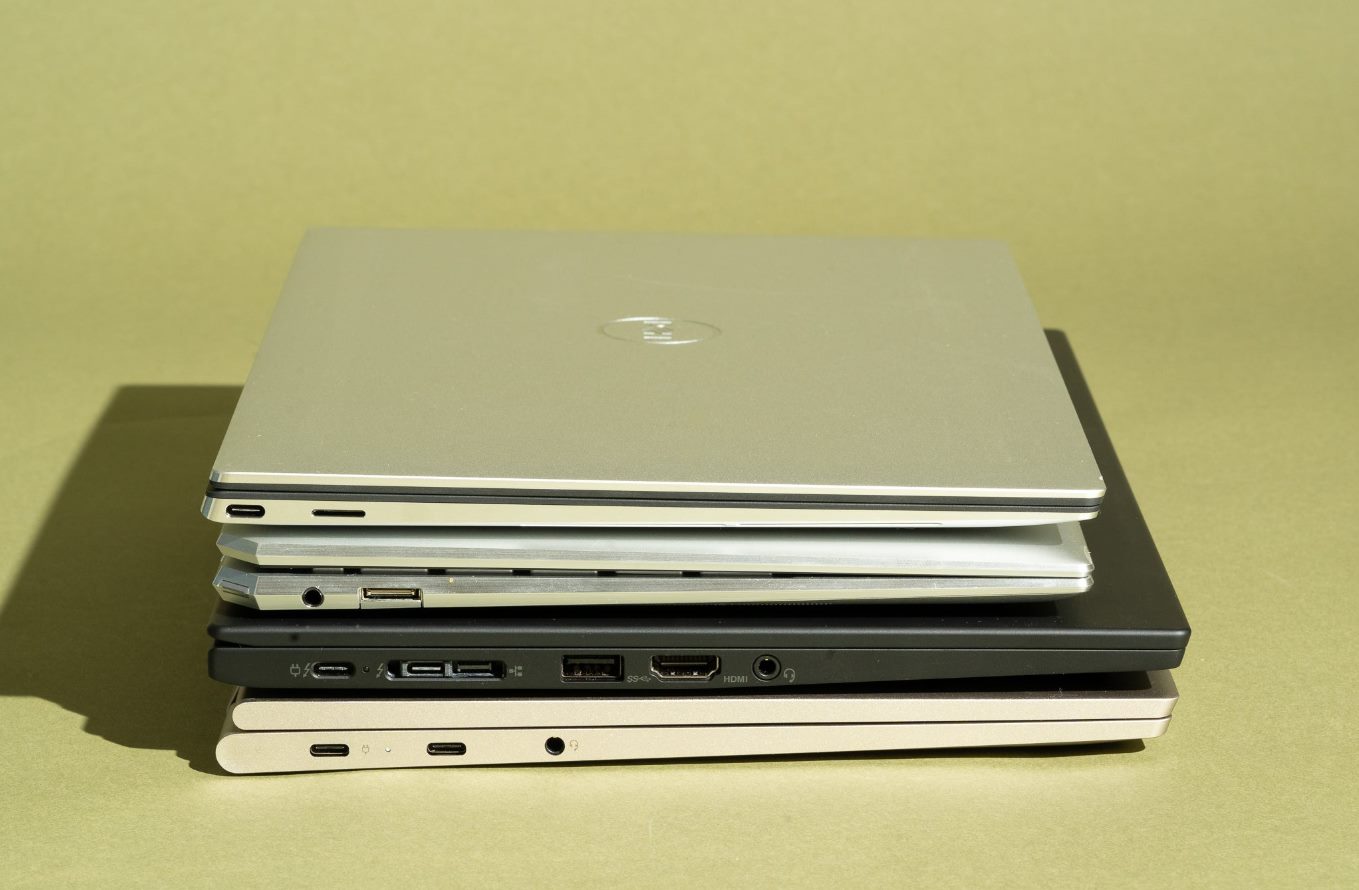
- Examine the sides of your Ultrabook: Take a close look at the sides of your laptop. The charger port is typically located on one of the sides and may be marked with a small icon or label indicating that it’s the charging port.
- Check the rear panel: Some Acer Ultrabook models have the charger port positioned on the rear panel. Look for a small protrusion or a cutout on the back that indicates the location of the charger port.
- Consult the user manual: If you’re unable to find the charger port visually, refer to the user manual that came with your Acer Ultrabook. The manual will provide detailed instructions and illustrations on the exact location of the charger port for your specific model.
Once you’ve located the charger port, you’re ready to connect the charger and begin charging your Acer Ultrabook.
Connecting the Charger
Now that you have found the charger port on your Windows 7 Acer Ultrabook, it’s time to connect the charger and start charging your device. Follow these steps to ensure a proper connection:
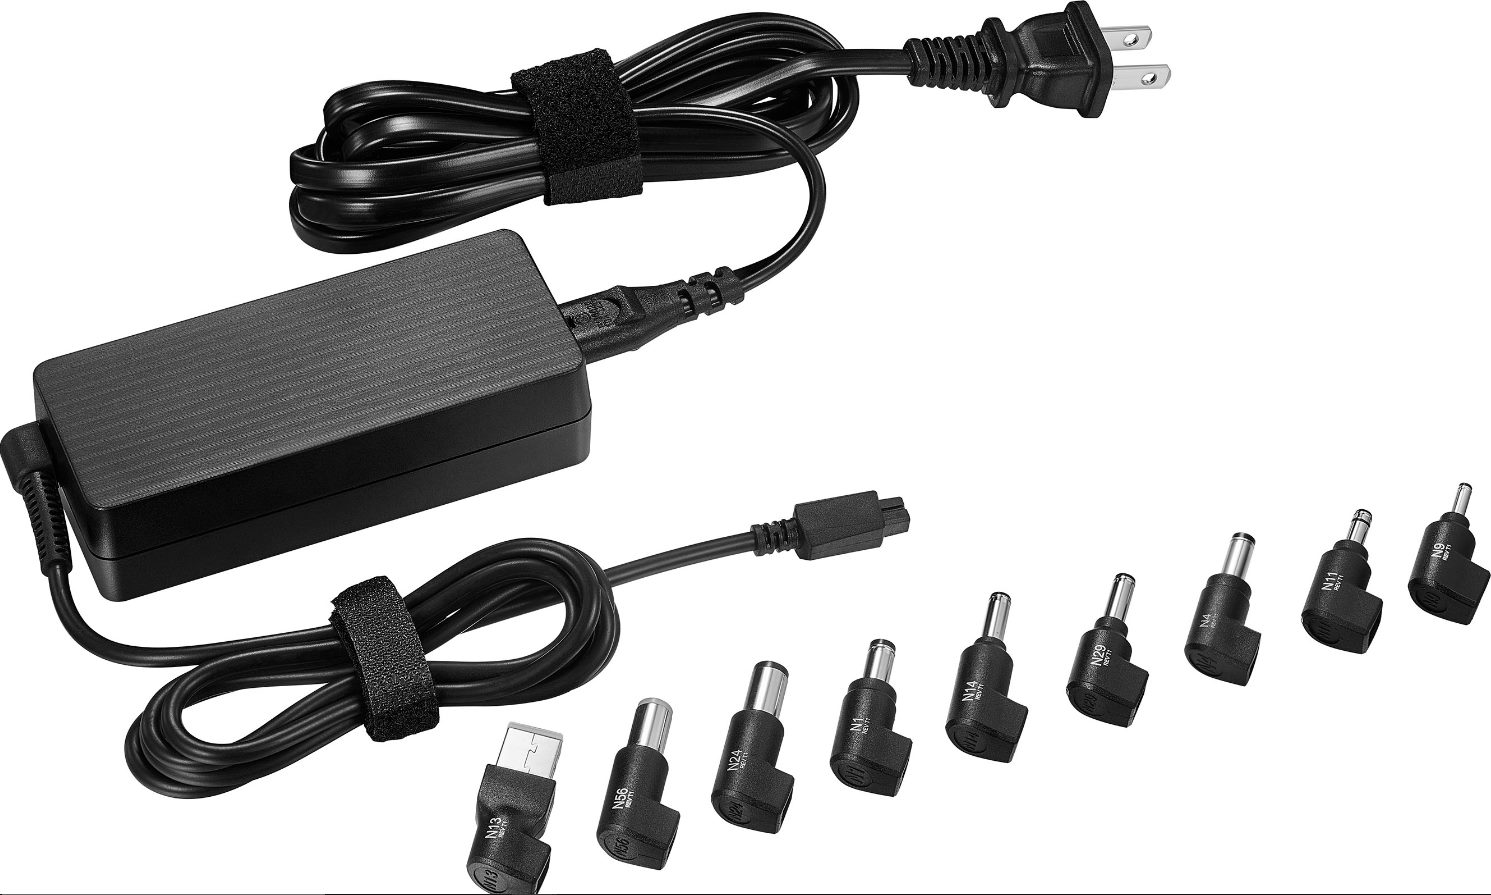
- Prepare the charger: Take your charger and ensure that both ends are in good condition. Make sure there are no visible damages or loose connections.
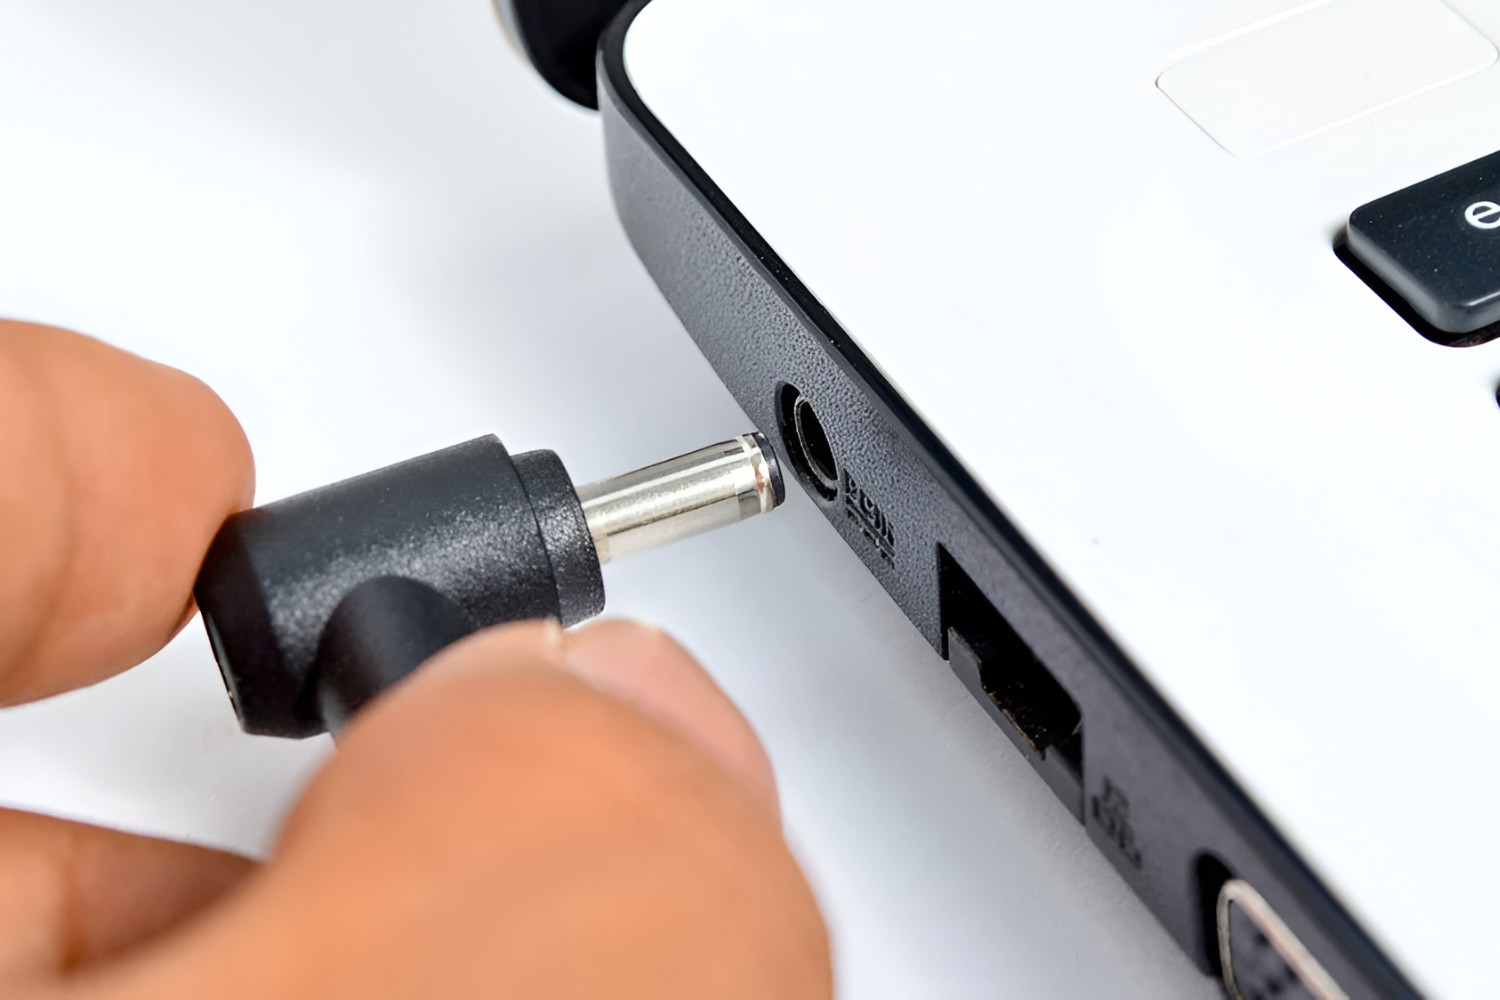
- Align the charger connector: Carefully align the charger connector with the charging port on your Acer Ultrabook. The connector should fit snugly into the port without forcing it.
- Insert the charger connector: Gently insert the charger connector into the charging port until you feel it securely plug in. Be careful not to apply too much pressure or insert it at an angle, as this could damage the port.
- Ensure a stable connection: Once the charger is connected, check that it is firmly in place and not loose. A loose connection may result in intermittent charging or a failure to charge your Ultrabook.
Once the charger is properly connected, you can now start charging your Acer Ultrabook. The charging process may take some time depending on the battery level and the charging speed of your device.
It’s important to note that while charging, it’s advisable to keep your laptop on a stable surface and avoid using it excessively to allow for faster and more efficient charging.
Now that your Windows 7 Acer Ultrabook is connected to the charger, you can keep an eye on the charging progress using the indicator light.
Charging Indicator Light
When you connect the charger to your Windows 7 Acer Ultrabook, you may notice an indicator light that provides information about the charging status. The charging indicator light is designed to help you monitor the power level and charging progress of your device. Here’s what you need to know about the charging indicator light:
- Charging in progress: When you first connect the charger, the indicator light will typically turn on or start blinking to indicate that the charging process has begun. This means that your Ultrabook is receiving power and the battery is being charged.
- Charging complete: Once the battery is fully charged, the charging indicator light may change color or turn off. This indicates that your Acer Ultrabook has reached a full charge and is ready to be disconnected from the charger.
- Charging issues: If the charging indicator light does not turn on or blink when the charger is connected, or if it keeps blinking continuously without charging your device, there may be an issue with the charger or the charger port. In such cases, it’s recommended to consult the user manual or contact Acer customer support for assistance.
It’s important to note that the behavior of the charging indicator light may vary depending on the specific model of your Windows 7 Acer Ultrabook. For accurate and detailed information about the charging indicator light for your device, refer to the user manual provided by Acer.
Now that you are aware of the significance of the charging indicator light, you can keep an eye on it while your Acer Ultrabook is charging. Once the charging process is complete, it’s time to disconnect the charger.
Disconnecting the Charger
When your Windows 7 Acer Ultrabook has finished charging or you need to unplug it for any other reason, it’s important to safely disconnect the charger. Follow these steps to ensure a safe disconnection:
- Save your work: Before disconnecting the charger, it’s a good practice to save your work and close any applications you have open. This helps prevent any potential data loss or interruption if the laptop powers off.
- Turn off your Ultrabook: Shut down your Acer Ultrabook by selecting the “Shut Down” option from the Start menu or using the appropriate key combination. This ensures that all processes are safely terminated before disconnecting the charger.
- Remove the charger connector: Gently pull the charger connector out of the charging port. Make sure to hold onto the charger connector itself rather than pulling on the cable. This helps prevent any damage to the charger or the charging port.
- Store the charger properly: After disconnecting the charger, consider coiling the cable and storing it in a safe place. Keeping the charger neatly stored helps prevent tangling and potential damage to the cable.
By following these steps, you can safely disconnect the charger from your Windows 7 Acer Ultrabook. It’s important to note that regularly checking the charger and its components for any signs of wear or damage is crucial for the proper functioning of your device.
If you experience any issues with charging or have concerns about the charger or charging port, it’s recommended to consult the user manual or reach out to Acer customer support for assistance.
Now that you know how to connect and disconnect the charger properly, you can efficiently power your Acer Ultrabook without any hassle.
Troubleshooting Common Issues
While charging your Windows 7 Acer Ultrabook, you may encounter a few common issues that can disrupt the charging process. Here are some troubleshooting tips to help you resolve these issues:
- Check the charger and power source: Ensure that the charger is properly plugged into both the laptop and the power source. Ensure that there are no loose connections or damage to the charger or power cable.
- Restart your Ultrabook: Sometimes, a simple restart can resolve charging issues. Restart your laptop and see if that helps with the charging process.
- Update your device drivers: Outdated or corrupted drivers can sometimes interfere with the charging process. Visit the Acer support website and download the latest drivers for your specific Ultrabook model.
- Reset the battery: Some Acer Ultrabooks have a built-in battery reset feature. Refer to the user manual or the Acer support website to learn how to reset the battery on your specific model.
- Perform a power reset: Disconnect the charger and remove the battery from your Ultrabook. Press and hold the power button for around 30 seconds. Then, reinsert the battery and connect the charger to see if the charging issue is resolved.
- Check for software conflicts: Certain software programs or settings can interfere with the charging process. Disable any unnecessary background programs or power management settings that may be causing conflicts.
If you’ve tried these troubleshooting steps and are still experiencing charging issues with your Acer Ultrabook, it’s recommended to reach out to Acer customer support for further assistance. They will be able to provide you with more specific guidance tailored to your device.
Remember, it’s crucial to handle the charging process with care and address any issues promptly to ensure the reliable performance of your Windows 7 Acer Ultrabook.
Conclusion
In this guide, we have explored the process of finding and connecting the charger on your Windows 7 Acer Ultrabook. We started by checking the power supply to ensure that your device receives a steady flow of power. Then, we located the charger port on your Ultrabook, providing different methods to identify its exact location. We discussed the steps to connect the charger properly, emphasizing the importance of a stable connection.
We also discussed the significance of the charging indicator light, which helps monitor the charging status of your Acer Ultrabook. By understanding its behavior, you can ensure a smooth charging process without any interruptions.
Moreover, we provided guidelines on safely disconnecting the charger and troubleshooting common charging issues. Following these steps and troubleshooting tips will help you maintain a healthy charging routine and address any potential problems that may arise.
It’s important to note that if you encounter persistent charging issues or are unsure about the steps, it’s always best to refer to the user manual or seek assistance from Acer customer support. They will provide you with personalized guidance and support to resolve any charging-related concerns.
Now that you are equipped with the knowledge to connect and charge your Acer Ultrabook efficiently, you can enjoy uninterrupted productivity and entertainment on your Windows 7 Ultrabook.