Introduction
Electric skateboards have become increasingly popular in recent years, offering a convenient and environmentally-friendly way to commute or have fun outdoors. Drawing an electric skateboard step by step can be a rewarding and creative exercise that allows you to customize your design and envision your perfect ride.
In this guide, we will take you through the steps of drawing an electric skateboard from start to finish. Whether you are an experienced artist or just starting out, this tutorial will provide you with the necessary guidance to bring your electric skateboard design to life.
By following these steps, you will learn fundamental drawing techniques and gain insight into the key components of an electric skateboard. You will also have the opportunity to unleash your creativity and design a skateboard that reflects your personal style.
From sketching the deck to adding the electronic components, sketching the wheels and trucks, and finally adding vibrant colors, each step of the process will contribute to the overall appearance of your electric skateboard drawing.
So, grab your sketchbook, pencils, and markers, and let’s dive into the world of electric skateboards and the art of drawing them from scratch!
Materials Needed
Before you begin drawing your electric skateboard, it’s important to gather the necessary materials. Here’s a list of the items you’ll need:
- A sketchbook or drawing paper
- Pencils of various grades (HB, 2B, 4B, etc.)
- Erasers (kneaded eraser and/or pencil eraser)
- Ink pens or fine liners for outlining
- Colored pencils or markers for adding vibrant colors
- A ruler for creating straight lines
- A reference image of an electric skateboard for inspiration
Having a sketchbook or drawing paper allows you to practice your sketches and keep all your drawings in one place. Pencils of different grades give you the flexibility to create light or dark lines, depending on your preferences.
Erasers are essential for fixing mistakes and refining your drawings. Kneaded erasers are especially useful for lifting graphite without leaving residue, while pencil erasers are great for erasing smaller details.
Ink pens or fine liners will be handy for outlining your sketches, providing a clean and defined look to your artwork. Colored pencils or markers can help bring your electric skateboard to life with vibrant colors.
Using a ruler is recommended for creating straight lines, especially when drawing the deck or adding details to the components. Lastly, having a reference image of an electric skateboard will provide inspiration and serve as a visual guide throughout the drawing process.
Once you have gathered all these materials, you will be ready to embark on your electric skateboard drawing journey. So, let’s move on to the first step: gathering your supplies!
Step 1: Gathering Your Supplies
Before you begin drawing your electric skateboard, it’s important to gather all the necessary supplies and create a comfortable workspace. Here’s a detailed guide on how to gather your supplies:
- Find a Suitable Workspace: Select a clean and well-lit area where you can comfortably work on your drawing. Make sure you have enough space to spread out your sketchbook and art supplies.
- Organize Your Materials: Gather all the materials mentioned in the previous section. Arrange them neatly within reach so that you can easily access them as you progress through your drawing.
- Prepare your Sketchbook: If you’re using a sketchbook, open it to a blank page, ready to begin your electric skateboard drawing. Ensure that there are no loose pages or distractions that could hinder your creativity.
- Sharpen Your Pencils: Keep a variety of pencil grades handy and make sure they are sharp. This will allow you to create both lighter and darker lines, adding depth and dimension to your drawing.
- Set up your Ruler: If you’re using a ruler, have it nearby to assist with creating straight lines and precise measurements. This will help maintain symmetry and accuracy in your electric skateboard design.
- Refer to Inspirational Images: Pull up reference images of electric skateboards that you find intriguing or inspiring. These images will help you visualize the different components and overall structure of the skateboard as you create your own unique design.
By taking the time to gather your supplies and establish an organized workspace, you can dive into your electric skateboard drawing with ease and focus. Once you have everything prepared, you are ready to move on to the next step: sketching the design of your electric skateboard!
Step 2: Sketching the Design
Now that you have your supplies prepared and your workspace ready, it’s time to start sketching the design of your electric skateboard. Follow these steps to bring your vision to life:
- Start with Basic Shapes: Begin by lightly sketching the basic shapes that make up the skateboard’s deck and components. Use simple geometric shapes such as rectangles, ovals, and squares to establish the overall structure.
- Define the Deck Shape: Refine the shape of the deck by adding curved edges, pointed ends, or concaves, depending on the style you prefer. Experiment and let your creativity guide you in creating a unique and visually appealing deck design.
- Add Components: Sketch in the placement of the electronic components such as the battery, motor, and control panel. Consider the positioning and proportions to ensure a functional and aesthetically pleasing composition.
- Draw Details: Start adding details to your design, such as grip tape, bolts, and logos. Focus on capturing the texture and intricacies of these elements, bringing depth and realism to your skateboard drawing.
- Refine the Lines: Once you have the basic structure and details in place, go over your sketch with darker, more defined lines. Use a pencil with a harder grade (like HB) or an ink pen to give your design a polished look.
- Erase Guidelines: As you refine your sketch, erase any unnecessary guidelines or overlapping lines. This will help clean up your drawing and make your skateboard design more visually appealing.
- Add Shadows and Highlights: To add depth and dimension to your sketch, consider adding shading. Use techniques like cross-hatching or stippling to create shadows and highlights, enhancing the realism and three-dimensional feel of your design.
Remember that sketching is a creative process, and it’s okay to make adjustments and explore different ideas along the way. Take your time, have fun with it, and be open to experimentation. The goal is to create a design that reflects your personal style and captures the essence of an electric skateboard.
Once you’re satisfied with your sketch, you can move on to the next step: drawing the deck of your electric skateboard.
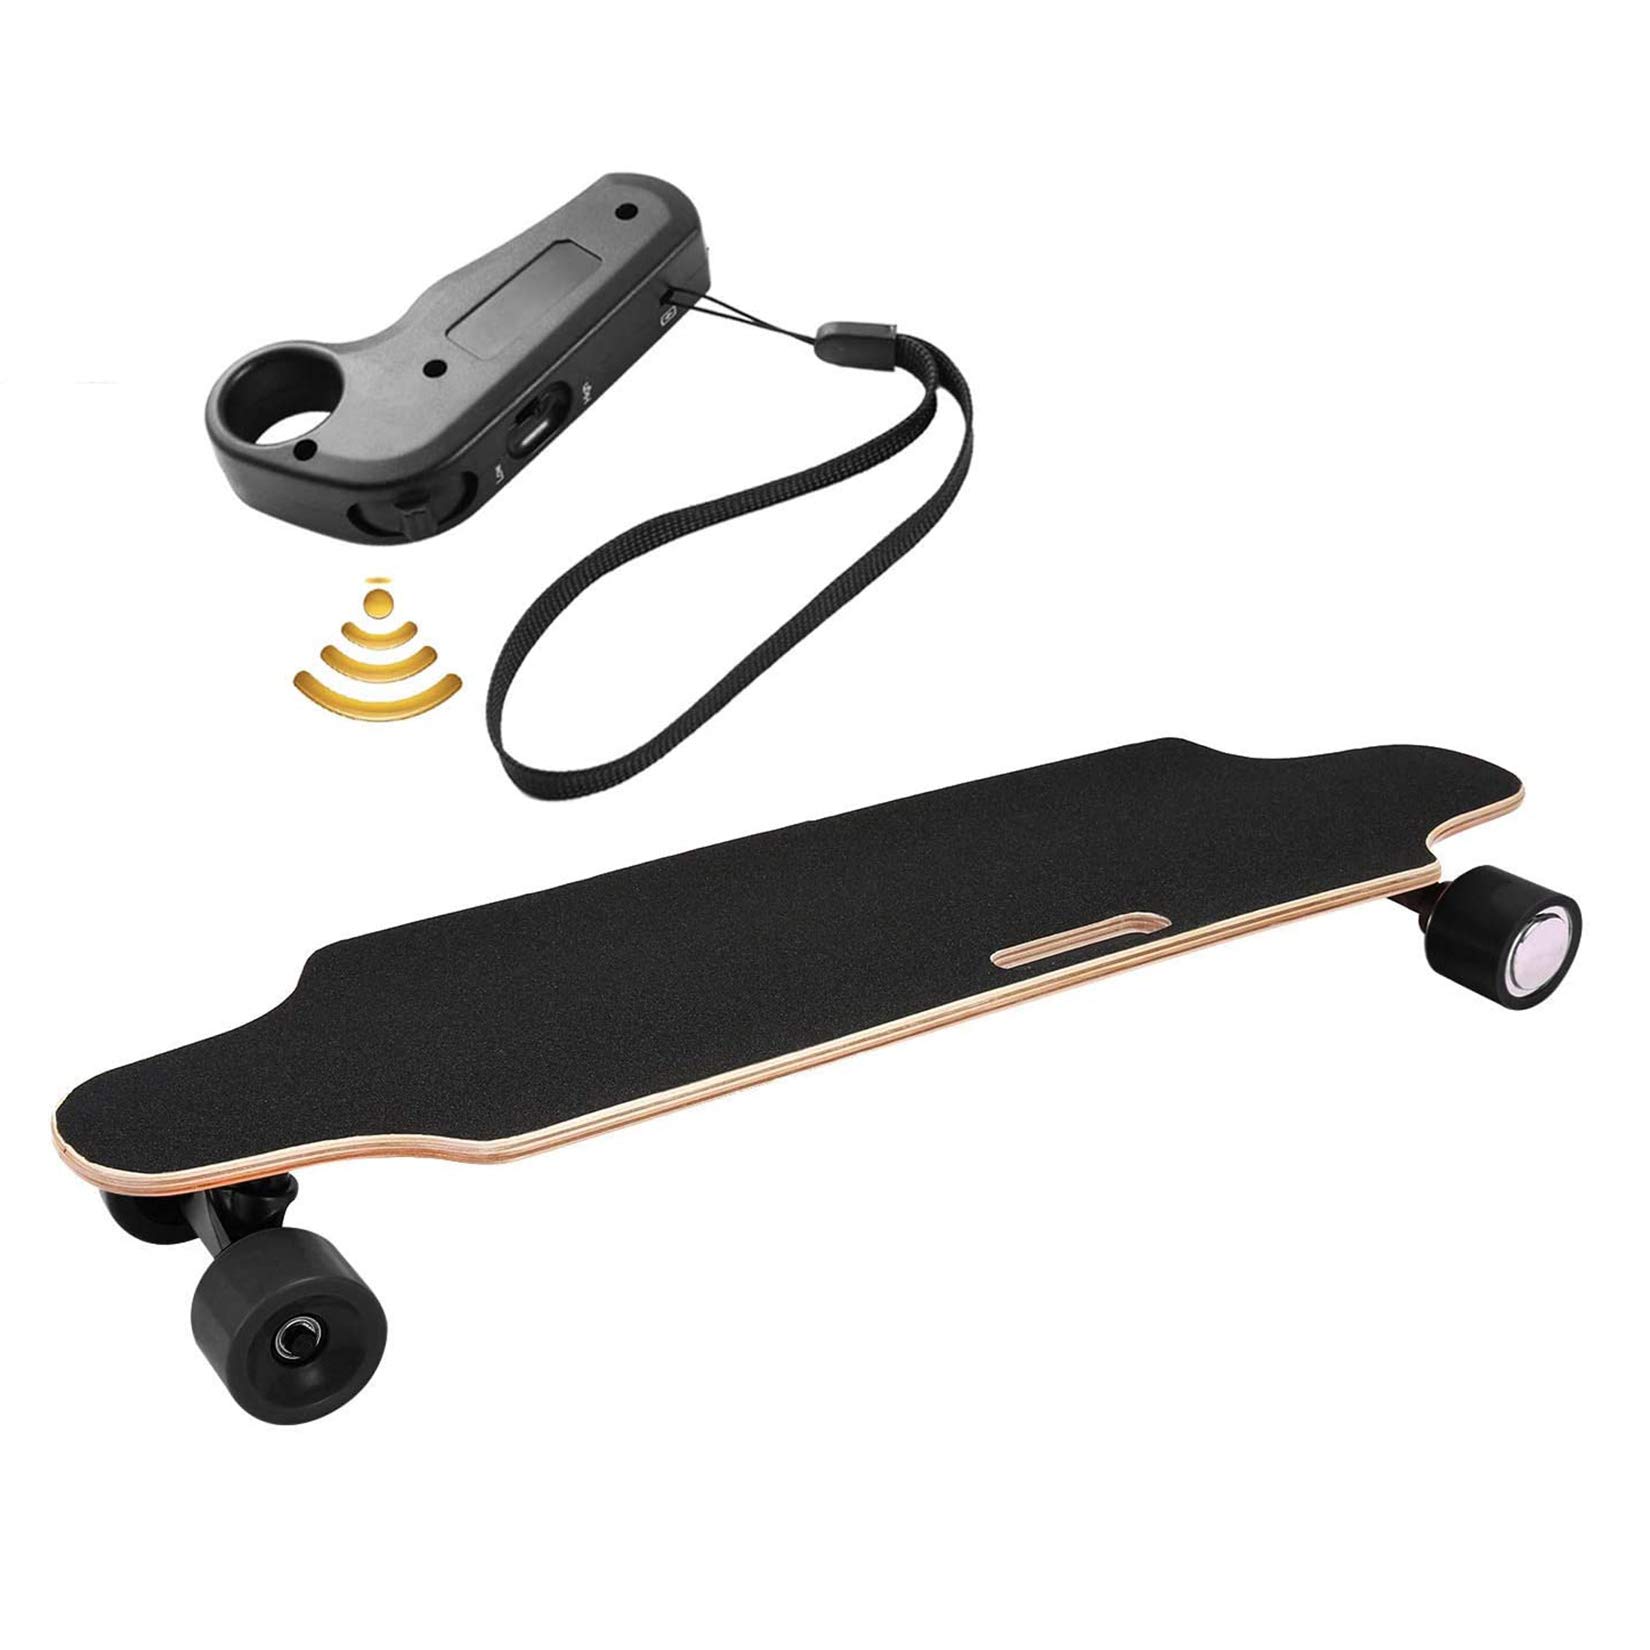
Step 3: Drawing the Deck
Now that you have sketched the overall design of your electric skateboard, it’s time to focus on drawing the deck. The deck is the main component of a skateboard, and its shape and style play a significant role in the overall aesthetics of your artwork. Follow these steps to create a captivating deck design:
- Refine the Outline: Using a darker pencil or ink pen, refine the outline of the deck, making it more prominent and defined. Pay attention to the curves, angles, and proportions of the deck as you outline it.
- Add Concave or Convex Shape: Depending on the style you desire, depict the concave or convex shape of the deck. Use curved lines to illustrate the depth and curvature of the deck, giving it a realistic and functional appearance.
- Include Nose and Tail: Define the nose and tail of the deck by adding slight angles or curves. Consider the length and proportions of the nose and tail in relation to the overall length of the deck.
- Detail the Deck Surface: Draw the texture of the deck’s surface, such as the grains of wood or any other pattern you envision. Add small details, like logos or brand names, to personalize your skateboard design.
- Draw Mounting Holes: Indicate the placement of the mounting holes on the deck. These holes are where the trucks will be attached to the board. Typically, there are four mounting holes, two at the nose and two at the tail.
- Refine and Shade: Go over your deck drawing, refining any lines that need adjustments and adding shading to create depth and volume. Use lighter and darker tones to simulate the effects of light and shadow on the deck.
- Clean Up: Erase any stray or unnecessary lines and smudges to ensure a clean and polished appearance for your deck drawing.
Remember to take your time and pay attention to the details, as the deck sets the foundation for your electric skateboard design. Once you’re satisfied with your deck drawing, you can move on to the next step: adding the electronic components to your artwork.
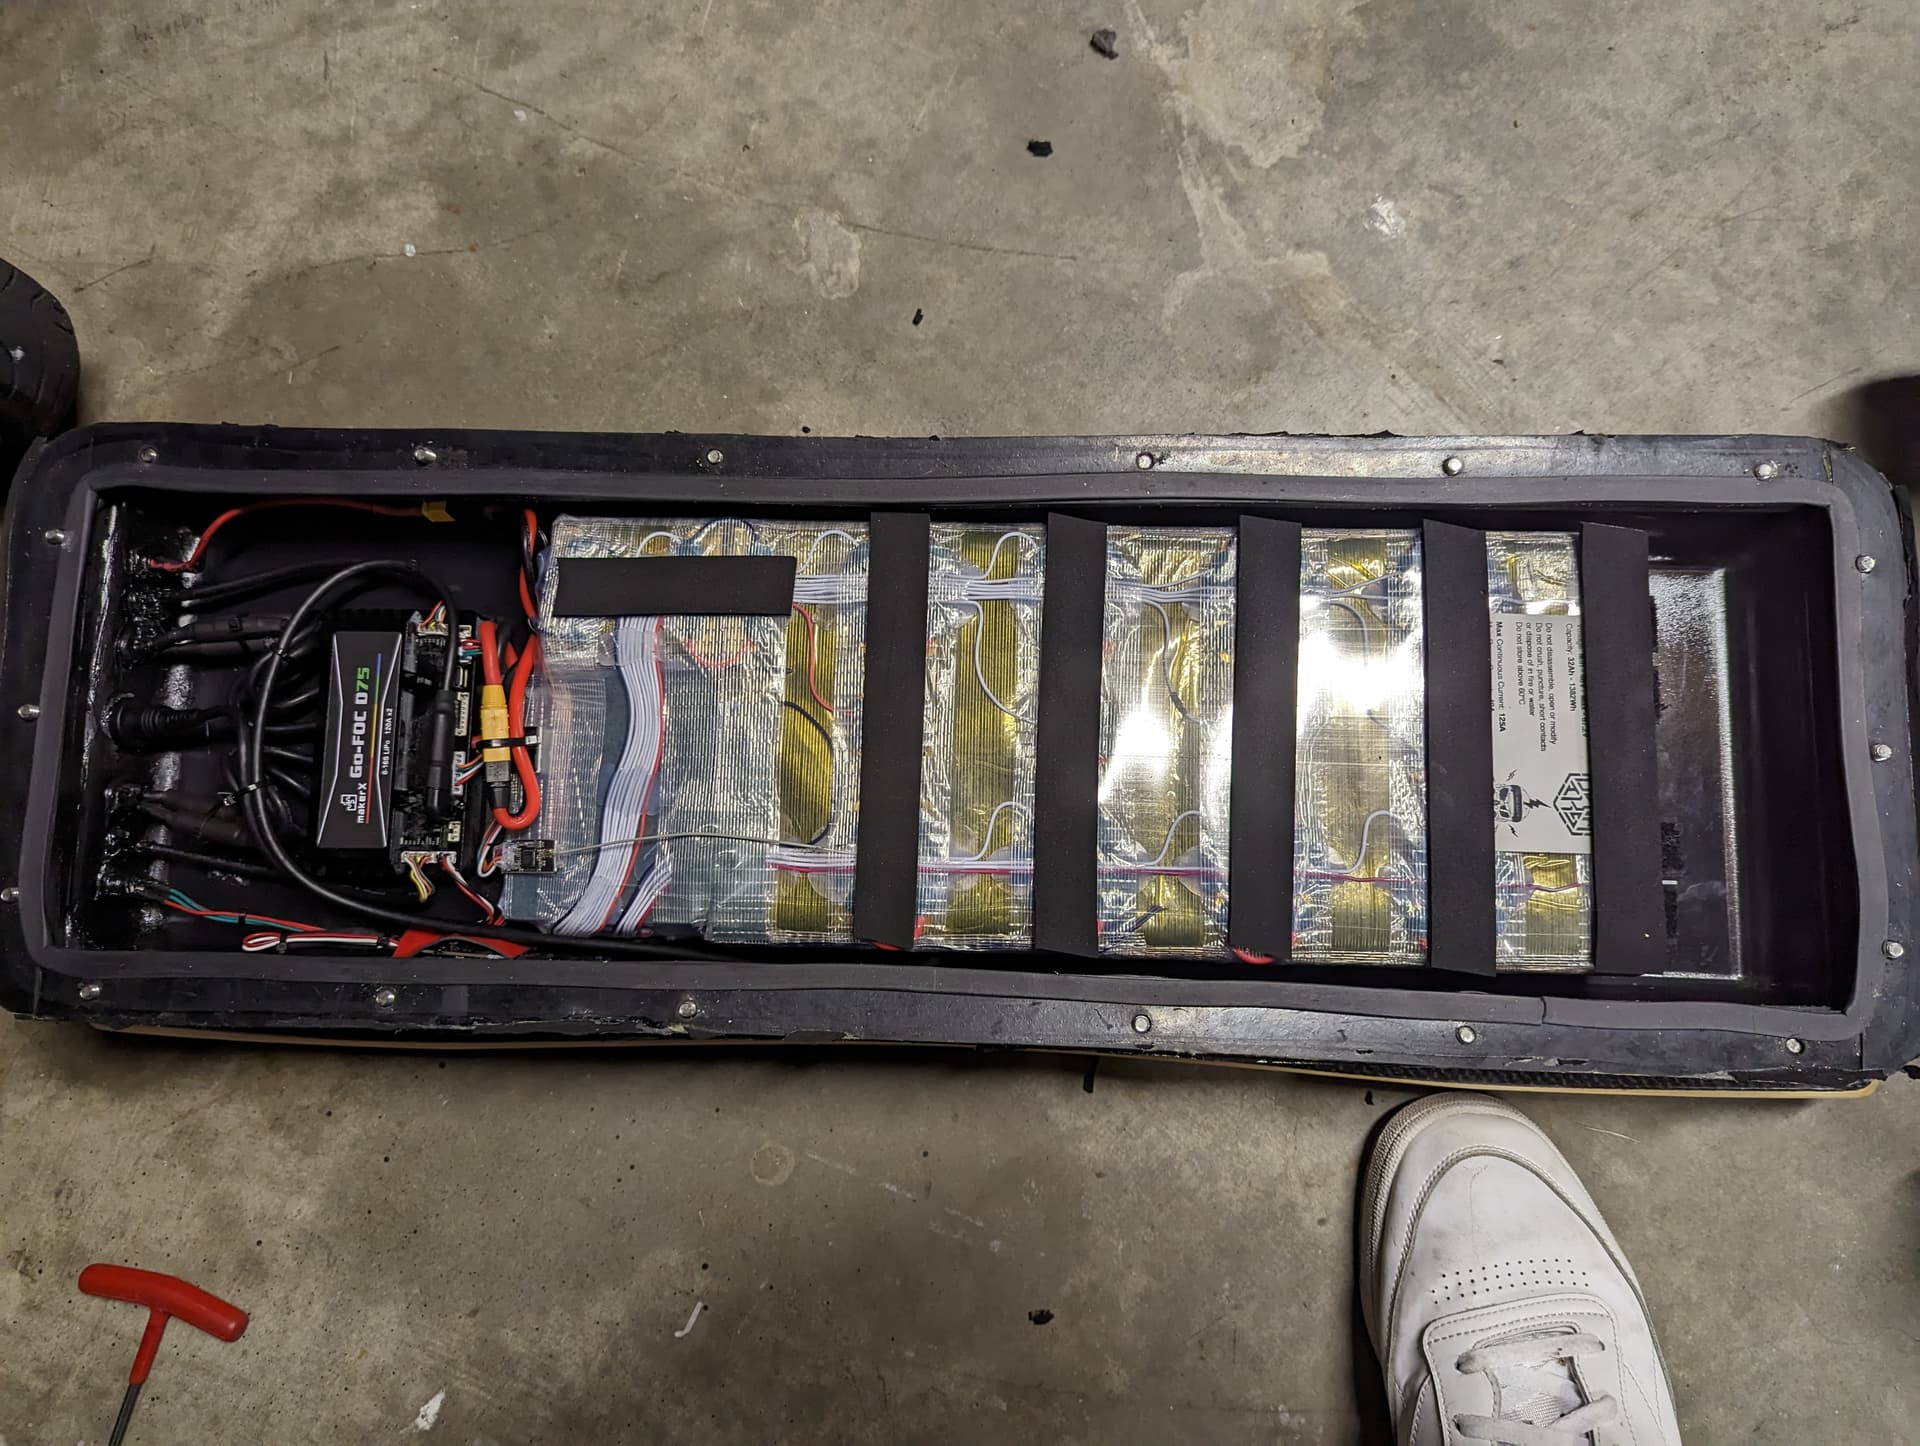
Step 4: Adding the Electronic Components
With the deck drawing complete, it’s time to focus on adding the electronic components to your electric skateboard artwork. These components are what give an electric skateboard its unique features and functionality. Follow these steps to incorporate the electronic elements into your design:
- Place the Battery: Determine the location of the battery on the deck. Typically, the battery is positioned closer to the rear of the skateboard. Sketch the battery shape and indicate any connecting wires or cables.
- Add the Motor: Draw the motor at the rear of the deck, near the wheels. The motor is an essential component that propels the skateboard forward. Depict the motor with attention to its shape, size, and any visible details.
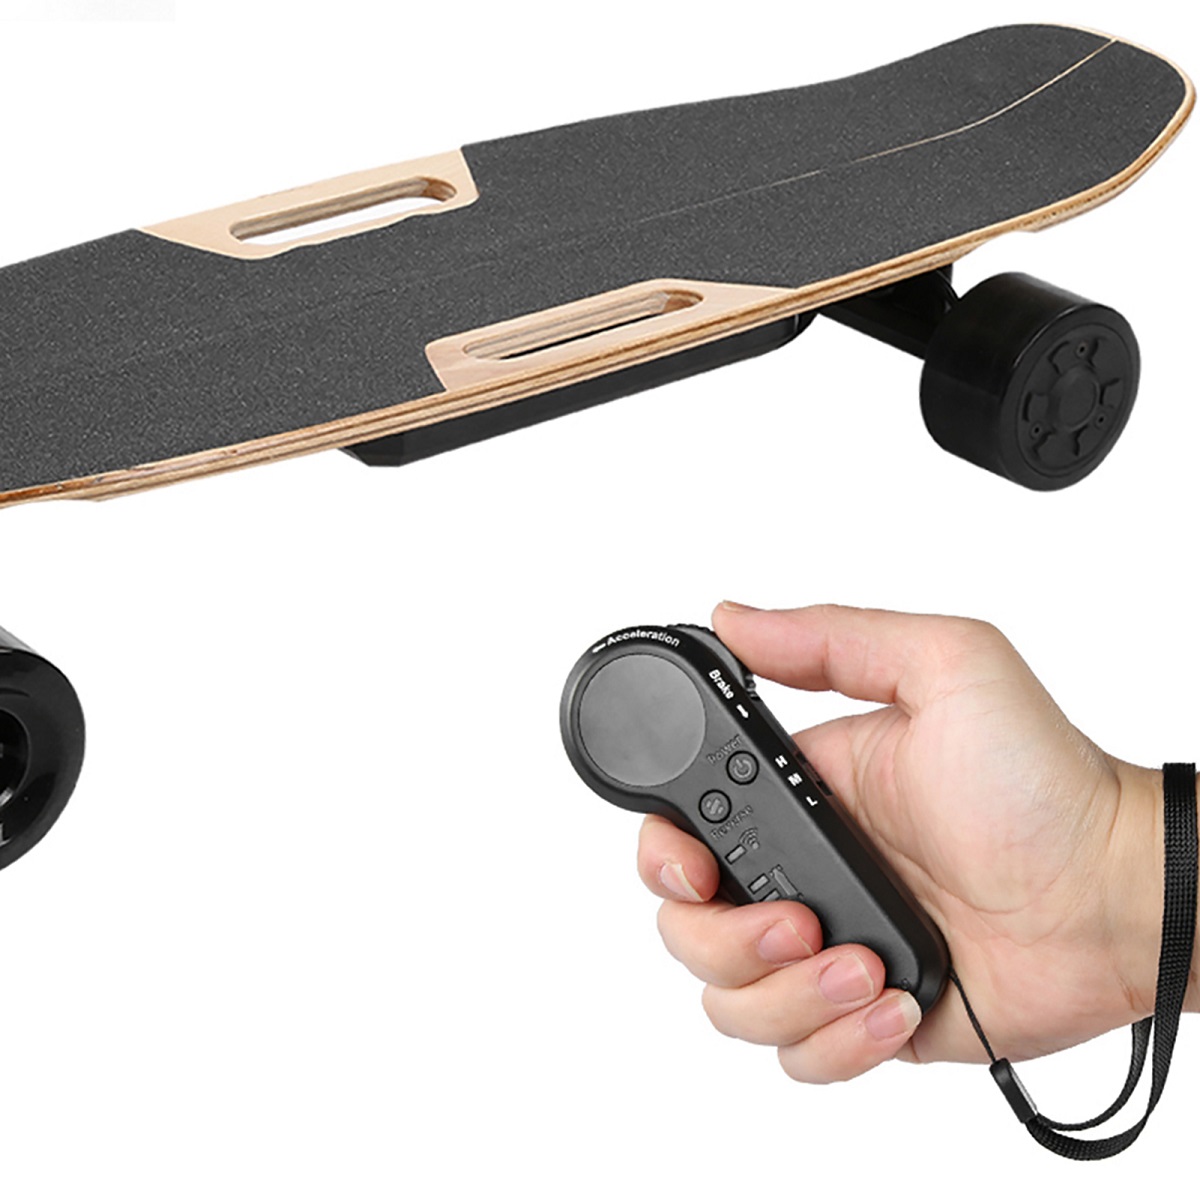
- Include the Control Panel: Sketch the control panel, which allows the rider to control the speed and braking of the electric skateboard. Place it within reach of the rider’s front foot, usually near the top of the deck.
- Indicate Wiring: Draw the wiring or cables that connect the battery, motor, and control panel together. Consider the routing and positioning of the wiring to ensure a clean and organized appearance.
- Add Additional Components: Depending on your desired level of detail, you can incorporate additional components like the ESC (Electronic Speed Controller), Bluetooth module, or LED lights. These elements add complexity and functionality to your electric skateboard design.
- Refine and Shade: Go over the electronic components drawing, refining the lines and adding shading to create depth. Pay attention to light and shadow effects on the components to enhance their realism.
- Clean Up: Erase any unnecessary guidelines or overlapping lines, ensuring that your electronic components drawing is clean and visually appealing.
By adding the electronic components to your electric skateboard design, you’re creating a realistic representation of a functional electric skateboard. Take your time to perfect the details and ensure that the placement and proportions of the components are accurate and cohesive.
With the electronic components added, it’s time to move on to the next step: sketching the wheels and trucks of your electric skateboard.
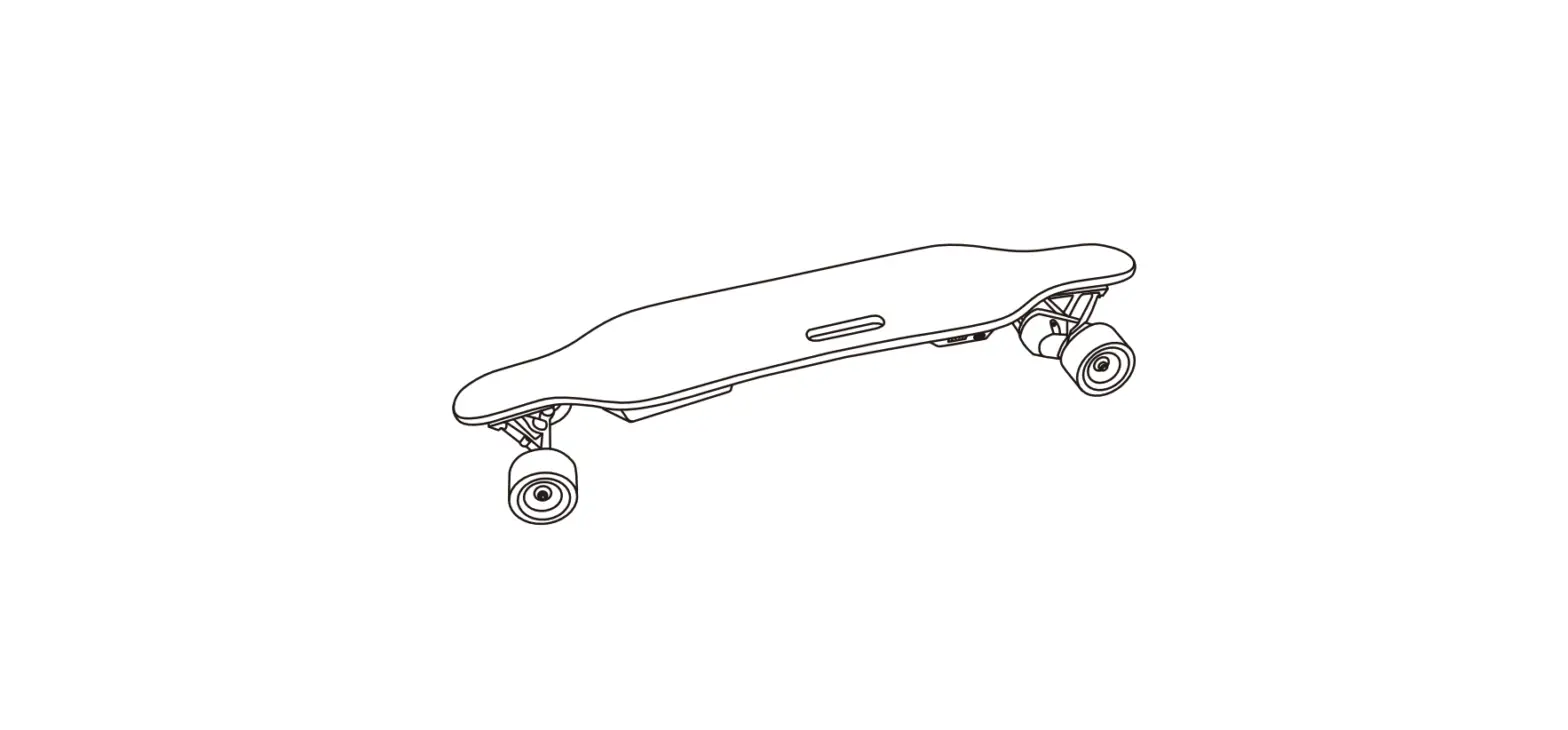
Step 5: Sketching the Wheels and Trucks
Now that you have incorporated the electronic components into your electric skateboard design, it’s time to focus on sketching the wheels and trucks. The wheels and trucks are crucial for the functionality and aesthetics of your skateboard. Follow these steps to bring these elements to life:
- Outline the Trucks: Start by sketching the outline of the trucks, which are the metal components that connect the wheels to the deck. Pay attention to the proportions and placement of the trucks to ensure proper balance and stability.
- Add the Baseplate and Hanger: Depict the baseplate, which is attached to the deck, and the hanger, which holds the axle and wheels. Use curves and angles to showcase the shape and structure of these components.
- Draw the Wheels: Sketch the wheels on each end of the trucks. Depending on your design, you can give the wheels a realistic look by adding treads and textures, or simplify them with basic shapes.
- Add Details to the Trucks: Enhance the realism of the trucks by adding details such as screws, bushings, and any branding or logos. Pay attention to the small components that make up the trucks to increase the authenticity of your artwork.
- Refine and Shade: Go over the sketch of the wheels and trucks, refining the lines and adding shading to create depth. Consider the lighting direction and add shadows and highlights accordingly.
- Clean Up: Erase any unnecessary guidelines or overlapping lines, ensuring that your wheels and trucks drawing is clean and visually appealing.
As you sketch the wheels and trucks, keep in mind the size and proportion of these components in relation to the skateboard deck. Take your time to capture the details and characteristics that give your electric skateboard a realistic and functional appearance.
With the wheels and trucks sketched, it’s time to move on to the next step: adding details and labels to your electric skateboard drawing.
Step 6: Adding Details and Labels
Now that you have sketched the main components of your electric skateboard, it’s time to add some details and labels to enhance its appearance. These details can include logos, sticker designs, or any other personal touches that make your electric skateboard unique. Follow these steps to add those final touches:
- Personalize with Logos: Incorporate your favorite skateboard brand logos or create your own unique logo for your electric skateboard. Place the logos on the deck or any other visible areas to showcase your personal style and preferences.
- Design Custom Stickers: Get creative and design custom stickers to decorate your electric skateboard. You can add stickers to represent your interests, favorite bands, or any other designs that express your personality.
- Add Artistic Flourishes: Consider adding artistic flourishes such as swirls, patterns, or illustrations to further enhance the aesthetics of your electric skateboard design. This is your opportunity to let your imagination run wild and create something truly unique.
- Label Component Parts: If desired, label the different components of your electric skateboard, such as the battery, motor, or control panel. This can help others understand the intricacies of your design or simply serve as a visual reference for your own information.
- Refine and Shade: Go over the added details and labels, refining any lines or shapes that need adjustment, and add shading to create depth and dimension. Consider the lighting direction to add shadows and highlights for a more realistic look.
- Clean Up: Erase any unnecessary or overlapping lines to ensure a clean and polished appearance in your electric skateboard drawing. Use an eraser to remove any smudges or mistakes.
Adding details and labels is an opportunity to put your personal touch on your electric skateboard design. These elements help to make your artwork stand out and reflect your unique style. Be creative and have fun with it!
Now that you’ve added these final touches, it’s time to move on to the last step: coloring your electric skateboard drawing.
Step 7: Coloring Your Drawing
After putting so much effort into sketching and adding details to your electric skateboard drawing, it’s time to bring it to life with colors. Coloring your artwork adds vibrancy and realism, giving your electric skateboard that extra visual appeal. Follow these steps to color your drawing:
- Select Your Color Palette: Choose a color palette that complements your overall design and reflects your desired style. Consider colors that harmonize with each other and evoke the desired mood or theme of your electric skateboard.
- Start with the Base Colors: Begin coloring the different components of your electric skateboard, starting with the deck, trucks, and wheels. Use light, even layers of color to build up the base colors, taking care to stay within the lines.
- Add Shading and Highlights: To add depth and dimension to your drawing, incorporate shading and highlights. Use darker shades of the base colors to create shadows and lighter shades or white for highlights. Apply these shades strategically to create a realistic three-dimensional effect.
- Blend the Colors: Blend different colors smoothly to create transitions and gradients. Use blending techniques like cross-hatching, stippling, or layering to achieve a seamless and polished color appearance.
- Color the Details: Color in any logos, stickers, or additional details you added in the previous step. Pay attention to the small details and use precision to bring them to life with vibrant colors.
- Consider Background and Effects: If desired, add a background to your drawing that complements the electric skateboard design. You can create a basic background or incorporate effects like motion lines or splatters to add dynamism to your artwork.
- Review and Finalize: Once you have finished coloring your electric skateboard, take a step back and review your work. Make any necessary adjustments or touch-ups to ensure a polished and visually satisfying final result.
Coloring your electric skateboard drawing is a chance to make it truly stand out and capture attention. Let your creativity guide you as you bring your artwork to life with vibrant shades, realistic shading, and attention to detail.
With the coloring complete, you have successfully reached the final step of creating your electric skateboard drawing. Now you can admire and showcase your unique and colorful design!
Final Thoughts
Congratulations on completing your journey of drawing an electric skateboard step by step! By following the outlined steps and allowing your creativity to guide you, you have created a unique and personalized artwork. Here are some final thoughts to consider:
Remember that drawing an electric skateboard is not only about the end result, but also the joy and satisfaction that comes from the creative process. Embrace the opportunity to experiment, make adjustments, and explore different ideas along the way. Allow yourself to take risks and add your own artistic touch to your design.
Take pride in the effort you have put into understanding the various components of an electric skateboard and incorporating them into your artwork. Each step, from gathering your supplies to sketching the design, adding details, and coloring, has contributed to the overall aesthetics and realism of your electric skateboard drawing.
Don’t be afraid to continue practicing and honing your skills. The more you draw, the more you will improve your technique and develop your own unique style. Explore other drawing techniques, experiment with different materials, and challenge yourself to push the boundaries of your creativity.
Remember to have fun throughout the process. Enjoy the journey of bringing your electric skateboard to life on paper and let your imagination soar. Whether you’re creating artwork for personal enjoyment or sharing it with others, your electric skateboard drawing is a testament to your talent and passion for art.
Keep your artwork as a reminder of your artistic accomplishment and as inspiration for future drawings. Share your creation with others to showcase your skills and inspire fellow artists and skateboard enthusiasts.
Now, take a step back, admire your finished electric skateboard drawing, and appreciate the dedication and effort you have invested. You have successfully captured the essence of an electric skateboard and created a visual representation of your own unique design!