Introduction
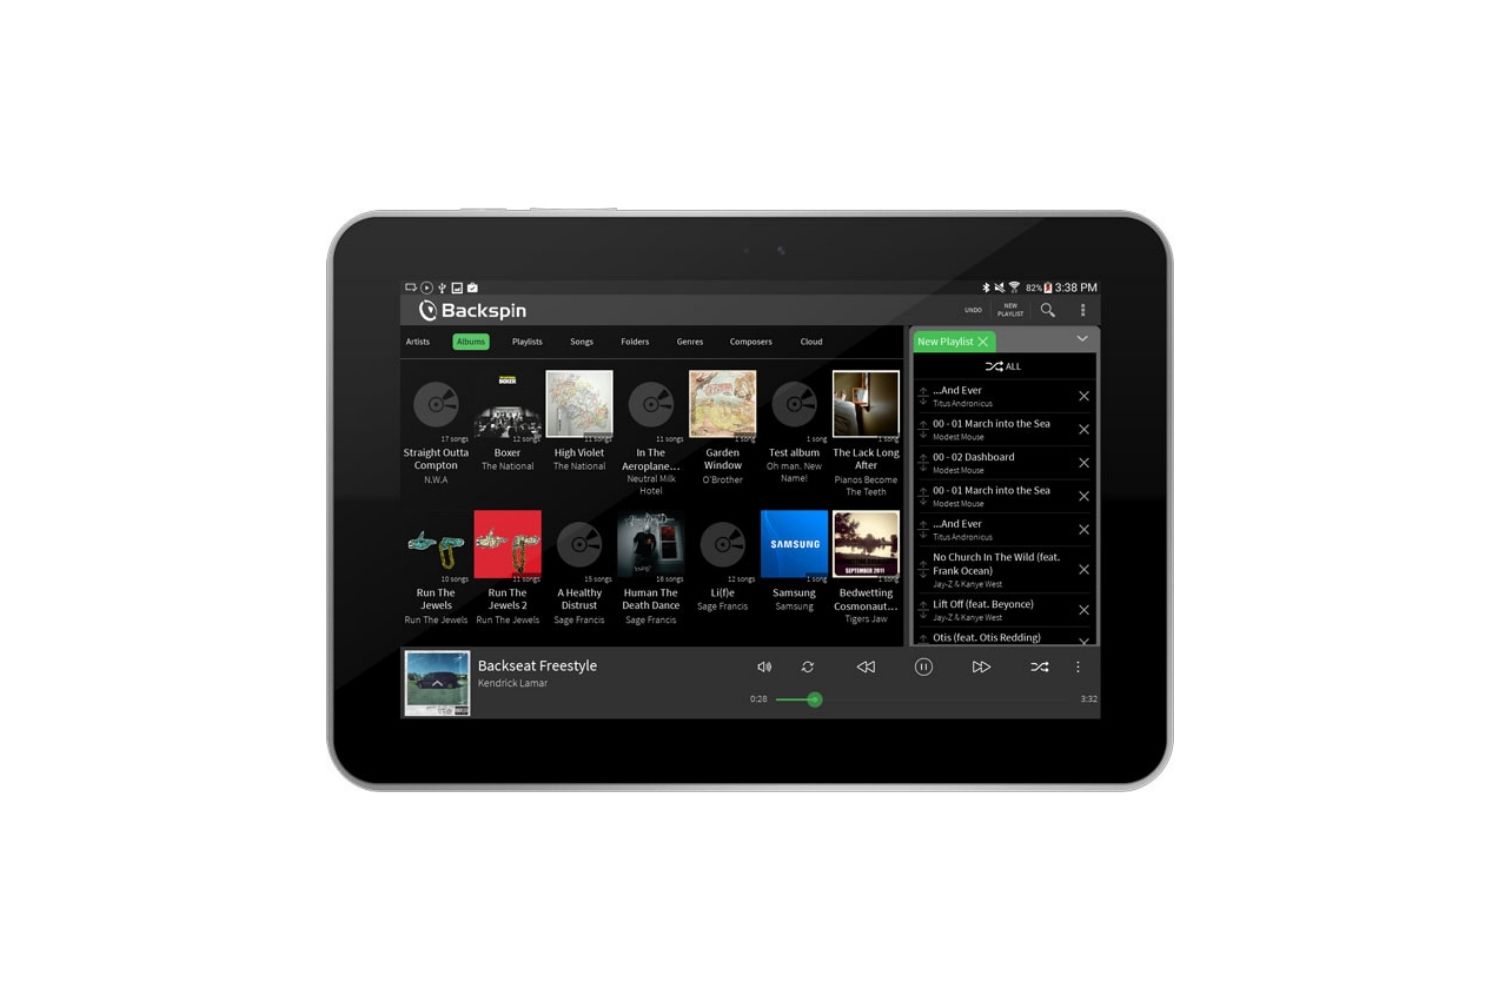
Welcome to the world of music on your Android tablet! With your tablet’s multimedia capabilities, you can enjoy your favorite songs wherever you go. Whether you want to listen to music while working out, studying, or simply relaxing, having a collection of songs readily available on your tablet can enhance your overall experience.
In this article, we will explore different methods to download songs on your Android tablet. From using music streaming apps to downloading directly from the internet or transferring music from your computer, we will cover various techniques to cater to different preferences and needs. By the end of this article, you will have a comprehensive understanding of how to download songs and enjoy them on your Android tablet.
It’s worth noting that downloading copyrighted songs without proper authorization is illegal and unethical. Therefore, ensure that you are downloading music from legitimate sources or have the necessary licenses to use the music you download. With that said, let’s dive into the methods that will enable you to download songs on your Android tablet!
Method 1: Using a Music Streaming App
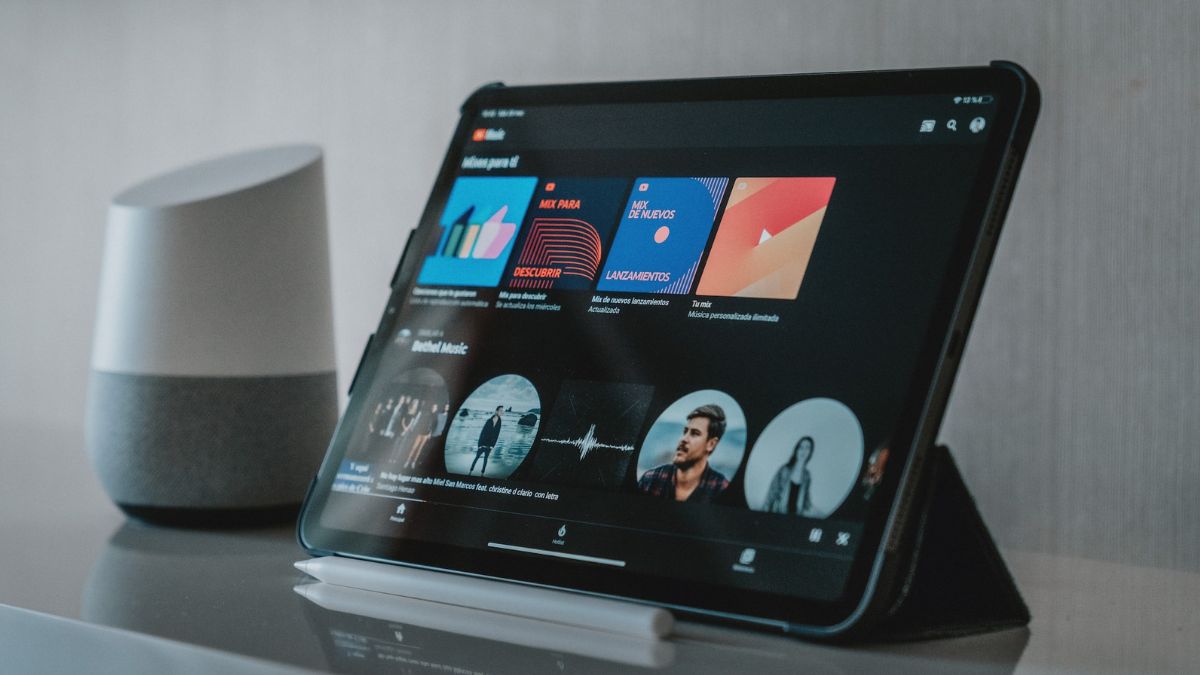
One of the most convenient ways to listen to and download songs on your Android tablet is by using a music streaming app. These apps provide access to a vast library of songs that you can stream or download for offline listening. Here’s how you can use a music streaming app to download songs:
1. First, you need to choose a music streaming app that suits your preferences and offers a good selection of songs. Popular options include Spotify, Apple Music, Google Play Music, and Amazon Music.
2. Once you have selected a music streaming app, download and install it on your Android tablet from the Google Play Store.
3. Open the app and sign in or create a new account if necessary. Most music streaming apps offer both free and premium subscription options. Depending on your preference, choose the one that best suits your needs.
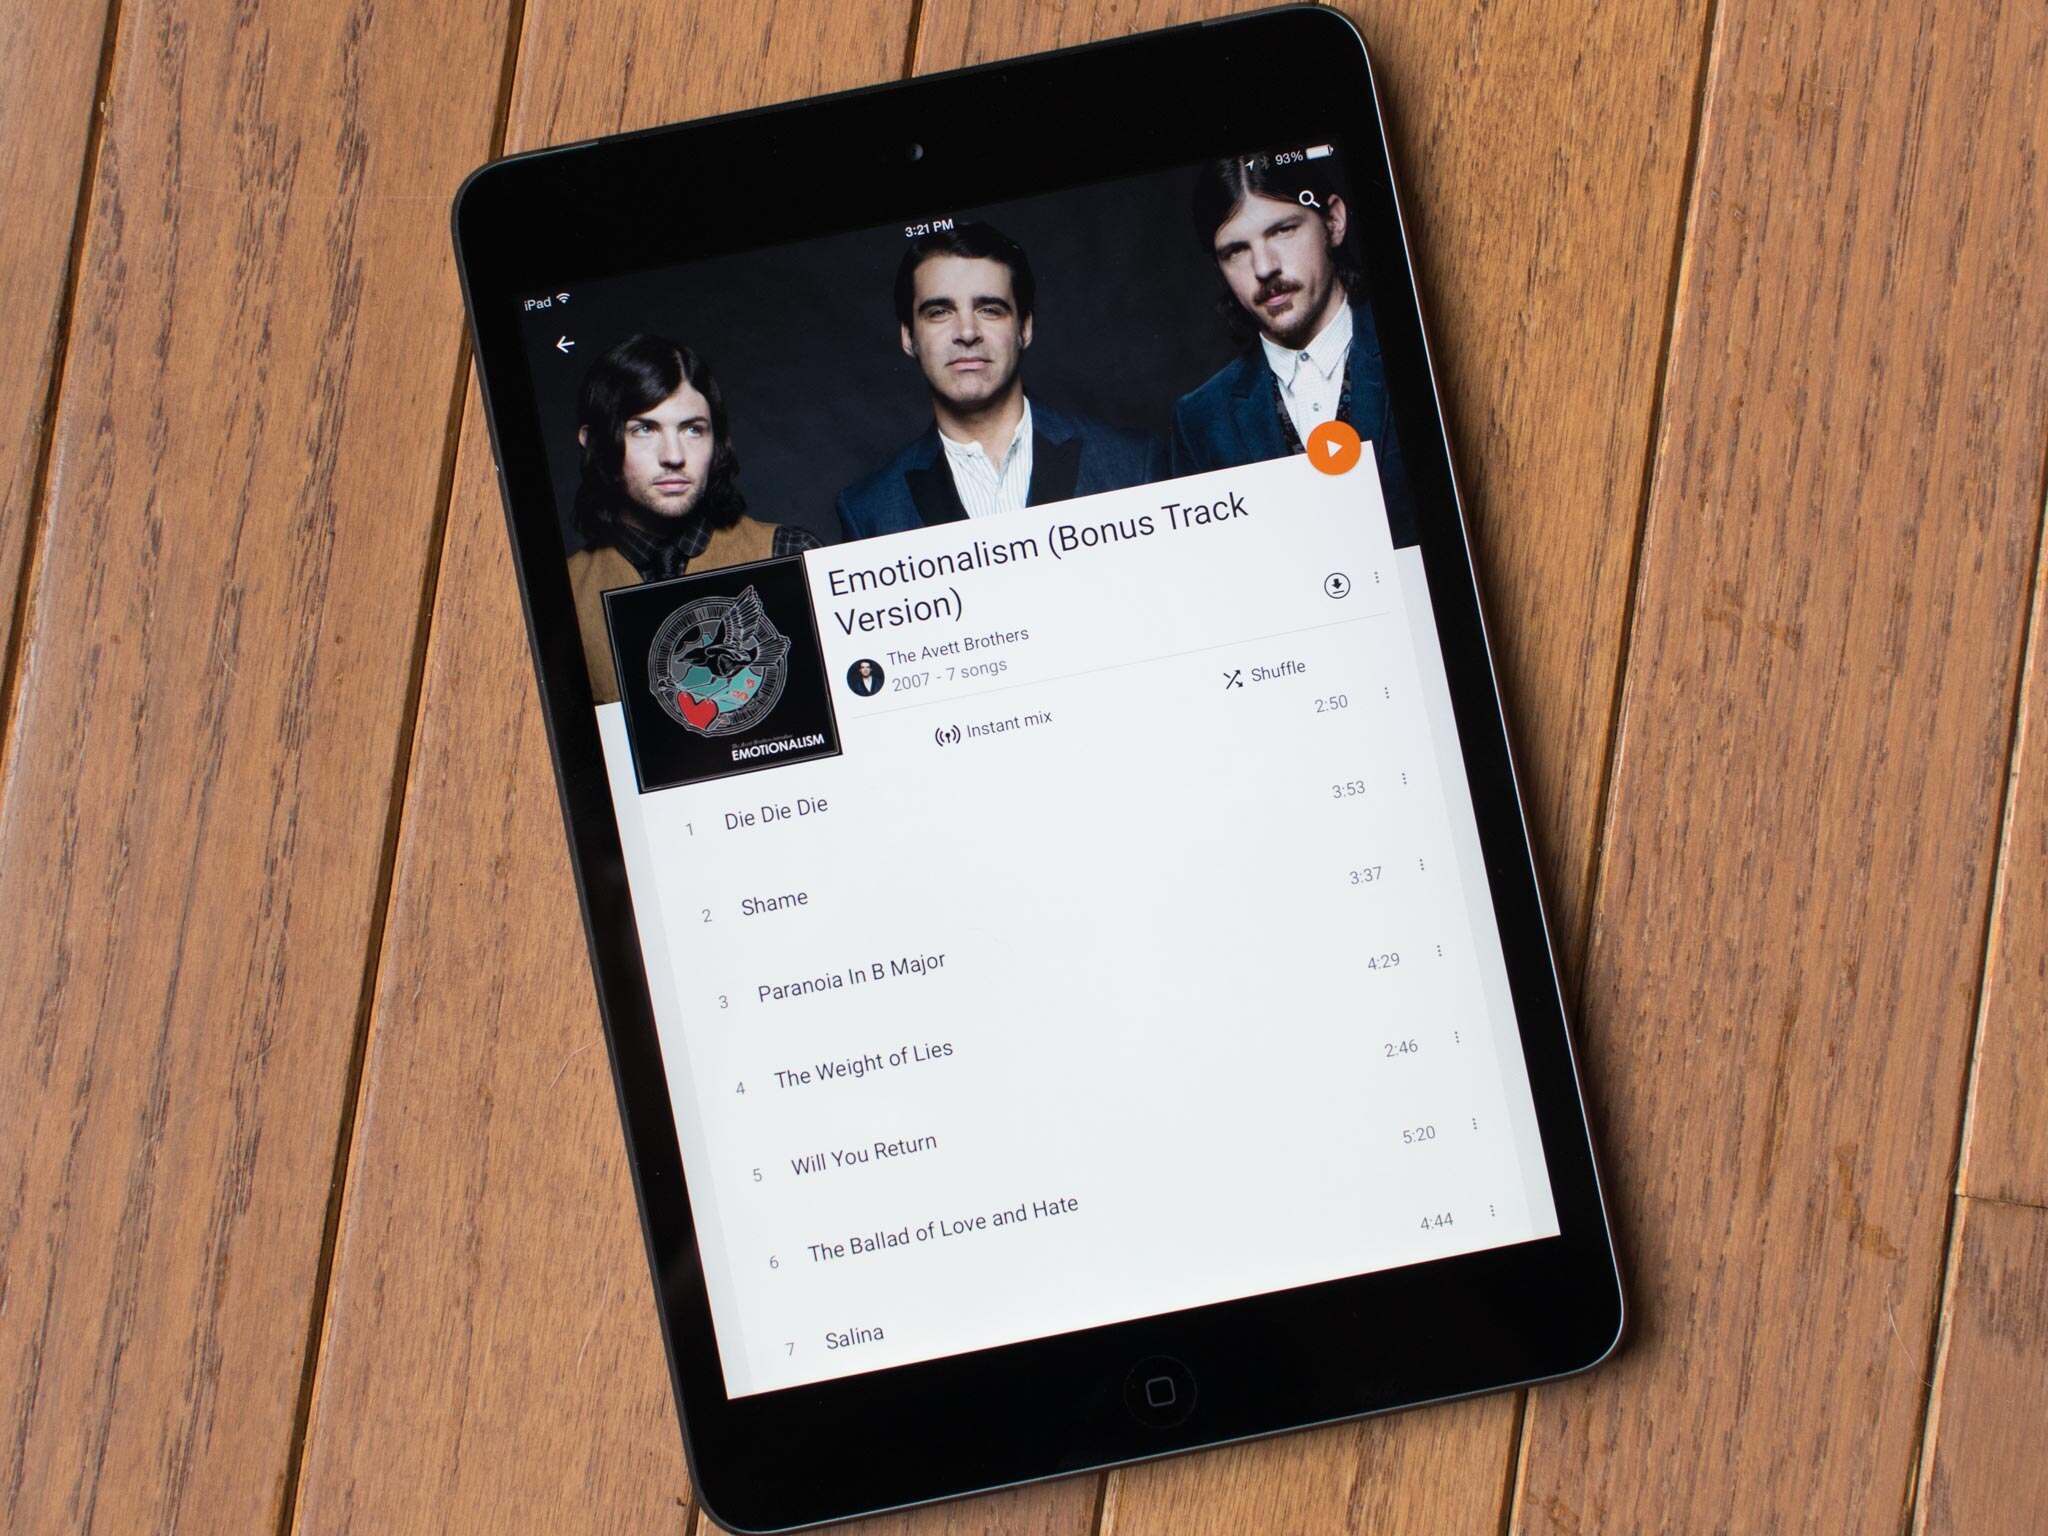
4. Explore the app’s library and browse through the available songs and playlists. You can search for specific songs, artists, albums, or genres to find the music you want.
5. When you find a song you want to download, look for the option to download or save it offline. The location of this option may vary depending on the app you are using, but it is usually indicated by a download icon or a “Save Offline” button.
6. Tap on the download icon or “Save Offline” button to start the download process. The app will typically prompt you to select the quality of the downloaded song. Higher quality settings may provide better audio but require more storage space on your tablet.
7. Once the download is complete, you can access the downloaded songs in the app’s offline or downloaded music section. From there, you can listen to them anytime, even without an internet connection.
Using a music streaming app to download songs offers the convenience of having a vast library of music at your fingertips. It also allows you to discover new artists and explore different genres. Keep in mind that some apps may require a subscription or additional fees for offline listening, so be sure to check the app’s terms and conditions before downloading songs.
Method 2: Downloading Songs from the Internet
If you have specific songs in mind that are not available on music streaming apps or if you prefer to have direct control over your song downloads, you can consider downloading songs from the internet. Here’s how you can do it:
1. Start by finding a reliable source for music downloads. Look for reputable websites, online music stores, or legal download platforms that offer a wide range of songs.
2. Once you have found a reliable source, use the search function to find the specific song or artist you want to download. Some websites may categorize music by genres or provide recommendations based on your preferences.
3. After finding the song you want, check if the website offers different quality and format options for the download. Common formats include MP3 and FLAC, while quality options may range from standard to high-definition audio.
4. Choose the quality and format that suits your preferences and click on the download button or link. Some websites may require you to create an account or make a purchase before downloading.
5. Depending on your internet connection speed, the download process may take a few seconds to several minutes. Be patient and avoid closing the browser or navigating away from the download page until the download is complete.
6. Once the song is downloaded, locate the file in your Android tablet’s storage. You can usually find downloaded files in the “Downloads” folder or in the folder specified by your browser’s settings.
7. To listen to the downloaded song, you can use a pre-installed music player app on your tablet or install a third-party music player app from the Google Play Store. Open the music player app and navigate to the location where the downloaded song is stored.
Downloading songs from the internet allows you to have complete control over the selection and quality of the music you want to listen to. However, make sure to only download music from legal sources to avoid any copyright violations or malware risks. Always exercise caution when downloading files from the internet and ensure that you have adequate storage space on your tablet to accommodate the downloaded songs.
Step 1: Find a Reliable Source for Music Downloads
When it comes to downloading songs from the internet, finding a reliable source is crucial. This ensures that you obtain high-quality music files without infringing on copyright laws or compromising the security of your Android tablet. Here are some steps to help you find a reliable source for music downloads:
1. Research Websites and Platforms: Start by researching reputable websites and platforms that offer music downloads. Look for well-known and established platforms that have a good reputation within the music industry.
2. Read User Reviews: Read user reviews and testimonials to get an idea of the experiences other users have had with the website or platform. Pay attention to comments about the quality and legitimacy of the music downloads.
3. Check for Copyright Compliance: Ensure that the website or platform complies with copyright laws and respects the rights of artists and music publishers. Legitimate platforms will have licenses or agreements in place to legally distribute music.
4. Verify the Quality of Downloads: Look for information about the quality of music downloads offered by the website or platform. Many reputable sources provide high-quality files encoded in popular formats like MP3 or FLAC.
5. Consider Paid Services: Some platforms offer paid subscription services that provide a wider range of music downloads and ensure legal access to copyrighted material. Research the pricing and features of these services to determine if they meet your needs.
6. Use Trusted Music Stores: Consider using trusted online music stores, such as iTunes or Amazon Music, to purchase and download songs. These stores have strict content policies and provide secure downloads.
7. Beware of Unknown or Suspicious Sources: Avoid downloading music from unknown or suspicious websites. These sources may offer free downloads but can potentially expose your Android tablet to security risks or provide low-quality files.
By following these steps, you can find a reliable source for music downloads that provides a wide selection of high-quality music files while ensuring legal compliance and protecting your device’s security. It is essential to take the time to research and choose a trustworthy platform or website to ensure an enjoyable and safe music downloading experience.
Step 2: Search and Select the Song You Want to Download
Once you have found a reliable source for music downloads, the next step is to search for and select the specific song you want to download. Here are some important considerations and steps to help you in this process:
1. Use the Search Function: Most music download platforms and websites have a search function. Enter the name of the song, artist, or album you are looking for in the search bar to quickly find the desired music.
2. Explore Categories or Genres: If you are unsure of the specific song you want to download, browse through the available categories or genres provided by the website or platform. This can help you discover new music or find songs that align with your preferences.
3. Utilize Filters and Sorting Options: Many platforms offer filters and sorting options to refine your search results. You can often filter by artist, album, release date, popularity, or even specific track duration to narrow down the options and find the exact song you are looking for.
4. Read Descriptions and Reviews: Before selecting a song to download, take the time to read the song descriptions or reviews if available. This can give you insights into the song’s genre, artist, album, or any additional information that may impact your decision.
5. Check for Sample Previews: Some platforms provide sample previews of songs, allowing you to listen to a snippet before deciding to download. Utilize this feature to get a sense of the song’s sound and determine if it matches your preferences.
6. Consider Recommendations and Similar Artists: During your search, the platform may provide recommendations based on your selected genre or previous music choices. Take these recommendations into account, as they may lead you to discover related artists or songs that you might enjoy.
7. Check for Licensing and Availability: Before finalizing your selection, verify that the song is legally available for download and that the platform has the necessary licenses to distribute it. This ensures that you are obtaining the song legally and supporting the artists.
By following these steps, you can efficiently search for and select the song you want to download from a reliable source. Take the time to explore different options and consider additional information such as reviews, artist descriptions, and recommendations to ensure you make the right choice that aligns with your music preferences.
Step 3: Choose the Quality and Format of the Song
Once you have selected the song you want to download, the next step is to choose the quality and format of the song file. Different platforms and websites may offer various options for the quality and format of downloads. Here are some considerations and steps to guide you:
1. Quality Options: Check if the platform provides different quality options for the song download. Common quality settings include standard, high, or even lossless audio. Higher quality settings generally result in better audio fidelity but may require more storage space on your Android tablet.
2. Format Options: Verify the available formats for downloading the song. MP3 is the most widely supported format and is compatible with most music players. However, some platforms may also offer other formats such as FLAC, WAV, or AAC. Consider the compatibility of the chosen format with your music player.
3. Storage Space: Take into account the amount of storage space available on your Android tablet. Higher quality audio files and less compressed formats will require more storage. Ensure that you have sufficient space to accommodate the downloaded song without impacting the performance of your device.
4. Preferences and Device Compatibility: Assess your preferences for audio quality and compatibility with your device. If you have a keen ear for high-quality music, you may opt for a higher quality setting. However, if you are limited on storage space or prefer a smaller file size, a lower quality or more compressed format may be more suitable.
5. Consider Internet Speed and Bandwidth: If you are downloading the song directly to your Android tablet, consider your internet speed and bandwidth limitations. Higher quality audio files can be larger in size, which may take longer to download, especially on slower internet connections.
6. Preview Options: Some platforms may provide preview options that allow you to listen to a snippet of the song before downloading. Use this feature to assess the audio quality and determine if it meets your expectations.
7. Personalize Settings: Check if the platform allows you to personalize the quality and format settings according to your preferences. Some websites or apps may have customizable options that enable you to tailor the download settings to your specific needs.
By considering these factors and following the steps outlined, you can choose the ideal quality and format for the song download. It ensures that you obtain a file that aligns with your preferences for audio quality, device compatibility, and storage constraints.
Step 4: Begin the Download Process
Once you have selected the desired quality and format for the song download, it’s time to initiate the download process. This step will allow you to obtain the selected song file and save it onto your Android tablet. Here’s how you can begin the download process:
1. Locate the Download Button: Look for the download button or link on the platform or website from where you are downloading the song. This button is typically labeled as ‘Download’ or may be represented by a downward arrow icon.
2. Click or Tap the Download Button: Click or tap on the download button to initiate the download process. Depending on the platform, you may be prompted with a pop-up or confirmation message before the actual download begins.
3. Select the Save Location: When prompted, choose the location where you want to save the downloaded file on your Android tablet. You can typically select a specific folder or directory, or the default location may be set automatically.
4. Wait for the Download to Complete: The time it takes to download the song will depend on its file size and your internet connection speed. During the download process, avoid closing the browser or navigating away from the download page to ensure an uninterrupted transfer.
5. Monitor the Progress: Keep an eye on the progress bar or indicator that shows the download progress. This can help you estimate the remaining time for the download to complete.
6. Avoid Interruptions: Ensure a stable internet connection during the download process to prevent interruptions or incomplete downloads. If your connection is lost or unstable, you may need to restart the download.
7. Verify the Downloaded File: Once the download is complete, locate the downloaded file in the selected save location on your Android tablet. Double-check that the file is intact and matches the chosen quality and format.
By following these steps, you can successfully begin the download process for the selected song. Remember to exercise patience and maintain a stable internet connection to ensure a smooth and uninterrupted download experience. After the download is complete, you can move on to the next steps of transferring or playing the downloaded song on your Android tablet.
Method 3: Transfer Music from Computer to Android Tablet
If you have a collection of music stored on your computer and want to listen to it on your Android tablet, transferring the music files is a convenient option. Here’s how you can transfer music from your computer to your Android tablet:
Step 1: Connect Your Android Tablet to the Computer
1. Use a USB cable to connect your Android tablet to your computer. Ensure that both devices are turned on and unlocked.
2. On your Android tablet, when prompted, select the “File Transfer” or “Transfer Files” option to establish a data connection between the two devices.
3. Your computer should recognize your Android tablet as a removable storage device or a media player. Wait for the computer to complete the device recognition process.
Step 2: Locate the Music Files on Your Computer
1. Open the file explorer or file manager on your computer, such as Windows Explorer or Finder, and navigate to the location where your music files are stored.
2. Identify the music files or folders that you want to transfer to your Android tablet. You can select individual songs or entire folders containing multiple songs.
Step 3: Transfer the Music Files to Your Android Tablet
1. With the music files or folders selected, right-click and choose the “Copy” option from the context menu. Alternatively, you can use the keyboard shortcut Ctrl+C (Windows) or Command+C (Mac).
2. Go back to the file explorer or file manager window that represents your Android tablet’s storage. Create a new folder, if desired, to organize your transferred music files.
3. Right-click inside the desired location on your Android tablet’s storage and choose the “Paste” option from the context menu. Alternatively, you can use the keyboard shortcut Ctrl+V (Windows) or Command+V (Mac).
4. Wait for the file transfer process to complete. The time it takes will depend on the size of the music files and the speed of the USB connection.
Step 4: Access and Play the Transferred Music on Your Android Tablet
1. Once the transfer is complete, disconnect your Android tablet from the computer by safely ejecting the device or removing the USB cable.
2. Open the music player app on your Android tablet. The transferred music files should now be available in your music library or in the folder where you copied them.
3. From the music player app, you can browse through the transferred music files and play them directly on your Android tablet.
Transferring music from your computer to your Android tablet allows you to enjoy your favorite songs on the go. It enables you to have your entire music collection accessible on your Android tablet, making it a convenient option for music enthusiasts.
Step 1: Connect Your Android Tablet to the Computer
To transfer music from your computer to your Android tablet, you’ll need to establish a physical connection between the two devices. Follow these steps to connect your Android tablet to the computer:
1. Use a compatible USB cable: Start by locating a USB cable that is compatible with both your Android tablet and your computer. Most Android tablets use either a USB Type-C or micro USB port for connectivity.
2. Ensure both devices are powered on: Make sure that your Android tablet and computer are both powered on and unlocked.
3. Connect the USB cable to your Android tablet: Plug one end of the USB cable into the appropriate port on your Android tablet. This is usually located on the bottom or side of the device. Ensure the connection is secure.
4. Connect the USB cable to your computer: Plug the other end of the USB cable into an available USB port on your computer. This can be a USB port on the front or back of your computer or on a USB hub.
5. Choose the correct USB connection mode: On your Android tablet, you may see a notification indicating that it is connected via USB. Swipe down from the top of your Android tablet’s screen to access the notification panel. Tap on the notification to open the USB connection options.
6. Select “File Transfer” or “Transfer Files” mode: In the USB connection options, look for the “File Transfer” or “Transfer Files” mode. Tap on this option to establish a data connection between your Android tablet and computer. This mode allows you to access and transfer files between the two devices.
7. Wait for the computer to recognize your Android tablet: Your computer should now detect and recognize your Android tablet as a removable storage device or a media player. Wait for the computer to complete the device recognition process, which may take a few seconds.
Once these steps are completed, your Android tablet will be connected to the computer, enabling you to transfer music files between the two devices. It’s important to keep the USB connection secure throughout the transfer process to prevent any interruptions.
Step 2: Locate the Music Files on Your Computer
After connecting your Android tablet to the computer, the next step is to locate the music files on your computer that you want to transfer. Here’s how you can find the music files:
1. Open File Explorer or Finder: Depending on your computer’s operating system, open the File Explorer on Windows or Finder on Mac. You can usually find these options in the taskbar or the Applications folder.
2. Navigate to the Location of Your Music Files: Use the file navigation system to locate the folder or directories where your music files are stored. Common locations include the “Music” or “iTunes” folders on Windows, or the “Music” or “iTunes” sections in your user profile on Mac.
3. Use Search: If you’re unsure about the exact location of your music files, you can use the search function in File Explorer or Finder. Enter the name of a specific file or a keyword related to your music files, and the search results will display the relevant files.
4. Explore External Devices or Cloud Storage: If your music files are not stored on your computer’s internal storage but on external devices or cloud storage services like Dropbox or Google Drive, ensure you access the relevant locations and folders accordingly.
5. Organize Your Music Files: If you have different folders or directories for specific artists, albums, or genres, navigate to the respective folders to locate your desired music files. This can make it easier to select and transfer specific music files.
6. Verify the Format of the Music Files: Check that the music files you intend to transfer are supported by your Android tablet. Common file formats such as MP3, AAC, or FLAC are generally compatible with most Android devices.
7. Prepare the Music Files for Transfer: If you want to transfer a specific set of music files, create a new folder on your computer’s desktop or in an easily accessible location. Copy or move the desired music files into this folder to prepare them for transfer.
By following these steps, you can locate the music files on your computer that you want to transfer to your Android tablet. Organizing your files and preparing them for transfer can help streamline the process and ensure that you select the specific music files you want to transfer.
Step 3: Transfer the Music Files to Your Android Tablet
Once you have located the music files on your computer that you want to transfer, you can proceed to the next step, which is transferring the music files to your Android tablet. Here is how you can transfer the music files:
1. Select the Music Files: In the file explorer or Finder window on your computer, select the music files or folders that you want to transfer to your Android tablet. You can do this by clicking and dragging your mouse to select multiple files or by holding down the Ctrl key (Windows) or Command key (Mac) and clicking on each file individually.
2. Copy the Music Files: With the music files selected, right-click on one of the selected files and choose the “Copy” option from the context menu. Alternatively, you can use the keyboard shortcut Ctrl+C (Windows) or Command+C (Mac).
3. Open the Android Tablet’s Storage: On your computer, locate the connected Android tablet in the file explorer or Finder window. It is usually listed as a removable storage device or by the name of your tablet.
4. Navigate to the Destination Folder: Open the Android tablet’s storage and navigate to the destination folder where you want to transfer the music files. This can be the “Music” folder or a specific folder that you have created for organizing your music.
5. Paste the Music Files: Right-click inside the destination folder and choose the “Paste” option from the context menu. Alternatively, you can use the keyboard shortcut Ctrl+V (Windows) or Command+V (Mac). The selected music files will be copied from your computer and pasted into the destination folder on your Android tablet.
6. Monitor the Transfer Progress: Depending on the number and size of the music files, the transfer process may take some time. Keep an eye on the file transfer progress and ensure that it completes without any interruptions.
7. Safely Eject the Android Tablet: Once the transfer is complete, safely eject your Android tablet from your computer. This can usually be done by right-clicking on the device in the file explorer or Finder window and choosing the “Eject” or “Safely Remove” option.
After following these steps, you will have successfully transferred the selected music files from your computer to your Android tablet. You can now disconnect the USB cable and start enjoying your favorite music on your Android tablet’s music player.
Method 4: Syncing Music from Cloud Storage Apps
If you have music stored in cloud storage apps or services, such as Google Drive or Dropbox, syncing the music to your Android tablet is a convenient way to access your music library. Here’s how you can sync music from cloud storage apps to your Android tablet:
Step 1: Set Up a Cloud Storage App on Your Android Tablet
1. Install a cloud storage app on your Android tablet from the Google Play Store. Popular options include Google Drive, Dropbox, OneDrive, and Amazon Drive.
2. Sign in to the cloud storage app using your existing account credentials or create a new account if you don’t have one already.
3. Configure the app’s settings according to your preferences, such as enabling automatic photo and video backup or adjusting file syncing preferences.
Step 2: Upload Your Music to the Cloud Storage App
1. Open the cloud storage app on your computer or access it through a web browser.
2. Locate the music files or folders that you want to sync with your Android tablet.
3. Select the music files or folders and choose the option to upload or sync them to your cloud storage account. The location of this option may vary depending on the app and platform you are using, but it is often denoted by an upload or sync icon.
4. Wait for the upload or syncing process to complete. The time required will depend on the size of your music files and the speed of your internet connection.
Step 3: Sync the Cloud Storage App with Your Android Tablet
1. Open the cloud storage app on your Android tablet and sign in using the same account credentials as on your computer.
2. Allow the app to synchronize your cloud storage account with your Android tablet. This may involve granting permissions and enabling automatic syncing.
3. Once the synchronization is complete, navigate to the music files or folders within the cloud storage app on your Android tablet.
4. Select the music files that you want to download or make available for offline listening on your Android tablet. This process may differ depending on the specific cloud storage app you are using, but it generally involves tapping on the desired files and choosing options like “Download” or “Make Available Offline”.
5. Wait for the download process to complete. The time required will depend on the size of the music files and the speed of your internet connection.
By following these steps, you can sync music from cloud storage apps to your Android tablet, ensuring that your music library is readily accessible on your device. This allows you to enjoy your favorite songs without the need for local storage on your Android tablet.
Step 1: Set Up a Cloud Storage App on Your Android Tablet
Before you can sync music from cloud storage apps to your Android tablet, you need to set up a cloud storage app on your device. Here’s how you can do it:
1. Install a Cloud Storage App: Open the Google Play Store on your Android tablet and search for a cloud storage app like Google Drive, Dropbox, OneDrive, or Amazon Drive. Tap on the app you want to use, then click the “Install” button to download and install it.
2. Sign In or Create an Account: Launch the cloud storage app and sign in using your existing account credentials. If you don’t have an account, you may need to create one by following the on-screen instructions.
3. Grant Necessary Permissions: The app may require certain permissions to access your files and folders on your Android tablet. Allow the app to access these permissions by tapping on the appropriate options when prompted.
4. Configure App Settings: Once you have signed in, take a moment to configure the app’s settings according to your preferences. You may have options to choose automatic backup settings, select folders to sync, or adjust upload or download preferences. Customize these settings to suit your needs.
5. Set Up Offline Access: Some cloud storage apps allow you to make files available for offline access. This feature ensures that you can access your music files even without an internet connection. Enable this option if you want to have offline access to your music files.
6. Verify Account Sync: Ensure that your Android tablet is synchronized with the cloud storage app. Go to your device’s settings, find the “Accounts” section, and make sure that your cloud storage app account is listed and synced properly.
7. Test the App: Upload a small file or folder to the cloud storage app to ensure that everything is set up correctly. Verify that the file appears in the app and can be accessed from another device or your computer.
By following these steps, you can successfully set up a cloud storage app on your Android tablet. Once set up, you can proceed to the next step of uploading your music files to the cloud storage app and syncing them with your Android tablet for easy access and offline listening.
Step 2: Upload Your Music to the Cloud Storage App
After setting up a cloud storage app on your Android tablet, the next step is to upload your music files to the app. This will allow you to access your music library from any device connected to your cloud storage account. Here’s how you can upload your music files:
1. Open the Cloud Storage App: Launch the cloud storage app on your Android tablet and sign in using your account credentials, if necessary.
2. Navigate to the Upload Section: Look for the option to upload files or navigate to the upload section within the app. This section is usually represented by an arrow pointing upwards or an option labeled “Upload”.
3. Choose the Music Files: Tap on the “Upload” button and navigate to the location where your music files are stored on your Android tablet. You can select individual music files or entire folders containing multiple files.
4. Start the Upload Process: Once you have selected the music files, tap on the “Upload” button or a similar option to start the upload process. The app will begin transferring the selected music files to your cloud storage account.
5. Monitor the Upload Progress: Depending on the file sizes and your internet connection speed, the upload process may take some time. Monitor the progress bar or indicator provided by the app to track the upload progress.
6. Repeat for Additional Music Files: If you have more music files to upload, repeat the process by selecting the additional files or folders and initiating the upload as described above.
7. Verify the Upload Completion: Once the upload process is complete, the music files should be available in your cloud storage account. Access the app on your Android tablet or another device connected to the same account to ensure that the files have been successfully uploaded.
By following these steps, you can upload your music files to your cloud storage app, ensuring that your music library is securely stored in the cloud. This allows you to access and manage your music from various devices, including your Android tablet, without the need for local storage space on each device.
Step 3: Sync the Cloud Storage App with Your Android Tablet
Once you have uploaded your music files to the cloud storage app, the next step is to sync the app with your Android tablet. This will ensure that the music files are available for offline access and that any changes made on one device are reflected on the other. Here’s how you can sync the cloud storage app with your Android tablet:
1. Open the Cloud Storage App on Your Android Tablet: Launch the cloud storage app on your Android tablet and sign in using the same account credentials that you used to upload the music files.
2. Allow the App to Sync Your Account: Upon signing in, the app will initiate the sync process to synchronize your cloud storage account with your Android tablet. This may involve granting permissions and allowing the app to access your files and folders.
3. Enable Automatic Syncing: Some cloud storage apps offer the option to enable automatic syncing. If available, navigate to the app’s settings or preferences and enable the automatic synchronization feature. This will ensure that any changes or updates made to your music files on either your Android tablet or another device will be automatically reflected on all synced devices.
4. Choose Folders to Sync: In some cloud storage apps, you have the option to choose specific folders or directories to sync with your Android tablet. If this feature is available, select the folders that contain your music files to ensure they are downloaded and available for offline listening on your tablet.
5. Download Music for Offline Access: If the cloud storage app allows offline access, you can choose to download your music files for offline listening. Select the specific music files or folders that you want to make available offline and choose the option to download or save them to your Android tablet.
6. Wait for the Sync to Complete: The sync process may take some time, especially if you have a large music library. The app will notify you once the sync is complete, and your music files will be accessible on your Android tablet.
7. Test the Synced Music: Once the sync is finished, open the music player on your Android tablet and ensure that your synced music files are visible and playable. You should be able to browse and listen to your music in the same way as if the files were stored locally on your tablet.
By following these steps, you can successfully sync the cloud storage app with your Android tablet. This ensures that your music files are available for offline access and that any changes or updates made to your music library are synchronized across all your devices.
Conclusion
Downloading and accessing your favorite songs on your Android tablet has never been easier. In this article, we explored four different methods to download and enjoy music on your Android tablet. Whether you prefer using music streaming apps, downloading songs from the internet, transferring music from your computer, or syncing your music library through cloud storage apps, there are options to suit your preferences and needs.
Using music streaming apps allows you to access a vast library of songs and download them for offline listening. It offers convenience and the ability to discover new music. Downloading songs from the internet gives you direct control over your music collection, ensuring you have access to songs that may not be available on streaming platforms. Transferring music from your computer allows you to enjoy your existing music library on your Android tablet. Syncing your music library through cloud storage apps ensures that your music is always accessible and can be easily synchronized across multiple devices.
When engaging in any method of downloading or accessing music, it’s essential to ensure that you are doing so legally and ethically. Verify the sources you use for music downloads, prioritize reputable platforms, and respect copyright laws. Additionally, be mindful of the storage capacity on your Android tablet and make decisions that align with your device’s limitations.
By following the step-by-step instructions outlined in this article, you can download your favorite songs, create a personalized music library on your Android tablet, and enjoy your music wherever and whenever you want. So, get ready to enhance your music experience and let the beats accompany you on your Android tablet!