Introduction
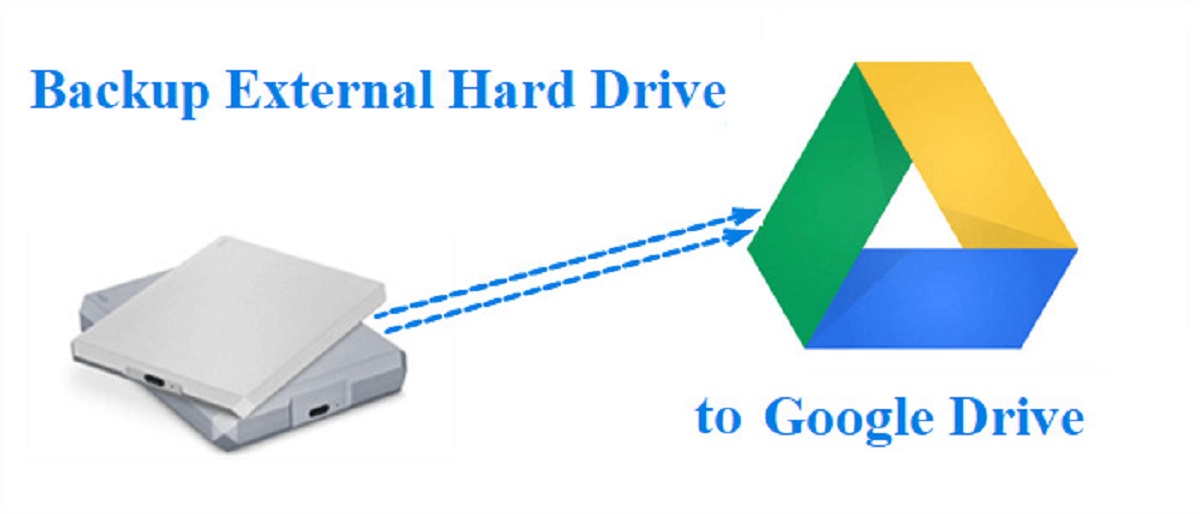
Welcome to the guide on how to download Google Drive files to an external hard drive. Google Drive provides a convenient and secure cloud storage platform for storing and accessing your important files from anywhere. However, there may be times when you want to download your files from Google Drive and save them to an external hard drive for various reasons, such as creating a backup or freeing up space on your computer’s local storage.
This step-by-step guide will walk you through the process of downloading files from Google Drive to your external hard drive. Whether you have a large collection of photos, videos, documents, or any other file type, this method will allow you to transfer your files effortlessly.
Before we dive into the steps, there are a few things you’ll need. Firstly, ensure that you have an external hard drive with enough storage capacity to accommodate the files you wish to download. Additionally, make sure that the external hard drive is compatible with your computer and is properly connected before proceeding with the download process.
With everything in place, let’s begin the process of downloading your Google Drive files to an external hard drive! Just follow the steps outlined below, and you’ll be able to save your files safely and efficiently.
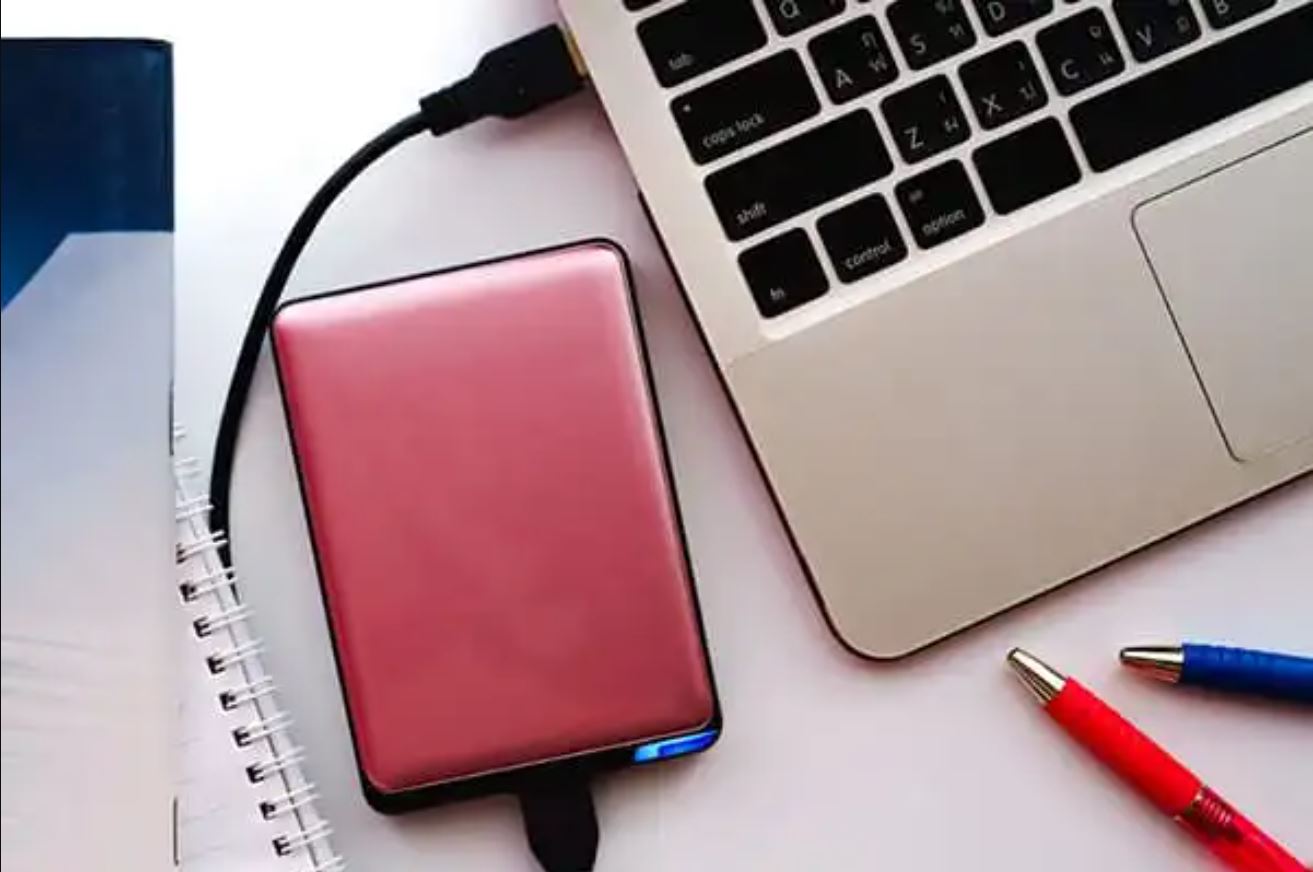
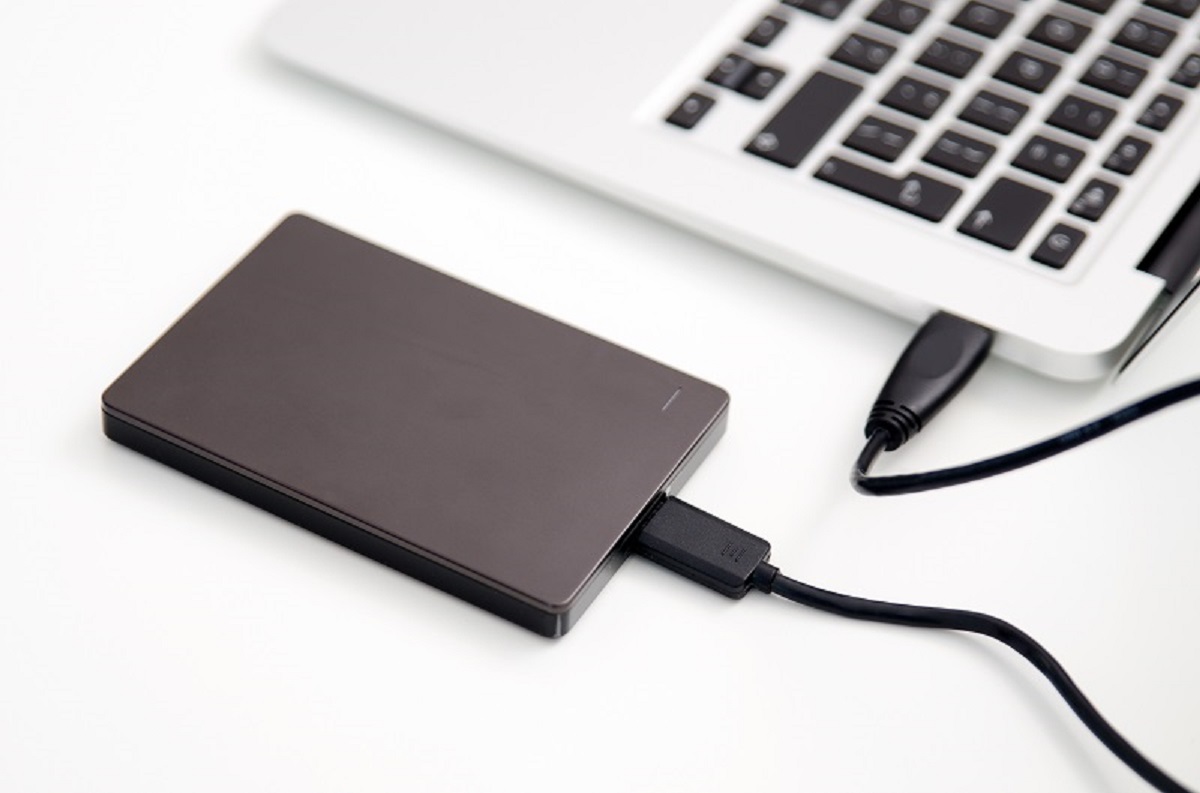
Step 1: Connect the external hard drive to your computer
The first step is to connect your external hard drive to your computer. Depending on the type of external hard drive you have, there are a few different ways to connect it. Here are the most common methods:
- USB connection: If your external hard drive has a USB port, simply plug one end of the USB cable into the drive and the other end into an available USB port on your computer.
- Thunderbolt or FireWire connection: Some external hard drives use Thunderbolt or FireWire ports. In this case, use the appropriate cable to connect the drive to the corresponding port on your computer.
- Wireless connection: If your external hard drive supports wireless connectivity, follow the manufacturer’s instructions to establish a wireless connection between the drive and your computer.
Once you have successfully connected the external hard drive to your computer, give it a moment to be recognized by the operating system. You can check if the drive is recognized by going to “My Computer” (Windows) or “Finder” (Mac) and looking for the external hard drive icon.
It’s important to ensure that the connection between your computer and the external hard drive is secure and stable throughout the download process. A loose or unstable connection can interrupt the download and potentially corrupt your files. So, double-check the connections and make sure everything is properly plugged in.
Once you have confirmed that the external hard drive is connected, you’re ready to move on to the next step and start downloading your Google Drive files.
Step 2: Open Google Drive and sign in to your account
Now that your external hard drive is connected to your computer, it’s time to open Google Drive and sign in to your account. To do this, follow these simple steps:
- Open a web browser on your computer.
- Type www.google.com/drive/ in the address bar and press Enter.
- If you’re not already signed in to your Google account, click on the “Sign In” button in the top-right corner of the page.
- Enter your Google account email address and password, then click on the “Next” button.
- If you have two-step verification enabled for your Google account, you may need to provide the additional verification code to proceed.
- After successful authentication, you will be redirected to the Google Drive interface, where you can access all your files and folders.
Once you have signed in to your Google account and accessed Google Drive, you will have full control over your files stored in the cloud. From this point, you can easily locate the files you want to download and proceed to the next steps.
It’s important to note that you must have the necessary permissions to access the files in your Google Drive. If you are accessing a shared folder or file, ensure that the owner of the file has granted you the appropriate access rights. Without the necessary permissions, you may not be able to download the files to your external hard drive.
Now that you’re signed in to your Google account and ready to proceed, let’s move on to the next step and locate the files you want to download.
Step 3: Locate the file(s) you want to download
After signing in to your Google Drive account, it’s time to locate the specific file(s) you want to download to your external hard drive. Here’s how you can locate your desired files:
- On the Google Drive main interface, you will see a list of your files and folders organized in a grid view. Scroll through the files or use the search bar at the top of the page to find the specific file(s) you want to download.
- If you know the name of the file, simply type it into the search bar and press Enter. Google Drive will display the search results based on your query.
- If the file is stored within a specific folder, navigate to that folder by clicking on it in the left sidebar. This will show you all the files and subfolders within that specific folder.
- Use the various sorting options available, such as sorting by name, date modified, or file type, to help you locate your files more easily.
- If you have a large number of files in your Google Drive, you can also use filters to narrow down your search. These filters include options like file type, owner, and date added.
Take your time to browse through your files and ensure that you have found all the files that you want to download. Double-check that you have selected the correct files, as downloading files from Google Drive is irreversible, and any accidental deletion can result in permanent data loss.
Once you have successfully located the file(s) you want to download, you can proceed to the next step and begin the download process.
Step 4: Select the file(s) you want to download
Now that you have located the file(s) you want to download from Google Drive, it’s time to select them. Follow these steps to select the file(s) you wish to download:
- Hover your cursor over the file you want to download. You will see a small checkbox appearing in the top left corner of the file’s thumbnail.
- Click on the checkbox to select the file. A blue checkmark will appear in the checkbox, indicating that the file is selected. Repeat this step for every file you want to download.
- If you want to select multiple files at once, you can hold down the Ctrl (Windows) or Command (Mac) key on your keyboard and click on each file you wish to download. This will allow you to select multiple files simultaneously.
- If you want to select all files in a folder, click on the checkbox in the header row, located to the left of the “Name” column. This will select all files in the current view.
After selecting the file(s), you will notice that the file(s) you have chosen will be highlighted or have a colored background to indicate that they are selected. This will help you keep track of the files you have chosen to download.
It’s important to note that if you accidentally select the wrong file or want to deselect a file, simply click on the checkbox again to remove the selection mark. The file will no longer be included in the download process.
Once you have selected the file(s) you want to download, you are ready to move on to the next step and initiate the download process.
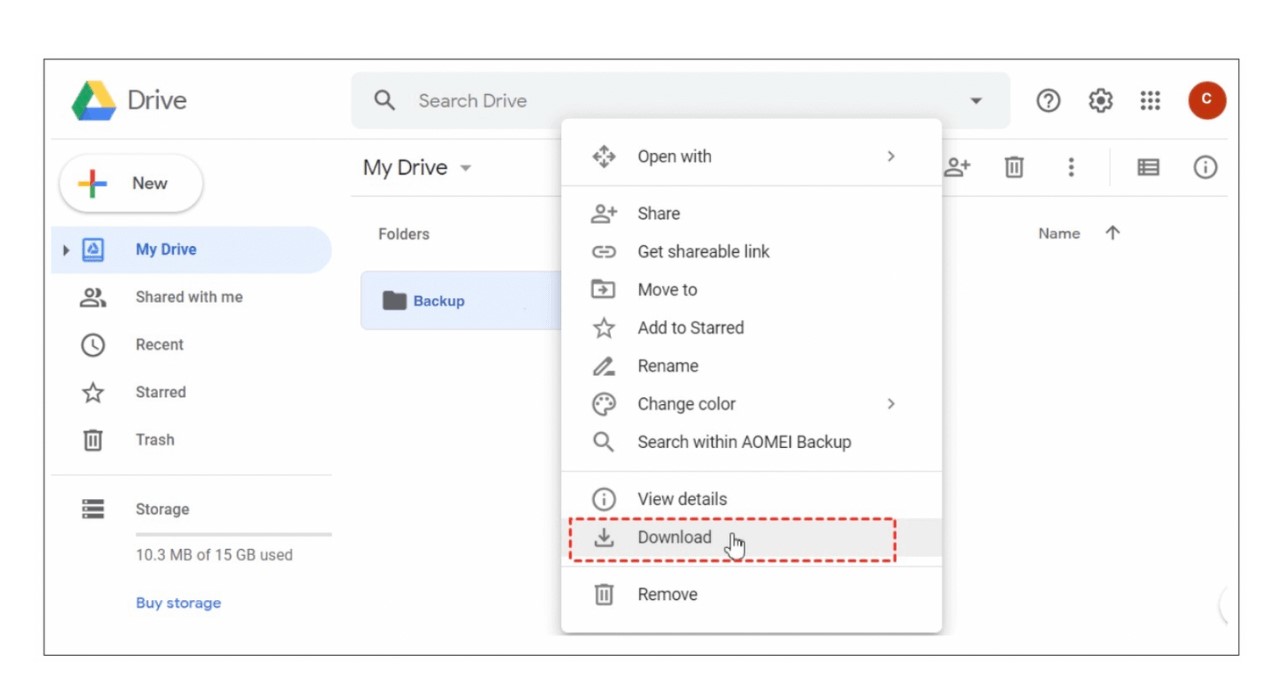
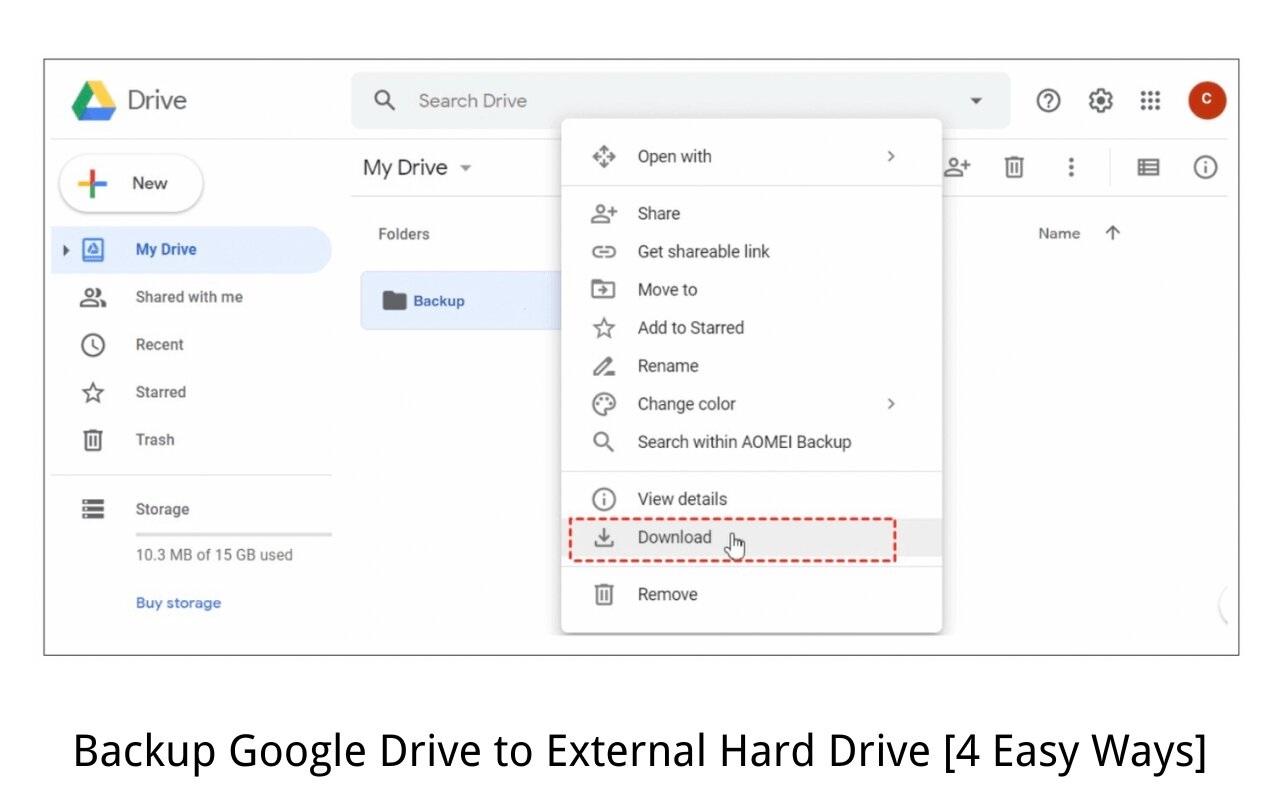
Step 5: Click on the “More actions” button
After selecting the file(s) you want to download from Google Drive, the next step is to click on the “More actions” button. This button provides you with additional options for managing your selected files, including the option to download them. Follow these steps to proceed:
- Look for the “More actions” button, represented by three vertical dots or an ellipsis, typically located at the top of the Google Drive interface.
- Click on the “More actions” button to reveal a drop-down menu of available options.
- From the drop-down menu, select the option that says “Download” or “Download as” to initiate the download process.
By clicking on the “More actions” button and selecting the appropriate download option, you indicate to Google Drive that you want to download the selected file(s) to your computer or external hard drive. This will prompt the system to prepare the files for download and provide you with various download format options, depending on the file type.
It’s worth noting that the location of the “More actions” button may vary slightly depending on the version of Google Drive or the device you are using. However, the concept remains the same – you need to access the menu that contains additional file management options.
Once you have clicked on the “More actions” button and selected the download option, you are now ready to proceed to the next step, where you will choose the external hard drive as the destination folder for your downloaded files.
Step 6: Choose the “Download” option
After clicking on the “More actions” button and accessing the drop-down menu, it’s time to choose the “Download” option to proceed with downloading your selected files from Google Drive. Follow these steps to complete this step:
- From the drop-down menu, locate and click on the option that says “Download.”
- After selecting the “Download” option, your web browser will initiate the download process and prompt you to choose the download location on your computer.
- At this point, a file explorer window will open, allowing you to navigate through your computer’s file system and choose the desired location for your downloaded files.
- Navigate to and select your external hard drive from the file explorer window. This will set the external hard drive as the designated destination folder for your downloaded files.
- Once you have selected the external hard drive as the download location, confirm your selection by clicking on the “Save” or “OK” button in the file explorer window.
By choosing the “Download” option and selecting the external hard drive as the download location, you instruct your web browser to save the selected files directly to the external hard drive. This ensures that the files are downloaded and stored directly on your chosen drive, making them easily accessible for future use.
It’s essential to verify that you have selected the correct location for the download, as using the wrong folder or drive can result in misplaced files and difficulties in locating them afterward.
Once you have chosen the “Download” option and selected the external hard drive as the destination folder, you are ready to proceed to the next step and start the download process!
Step 7: Select the external hard drive as the destination folder
After choosing the “Download” option in the previous step, it’s time to select the external hard drive as the destination folder where your downloaded files will be saved. Follow these steps to complete this step:
- After clicking on the “Download” option, a file explorer window will open, allowing you to navigate through your computer’s file system.
- Locate and select your external hard drive from the file explorer window. This will designate the external hard drive as the destination folder for your downloaded files.
- If you have multiple partitions on your external hard drive, choose the specific partition where you want to save the files.
- Once you have selected the external hard drive or its specific partition, click on the “Save” or “OK” button to confirm your selection.
By selecting the external hard drive as the destination folder, you ensure that the downloaded files are saved directly to your chosen drive, providing easy access to them whenever needed.
It’s important to double-check that you have chosen the correct external hard drive and partition before proceeding with the download. This helps avoid any confusion or accidental file placement in the wrong location.
Once you have successfully selected the external hard drive as the destination folder, you are now ready to move on to the next step and initiate the download process.
Step 8: Start the download process
After selecting the external hard drive as the destination folder, it’s time to initiate the download process and start transferring your selected files from Google Drive. Follow these steps to begin the download:
- With the external hard drive selected as the destination folder in the file explorer window, click on the “Save” or “OK” button to confirm your selection.
- Once you have confirmed the download location, the download process will start automatically.
- The time it takes to complete the download will depend on the size and number of files being downloaded, as well as the speed of your internet connection.
- During the download process, you will typically see a progress bar indicating the status of the download, along with an estimate of the remaining time.
- Avoid interrupting the download process by closing the web browser or disconnecting the external hard drive until the download is complete.
- Once the download process is finished, you can close the file explorer window and safely disconnect the external hard drive from your computer.
It’s important to note that larger files or a slow internet connection may result in longer download times. Therefore, it’s recommended to ensure a stable internet connection to optimize the download process.
By following these steps, you have successfully initiated the download process and started transferring your selected files from Google Drive to your external hard drive. Now, it’s time to wait for the download to complete.
Step 9: Wait for the download to complete
Once you have started the download process, it’s time to exercise patience and wait for the download to complete. The duration of the download will depend on factors such as the size and number of files being downloaded, as well as the speed of your internet connection.
While waiting for the download to finish, it’s important to avoid interrupting the process. Do not close the web browser or disconnect the external hard drive until the download is complete. Interrupting the download prematurely may result in incomplete or corrupted files.
You may see a progress bar or a status indicator during the download process, which will give you an estimate of the remaining time and keep you informed about the progress. It’s normal for larger files or a slower internet connection to take longer to download, so don’t be alarmed if it takes some time to complete.
You can utilize this waiting period to engage in other tasks or activities, allowing the download process to continue seamlessly in the background. You may want to take this time to organize your files, clean up your Google Drive, or plan your next steps for utilizing the downloaded files.
Once the download is complete, you will receive a notification or see a message indicating that the files have been successfully downloaded. At this point, you can proceed to the final step and safely eject the external hard drive from your computer.
By patiently waiting for the download process to complete, you ensure that all your selected files are successfully transferred from Google Drive to your external hard drive, making them easily accessible for your future use.
Step 10: Safely eject the external hard drive from your computer
After the download process is complete and you have successfully transferred your files from Google Drive to your external hard drive, it’s important to safely eject the external hard drive from your computer. This step ensures that all data is properly written to the drive and reduces the risk of data loss or corruption. Follow these steps to safely eject the external hard drive:
- Save any ongoing work and close any open files or applications that might be using the external hard drive.
- Locate the “Safely Remove Hardware” or “Eject” icon on your computer’s taskbar or menu bar. It is usually represented as a USB connector or an external storage symbol.
- Click on the “Safely Remove Hardware” or “Eject” icon to display a list of connected storage devices.
- Identify the external hard drive from the list and select it.
- Wait for a notification or confirmation message that it is safe to remove the external hard drive.
- Once you receive the notification, gently disconnect the USB cable or remove the Thunderbolt/FireWire connection, ensuring not to pull forcefully.
- Physically disconnect the external hard drive from your computer.
It is important to follow these steps to avoid any potential data loss or damage to the external hard drive. Prematurely removing the drive without safely ejecting it can lead to data corruption or hardware issues.
By safely ejecting the external hard drive, you ensure that all files and data are properly written and saved on the drive, making them readily accessible for future use. Remember to handle the external hard drive with care and store it in a safe place.
Congratulations! You have successfully completed the process of downloading your Google Drive files to an external hard drive. Now you can enjoy the convenience of accessing your files offline and have a secure backup of your important data.
Conclusion
Downloading your Google Drive files to an external hard drive can provide you with added convenience, security, and peace of mind. By following the step-by-step guide outlined in this article, you have learned how to seamlessly transfer your files from Google Drive to an external storage device.
We started by connecting the external hard drive to your computer and ensuring a stable connection. Then, we guided you through signing in to your Google Drive account and locating the specific files you want to download. You learned how to select the files and access the “More actions” menu to choose the “Download” option.
Next, we walked you through the process of selecting the external hard drive as the destination folder for your downloaded files, followed by initiating the download process and waiting for it to complete. Finally, we emphasized the importance of safely ejecting the external hard drive from your computer to prevent data loss or corruption.
By following these steps, you can securely and efficiently download files from Google Drive to an external hard drive, enabling offline access and serving as a backup for your valuable data. Whether you want to create additional storage space on your computer or have a reliable backup solution, this process offers the flexibility and convenience you need.
Remember to always handle your external hard drive with care and keep it in a safe and secure location. Regularly updating your backup files and practicing good data management habits will help ensure the safety and accessibility of your files in the long run.
Now that you have gained the knowledge and skills to download your Google Drive files to an external hard drive, leverage this newfound capability to organize, protect, and have greater control over your digital assets. Enjoy the convenience and peace of mind that comes with having your files readily accessible whenever and wherever you need them!