Introduction
Welcome to our comprehensive guide on how to download files directly to an external hard drive. Whether you’re working with limited storage space on your computer or simply prefer keeping your files organized on a separate device, downloading content directly to an external hard drive can be a convenient solution.
In this article, we will walk you through the step-by-step process of downloading files directly to an external hard drive, ensuring that you have a clear understanding and can easily follow along. By the end of this guide, you will have the knowledge and confidence to efficiently manage your file downloads and save them directly to an external storage device.
If you’re tired of your computer’s storage space being cluttered or if you frequently download large files and want to bypass your computer’s memory limitations, this guide is for you. We will cover everything from connecting the external hard drive to adjusting download settings and monitoring the progress. So, let’s dive in and learn how to make the most of your external hard drive!
Step 1: Connect the External Hard Drive
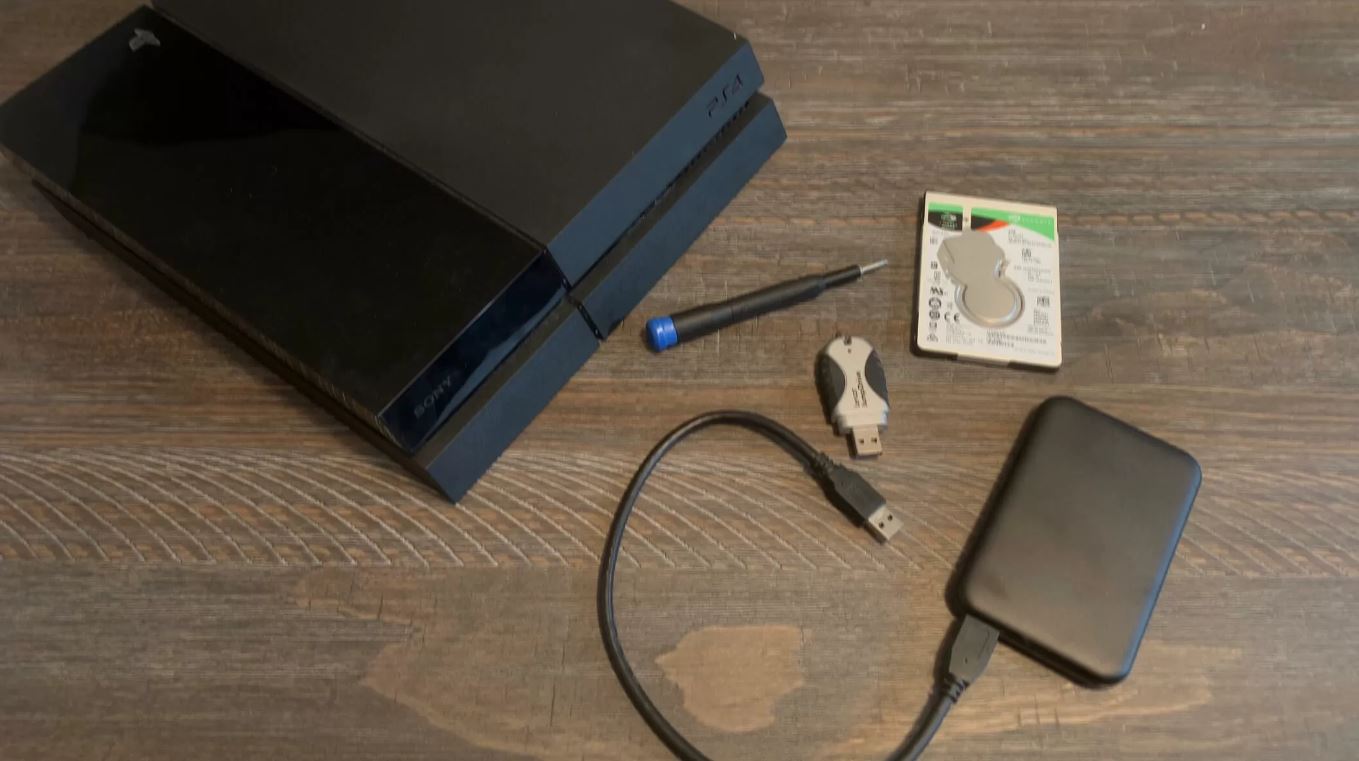
Before we can begin downloading files directly to an external hard drive, we need to make sure it is properly connected to your computer. Follow these simple steps to connect your external hard drive:
- Locate the USB or Thunderbolt port on your computer. These ports are typically found on the side or back of your computer tower, or on the sides of your laptop.
- Take the USB or Thunderbolt cable that came with your external hard drive and plug one end into the port on your computer.
- Now, take the other end of the cable and connect it to the corresponding port on your external hard drive. Make sure the connection is secure.
- If your external hard drive requires an external power source, plug in the power cable to an electrical outlet and connect it to your hard drive.
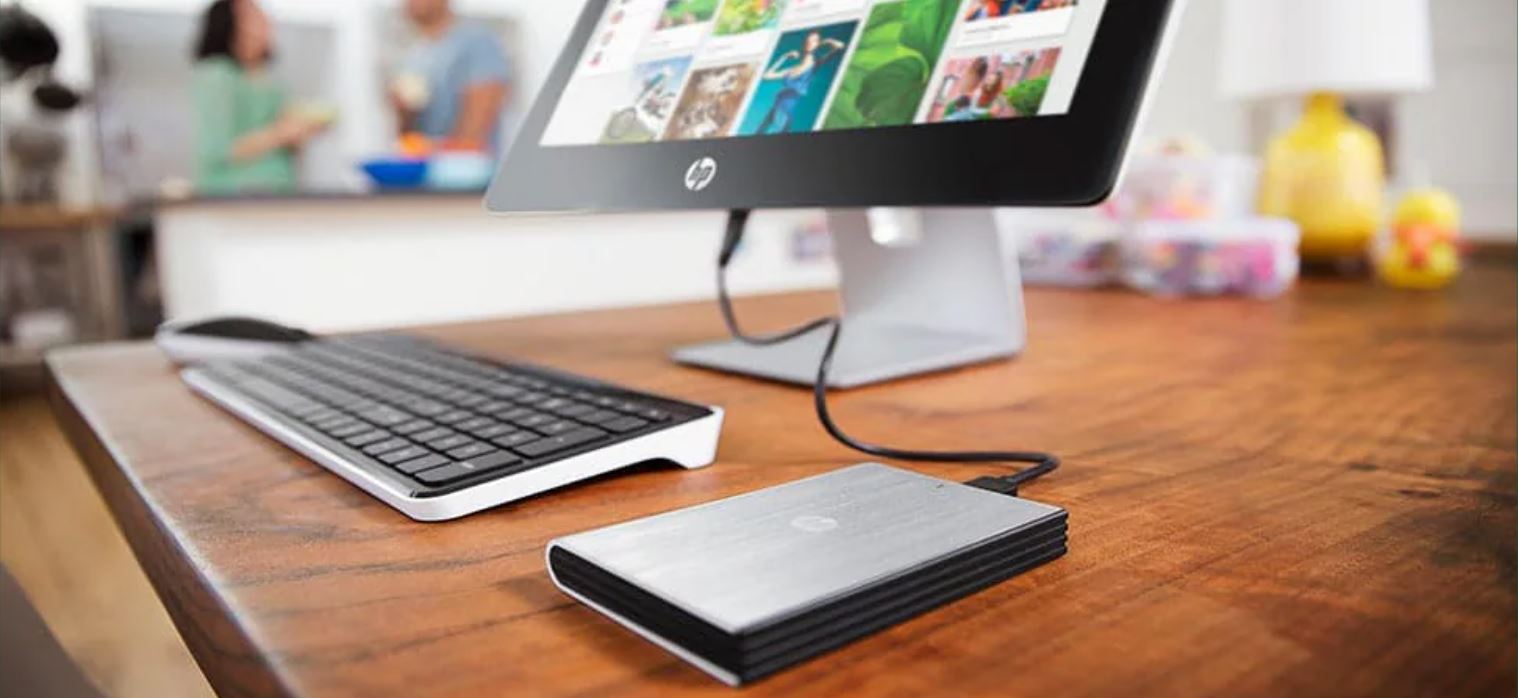
- Once the connections are made, your computer should recognize the external hard drive. Wait for a moment to ensure that it is properly detected.
Now that your external hard drive is successfully connected to your computer, you are ready to proceed with the next step of downloading files directly to it.
Step 2: Choose the Correct Download Location
Now that your external hard drive is connected, it’s essential to select the correct download location to ensure your files are saved directly to the external drive. Here’s how you can choose the correct download location:
- Open your preferred web browser and go to the settings or preferences menu. This menu is usually accessible by clicking on the three vertical dots or horizontal lines in the upper-right corner of the browser window.
- Locate the download settings within the browser preferences or settings menu. The exact location of this option may vary depending on the browser you are using.
- In the download settings, look for the “Save files to” or “Save downloads to” option. Click on it to modify the default download location.
- A file explorer window will open, allowing you to navigate through your computer’s storage drives. Here, you need to choose your external hard drive as the desired download location.
- Select your external hard drive from the list of available drives. It will typically be labeled with a name or letter that indicates its designation as an external drive.
- Once you have chosen the correct download location on your external hard drive, save the changes in the browser settings. This ensures that all future downloads will be saved directly to the external drive.
By selecting the appropriate download location on your external hard drive, you can streamline the process of saving files directly to the device. This eliminates the need to manually transfer the files later and helps keep your computer’s storage space free from clutter.
Step 3: Adjust Download Settings
Now that you have chosen the correct download location on your external hard drive, it’s time to adjust the download settings to optimize the process. Here’s how you can adjust the download settings:
- Open your web browser and go to the settings or preferences menu. Look for the “Downloads” or “Download Settings” option and click on it.
- In the download settings, you may find various options to customize your download experience. Adjust these settings based on your preferences.
- One important setting to consider is the download folder or directory. Make sure it is set to the location on your external hard drive that you selected in the previous step.
- Some browsers offer the option to ask for a download location for each file. If you prefer more control over where each file is saved, you can enable this setting.
- Another setting to consider is the download speed or bandwidth allocation. If you want to prioritize your downloads or limit their impact on your internet connection, adjust these settings accordingly.
- Additionally, check for any security settings related to downloads, such as scanning files for viruses before and after downloading them.
- Once you have adjusted the download settings to your liking, save the changes and exit the settings menu.
By customizing the download settings, you can optimize the download process to suit your preferences and ensure a seamless experience when saving files directly to your external hard drive.
Step 4: Start Downloading
With the correct download location and settings in place, you are now ready to start downloading files directly to your external hard drive. Follow these steps to begin the downloading process:
- Open your web browser and navigate to the website or platform from which you want to download files.
- Find the file or content you wish to download. This could be a document, image, video, or any other type of file.
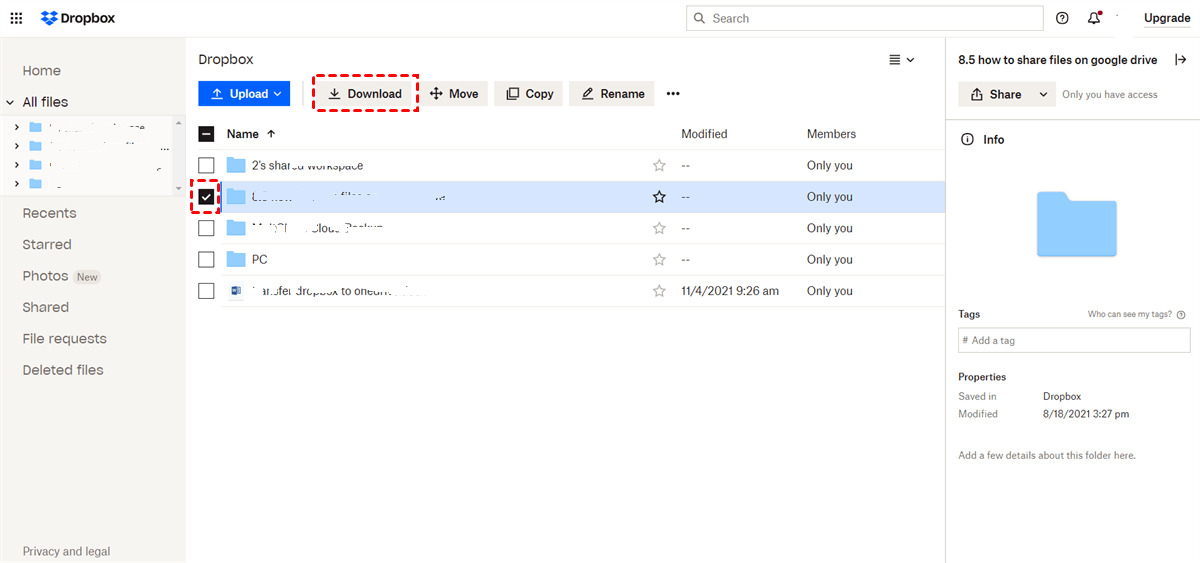
- Click on the download button or link associated with the file. The button or link is usually labeled with terms like “Download,” “Save,” or an arrow pointing downwards.
- A dialog box may appear, asking you to confirm the download. Make sure the download location mentioned in the dialog box is your external hard drive. If not, select it from the drop-down menu or browse for it.
- Click “OK” or “Save” to initiate the download process. The file will then begin to transfer from the internet to your external hard drive.
- Depending on the file size and your internet connection speed, the download process may take some time. Be patient and allow the download to complete.
- Once the download is finished, you can open the file directly from your external hard drive or access it later as needed.
By following these steps, you can effortlessly download files directly to your external hard drive, saving both time and storage space on your computer.
Step 5: Monitor the Download Progress
Once you have started the download process, it’s essential to monitor the progress to ensure that your files are being successfully saved to your external hard drive. Here’s how you can monitor the download progress:
- While the file is being downloaded, your web browser may display a progress bar or indicator. This visual representation shows you the percentage of the file that has been downloaded so far.
- You can also typically view the download progress in the downloads section or manager of your web browser. This section provides information about ongoing and completed downloads.
- Some web browsers also allow you to view the estimated time remaining for the download to complete. This can help you gauge how long you need to wait before the file is fully downloaded.
- Keep an eye on the download speed displayed in the progress window. If the speed is unusually slow, it may indicate an issue with your internet connection or the server from which you are downloading.
- If the download progress appears to be stuck or the file is taking an excessive amount of time to download, you may want to consider canceling the download and trying again.
- Once the download progress reaches 100% and the file is fully downloaded, you can safely assume that it has been successfully saved to your external hard drive.
By actively monitoring the download progress, you can ensure that your files are being downloaded correctly and troubleshoot any issues that may arise during the process.
Step 6: Safely Eject the External Hard Drive
After downloading files directly to your external hard drive, it is important to safely eject the device from your computer to avoid any data loss or damage. Follow these steps to safely eject your external hard drive:
- Ensure that all downloads have completed and there is no ongoing file transfer between your computer and the external hard drive.
- Close any applications or programs that may be accessing or using files stored on the external hard drive.
- On your computer’s taskbar or system tray, locate the external hard drive icon.
- Right-click on the external hard drive icon to open the context menu.
- In the menu, select the option to “Eject,” “Safely Remove,” or “Unmount” the external hard drive. The exact wording may vary depending on your operating system.
- Wait for a notification or message confirming that it is safe to disconnect the external hard drive.
- Once you receive the confirmation, gently unplug the USB or Thunderbolt cable from both your computer and the external hard drive. If your hard drive has an external power source, disconnect the power cable as well.
- Safely store your external hard drive in a secure location.
By following these steps, you can ensure the safe removal of your external hard drive and protect your files from potential corruption or loss.
Conclusion
Congratulations! You have successfully learned how to download files directly to an external hard drive. By following the step-by-step process outlined in this guide, you can now efficiently manage your downloads and save valuable storage space on your computer.
Connecting your external hard drive and selecting the correct download location are the first crucial steps to ensure seamless file transfers. Adjusting download settings allows you to personalize the process and optimize it according to your preferences. Once you start downloading files, monitoring the progress ensures that everything is going smoothly, and you can address any issues promptly.
Finally, safely ejecting the external hard drive is essential to prevent data loss or damage. Always remember to wait for confirmation before disconnecting the device, and store it securely afterward.
Whether you’re working with limited storage space or prefer keeping your files organized on a separate device, downloading directly to an external hard drive offers convenience and efficiency. With the knowledge gained from this guide, you can now enjoy hassle-free downloads and easily access your files whenever you need them.
So go ahead and make the most of your external hard drive by downloading files directly to it. Happy downloading!