Introduction
Accents are a key component of language and communication, bringing a unique flavor and character to spoken words. Whether you’re an actor practicing for a role, a language enthusiast looking to perfect your pronunciation, or simply curious about different accents, knowing how to incorporate accents into your writing can be a valuable skill. In this guide, we’ll explore how to easily add accents on Windows, allowing you to express yourself with authenticity and precision.
Windows offers several methods to input accents and special characters, ranging from alt codes and the character map to language packs and third-party tools. These options can be used across a variety of applications and platforms, including word processors, graphic design software, and even social media platforms. By following the step-by-step instructions outlined in this article, you’ll be able to effortlessly add accents to your writing, unlocking a world of linguistic possibilities.
Before we dive into the specifics, it’s worth noting that while this guide is focused on Windows systems, many of the concepts and techniques can be applied to other operating systems as well. So, even if you’re using macOS or Linux, you may still find helpful tips and tricks along the way.
Now, let’s begin our journey to discover the various methods of adding accents on Windows!
Step 1: Installing the Necessary Language Packs
Before you can start adding accents on Windows, you may need to install the necessary language packs. Language packs are essential for enabling additional keyboard layouts and character sets, allowing you to type in different languages and access the characters specific to each language.
To install language packs on Windows, follow these steps:
- Open the Control Panel by searching for it in the Windows search bar.
- Click on “Clock and Region”, then select “Region and Language.”
- In the new window that opens, click on the “Keyboards and Languages” tab.
- Under the “Installed services” section, click on the “Add…” button.
- A list of available languages will appear. Select the desired language for which you want to add accents.
- Click “OK” to add the selected language.
- Once the language is added, you can customize the keyboard layout by clicking on the “Options…” button next to the selected language.
- In the keyboard options window, you can select the specific keyboard layout that includes accents and special characters.
- Click “OK” to save the changes.
- Finally, click “Apply”, then “OK” to close the Region and Language settings window.
After installing the necessary language packs, you need to switch to the desired keyboard layout to start typing with accents. We’ll explore this further in the next step.
Step 2: Changing the Keyboard Language
Once you have installed the necessary language packs, the next step is to change the keyboard language to the one you want to use with accents. This will enable you to type characters specific to that language, including accents, diacritic marks, and special symbols.
To change the keyboard language on Windows, follow these steps:
- Click on the Windows Start button and select “Settings” (the gear icon).
- In the Settings window, click on “Time & Language”.
- From the left-hand menu, select “Language”.
- Under the “Preferred languages” section, click on “Add a language”.
- A list of available languages will appear. Select the language you previously installed in Step 1.
- After adding the language, it will appear in the “Preferred languages” section. Click on it to expand the options.
- Click on the “Options” button next to the language.
- In the Language options window, click on “Add a keyboard”.
- Select the keyboard layout that includes the accents and characters you need.
- Click “Done” to save the changes.
Once you have changed the keyboard language, you can easily switch between different languages and keyboard layouts using the language bar on your taskbar. This will allow you to type with accents seamlessly as you move between different language settings.
Now that you have set up the keyboard language, let’s explore some methods to input accents and special characters using alt codes, the character map, and more in the following steps.
Step 3: Mastering the Alt Codes
Alt codes are a handy way to input accents and special characters using the numeric keypad on your keyboard. These codes allow you to quickly access a wide range of characters without the need for special keyboard layouts or language packs.
To use alt codes on Windows, follow these steps:
- Ensure that the Num Lock key on your keyboard is activated.
- Place the cursor at the location where you want to insert the accent or special character.
- Press and hold the Alt key on your keyboard.
- Using the numeric keypad on the right side of your keyboard, enter the corresponding alt code for the desired character.
- Release the Alt key, and the accent or character will be inserted.
For example, to insert the letter “é” with an acute accent, you would press and hold the Alt key and enter “0233” using the numeric keypad. Once you release the Alt key, the character will appear.
Alt codes can be used for a variety of accents and special characters including umlauts, circumflex accents, cedillas, and more. You can find a comprehensive list of alt codes online or by using Windows’ built-in Character Map, which we’ll explore in the next step.
Mastering alt codes can greatly enhance your typing speed and efficiency, making it easier than ever to incorporate accents into your writing. However, it’s important to note that alt codes may not work in all applications, so it’s always helpful to have alternative methods at your disposal.
Step 4: Utilizing the Character Map
If you prefer a visual approach to adding accents and special characters, the Character Map tool in Windows can be a valuable resource. Character Map allows you to browse and select a wide range of characters from different fonts and Unicode ranges, including accents, symbols, and more.
To use the Character Map tool on Windows, follow these steps:
- Click on the Windows Start button and search for “Character Map”.
- Open the Character Map application from the search results.
- In the Character Map window, you can select different fonts and character sets using the drop-down menus.
- Browse through the available characters and click on the one you want to insert.
- Click on the “Select” button to copy the character to the clipboard.
- Paste the character into your desired location by pressing Ctrl+V or right-clicking and selecting “Paste”.
The Character Map tool provides a visual representation of all available characters, making it easy to find and insert accents and special characters into your text. You can also search for specific characters by entering keywords or the character’s name in the search box at the bottom of the window.
Keep in mind that not all fonts will have the same range of characters available in the Character Map. Therefore, if you have a specific font in mind, it’s best to check if it includes the accents or special characters you need before selecting it in the Character Map.
With the Character Map tool, you have a versatile and user-friendly method for adding accents and special characters to your writing, ensuring accuracy and flexibility in expressing your thoughts.
Step 5: Using the Windows International Keyboard
If you frequently need to type in multiple languages or need access to a wide range of accents and special characters, using the Windows International Keyboard can be a convenient solution. The International Keyboard provides a comprehensive set of options for typing in various languages, making it easier to insert accents and diacritic marks.
To enable and use the Windows International Keyboard, follow these steps:
- Click on the Windows Start button and select “Settings” (the gear icon).
- In the Settings window, click on “Time & Language”.
- From the left-hand menu, select “Language”.
- Under the “Preferred languages” section, click on the language for which you want to enable the International Keyboard.
- Click on the “Options” button next to the language.
- In the Language options window, click on “Add a keyboard”.
- Scroll down and select “United States-International” keyboard or the desired International Keyboard layout for your language.
- Once the International Keyboard is added, you can switch to it using the language bar on your taskbar.
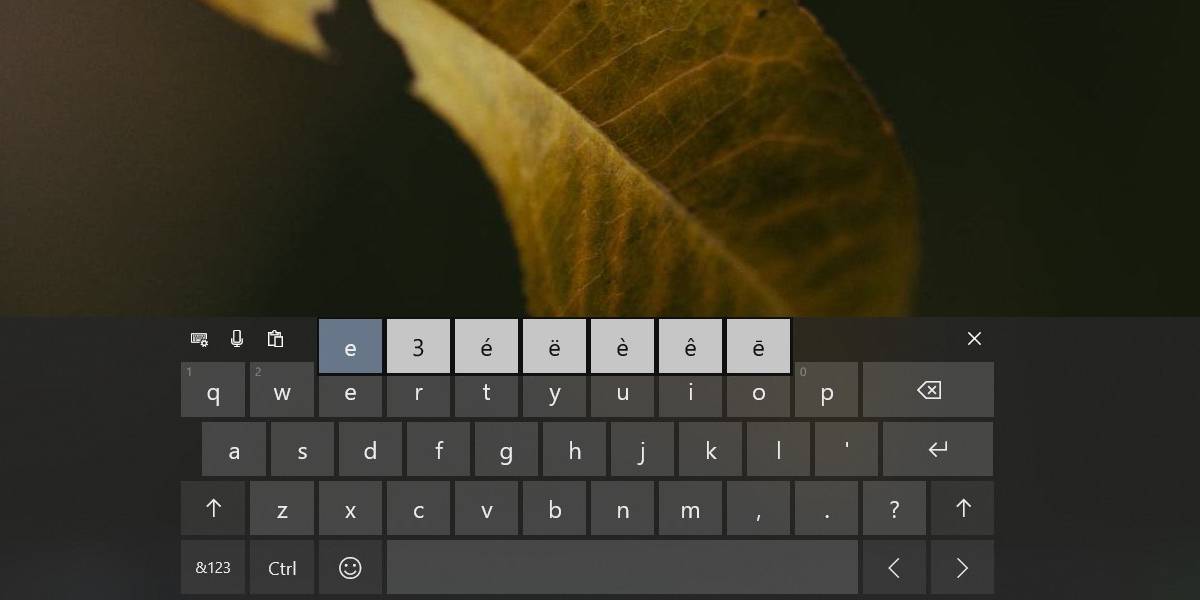
- When the International Keyboard is selected, specific key combinations are used to type accents and diacritic marks. For example, to type an acute accent (´), you would press the ‘ key, followed by the vowel you want to accent (e.g., E for é).
The Windows International Keyboard provides an intuitive method for typing accents and special characters, as it eliminates the need for memorizing alt codes or using the Character Map tool. Once you get familiar with the key combinations, you can effortlessly incorporate accents into your writing.
Remember to switch back to your default keyboard layout when you no longer need to use the International Keyboard, as the key combinations for accents and special characters may differ between layouts.
Step 6: Configuring AutoHotkey for Accents
If you find yourself frequently needing to type accents and special characters, configuring AutoHotkey can be a powerful solution. AutoHotkey is a scripting tool that allows you to create custom shortcuts and automate tasks on your Windows computer. By setting up specific hotkeys, you can easily insert accents without having to memorize alt codes or switch keyboard layouts.
To configure AutoHotkey for accents, follow these steps:
- Download and install AutoHotkey from the official website (https://www.autohotkey.com).
- Once installed, create a new plain text file and give it a name with the .ahk file extension (e.g., accents.ahk).
- Right-click on the .ahk file and select “Edit Script.”
- In the script file, you can define hotkeys for each accent or special character you want to insert. For example, to assign the Ctrl+A combination to type “á,” you would add the following line of code: ^a::Send, á.
- Save the script file and close the text editor.
- Double-click on the .ahk file to run the AutoHotkey script.
- Now, when you press the configured hotkey (e.g., Ctrl+A), the associated accent or special character will be entered.
With AutoHotkey, you have the flexibility to create custom hotkeys for any accent or special character you frequently use. This can significantly streamline your writing process and save you time and effort in the long run.
Remember to keep the AutoHotkey script running in the background for the hotkeys to remain active. You can also set it to start automatically with Windows by placing a shortcut to the script in the Startup folder.
AutoHotkey offers endless possibilities for customization and automation. Once you get comfortable with the basics, you can explore more advanced features and create personalized shortcuts tailored to your specific needs.
Conclusion
Adding accents to your writing on Windows doesn’t have to be a complicated or time-consuming process. By following the steps outlined in this guide, you can easily incorporate accents and special characters into your text, giving it the authenticity and style you desire.
Whether you choose to use alt codes, the Character Map, the Windows International Keyboard, or AutoHotkey, there are various methods available to suit your preferences and requirements. Experiment with different options to find the one that works best for you.
Remember to install the necessary language packs and change your keyboard language to enable typing with accents. This will provide you with access to a wide range of characters specific to different languages.
Utilizing the tools and techniques discussed in this guide, you can enhance your written communication, express yourself accurately, and effectively convey the nuances and subtleties of language.
Now that you have the knowledge and skills to add accents on Windows, go forth and explore the world of accents in your writing. Enjoy the process of learning, experimenting, and adding linguistic flavor, bringing life and vibrancy to your words.