Introduction
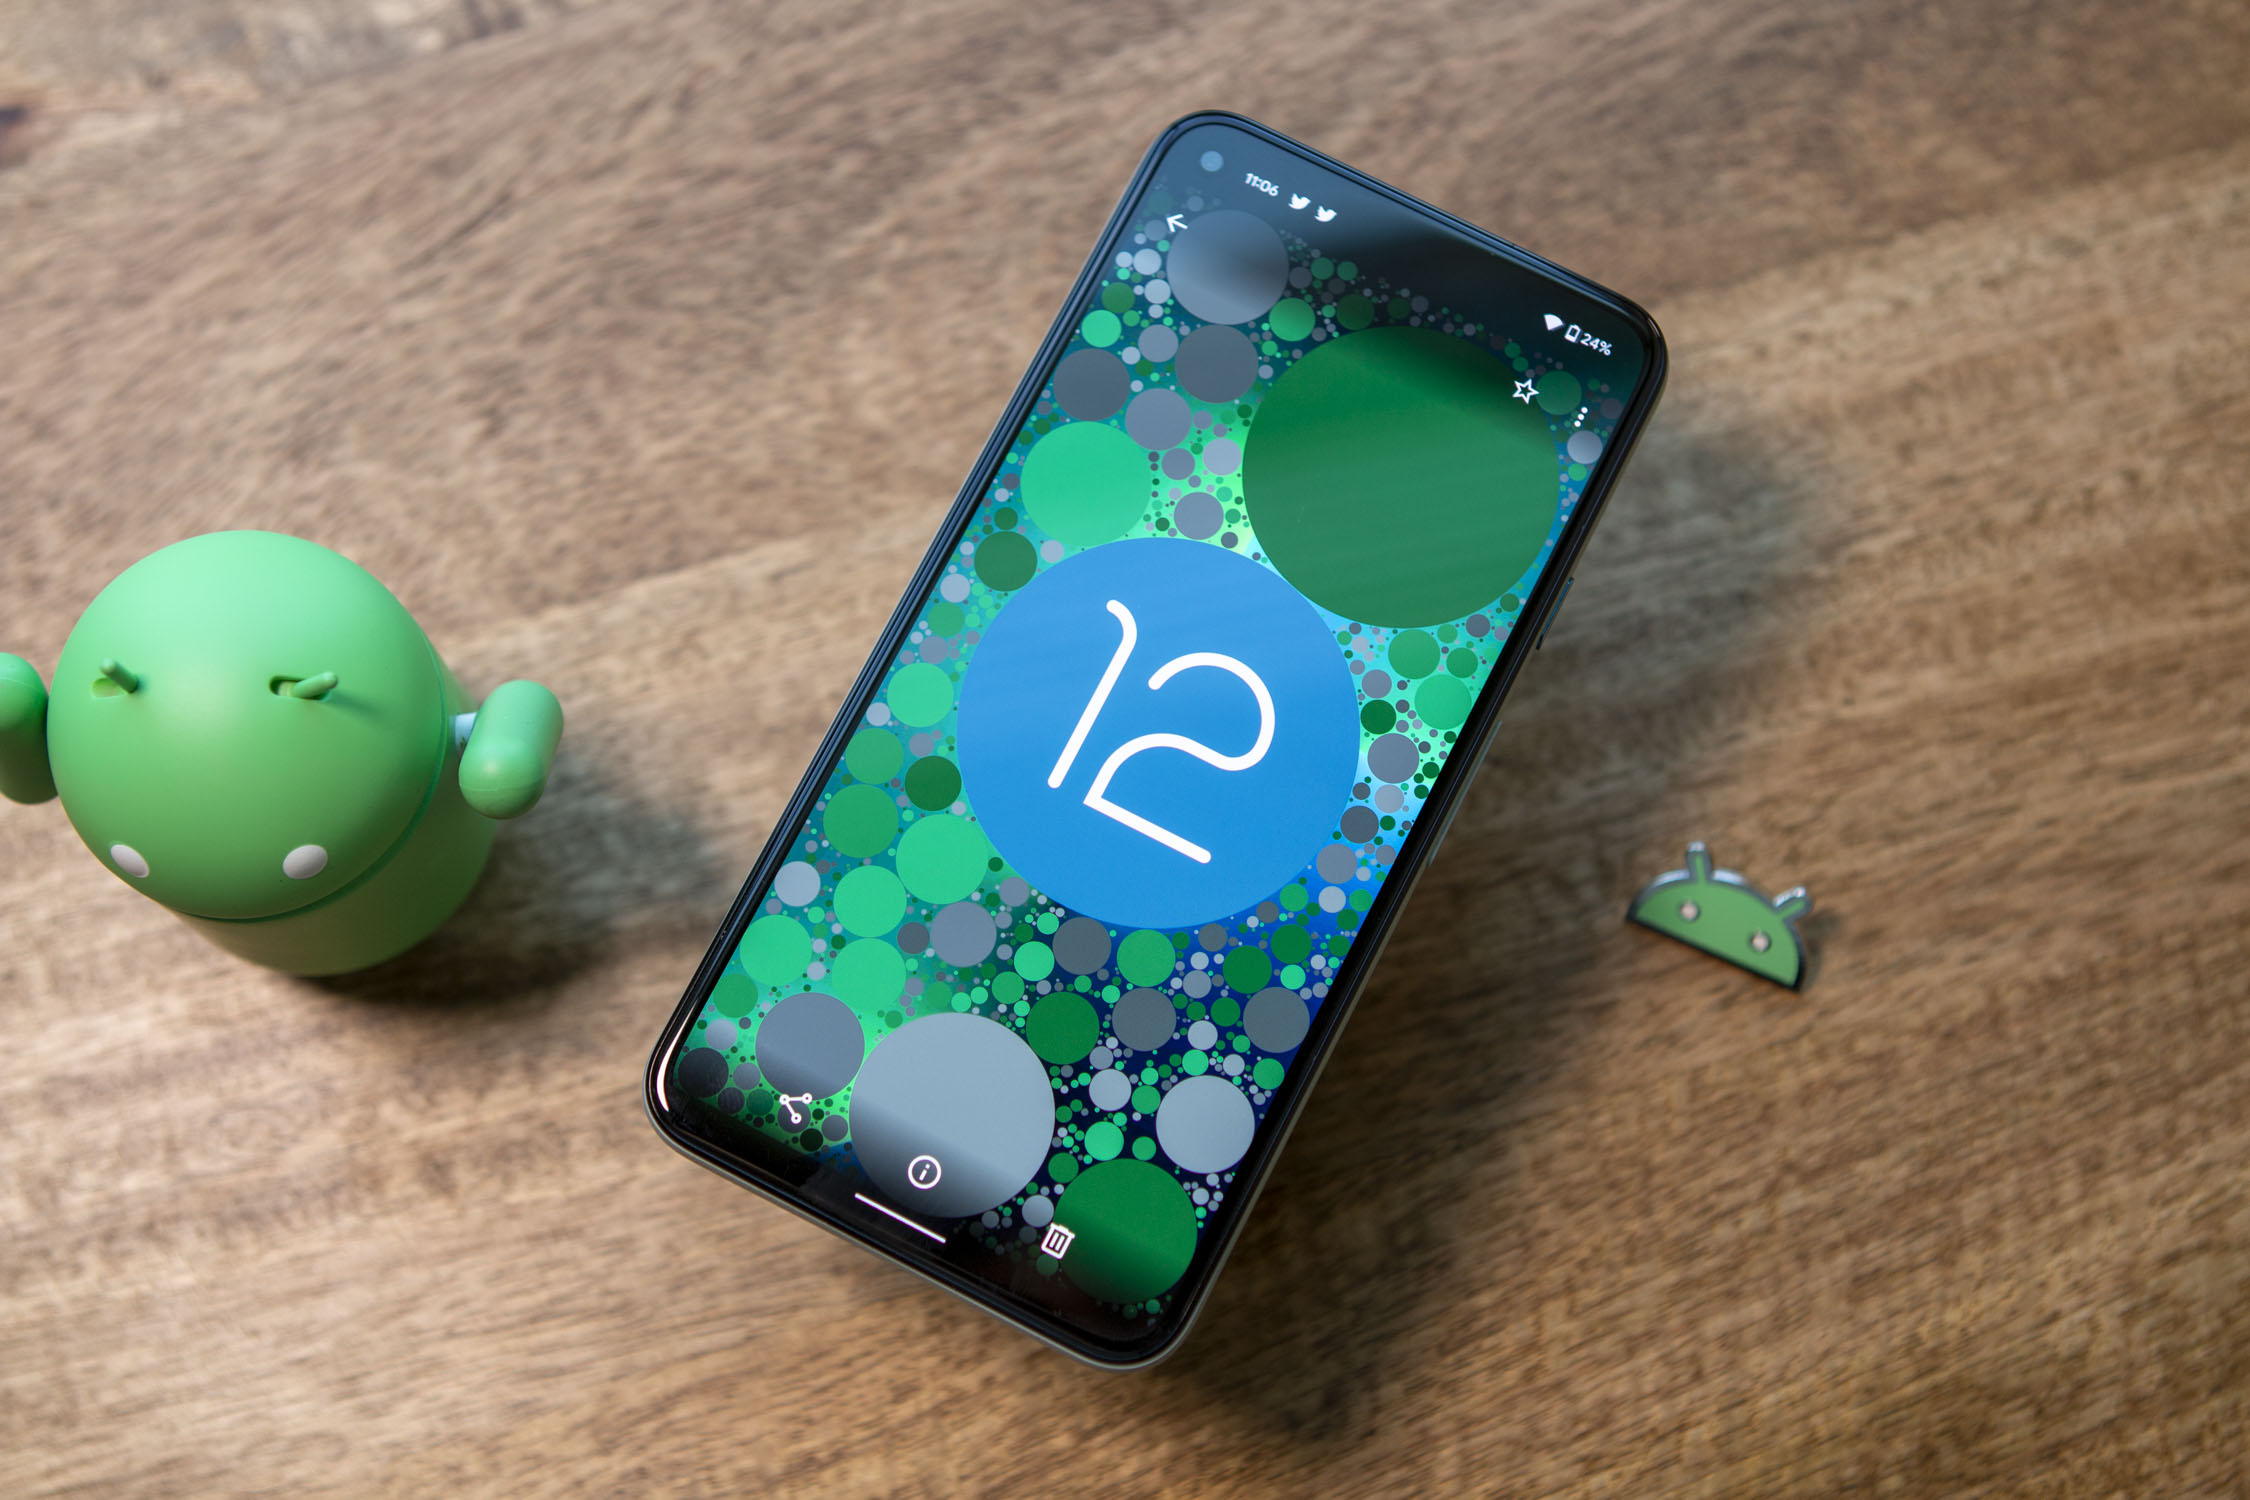
Welcome to the world of Android 12! This latest release from Google brings a plethora of exciting features and improvements to enhance your smartphone experience. One of the notable additions is the new “Green Dot” feature, which indicates when an app is using your device’s camera or microphone. While this may be a useful privacy tool for some users, others may find it distracting or unnecessary.
If you fall into the latter category and want to disable the Green Dot on your Android 12 device, you’ve come to the right place. In this article, we’ll guide you through the step-by-step process of turning off this feature, so you can enjoy a distraction-free interface without compromising your privacy.
Whether you find the Green Dot to be intrusive, obstructive, or simply prefer a cleaner visual experience, we’ll show you how to customize your Android 12 device to suit your preferences. So, let’s get started with the process of disabling the Green Dot on Android 12.
Step 1: Open Settings
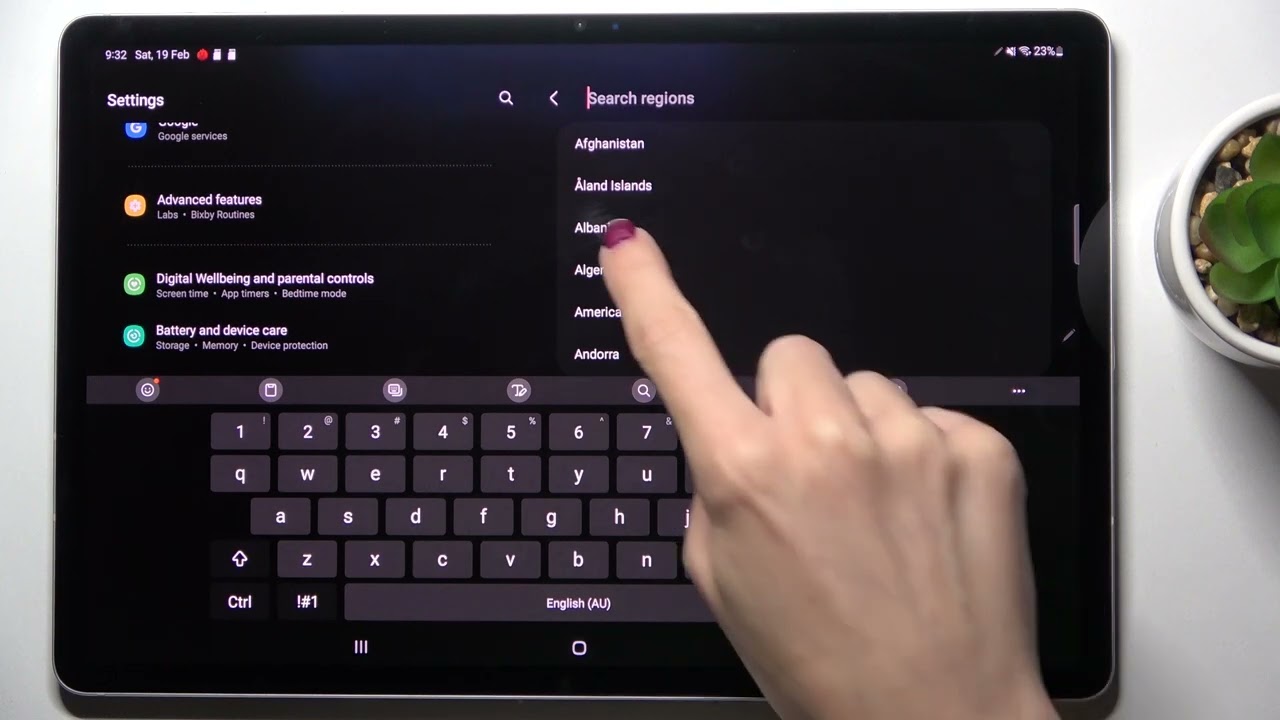
The first step to disable the Green Dot on Android 12 is to open the Settings menu on your device. You can access the Settings menu by swiping down from the top of your screen and tapping on the gear icon in the top right corner, or by locating the Settings app in your app drawer.
Once you’ve opened the Settings menu, you’ll be presented with a list of various options and settings to customize your Android device. Take a moment to familiarize yourself with the layout, as this will be your main hub for making the necessary changes to disable the Green Dot feature.
If you’re having trouble finding the Settings app, you can use the search function on your device by swiping down on the home screen and entering “Settings” in the search bar. Once you see the Settings app, simply tap on it to open.
Now that you’ve successfully navigated to the Settings menu, you’re ready to move on to the next step and disable the Green Dot feature on Android 12. Let’s proceed to Step 2.
Step 2: Tap on Sound & Vibration
Once you’re in the Settings menu on your Android 12 device, scroll down until you find the “Sound & Vibration” option. Tap on it to access the sound and vibration settings.
The “Sound & Vibration” section allows you to customize various audio and vibration settings on your device. Here, you can control the volume, set notification sounds, enable or disable vibration, and more.
By tapping on “Sound & Vibration,” you’ll be presented with additional options related to audio and vibration settings. Take a moment to explore these settings to familiarize yourself with the available options.
For the purpose of this guide, we’re specifically interested in disabling the Green Dot feature, so let’s proceed to the next step to make the necessary changes.
Remember, the steps may vary slightly depending on the device manufacturer and Android customization, but the general process remains the same.
Now that you’ve accessed the “Sound & Vibration” settings, it’s time to move on to Step 3 and disable the Green Dot feature on your Android 12 device.
Step 3: Disable Notification Sound & Control
Within the “Sound & Vibration” settings, you’ll find various options related to notifications. Look for the “Notification Sound & Control” section and tap on it to proceed.
In the “Notification Sound & Control” section, you’ll have the ability to customize how your device notifies you of incoming notifications. This includes options such as notification sounds, vibration patterns, and the ability to toggle on or off certain notification types.
To disable the Green Dot feature, we’ll need to make changes to the notification settings. Look for the option that says “Allow notification sound & control” or a similar option, and make sure it is toggled off.
Disabling this option will prevent apps from generating notification sounds and will also disable the Green Dot indicator when an app is using your device’s camera or microphone.
Once you’ve disabled the “Allow notification sound & control” option, you’ve successfully turned off the Green Dot feature related to notifications. Congrats!
Now let’s move on to the next step, where we’ll tackle the vibration settings on your Android 12 device to further customize your user experience.
Step 4: Tap on Vibration & Haptics
After disabling the notification sound and control in the previous step, we’ll now focus on the vibration settings. Stay within the “Sound & Vibration” menu and scroll down until you find the “Vibration & Haptics” option.
Tap on “Vibration & Haptics” to access the settings related to the vibration patterns and haptic feedback on your Android 12 device. These settings allow you to customize how your device vibrates in response to various actions and events.
Once you’re in the “Vibration & Haptics” settings, take a moment to explore the available options. Here, you can adjust the intensity and duration of vibration, choose different vibration patterns, and enable or disable vibrations for different actions.
In order to disable the Green Dot vibration, look for an option that says “Vibration for Calls and Notifications” or something similar. Make sure this option is toggled off to turn off the vibration specifically related to the Green Dot feature.
By turning off the “Vibration for Calls and Notifications” option, you’ve successfully disabled the Green Dot vibration on your Android 12 device.
Now that you’ve made the necessary changes in the “Vibration & Haptics” settings, let’s proceed to the next step, where we’ll explore the Do Not Disturb settings and further customize your device.
Step 5: Disable Vibration for Calls and Notifications
Within the “Vibration & Haptics” settings, you’ll find an option specifically related to vibration for calls and notifications. Locate this option and tap on it to continue.
Disabling the vibration for calls and notifications will prevent your device from vibrating when you receive incoming calls or notifications. This includes the vibration related to the Green Dot feature.
Look for an option that says “Vibration for Calls and Notifications” or something similar. Make sure this option is toggled off to disable the vibration for calls and notifications completely.
By disabling the vibration for calls and notifications, you’ve successfully turned off the Green Dot vibration on your Android 12 device and eliminated any other vibrations that may occur with incoming calls or notifications.
Keep in mind that by disabling this option, your device will no longer vibrate when you receive calls or notifications. If you prefer to have vibration for other actions or events, you can customize the vibration settings accordingly.
Now that you’ve disabled the vibration for calls and notifications, let’s move on to the next step, where we’ll explore the “Do Not Disturb” settings to further customize your device settings.
Step 6: Go back to Sound & Vibration Settings
Now that you’ve disabled the Green Dot vibration and customized the vibration settings, it’s time to go back to the main Sound & Vibration settings to ensure everything is properly configured.
To return to the Sound & Vibration settings, tap on the back arrow or use the navigation gestures on your Android 12 device to go back to the previous menu.
Once you’re back in the main Sound & Vibration settings, take a moment to review the options and ensure that the changes you’ve made are reflected. Double-check that the notification sound and control option is still disabled and that the vibration for calls and notifications is also turned off.
If everything looks good, you’ve successfully completed this step. However, if any settings have been reset or reverted, simply follow the previous steps again to make the necessary changes.
It’s important to note that navigating back to the Sound & Vibration settings is a precautionary step to confirm that your changes have been saved and applied. This ensures that the Green Dot feature remains disabled, providing you with a distraction-free user experience on your Android 12 device.
Now that you’ve confirmed the settings, let’s move on to the next step, where we’ll explore the “Do Not Disturb” settings to further customize your device.
Step 7: Tap on Do Not Disturb
In order to further customize your device settings and ensure a truly distraction-free experience, we’ll now navigate to the “Do Not Disturb” settings. This feature allows you to control when and how your device notifies you of incoming calls, messages, and other notifications.
To access the “Do Not Disturb” settings, go back to the main Settings menu on your Android 12 device. From there, scroll down or search for the “Do Not Disturb” option and tap on it.
Once you’re in the “Do Not Disturb” settings, you’ll find a range of options and controls that enable you to fine-tune your device’s behavior during specific times or events.
For the purpose of disabling the Green Dot feature, we’ll focus on one particular setting within the “Do Not Disturb” menu.
Look for an option that says “Allow visual interruptions,” “Visual notification effects,” or something similar. Tap on this option to proceed.
By disabling the “Allow visual interruptions” option, you’re ensuring that the Green Dot indicator won’t appear even during periods when your device is set to Do Not Disturb. This helps maintain a consistent and distraction-free user experience.
Once you’ve toggled off the “Allow visual interruptions” option, you’ve successfully disabled the Green Dot feature within the Do Not Disturb settings.
Now that you’ve made the necessary changes in the “Do Not Disturb” settings, let’s move on to the final step where we’ll conclude the process of disabling the Green Dot on Android 12.
Step 8: Disable Allow Visual Interruptions
As we near the end of the process, the final step is to disable the “Allow visual interruptions” option within the “Do Not Disturb” settings. By doing so, you ensure that the Green Dot indicator will not appear even when your device is in Do Not Disturb mode.
To accomplish this, navigate to the “Do Not Disturb” settings within the main Settings menu on your Android 12 device. If you’re not sure how to access this menu, refer back to the previous steps for guidance.
Once within the “Do Not Disturb” settings, look for an option that says “Allow visual interruptions” or something similar. Tap on this option to proceed.
Disabling the “Allow visual interruptions” option prevents any visual notifications or interruptions, including the Green Dot indicator, from appearing on your device while it is in Do Not Disturb mode.
By turning off this setting, you have successfully disabled the Green Dot feature within the Do Not Disturb settings on your Android 12 device.
Take a moment to review and confirm that the “Allow visual interruptions” option is toggled off. This will ensure that the Green Dot indicator remains disabled and your device maintains its distraction-free environment.
Congratulations! You have successfully completed all the steps to disable the Green Dot feature on Android 12 and customize your device according to your preferences.
Now that you’ve disabled the Green Dot feature and customized your device settings, you can enjoy a clean and distraction-free interface without the Green Dot indicator appearing on your Android 12 device.
If you ever wish to re-enable the Green Dot feature or modify any of the settings, simply follow the steps outlined in this guide and make the desired changes.
Thank you for following this guide, and we hope this information has been helpful in achieving a more personalized Android 12 experience.
Conclusion
In this guide, we have walked you through the step-by-step process of disabling the Green Dot feature on Android 12. By following these instructions, you can customize your device to create a distraction-free interface without compromising your privacy.
We started by opening the Settings menu and navigating to the Sound & Vibration settings. From there, we disabled the notification sound and control, turned off vibration for calls and notifications, and explored the Do Not Disturb settings to further customize our device.
Finally, we disabled the “Allow visual interruptions” option within the Do Not Disturb settings, ensuring that the Green Dot indicator will not appear even during periods of Do Not Disturb mode.
It’s important to note that the steps may vary slightly depending on your device manufacturer and Android customization. However, the general process remains the same.
By successfully disabling the Green Dot feature, you can enjoy a cleaner, more focused user experience on your Android 12 device. Whether it’s to eliminate distractions or simply personalize your device to your liking, these steps provide you with the ability to tailor your device’s settings to suit your preferences.
Remember, if you ever wish to re-enable the Green Dot feature or modify any of the settings, you can simply follow the steps outlined in this guide and make the necessary changes.
We hope that this guide has been helpful in customizing your device and disabling the Green Dot feature on Android 12. Enjoy your distraction-free smartphone experience!


![The Best Pokemon Fire Red Cheat Codes [100% Working]](https://robots.net/wp-content/uploads/2020/05/Pokemon-Fire-Red-300x201.jpg)