Introduction
Welcome to our guide on how to disable GPU acceleration in Sony Vegas. Sony Vegas is a popular video editing software used by professionals and enthusiasts alike. With its powerful features and intuitive interface, it enables users to create stunning videos. However, in some cases, GPU acceleration can cause performance issues or compatibility problems with certain graphics cards.
GPU acceleration, also known as hardware acceleration, utilizes the power of your computer’s graphics processing unit (GPU) to enhance performance and speed up tasks such as video rendering and effects processing. While GPU acceleration can significantly improve the editing process, it may not work optimally for everyone, especially if you have an older graphics card or encounter software conflicts.
Disabling GPU acceleration in Sony Vegas can help resolve these issues and allow you to edit videos without any performance hindrance or compatibility limitations. By disabling GPU acceleration, the software will rely solely on your computer’s central processing unit (CPU) for rendering and processing tasks.
While disabling GPU acceleration may cause a slight decrease in performance, it can be a worthwhile trade-off if you’re experiencing problems or if your graphics card isn’t supported by Sony Vegas’s GPU acceleration feature.
In this guide, we’ll take you through the steps to disable GPU acceleration in Sony Vegas, ensuring a smooth and hassle-free editing experience. Let’s dive in!
Step 1: Opening Sony Vegas
The first step in disabling GPU acceleration in Sony Vegas is to open the software on your computer. If you already have Sony Vegas installed, you can simply locate the program icon on your desktop or in your list of installed applications and double-click to open it.
If you don’t have Sony Vegas installed, you’ll need to visit the official Sony Creative Software website and purchase a license or download a trial version. Once you have the software installed, you can proceed with the following steps.
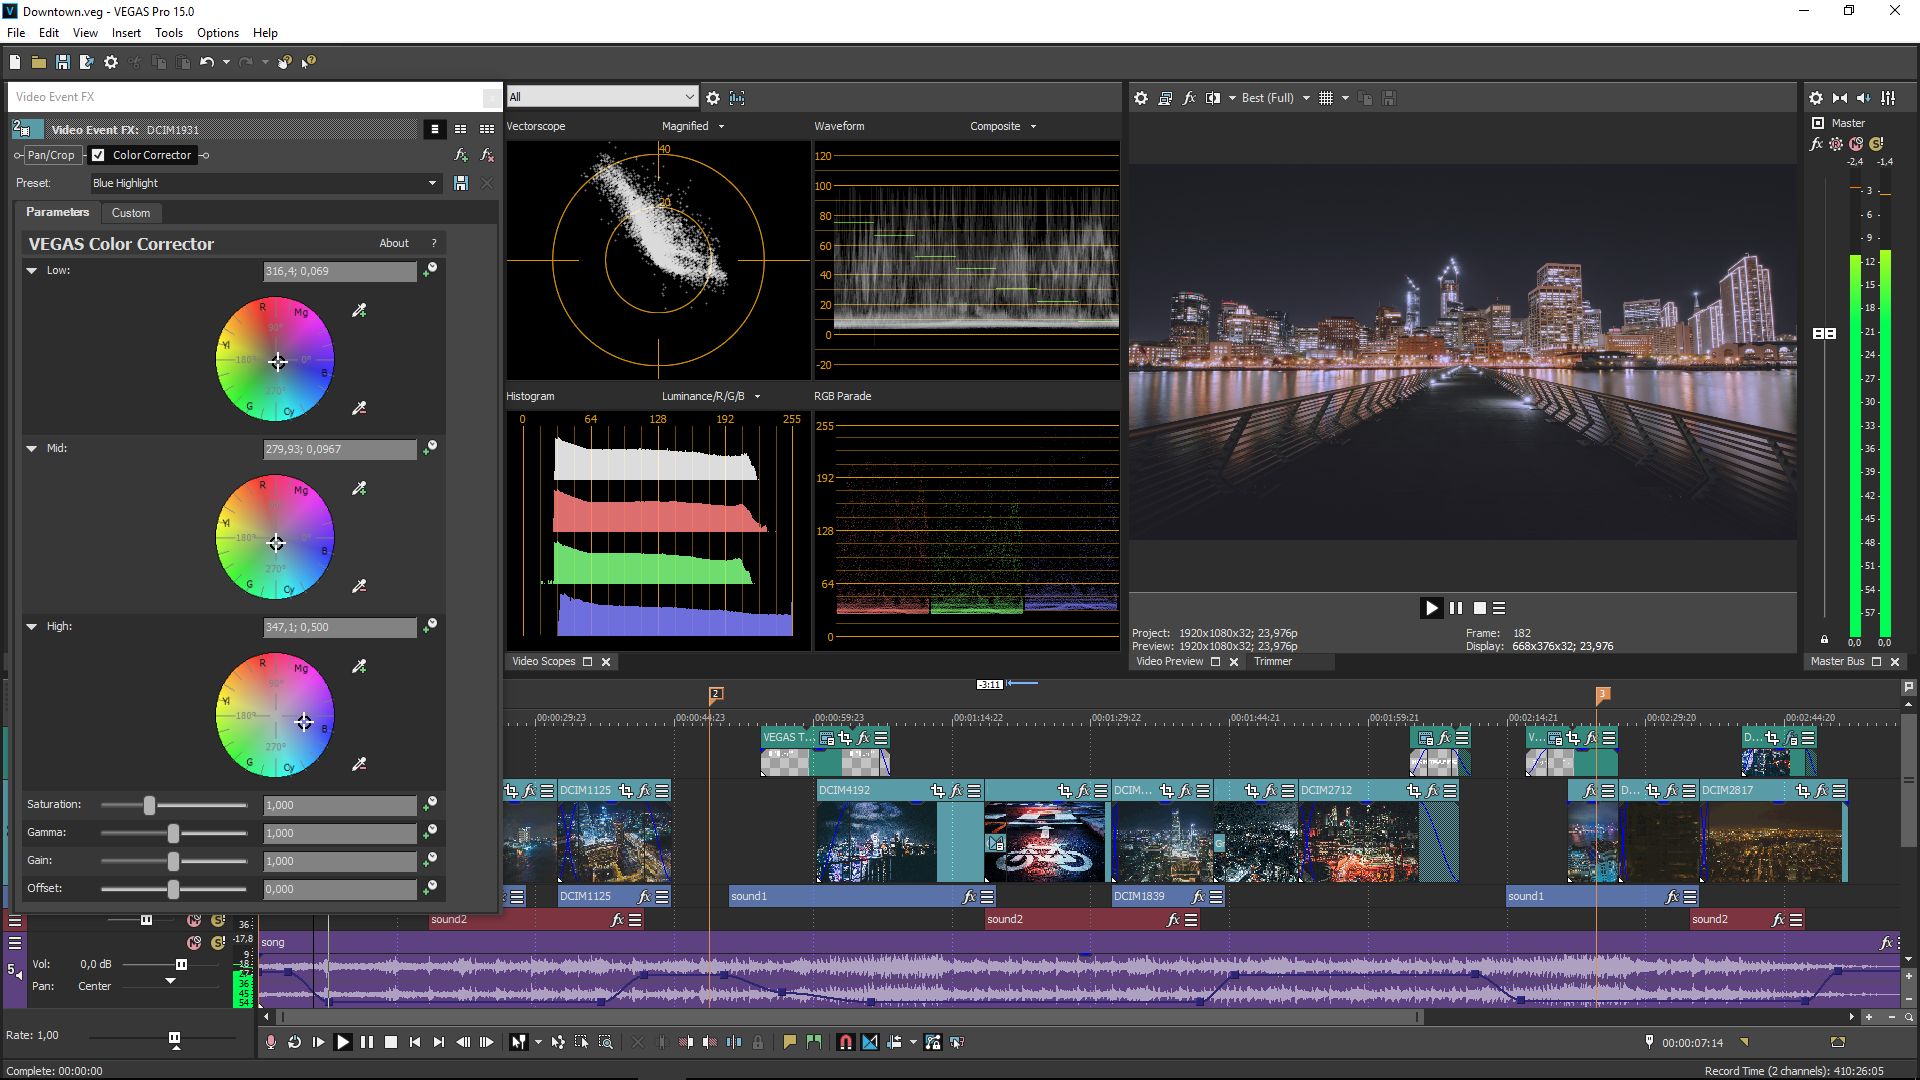
After opening Sony Vegas, you’ll be greeted with the main interface, which consists of a toolbar, timeline, preview window, and various other panels and menus. This is where you’ll perform all your video editing tasks and make the necessary changes to disable GPU acceleration.
Take a moment to familiarize yourself with the different components of the interface. You’ll find that Sony Vegas offers a user-friendly and intuitive layout, making it easy to navigate and access the settings we’ll be modifying later on.
Now that you have Sony Vegas open and are ready to make the necessary adjustments, let’s move on to the next step where we’ll access the preferences menu.
Step 2: Accessing the Preferences Menu
In order to disable GPU acceleration in Sony Vegas, we need to access the Preferences menu. This menu provides access to a variety of settings that allow you to customize your editing experience. By accessing the Preferences menu, we can make the necessary changes to disable GPU acceleration.
To access the Preferences menu, you need to click on the “Options” tab located in the top menu bar of Sony Vegas. Once you click on “Options,” a drop-down menu will appear, revealing several different options.
From the drop-down menu, locate and click on “Preferences.” This will open a new window that contains various settings and preferences that can be modified according to your needs.
Within the Preferences window, you’ll find a navigation panel on the left-hand side. This panel is divided into different categories, making it easier to locate specific settings. Look for the category named “Video” or “GPU acceleration” – the exact name may vary slightly depending on the version of Sony Vegas you’re using.
Once you’ve located the appropriate category, click on it to expand the options. This will display the settings related to GPU acceleration.
At this point, you’ve successfully accessed the Preferences menu in Sony Vegas, and we’re now ready to proceed with the next step, which involves disabling GPU acceleration. Let’s move on to that step in the following section.
Step 3: Disabling GPU Acceleration
Now that we’ve accessed the Preferences menu in Sony Vegas, we can proceed with disabling GPU acceleration. This step involves making the necessary changes to the settings to ensure that the software no longer relies on the GPU for rendering and processing tasks.
Within the “Video” or “GPU acceleration” category in the Preferences window, you’ll find a checkbox or option that allows you to enable or disable GPU acceleration. The exact location and wording may vary depending on the version of Sony Vegas you’re using, but it should be relatively easy to identify.
Look for options such as “Enable GPU acceleration” or “Use GPU for processing.” Usually, these options are enabled by default to take advantage of your computer’s graphics card for faster editing. However, in order to disable GPU acceleration, you need to uncheck or deselect the corresponding checkbox or switch off the option.
Click on the checkbox or option to disable it, and you’ll notice that the GPU acceleration feature is now deactivated. Sony Vegas will no longer utilize your GPU for rendering and processing tasks, ensuring that all video editing operations are performed solely by the CPU.
Disabling GPU acceleration may result in a slight decrease in performance, but it can greatly help if you’re experiencing compatibility issues or if your graphics card isn’t supported by Sony Vegas’s GPU acceleration feature.
Now that you’ve disabled GPU acceleration in Sony Vegas, let’s move on to the next step and apply the changes.
Step 4: Applying the Changes
After disabling GPU acceleration in Sony Vegas, it’s important to apply the changes to ensure that the modifications take effect. Applying the changes will ensure that Sony Vegas operates without utilizing the GPU for rendering and processing tasks.
Once you have deselected or unchecked the GPU acceleration option in the Preferences menu, look for an “Apply” or “OK” button in the lower right-hand corner of the window. Clicking on this button will save the changes and apply them to the software.
It’s crucial to note that the changes may not be applied immediately. In some cases, you may need to restart Sony Vegas for the modifications to take effect. If prompted to restart the software, go ahead and do so to ensure that the changes are properly implemented.
Upon restarting Sony Vegas or applying the changes, the software will now operate without relying on the GPU for rendering and processing tasks. This can help reduce compatibility issues and ensure a smoother video editing experience on systems that may not fully support GPU acceleration.
With the changes applied, you’re now ready to move on to the next step – testing the disabled GPU acceleration – to ensure that everything is functioning as expected. Let’s proceed to the following section for more details.
Step 5: Testing the Disabled GPU Acceleration
After disabling GPU acceleration in Sony Vegas, it’s essential to test the changes to ensure that the software is functioning as intended. Testing the disabled GPU acceleration will help you determine if the modifications have been successfully applied and if any performance improvements or compatibility issues arise.
To test the disabled GPU acceleration, you can perform various editing tasks within Sony Vegas. Try importing and editing video clips, applying effects, and rendering a video project. Pay close attention to the responsiveness and smoothness of the software during these tasks.
If everything is working well and you notice no significant difference in performance or compatibility, you can rest assured that the disabled GPU acceleration is functioning correctly. This means that Sony Vegas is now relying solely on your computer’s CPU for rendering and processing tasks.
However, if you encounter any issues such as stuttering playback, slow rendering times, or compatibility problems with specific effects or plugins, it’s possible that disabling GPU acceleration may not be suitable for your system. In such cases, you may need to re-enable GPU acceleration or explore alternative solutions.
It’s worth noting that the impact of disabling GPU acceleration may vary depending on your computer’s specifications, the complexity of your video editing projects, and the version of Sony Vegas you’re using. Therefore, it’s essential to evaluate the performance and compatibility on your specific system.
By testing the disabled GPU acceleration, you can identify any potential challenges and make informed decisions about whether to continue using Sony Vegas without GPU acceleration or explore other options that better suit your needs.
With the disabled GPU acceleration successfully tested, you have completed the necessary steps to disable GPU acceleration in Sony Vegas. You can now enjoy a smoother and potentially more compatible video editing experience. Congratulations!
Conclusion
Disabling GPU acceleration in Sony Vegas can be a beneficial solution if you’re experiencing performance issues or compatibility problems with your graphics card. By following the steps outlined in this guide, you can easily disable GPU acceleration and ensure that Sony Vegas relies solely on your computer’s CPU for rendering and processing tasks.
We started by opening Sony Vegas and accessing the Preferences menu, where we located and disabled the GPU acceleration option. After applying the changes, it’s important to test the disabled GPU acceleration by performing various editing tasks within the software. This will help you determine if the modifications have been successfully implemented and if any performance improvements or compatibility issues arise.
While disabling GPU acceleration may result in a slight decrease in performance, it can help resolve problems and ensure a smoother editing experience on systems that may not fully support GPU acceleration. It’s important to evaluate the impact on your specific system and the complexity of your video editing projects to make an informed decision.
Remember that Sony Vegas offers a user-friendly interface, making it easy to navigate and customize your editing experience. By accessing the Preferences menu and disabling GPU acceleration, you have the flexibility to tailor the software to your specific needs.
We hope this guide has been helpful in assisting you with disabling GPU acceleration in Sony Vegas. Whether you’re a professional video editor or an enthusiast, optimizing your editing environment can greatly enhance your workflow and productivity. Enjoy your smoother and potentially more compatible video editing experience in Sony Vegas!


