Introduction
Welcome to the guide on how to delete photos from your Fire Tablet. Whether you want to clear up space on your device or simply remove unwanted pictures, deleting photos is a straightforward process that can be done directly from the Photos app on your Fire Tablet. With a few simple steps, you’ll be able to tidy up your photo library and free up valuable storage space.
The ability to conveniently delete photos directly from your Fire Tablet offers a hassle-free solution without the need for additional software or complicated procedures. The Photos app on your device allows you to easily manage and organize your photos, giving you full control over what you keep and what you remove.
In this guide, we will walk you through a step-by-step process to delete individual photos and multiple photos from your Fire Tablet’s Photos app. Additionally, we will demonstrate how to permanently delete photos from the Trash folder, ensuring that they are completely removed from your device.
Whether you’re a casual user looking to free up some storage space or a photography enthusiast who wants to curate a collection of your best shots, this guide will provide you with the knowledge and tools to efficiently delete photos from your Fire Tablet. Let’s get started!
Step 1: Accessing the Photos App
The first step in deleting photos from your Fire Tablet is to access the Photos app, where all your saved pictures are stored. To do this, follow the simple instructions below:
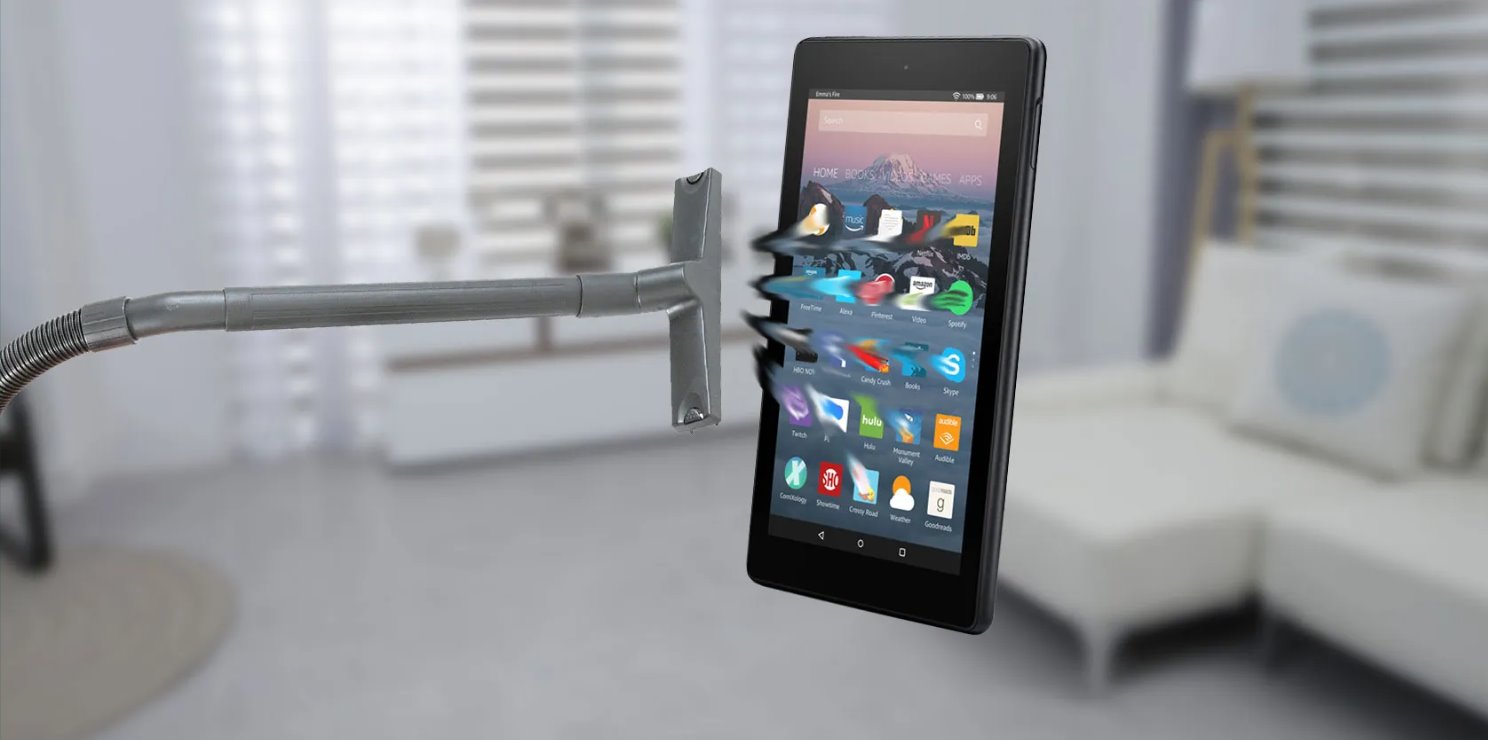
- Unlock your Fire Tablet and navigate to the home screen.
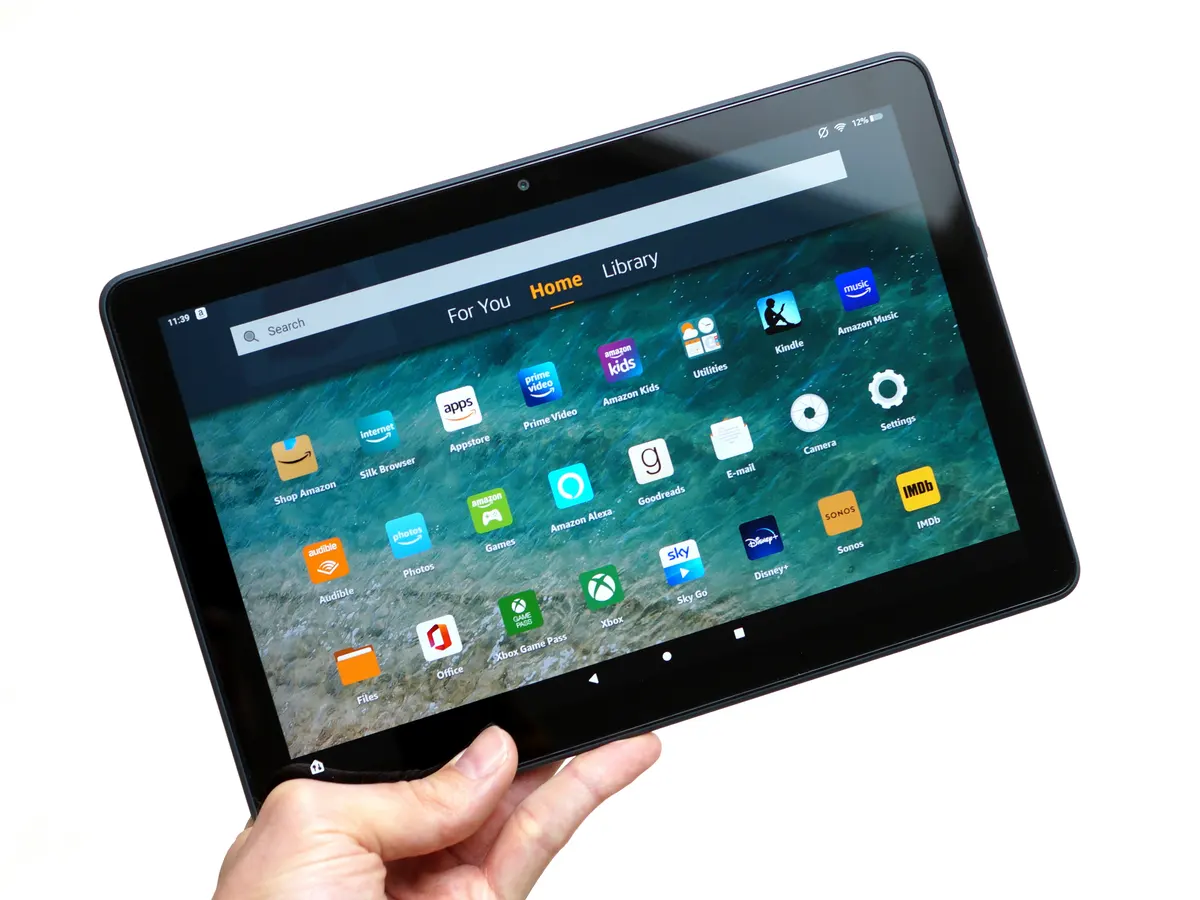
- Locate the Photos app icon. It typically features a multicolored sunflower on a white background.
- Tap on the Photos app icon to launch the application.
Once you’ve accessed the Photos app, you will be able to view all the photos stored on your device. The app provides various tools and options to manage your photos, including the ability to delete individual pictures, delete multiple pictures at once, and restore deleted photos from the Trash folder.
Now that you have successfully accessed the Photos app on your Fire Tablet, you’re ready to move on to the next step: selecting the photos you want to delete. Continue reading to learn how!
Step 2: Selecting the Photos to Delete
Once you have accessed the Photos app on your Fire Tablet, the next step is to select the photos you want to delete. Follow the steps below to make your selections:
- Open the album or folder that contains the photos you wish to delete. You can browse through your albums by tapping on the Albums tab located at the bottom of the screen.
- Scroll through the album or folder to locate the specific photos you want to delete. You can swipe left or right to view additional pictures within the album.
- Tap on a photo to select it. Selected photos will be indicated by a checkmark icon.
- If you want to select multiple photos at once, simply tap on each photo you wish to delete. The checkmark icon will appear on each selected image.
By following these steps, you can easily select individual photos or multiple photos that you want to delete from your Fire Tablet. Once you have made your selections, you can proceed to the next step and delete the photos. Continue reading to learn how!
Step 3: Deleting Individual Photos
Deleting individual photos from your Fire Tablet is a simple process that can be done directly from the Photos app. Follow the steps below to delete a single photo:
- Make sure you have selected the photo you want to delete by following the instructions outlined in the previous step.
- With the selected photo displayed on your screen, look for the Trash icon, usually located in the top or bottom toolbar of the Photos app.
- Tap on the Trash icon. A confirmation message will appear, asking you to confirm the deletion.
- Review the confirmation message and tap Delete to proceed with deleting the selected photo.
Once you have confirmed the deletion, the photo will be permanently removed from your Fire Tablet and transferred to the Trash folder. Don’t worry, if you change your mind, you can restore the photo from the Trash folder before it is permanently deleted.
Now that you know how to delete individual photos, let’s move on to the next step, where we will cover how to delete multiple photos at once from your Fire Tablet.
Step 4: Deleting Multiple Photos
If you have multiple photos you want to delete from your Fire Tablet, you can easily select and delete them all at once using the Photos app. Follow the steps below to delete multiple photos:
- Make sure you have followed the instructions in Step 2 to select multiple photos that you want to delete.
- Once you have selected the desired photos, locate the Trash icon in the top or bottom toolbar of the Photos app.
- Tap on the Trash icon. A confirmation message will appear, informing you that the selected photos will be moved to the Trash folder.
- Review the confirmation message and tap Delete to proceed with deleting the selected photos.
By following these steps, you can quickly and efficiently delete multiple photos from your Fire Tablet. It provides a convenient way to remove unwanted or unnecessary photos in just a few taps.
Now that you know how to delete multiple photos, let’s move on to the next step, where we will explain how to permanently delete photos from the Trash folder.
Step 5: Permanently Deleting Photos from the Trash
After deleting photos from your Fire Tablet, they are temporarily stored in the Trash folder before being permanently removed from your device. If you want to permanently delete these photos and free up storage space, follow the steps below:
- Open the Photos app on your Fire Tablet.
- Locate the Menu icon, typically represented by three horizontal lines or dots, in the top-left or top-right corner of the screen.
- Tap on the Menu icon to open the side menu.
- From the side menu, select Trash or Deleted Items to access the Trash folder.
- Within the Trash folder, you will see a list of deleted photos. Tap on the photo you want to permanently delete.
- A menu will appear with options. Select Delete Forever or similar wording to permanently delete the photo.
- A confirmation message will appear, asking you to confirm the permanent deletion. Review the message and tap Delete to proceed.
By following these steps, you can ensure that the photos you have previously deleted from your Fire Tablet are permanently erased from your device, freeing up valuable storage space.
Congratulations! You have successfully learned how to delete individual photos, delete multiple photos, and permanently delete photos from the Trash folder on your Fire Tablet. You now have the knowledge and tools to manage and organize your photo library with ease.
Conclusion
Deleting photos from your Fire Tablet has never been easier. With the convenient Photos app, you can quickly remove unwanted pictures and free up valuable storage space on your device. Throughout this guide, we have walked you through the step-by-step process of accessing the Photos app, selecting individual photos, deleting multiple photos, and permanently deleting photos from the Trash folder.
By following these steps, you can efficiently manage and organize your photo library, ensuring that only the photos you truly want to keep are stored on your Fire Tablet. Whether you are looking to clear up space or curate a collection of your best shots, the Photos app gives you the control and flexibility to achieve your goals.
Remember to exercise caution when deleting photos and always double-check your selections before confirming the deletion. It’s also a good practice to back up important photos before deleting them, either by transferring them to another device or storing them in a cloud storage service.
We hope this guide has been helpful in assisting you with deleting photos from your Fire Tablet. With the knowledge gained from this guide, you can now confidently manage your photo library and keep your Fire Tablet clutter-free. Enjoy capturing and showcasing your favorite moments with ease!


