Introduction
Welcome to this guide on creating custom reports in QuickBooks Online! As a business owner or financial professional, you understand the importance of having accurate and meaningful financial data at your fingertips. QuickBooks Online offers a wide range of pre-built reports to help you analyze your business’s performance, but sometimes you may need more customized reports tailored specifically to your needs.
In this article, we will walk you through the process of creating custom reports in QuickBooks Online. Whether you want to track specific expenses, monitor inventory levels, or analyze the profitability of a particular product, creating custom reports allows you to have the exact information you require in a format that suits your needs.
Creating custom reports in QuickBooks Online may seem daunting at first, but with the right guidance, you will be able to make the most of this powerful feature. By following the step-by-step instructions provided, you will become familiar with the various customization options available and be able to generate reports that provide valuable insights into your business.
Before we dive into the nitty-gritty of creating custom reports, it’s important to note that you should have a basic understanding of how to navigate QuickBooks Online and access the various features and modules. Additionally, please ensure that you have the appropriate permissions to access and modify reports, as this functionality may be restricted to specific user roles.
Now, let’s get started with accessing the reports in QuickBooks Online and begin the journey of creating custom reports that suit your unique needs.
Step 1: Accessing Reports in QuickBooks Online
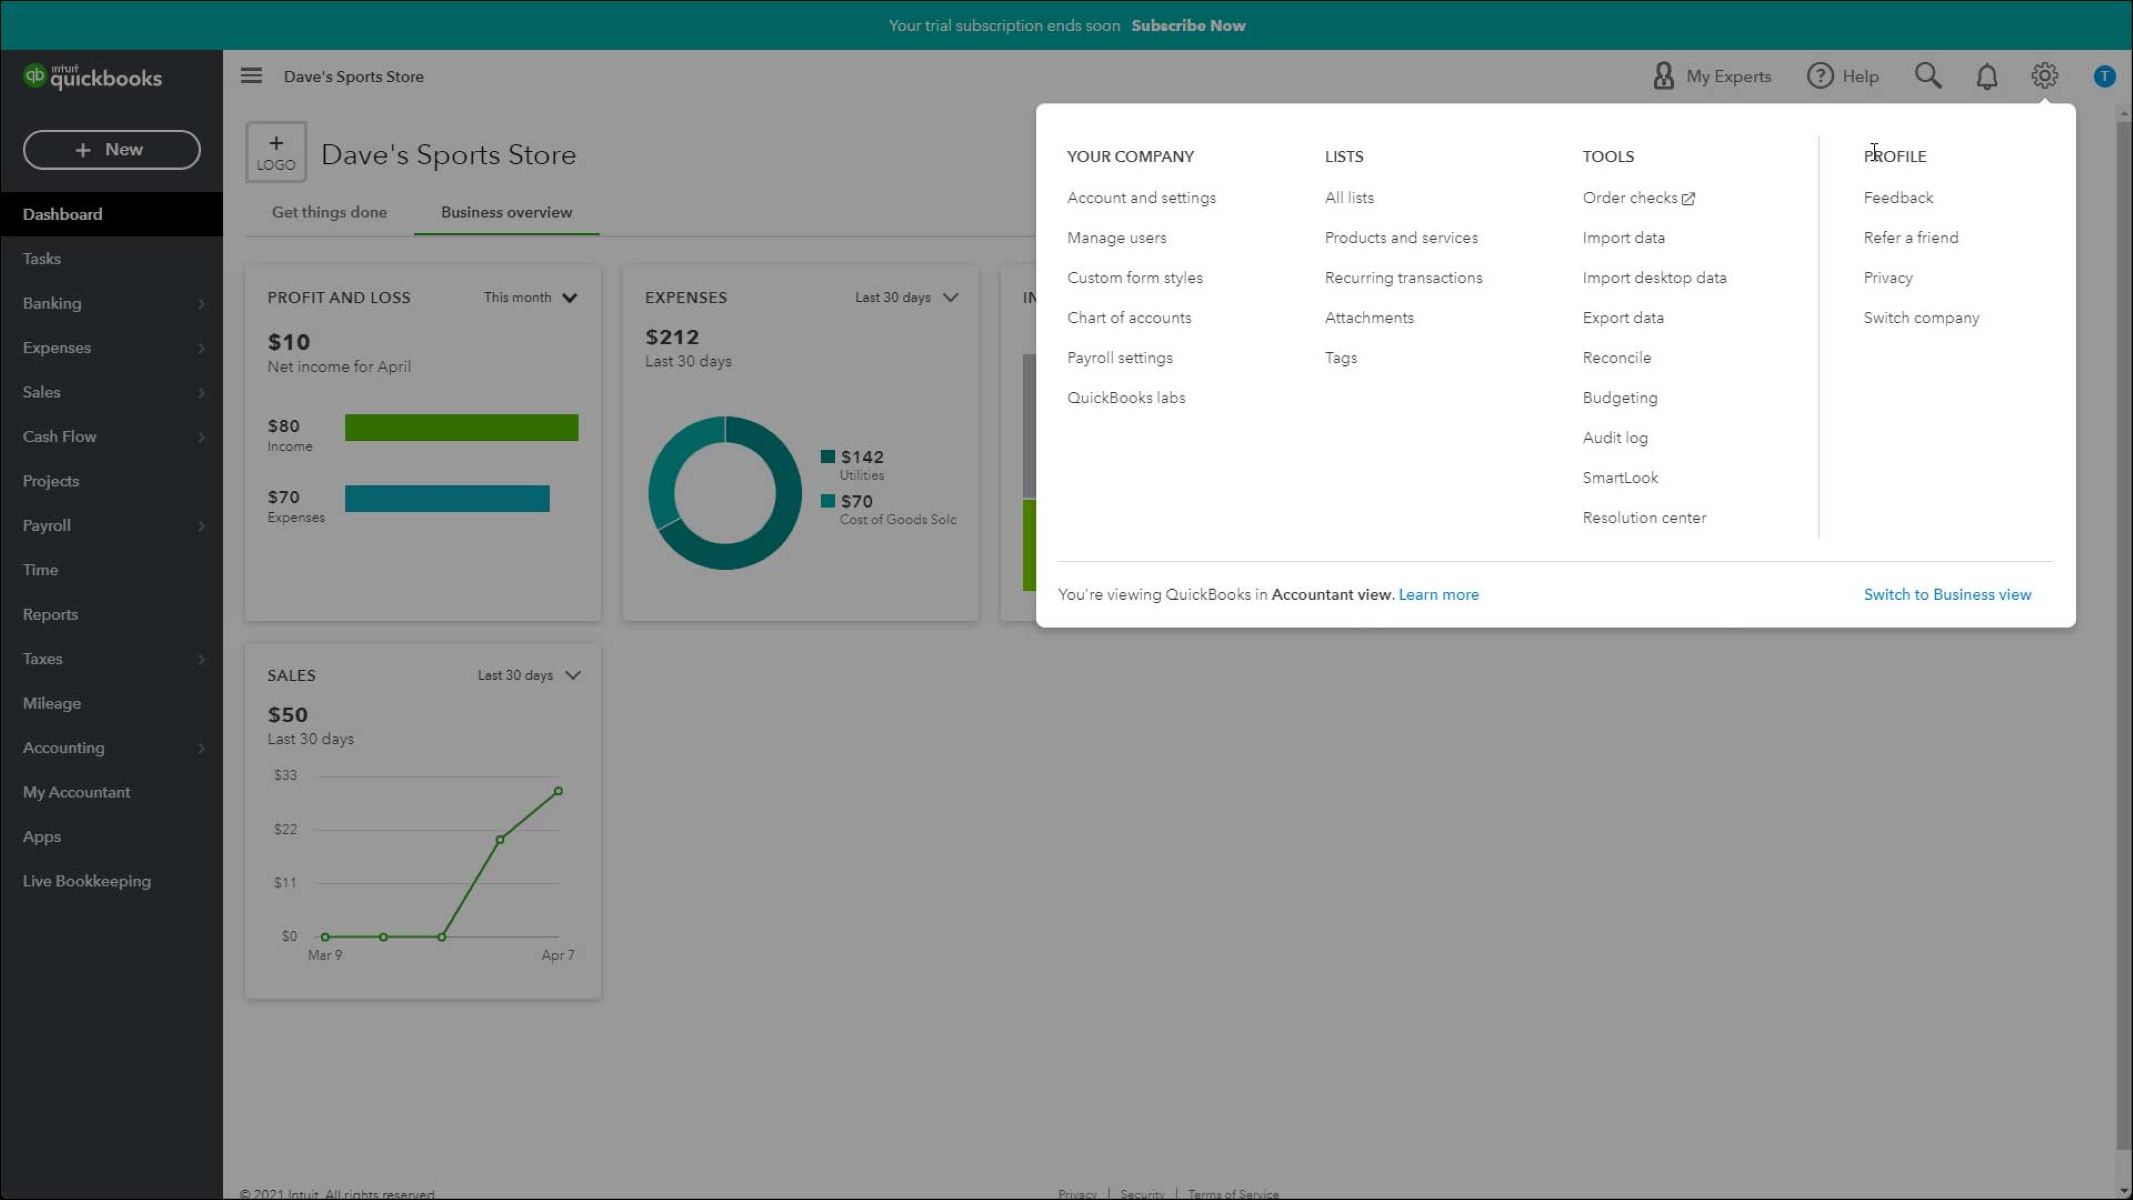
The first step to creating custom reports in QuickBooks Online is accessing the Reports feature. To do this, you will need to log in to your QuickBooks Online account and navigate to the Reports tab, which is located on the left-hand side of the screen.
Once you click on the Reports tab, you will be directed to the Report Center, where you will find a wide range of pre-built report templates organized into various categories. These categories include Sales, Expenses, Customers, Vendors, and more.
The Report Center serves as your central hub for accessing and customizing reports. It provides a user-friendly interface that allows you to easily locate and select the report template that best suits your needs.
QuickBooks Online offers a variety of report templates that cover different aspects of your business. From profit and loss statements to balance sheets, aged receivables, and cash flow statements, you can find a wide range of financial reports that provide valuable insights into your business’s performance.
Additionally, the Reports tab provides a search bar at the top, allowing you to search for specific report templates by keyword. This can be particularly useful if you are looking for a specific report and want to avoid scrolling through the entire list of available templates.
Once you have accessed the Report Center and located the report template you wish to customize, you can proceed to the next step of creating your custom report. In the following sections, we will explore the customization options available and guide you through the process of tailoring the report to your specific requirements.
Step 2: Understanding the Report Center
The Report Center in QuickBooks Online is a user-friendly and intuitive interface that allows you to access and manage your reports effectively. Understanding the various features and options available within the Report Center will help you navigate and make the most of this powerful tool.
When you access the Report Center, you will notice that the reports are organized into categories such as Sales, Expenses, Customers, Vendors, and more. These categories help you quickly locate the report you need based on its purpose or focus area.
In addition to categories, QuickBooks Online offers a search bar at the top of the Report Center. This search bar allows you to enter keywords related to the specific report you’re looking for, making it even easier to find the report you need amongst hundreds of available templates.
Once you locate the desired report template, you can click on it to access a preview of the report. The preview provides a snapshot of the report’s layout and data, giving you a glimpse of what to expect. This is particularly helpful when deciding which report template best aligns with your reporting requirements.
Furthermore, the Report Center offers a variety of customization options to tailor the report to your specific needs. These options include filtering data, grouping and sorting, adding and removing columns, and more. Understanding how to utilize these customization features will allow you to create reports that focus on the key metrics and details that matter most to your business.
Aside from customization options, the Report Center also provides additional actions such as saving and sharing reports. Saving a custom report allows you to easily access it in the future without the need to recreate it every time. Sharing reports enables you to collaborate with team members or provide important financial information to stakeholders.
In summary, the Report Center in QuickBooks Online is a comprehensive and user-friendly tool that houses a wide range of report templates. Understanding how to navigate and customize reports within the Report Center will help you generate accurate and insightful reports that cater to your business’s specific needs.
Step 3: Choosing a Report Template
Choosing the right report template is essential to creating a custom report that provides you with the specific information you need. QuickBooks Online offers a wide range of report templates to cover various aspects of your business, including financials, sales, expenses, and more.
To begin, access the Report Center in QuickBooks Online and browse through the available categories to find the relevant reports. Each category contains multiple report templates, so take your time to explore the options and select the one that aligns with your reporting requirements.
When choosing a report template, consider the purpose of the report and the specific metrics or insights you are looking to gain. For example, if you want to analyze your business’s profitability, you may opt for a profit and loss statement. Or, if you are interested in tracking your inventory levels, you can choose a report template that focuses on inventory valuation or stock movement.
The QuickBooks Online report templates come with predefined layout and data fields, providing a foundation for your custom report. However, keep in mind that these templates can still be customized further to suit your specific needs.
It’s worth noting that QuickBooks Online also offers a “Custom Reports” category, which includes templates specifically designed for customization. These templates provide basic structures that you can modify extensively to create reports tailored to your unique requirements.
Once you have chosen a suitable report template, click on it to access the preview and further customization options. The preview allows you to view the report’s layout and data before making any modifications. This gives you an idea of how the report will look and helps you determine if any additional changes are necessary.
Remember, the report template you select will serve as the foundation for your custom report, so choose wisely based on the type of information you need and the specific insights you seek.
In the next step, we will explore the various customization options available to you, allowing you to further tailor the report template to meet your unique business needs. So, let’s move on to Step 4 and dive into the customization process.
Step 4: Customizing the Report
Once you have selected a report template in QuickBooks Online, the next step is to customize it according to your specific needs. Customizing the report allows you to focus on the key metrics, data, and presentation that are most relevant and important to your business.
QuickBooks Online provides several customization options to tailor the report template to your liking. These options allow you to modify the report’s layout, data, and appearance, ensuring that the final report meets your unique requirements.
To begin customizing the report, click on the “Customize” button or similar option provided within the report preview. This will take you to the customization screen where you can make a wide range of changes.
One of the primary customization options is selecting the data range for the report. QuickBooks Online allows you to specify a specific date range, such as a week, month, quarter, or year, or even select a custom date range to focus on a specific period of time.
Furthermore, you can customize the report columns to include or exclude specific data fields. QuickBooks Online provides a list of available columns that you can choose from, allowing you to display only the metrics that are relevant to your analysis.
In addition to columns, you can also customize the report filters. Filters help you refine the report data based on specific criteria, such as customers, vendors, products, or any other relevant attributes. By applying filters, you can narrow down the report to show the exact information you need.
Another useful customization option is grouping and sorting the report data. Grouping allows you to organize the data based on certain criteria, such as by month, customer, or product category. Sorting allows you to arrange the data in ascending or descending order based on a chosen column.
Additionally, QuickBooks Online provides customization options for report headers and footers, font styles, number formatting, and more. These options allow you to personalize the report’s appearance and make it more visually appealing.
As you make changes to the report customization settings, you can preview the modifications in real-time to ensure the report reflects the desired outcome. If you are satisfied with the customization changes, you can save the custom report for future use.
In the next step, we will explore how to add or remove columns from the report to further customize it to your specifications. So let’s move on to Step 5 and dive into the column customization process.
Step 5: Adding and Removing Columns
One of the key aspects of customizing a report in QuickBooks Online is adding or removing columns. This allows you to include or exclude specific data fields, tailoring the report to focus on the metrics that are most relevant to your analysis.
To add or remove columns from a report, access the customization options of the report template you are working with. In the customization screen, you will find a section specifically dedicated to managing columns.
Within the column customization section, you will see a list of available columns that you can include in your report. These columns represent various data fields such as dates, transaction types, amounts, names, and more.
To add a column to the report, simply check the box next to the desired column from the available options. Once selected, the column will be included in the report, and the corresponding data will be displayed in the report results.
Conversely, if you want to remove a column from the report, uncheck the box next to the respective column. This will exclude the column and its corresponding data from the report, improving the focus on the essential metrics.
Adding or removing columns gives you greater control over the information presented in the report, allowing you to streamline your analysis and focus on the key data points. You can include columns that align with your reporting needs and exclude any unnecessary or less relevant data.
Remember, the added or removed columns will only affect the current custom report and will not impact the original report template or any other reports you generate.
It’s important to strike a balance when selecting columns for your custom report, ensuring that you include the essential data fields while avoiding unnecessary clutter. This will help present the information in a clear and concise manner, making it easier to derive insights and make informed decisions.
Once you have customized the columns to your satisfaction, you can proceed to the next steps of the custom report process, such as applying filters, grouping and sorting data, and saving the report for future use.
In the next step, we will explore how to filter data in the report, allowing you to refine the information presented based on specific criteria. So, let’s move on to Step 6 and dive into the data filtering process.
Step 6: Filtering Data
Filtering data is a powerful tool in customizing a report in QuickBooks Online. By applying filters, you can refine the report’s data to focus on specific criteria, allowing you to extract the exact information you need for your analysis.
To apply filters to a report, access the customization options of the report template you are working with. Within the customization screen, you will find a section dedicated to managing filters.
QuickBooks Online offers a variety of filter options that allow you to narrow down the data based on specific criteria. Some common filter categories include date ranges, customers, vendors, accounts, classes, and more.
To apply a filter, select the desired filter category from the available options. Next, specify the criteria for the filter. For example, if you want to filter sales by a specific customer, select the “Customer” filter and choose the customer’s name from the dropdown menu.
Multiple filters can be applied simultaneously to further refine the report data. For instance, you can filter transactions by a specific date range and a particular customer to analyze sales during a specific period for that customer.
Furthermore, QuickBooks Online provides additional filter options such as excluding specific data or using custom fields for filtering. These options offer greater flexibility in customizing the report to meet your unique requirements.
Applying filters helps you focus on specific segments of data, making it easier to analyze and draw meaningful insights. It allows you to drill down into specific areas of your business, identify trends, and make data-driven decisions.
Remember, the applied filters will only affect the current custom report and will not impact the original report template or any other reports you generate. This means you can create multiple custom reports with different filter settings as per your reporting needs.
Once you have applied filters to the report and refined the data to your satisfaction, you can proceed to the next steps of customizing the report, such as grouping and sorting, saving the report, and sharing it with stakeholders.
In the following step, we will explore how to group and sort the data within the report, allowing you to organize and present the information in a meaningful way. So let’s move on to Step 7 and dive into the grouping and sorting process.
Step 7: Grouping and Sorting
Grouping and sorting data in a report is essential to organizing and presenting information in a meaningful way. QuickBooks Online offers powerful grouping and sorting options that allow you to arrange the report data based on specific criteria, providing insights into various aspects of your business.
To begin grouping and sorting the data within a report, access the customization options of the report template you are working with. Within the customization screen, you will find sections dedicated to grouping and sorting.
Grouping data allows you to organize the report based on specific criteria, such as by date, customer, product, or any other relevant attribute. By grouping data, you can gain a comprehensive view of transactions that share common characteristics, making it easier to identify patterns and trends.
To group data in a report, select the desired grouping field from the available options. For example, if you want to group sales by customer, select the “Customer” field from the grouping options. The report will then display sections or subtotals for each customer, providing a breakdown of sales attributed to individual customers.
Sorting data allows you to arrange the report in a specific order based on a chosen column. You can sort data in ascending or descending order, depending on your preference. Sorting data helps you prioritize certain information and identify outliers or significant elements within the report.
To sort data in a report, select the desired sorting field from the available options. For example, if you want to sort sales by amount in descending order, select the “Amount” field and choose the descending sorting option. The report will then display the sales in descending order based on the sales amount.
By combining grouping and sorting, you can obtain a comprehensive overview of your business’s performance and identify key insights within the report. Whether you want to analyze sales trends by customer or review expenses by account, grouping and sorting provide valuable perspectives that help inform your decision-making process.
Remember, the grouping and sorting options you choose will only affect the current custom report and will not impact the original report template or any other reports you generate. This allows you to create multiple custom reports with different grouping and sorting configurations to suit your reporting needs.
Once you have customized the grouping and sorting settings to your satisfaction, you can proceed to the next steps of customizing the report, such as saving it for future use, and sharing it with stakeholders.
In the next step, we will explore how to save and share custom reports in QuickBooks Online. So let’s move on to Step 8 and discover the process of saving and sharing your customized reports.
Step 8: Saving and Sharing Custom Reports
After customizing a report in QuickBooks Online, it is important to save it for future use and to share it with relevant stakeholders. Saving and sharing custom reports allows for easy access to important financial information and facilitates collaboration within your organization.
To save a custom report in QuickBooks Online, navigate to the customization options of the report template you have customized. Look for the “Save customization” or similar option within the customization screen. Click on it, and you will be prompted to provide a name for the custom report.
Choose a descriptive and meaningful name for the report that accurately reflects its purpose. This will make it easier to locate and identify the report in the future. Once you have provided a name, click “Save” to store the custom report in QuickBooks Online.
Saved custom reports are accessible within the Report Center, under the “Custom Reports” category or any other designated folder. You can easily locate your saved reports by their unique names and generate them whenever needed, without the need for re-customization.
Furthermore, QuickBooks Online allows you to share custom reports with others in your organization. To do this, locate the custom report you want to share within the Report Center. Click on the report to access its preview. From there, you can utilize the sharing options provided, such as email, export to PDF or Excel, or print.
If you want to collaborate on a custom report with multiple team members, you can export the report to Excel or share a link to the report via email. These options ensure that everyone has access to the same report and can work together on analyzing the data and making informed decisions.
Remember to consider the security and access permissions when sharing custom reports. Ensure that only authorized individuals have access to sensitive financial information and confidential reports.
In addition to sharing reports with others, you can also schedule the generation and delivery of custom reports in QuickBooks Online. This feature allows you to automate the report generation process and have them delivered to specified recipients at scheduled intervals.
This can be particularly useful for recurring reports or for ensuring that stakeholders receive up-to-date financial information without manual intervention.
By saving and sharing custom reports in QuickBooks Online, you can efficiently manage and distribute financial information within your organization, enabling better decision-making and fostering collaboration.
Now that you have completed all the steps of creating custom reports in QuickBooks Online, you are well-equipped to generate and customize reports that provide valuable insights into your business’s performance.
Take the time to explore the various customization options, experiment with different filters and groupings, and create reports that best suit your unique reporting needs.
Remember, as your business evolves and your reporting requirements change, you can always revisit and modify your custom reports to ensure they continue to provide the most relevant and accurate information.
Conclusion
Creating custom reports in QuickBooks Online is essential for gaining valuable insights into your business’s financial performance. By following the step-by-step process outlined in this guide, you can customize report templates, add or remove columns, apply filters, group and sort data, and save and share your customized reports.
With the ability to tailor reports to your specific needs, you can focus on the key metrics and data that are most relevant to your business. Custom reports enable you to analyze sales, expenses, profitability, inventory, and other crucial aspects of your operations.
The Reports Center in QuickBooks Online provides a user-friendly interface for accessing, customizing, and managing your reports effectively. With various categories and a search function, you can easily locate the report template that fits your reporting requirements.
By customizing your reports, you can present information in a way that suits your preferences and business needs. Adding or removing columns, applying filters, and grouping and sorting data allow you to extract the specific insights you require, streamlining your data analysis process.
Moreover, saving and sharing your custom reports ensures easy access and collaboration among team members or stakeholders. With the option to schedule report generation and distribution, you can automate the sharing of critical financial information.
Remember to exercise caution when sharing reports and ensure that sensitive data is protected and only accessible by authorized individuals. Regularly review and update your custom reports to reflect changing reporting requirements and evolving business needs.
In conclusion, mastering the art of creating custom reports in QuickBooks Online empowers you to harness the full potential of your financial data. By leveraging the customization options provided, you gain deeper insights, make more informed decisions, and drive the success of your business.
So, take the knowledge and techniques shared in this guide and start creating custom reports that cater to your unique reporting requirements in QuickBooks Online.


