Introduction
When it comes to managing your schedule and appointments, Google Calendar is a powerful tool that can help simplify the process. One of the standout features of Google Calendar is the ability to create appointment slots. Appointment slots allow you to block out specific times in your calendar for others to schedule appointments with you. Whether you’re a business owner, a healthcare professional, or even a student organizing study sessions, creating appointment slots can streamline your scheduling process.
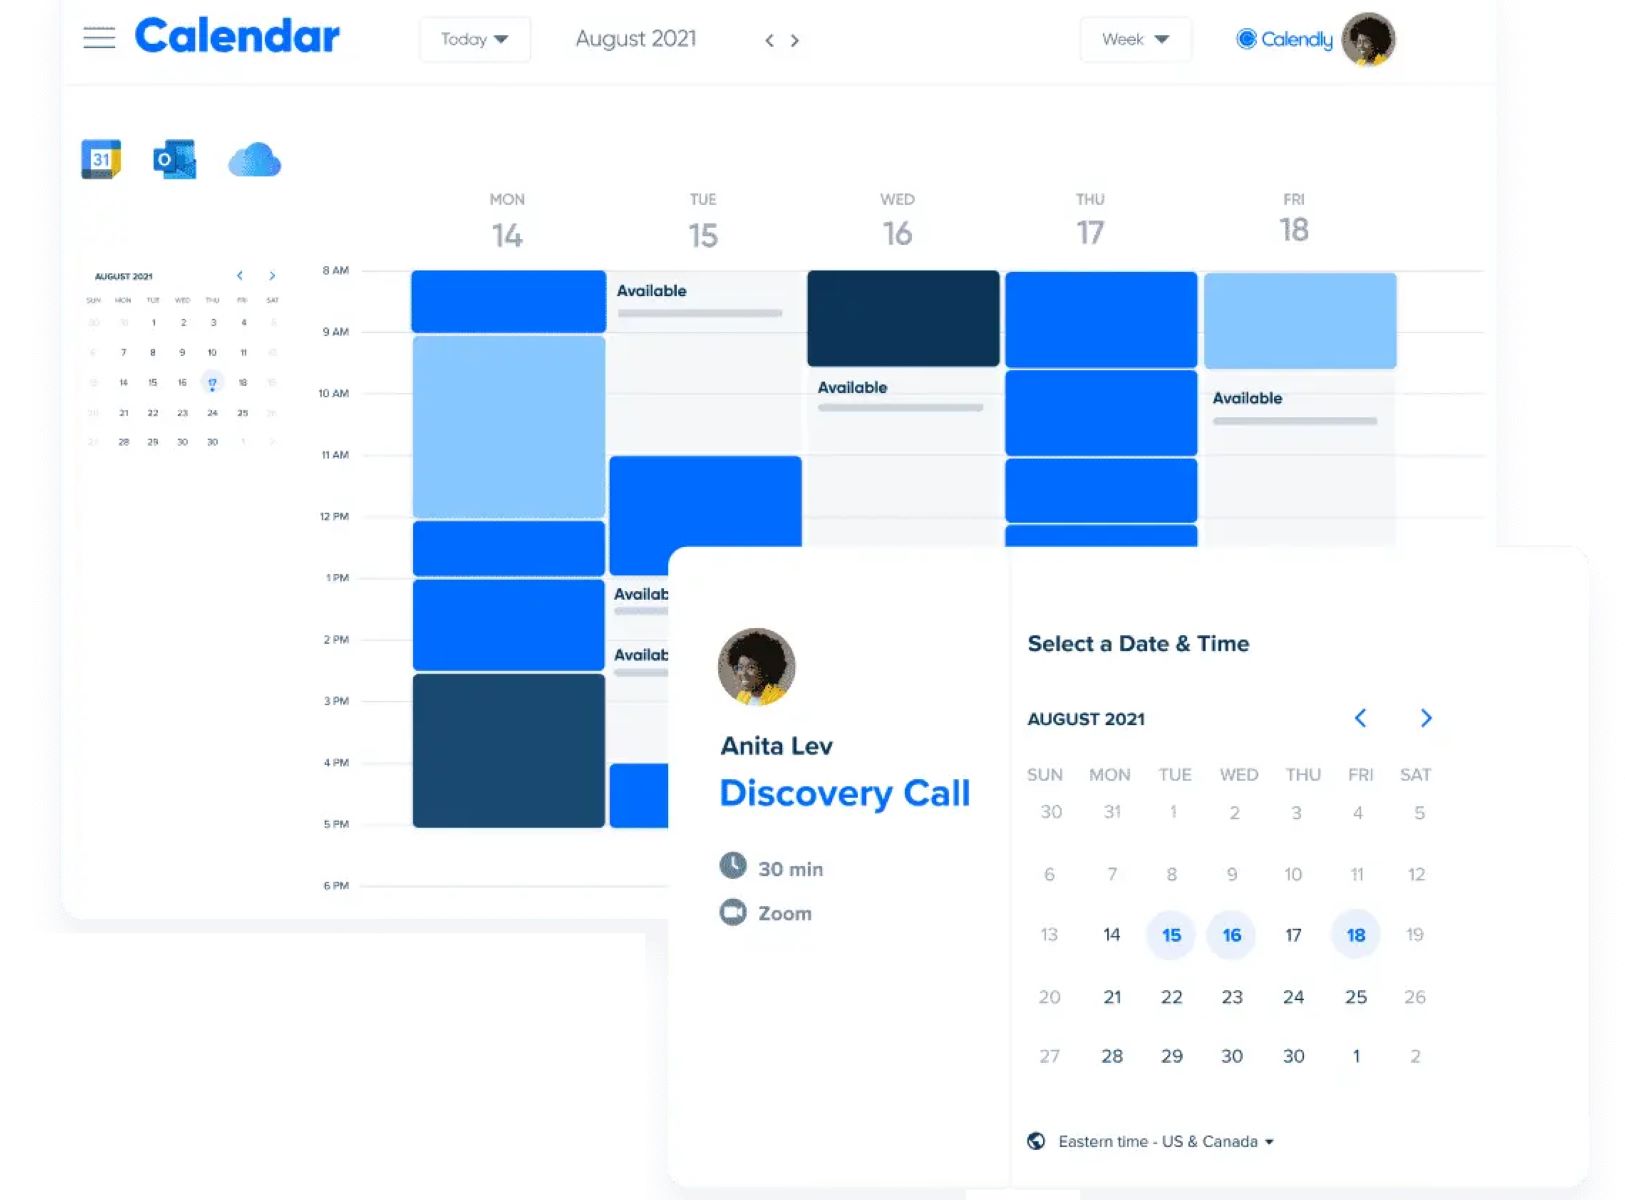
By offering individuals the ability to reserve time with you directly on your calendar, you can eliminate the back-and-forth communication typically involved in arranging appointments. This not only saves you time but also makes it convenient for others to find a time slot that works best for them.
In this step-by-step guide, we will walk you through how to create appointment slots in Google Calendar. We will cover each stage of the process, from setting up the appointment slots to inviting others to book their appointments. By the end of this guide, you will have the knowledge and confidence to effectively utilize this feature in your everyday life.
Before we dive into the step-by-step instructions, make sure you have a Google account and have access to Google Calendar. If you don’t already have a Google account, you can easily create one for free.
Now, let’s get started on creating appointment slots in Google Calendar!
Step 1: Open Google Calendar
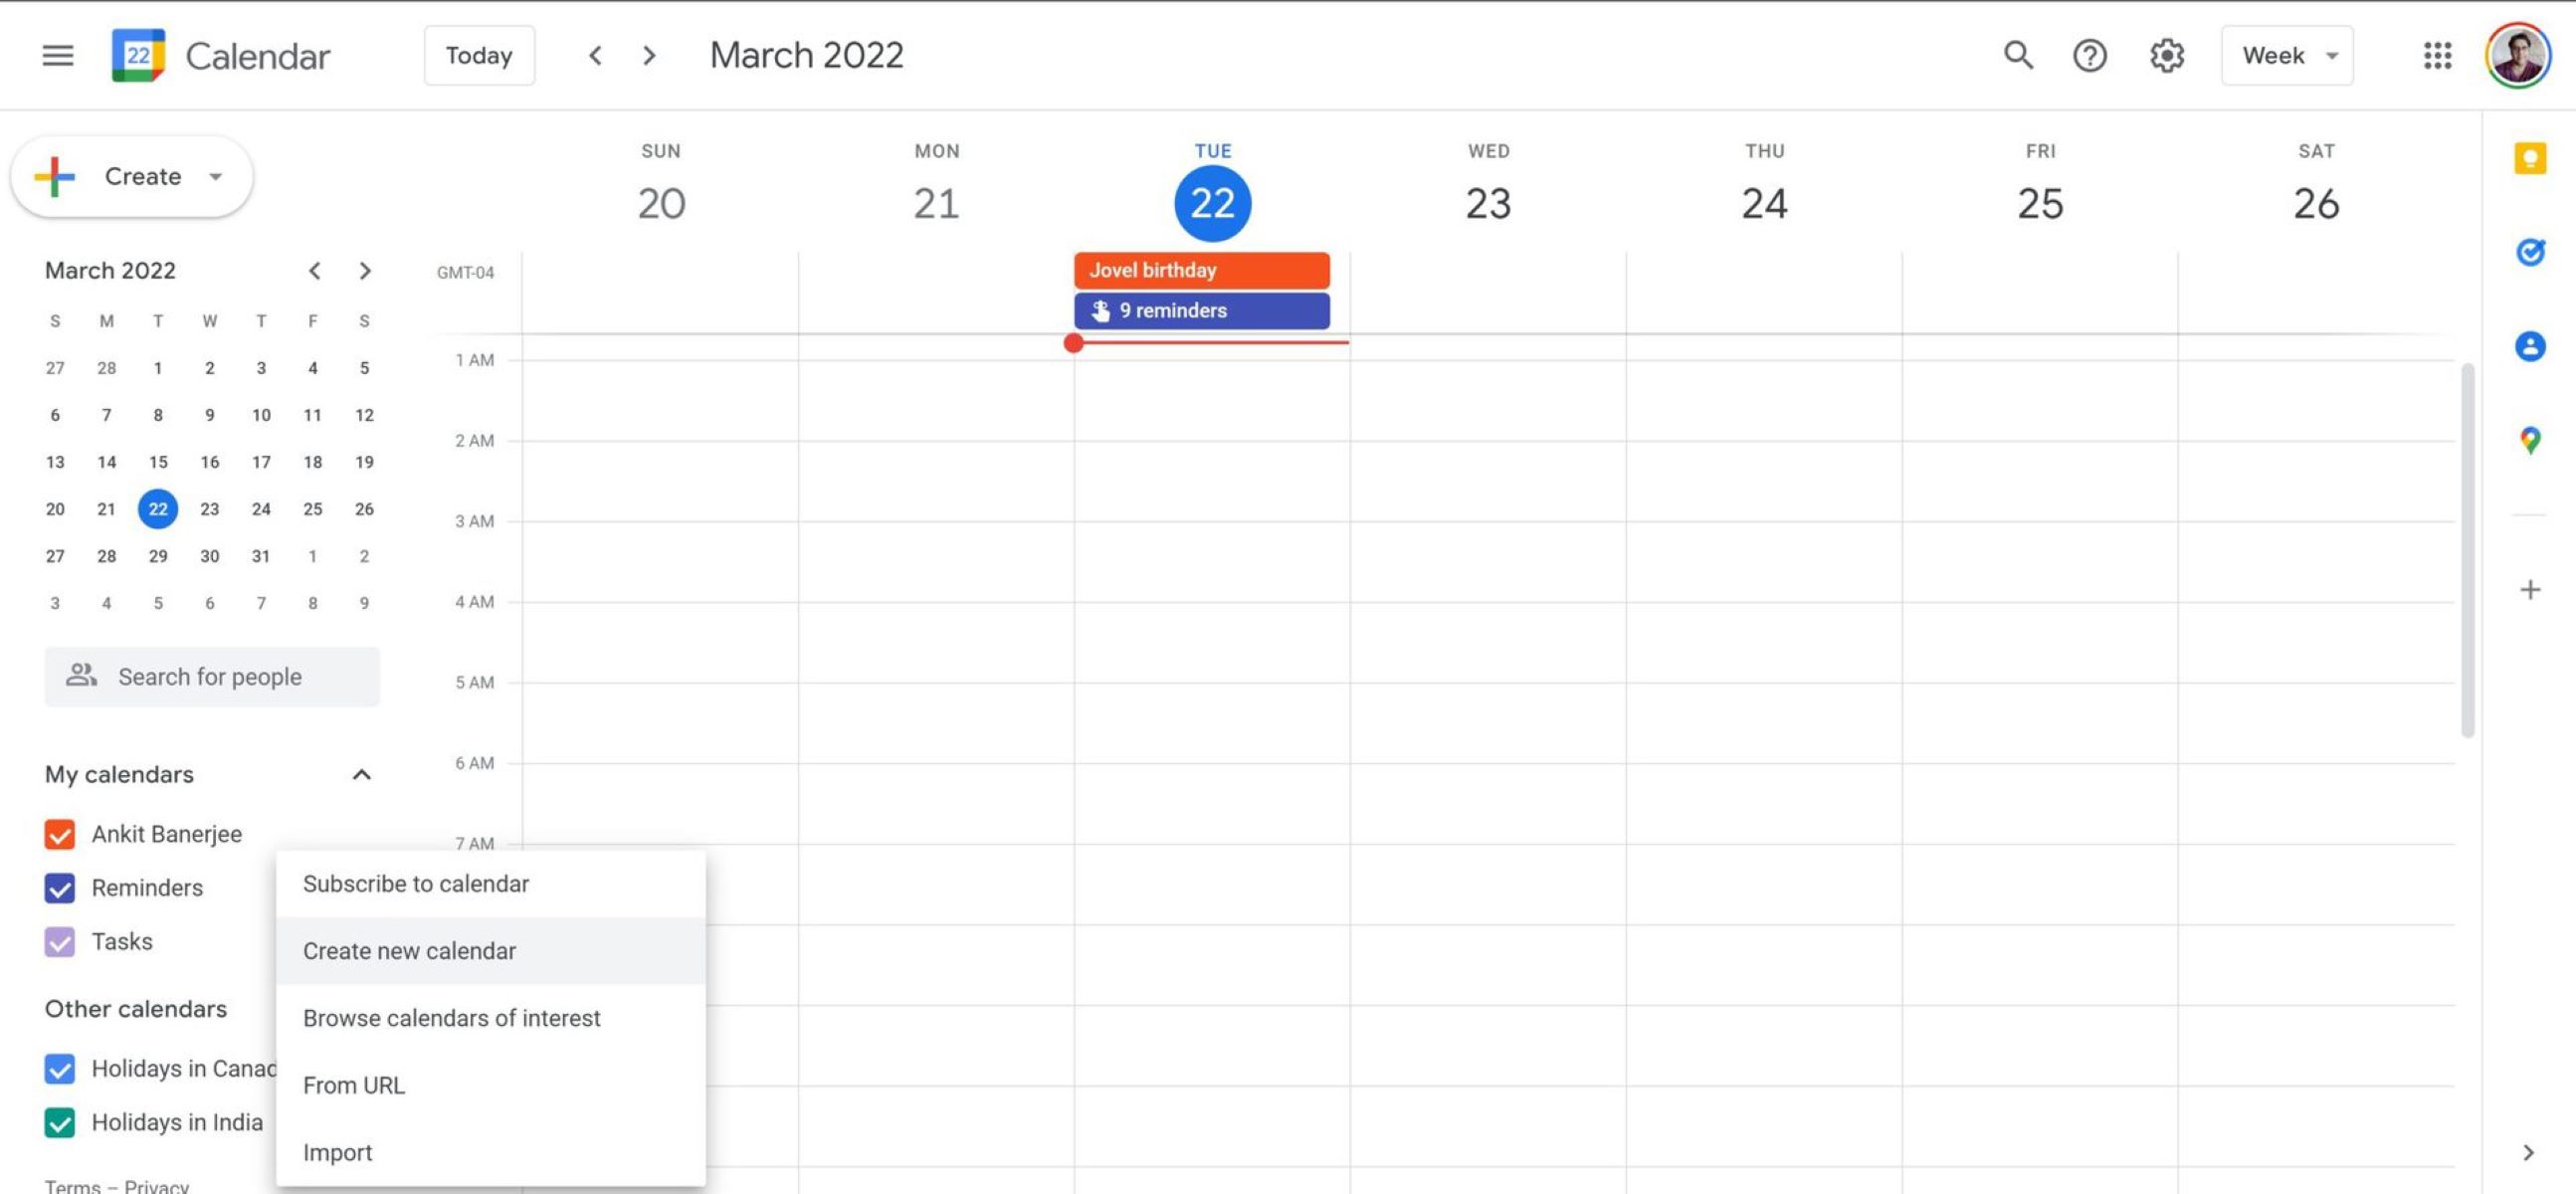
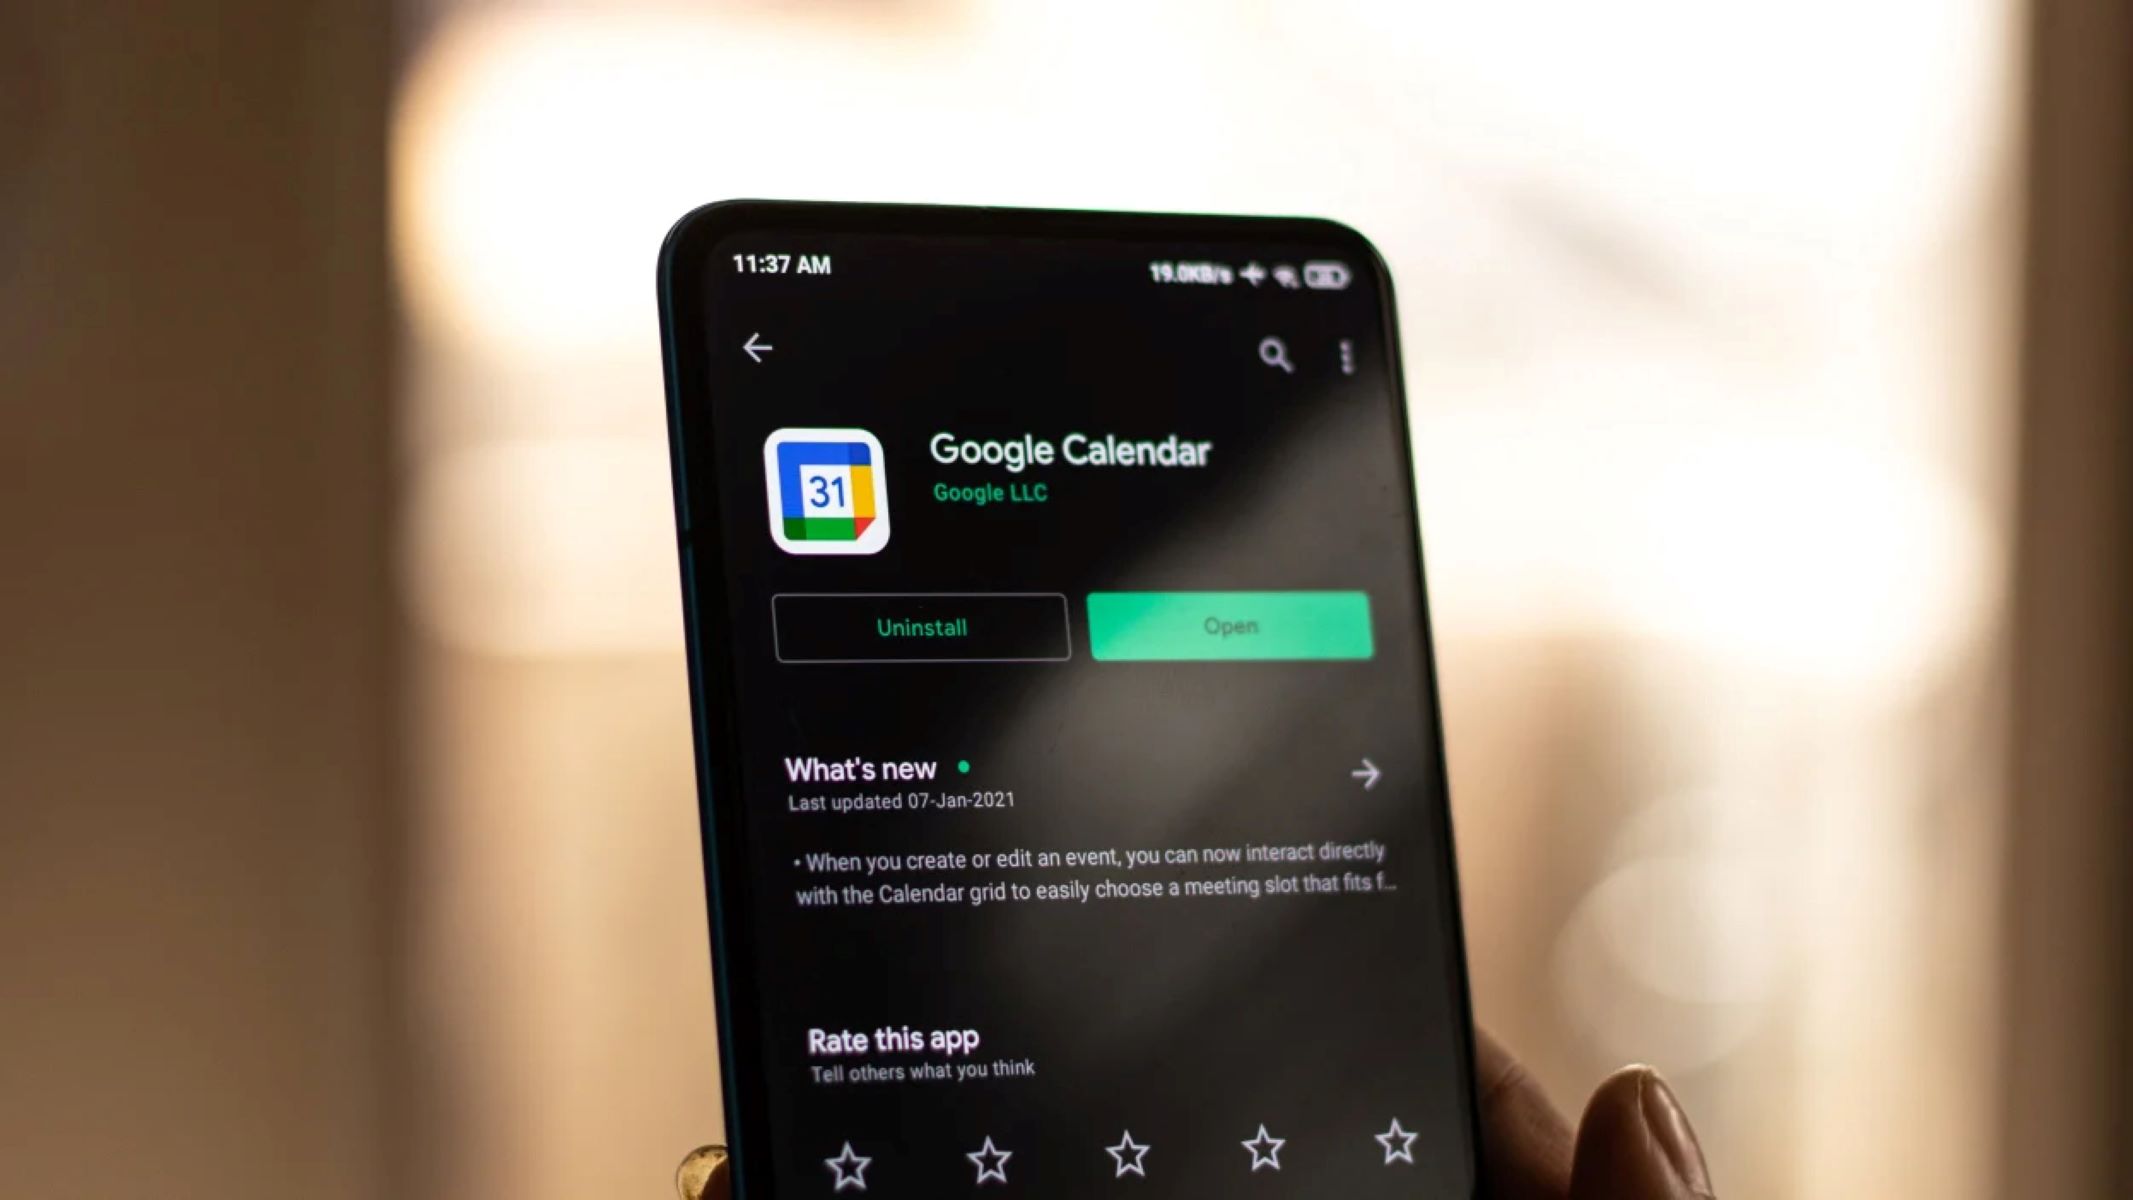
The first step in creating appointment slots in Google Calendar is to open the application. To do this, you will need to sign in to your Google account and navigate to the Google Calendar website. Alternatively, you can access Google Calendar through the Google app on your mobile device.
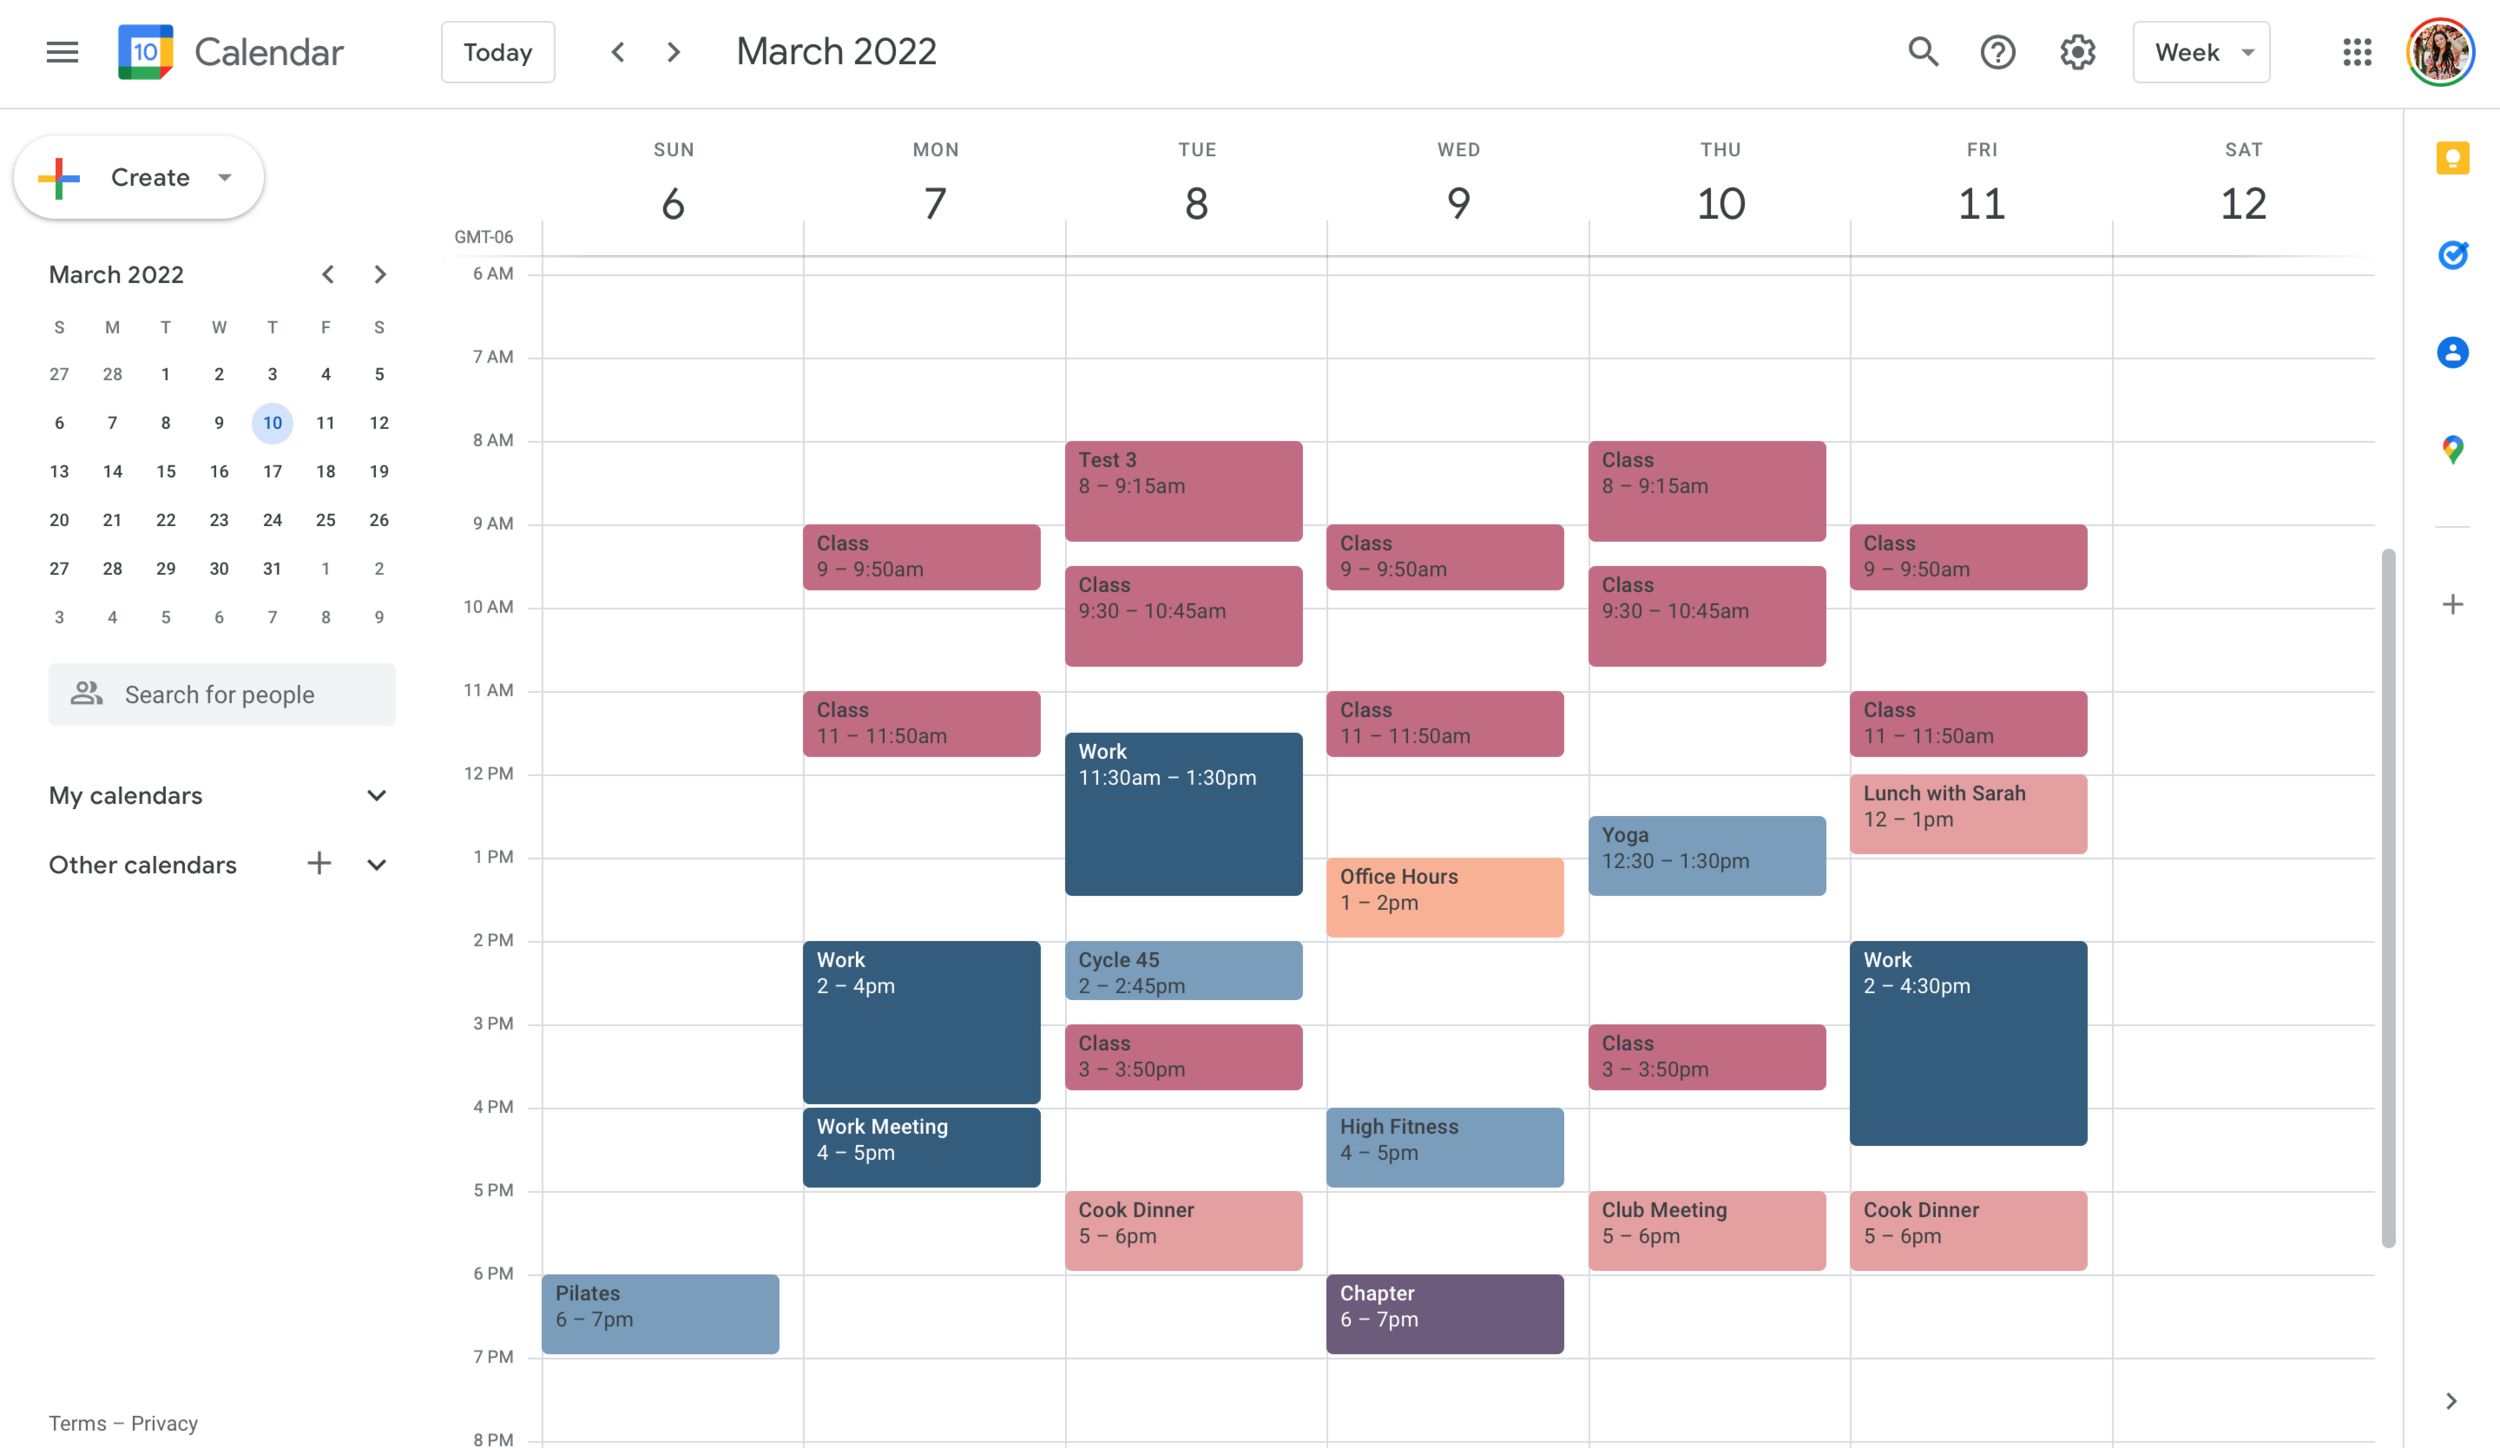
Once you have opened Google Calendar, you will be greeted with the familiar interface displaying your calendar for the current day, week, or month. Take a moment to familiarize yourself with the layout and navigation options.
At the top left corner of the screen, you will find the navigation menu, represented by three horizontal lines. Click or tap on this icon to access additional settings and features.
A dropdown menu will appear with various options, including “Settings,” “Help & Feedback,” and “Switch to the New Calendar.” For the purpose of creating appointment slots, we will focus on the main calendar interface. Click or tap on the “X” icon or outside the dropdown menu to close it.
Now that you have successfully opened Google Calendar and are comfortable with the interface, we can move on to the next step in creating appointment slots.
Note: It is recommended to use Google Calendar on a desktop or laptop for a better user experience. Although the mobile app offers the same functionality, some features may be easier to access and navigate in the desktop version.
Step 2: Create a New Event
Now that you have opened Google Calendar, it’s time to create a new event. This event will serve as the template for your appointment slots.
To create a new event, simply click or tap on the desired date and time slot in your calendar. A pop-up window will appear, prompting you to enter event details.
In the event window, you will see fields to enter the event title, date, start time, and end time. Fill in the relevant information as per the desired appointment slot length. For example, if you want each appointment slot to be 30 minutes long, enter the start time and end time accordingly.
Make sure to choose a descriptive title for your appointment slots. This will help others understand the purpose of the slots and make it easier for them to schedule their appointments.
Once you have filled in the necessary information, click or tap on the “Create” button to create the event and proceed to the next step.
Note: If you want to create recurring appointment slots on a regular basis, you can use the “Repeat” option in the event window. This will allow you to specify the frequency and duration of the recurring slots.
By creating a new event, you have set the foundation for your appointment slots. In the next step, we will learn how to convert this event into an appointment slot to make it available for bookings.
Step 3: Set the Event as an Appointment Slot
Now that you have created the event, it’s time to convert it into an appointment slot. This will allow others to book their appointments during the designated time slot.
To set the event as an appointment slot, simply click or tap on the created event in your calendar. The event details will appear in a pop-up window.
In the event window, you will see options such as “More Options” or a pencil icon, depending on the version of Google Calendar you are using. Click or tap on these options to access the additional settings for the event.
Within the event settings, look for the option to set the event as an appointment slot. In the older version of Google Calendar, this may be referred to as “Appointment slots” or “Make available for appointment.” In the new version, look for the “Event type” dropdown menu and select “Appointment slots.”
Once you have selected the appropriate option, you will notice that the event details change. The event duration may be adjusted to reflect the appointment slot length you specified earlier. The event title may also be updated to indicate that it is now an appointment slot.
Take a moment to review the event details and ensure that everything is correctly set up. You can make any necessary modifications, such as adjusting the duration or changing the event title, by editing the event settings.
Once you are satisfied with the changes, click or tap on the “Save” or “Done” button to save the appointment slot and move on to the next step.
By setting the event as an appointment slot, you have made it available for others to book their appointments. In the following steps, we will explore how to specify the duration, availability, and other details for the appointment slots.
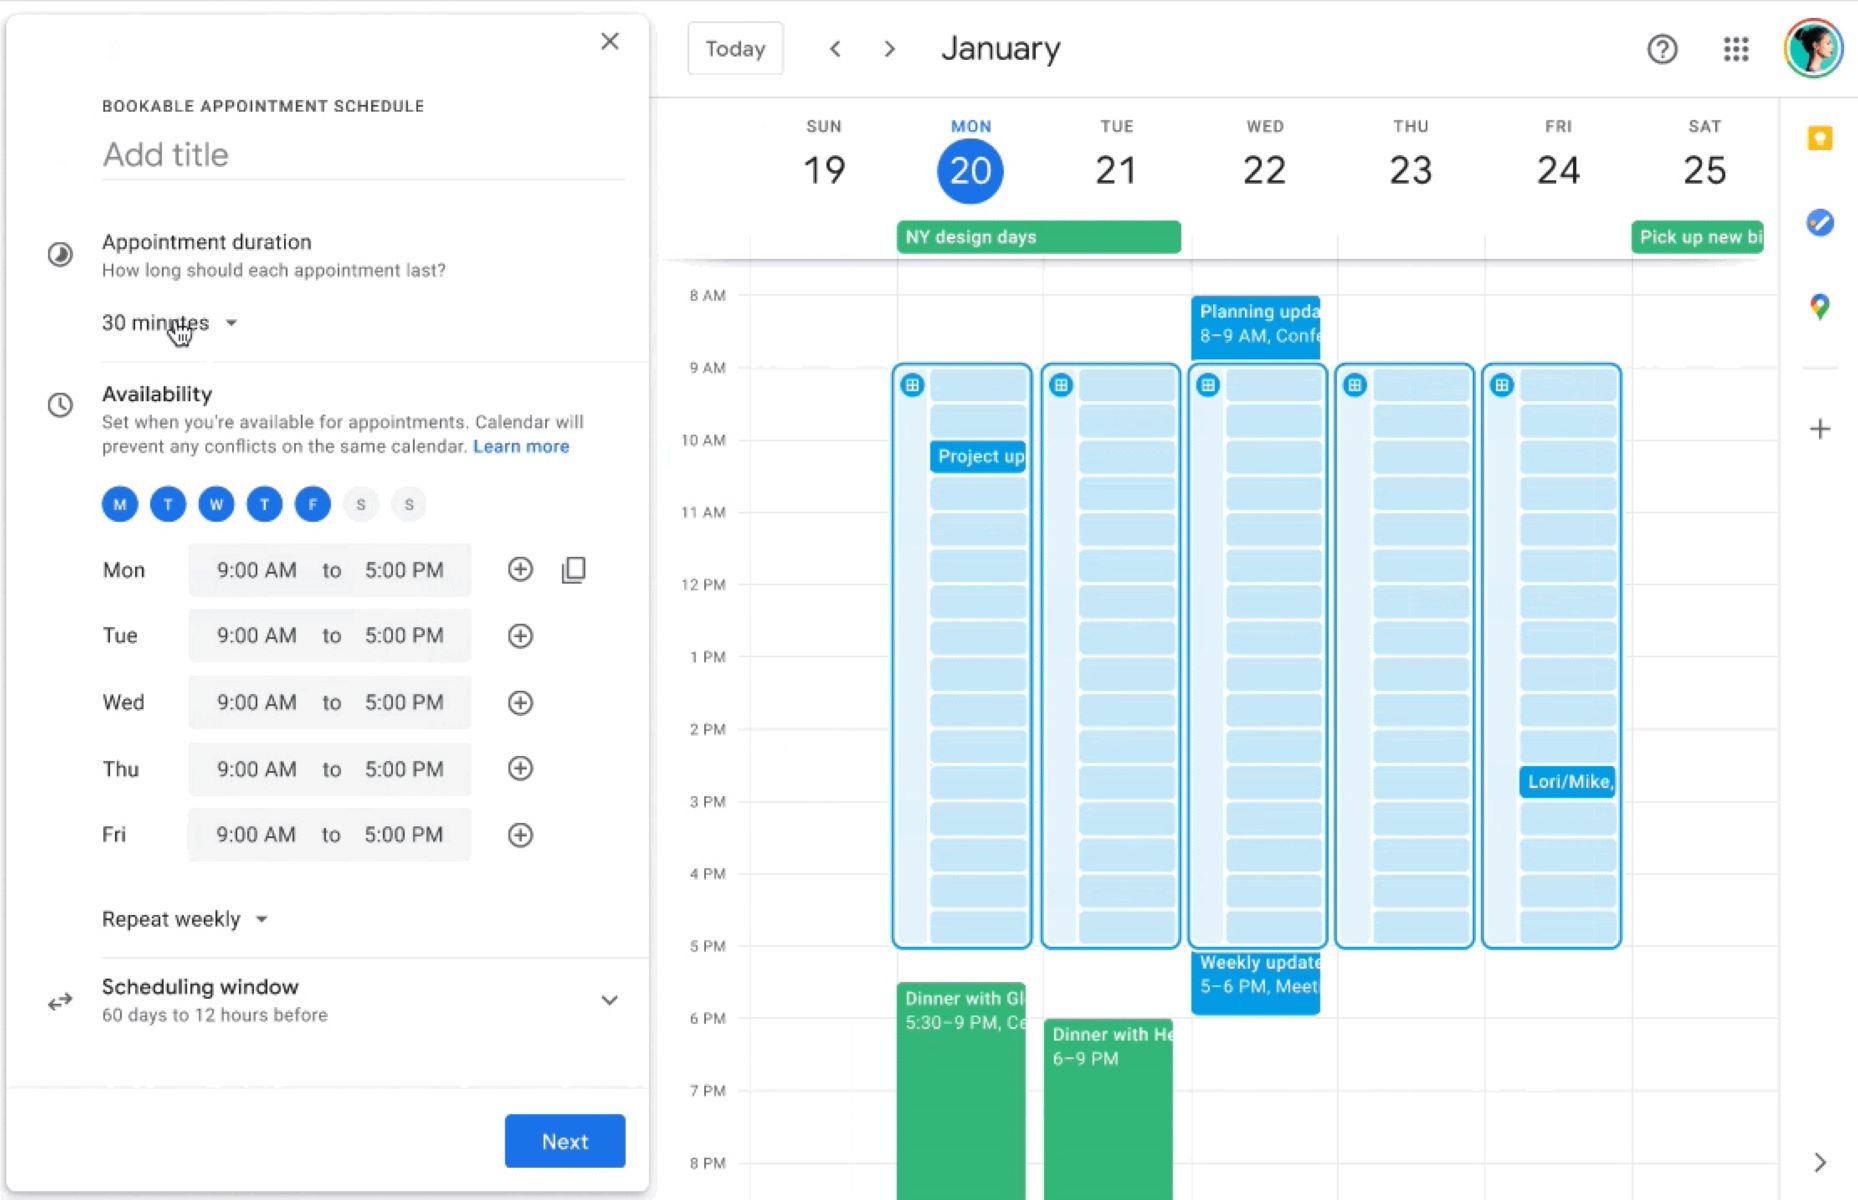
Step 4: Specify the Duration and Availability
Now that you have set the event as an appointment slot, it’s time to specify the duration and availability of each slot. This will determine how long each appointment will be and the time slots during which others can book their appointments.
To specify the duration and availability, go back to the main calendar view and locate the appointment slot you created. You can easily identify it by the different formatting or title compared to regular events.
Click or tap on the appointment slot to open its details. You will see options to modify the slot duration and availability.
To change the duration of each appointment slot, edit the event’s start and end times. By adjusting the start and end times, you can set the precise length of each appointment. For example, if you want each appointment to be 60 minutes long, modify the end time to reflect that.
Next, determine the availability of each slot. This is the time frame during which others can book their appointments. By default, the availability is set to “Busy,” indicating that the slot is not available for booking. To make the slot available, change the availability to either “Available” or “Free.”
Additionally, you may have the option to choose the visibility of the appointment slots. Depending on your preferences, you can make the slots visible to everyone, only to people within your organization, or to specific individuals by adding their email addresses.
Take some time to review the duration, availability, and visibility settings for the appointment slots. Make any necessary modifications to ensure that the slots are configured according to your preferences.
Once you are satisfied with the changes, click or tap on the “Save” or “Done” button to save the appointment slot with the specified duration and availability.
By specifying the duration and availability, you have customized the appointment slots to suit your scheduling needs. In the next step, we will explore how to add extra options, such as a location or description, to the appointment slots.
Step 5: Customize the Appointment Slot Details
Now that you have specified the duration and availability of the appointment slots, it’s time to customize the details to provide further information to those booking appointments. This can include adding a location, description, or any other relevant details.
To customize the appointment slot details, locate the appointment slot in your Google Calendar. Click or tap on the slot to open its details.
In the appointment slot details, you will see various fields where you can provide additional information. These fields may include the event title, location, description, and any other custom fields you have added.
If you want to include a specific location for the appointment, enter the address or location details in the corresponding field. This can be useful if you have different locations for different appointment slots or if you want to provide directions to the location.
The description field allows you to provide additional information or instructions for the appointment slot. You can add details such as what the appointment is for, any materials or documents required, or any specific preparations the participants need to make.
Feel free to add any other necessary details or customizations to the appointment slot. This can include attaching files, adding links, or specifying any special requirements.
Take a moment to review the appointment slot details and ensure that all the information is accurate and complete. Make any necessary modifications or additions to provide clarity and relevant information.
Once you are satisfied with the customized details, click or tap on the “Save” or “Done” button to save the appointment slot.
By customizing the appointment slot details, you have provided additional information and instructions for those booking appointments. In the next step, we will explore how to invite others to book the appointment slots.
Step 6: Add Extra Options, such as Location or Description
In addition to customizing the appointment slot details, Google Calendar offers various extra options that you can include to enhance the booking experience. These options can include adding a location, description, or any other relevant details to provide more context to those booking the appointments.
To add extra options to the appointment slots, go to the appointment slot in your Google Calendar and click or tap on it to open its details.
Within the appointment slot details, you will see fields where you can input additional information. These fields may include the event title, location, description, and any other custom fields you have included.
If you want to specify a particular location for the appointment, simply enter the address or location details in the location field. Including a location can be beneficial if you have multiple locations for different appointment slots or if you want to provide directions to the venue.
The description field allows you to provide extra information or instructions regarding the appointment slot. You can include details such as the purpose of the appointment, any necessary materials or documents, or specific requirements for the participants. This will give clarity to those booking appointments and help them come prepared.
Google Calendar also offers the option to attach files or add links to the appointment slot. If there are any relevant documents, forms, or resources that you want to share with the participants, you can easily attach them to the appointment slot. You can also include relevant links that participants can access for reference or additional information.
Take a moment to review the appointment slot details and ensure that all the extra options are accurate and complete. Make any necessary modifications or additions to provide a comprehensive and informative booking experience for others.
Once you are satisfied with the extra options, click or tap on the “Save” or “Done” button to save the appointment slot with all the added details.
By including extra options such as a location, description, or attachments, you are enhancing the booking experience and providing valuable information to those scheduling appointments. In the following step, we will explore how to invite others to book the appointment slots.
Step 7: Invite Others to Book the Appointment Slot
Now that you have customized the details and added extra options to your appointment slots, it’s time to invite others to book their appointments. Google Calendar provides a convenient way for you to share the appointment slots and allow people to schedule their desired time slot.
To invite others to book the appointment slot, locate the slot in your Google Calendar and click or tap on it to open its details.
In the appointment slot details, you will find an option to “Copy invitation.” Click or tap on this option to generate a link that you can share with others.
The copied invitation link can be shared through various channels, such as email, messaging apps, or even embedded on a website. Simply paste the copied link in the desired medium to invite others to book the appointment slot.
Along with the invitation link, you may want to add a personalized message detailing the purpose of the appointment slots and any necessary instructions. This will help individuals understand the context of the slots and make an informed decision while booking their appointments.
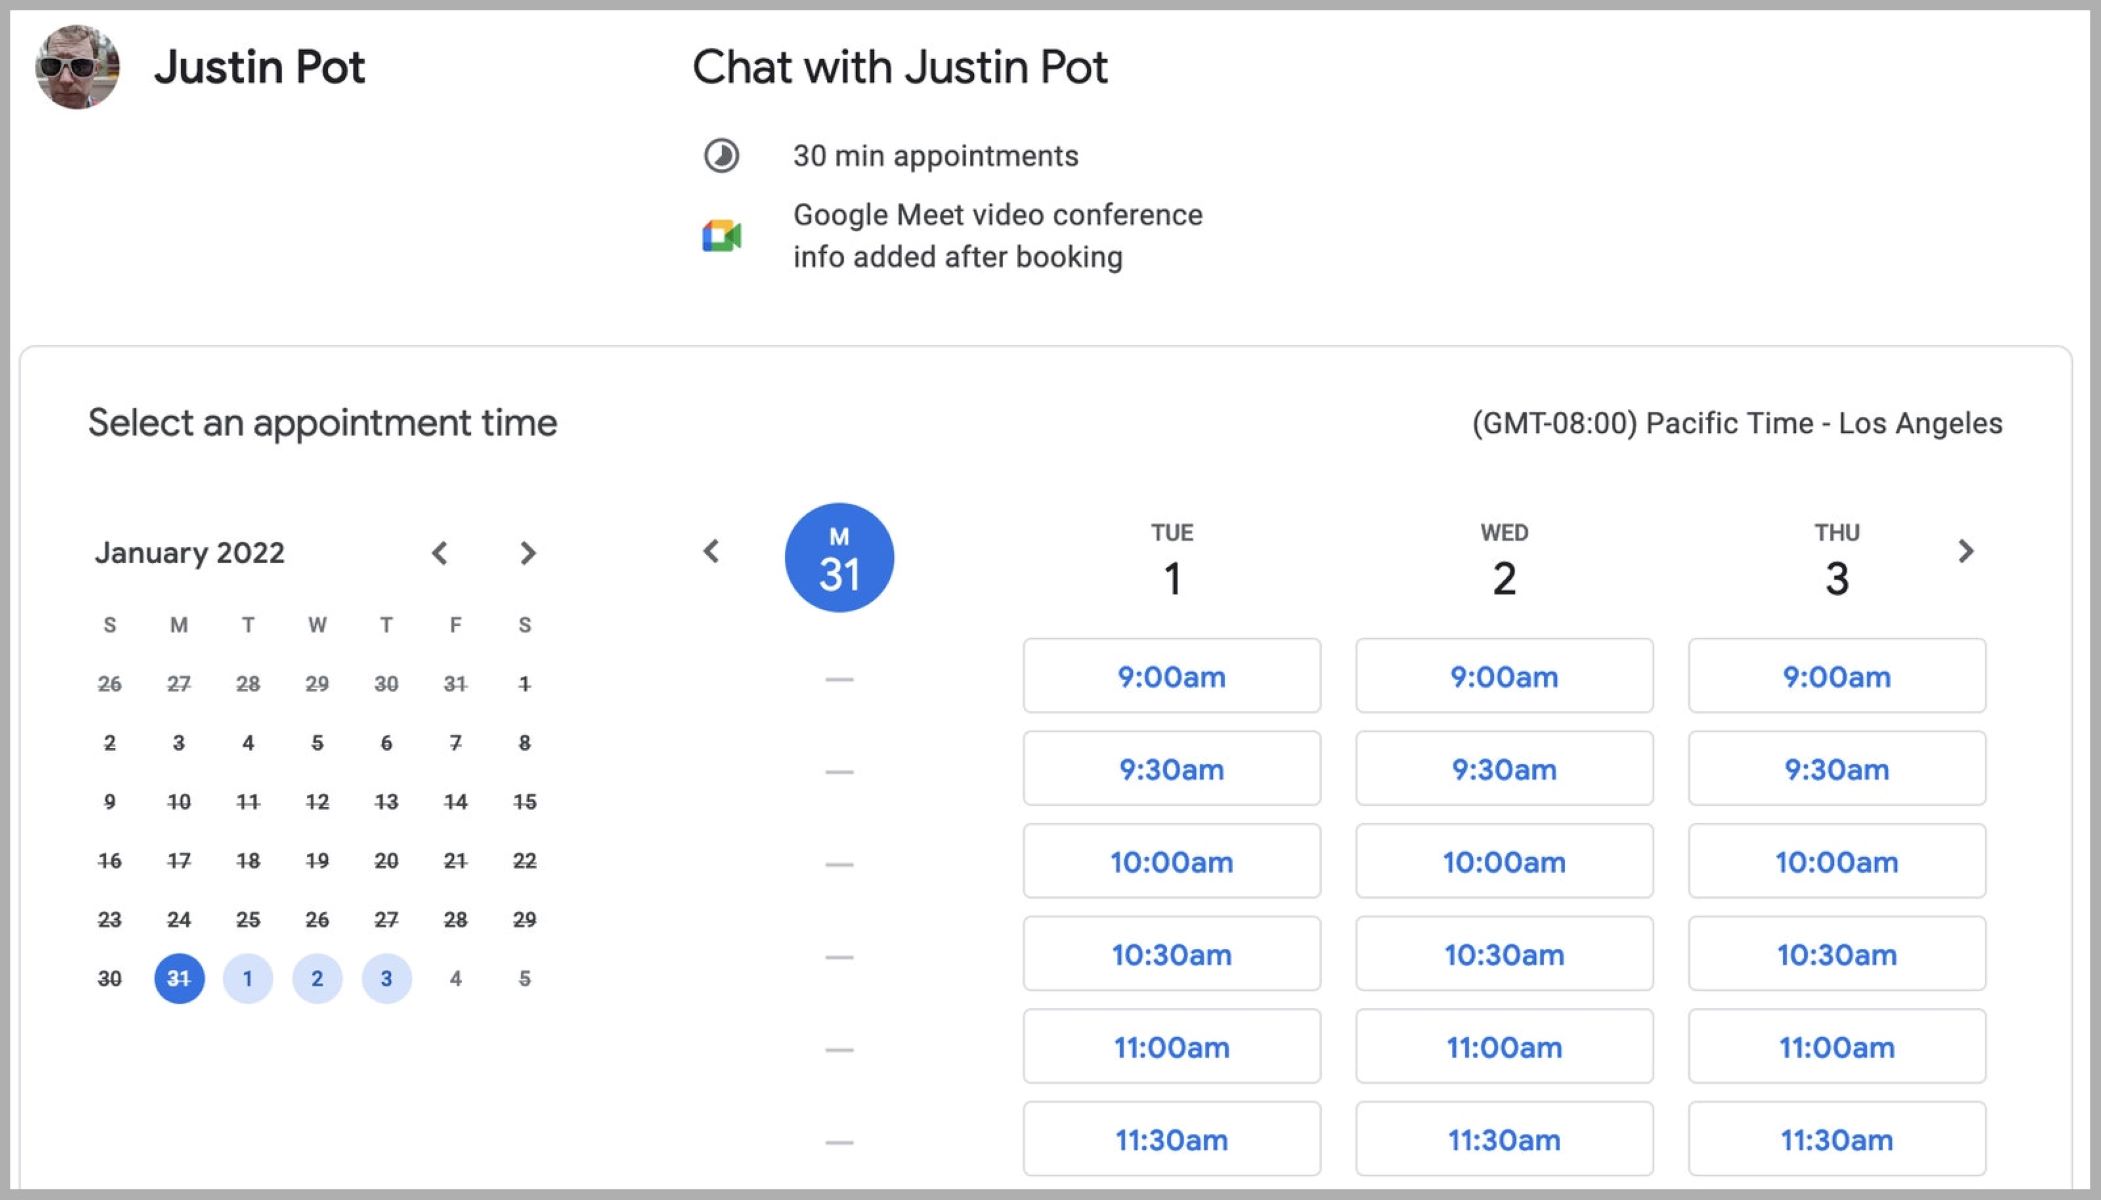
Encourage the recipients to click on the invitation link to access the available slots and select their preferred time slot. They will be directed to a booking page where they can view the available options and make their selection.
Depending on the settings you have chosen, individuals may be required to sign in to their Google account to book an appointment slot. This can help you keep track of the bookings and manage the schedule more efficiently.
Once individuals have booked their appointments, the slots will be updated in your calendar. You will be able to see the booked appointments and any associated details, such as the participant’s name or email address.
By inviting others to book the appointment slots, you are providing them with the flexibility to choose a suitable time slot and avoid the need for back-and-forth communication. This streamlines the scheduling process and ensures a more efficient use of everyone’s time.
Now that you have learned how to invite others, let’s move on to the final step of saving and sharing the appointment slots link.
Step 8: Save and Share the Appointment Slots Link
After setting up your appointment slots and inviting others to book, it’s important to save and share the appointment slots link to make it easily accessible to potential participants. Saving and sharing the link will ensure that individuals can view the available slots and schedule their appointments conveniently.
To save and share the appointment slots link, go back to the appointment slot in your Google Calendar and click or tap on it to open its details.
In the appointment slot details, you will find the appointment slots link. This link allows individuals to directly access the booking page without needing an invitation. Copy the appointment slots link to your clipboard.
Once you have copied the link, you can share it through various means such as email, social media, or through messaging apps. You can also embed the link on your website or share it in any other way that suits your needs.
When sharing the appointment slots link, consider including a brief description or message to provide context and encourage individuals to book their appointments. This will help increase the participation rate and ensure that others understand the purpose and benefits of scheduling their appointments through the provided link.
Remember to periodically check your calendar for new bookings and update the available slots accordingly. As individuals book their appointments, the slots will be marked as busy or unavailable to avoid any overlapping appointments.
By saving and sharing the appointment slots link, you are making it convenient for potential participants to view and book their appointments. This simplifies the scheduling process and ensures that everyone involved can manage their time effectively.
Congratulations! You have successfully completed the steps to create appointment slots in Google Calendar. Enjoy the benefits of streamlined scheduling and efficient appointment management in your personal or professional life.
Conclusion
Utilizing appointment slots in Google Calendar can significantly simplify the process of scheduling appointments and managing your time. By following the step-by-step guide outlined in this article, you have learned how to create appointment slots, specify their duration and availability, customize their details, and invite others to book their appointments.
With the ability to block out specific times in your calendar for others to schedule appointments, you can eliminate the hassle of back-and-forth communication and easily find mutually convenient time slots. Whether you’re a business owner, healthcare professional, or student, this feature enables you to streamline your scheduling process and improve efficiency.
Remember, it’s essential to provide clear and concise instructions, customize the appointment slot details, and share the appointment slots link to maximize participation. By doing so, you enable others to easily access and book appointments while reducing administrative overhead for yourself.
Take advantage of Google Calendar’s additional features such as adding a location, description, or attachments to provide more context and information to potential participants. This will enhance the booking experience and ensure that everyone is well-prepared for their appointments.
By utilizing appointment slots in Google Calendar, you can better manage your schedule, easily collaborate with others, and improve overall productivity. So, give it a try and experience the benefits of efficient appointment scheduling!
Now that you have the knowledge and skills to create appointment slots in Google Calendar, go ahead and start implementing this feature in your workflow. Enjoy the convenience and time-saving benefits it brings to your professional and personal life.