Introduction
Welcome to the world of virtual machines! With the rapid advancement of technology, virtualization has become an essential tool for software developers, IT professionals, and enthusiasts alike. Virtual machines allow you to run multiple operating systems on a single physical machine, providing a convenient and secure environment for testing software, running legacy applications, or simply exploring new operating systems.
In this guide, we will walk you through the process of creating a 64-bit virtual machine using VirtualBox, one of the most popular virtualization platforms available. Whether you are a seasoned professional looking to expand your virtualization skills or a beginner eager to dive into the world of virtual machines, this tutorial will equip you with the knowledge and skills to get started.
Before we begin, it is important to note that creating a 64-bit virtual machine requires a 64-bit host operating system. Additionally, your CPU must support hardware virtualization, also known as Intel Virtualization Technology (VT-x) or AMD Virtualization (AMD-V). You can check if your CPU supports these features by accessing the BIOS settings of your computer.
Throughout this tutorial, we will guide you step-by-step, from installing VirtualBox to configuring the virtual machine and installing the desired operating system. We will also cover how to optimize the virtual machine settings and install the VirtualBox Guest Additions for enhanced functionality.
By the end of this guide, you will have a fully functional 64-bit virtual machine running on VirtualBox, ready for you to explore and experiment with different operating systems and software.
So, let’s get started and embark on this exciting virtualization journey!
Step 1: Install VirtualBox
The first step in creating a 64-bit virtual machine is to install VirtualBox on your computer. VirtualBox is a free and open-source virtualization platform that allows you to create and manage virtual machines with ease.
To install VirtualBox, follow these steps:
- Go to the official VirtualBox website at https://www.virtualbox.org and click on the “Downloads” link.
- On the downloads page, you will find different versions of VirtualBox available for various operating systems. Choose the version that is compatible with your host operating system and click on the corresponding download link.
- Once the download is complete, locate the installation file and double-click on it to start the installation process.
- Follow the on-screen instructions to complete the installation. You may be prompted to provide administrative privileges to install the software.
- After the installation is complete, launch VirtualBox from the Start menu, desktop shortcut, or any other location where it was installed.
That’s it! You have successfully installed VirtualBox on your computer. Now you are one step closer to creating your 64-bit virtual machine.
VirtualBox provides a user-friendly interface that allows you to manage and configure your virtual machines effortlessly. In the next step, we will guide you on how to download a 64-bit ISO file that will serve as the installation media for your virtual machine.
Step 2: Download a 64-bit ISO file
In order to create a 64-bit virtual machine, you will need an ISO file of the desired operating system. An ISO file is a disk image that contains all the necessary files and folders for installing an operating system.
Here’s how you can download a 64-bit ISO file:
- Choose the operating system you want to install on your virtual machine. Whether it’s the latest version of Windows, Linux distribution, or any other 64-bit operating system, make sure it is compatible with VirtualBox.
- Visit the official website of the operating system or a trusted source that provides ISO files for download.
- Look for the download section or page on the website. There, you should find options to select the version and architecture of the operating system.
- Select the 64-bit version of the operating system and click on the download button or link.
- Depending on the size of the ISO file and your internet connection speed, the download may take some time. Be patient and let the download complete.
- Once the download is finished, you will have a 64-bit ISO file ready to be used for the installation of your virtual machine.
It is worth mentioning that you should always download ISO files from trusted sources to ensure their authenticity and integrity. This will help protect your computer from malware or unauthorized modifications.
Now that you have the 64-bit ISO file, you are ready to move on to the next step: creating a new virtual machine in VirtualBox.
Step 3: Create a new virtual machine
Now that you have VirtualBox installed and a 64-bit ISO file downloaded, it’s time to create a new virtual machine. This will serve as the foundation for running the desired operating system within VirtualBox.
Follow these steps to create a new virtual machine:
- Launch VirtualBox from the Start menu or desktop shortcut.
- Click on the “New” button in the VirtualBox Manager window. This will open the Create Virtual Machine wizard.
- In the wizard, provide a name for your virtual machine. Choose a descriptive name that reflects the operating system you will be installing.
- Select the type of operating system. In our case, since we are creating a 64-bit virtual machine, choose “Linux” or “Windows” depending on the operating system you downloaded the ISO file for.
- Select the version of the operating system. This should match the version of the ISO file you downloaded.
- Allocate the amount of memory (RAM) for your virtual machine. It is recommended to allocate at least 2GB of RAM for a smooth experience.
- Next, choose the option “Create a virtual hard disk now” and click “Create”. This will create a virtual hard disk for your virtual machine.
- Select the type of virtual hard disk file. The default option of “VDI (VirtualBox Disk Image)” is usually sufficient for most scenarios.
- Choose whether to allocate the virtual hard disk dynamically or with a fixed size. The dynamic allocation option allows the virtual hard disk to grow as needed, while the fixed size option allocates the entire disk space upfront.
- Specify the location and size of the virtual hard disk. The recommended size for a 64-bit virtual machine is at least 20GB.
Once you have gone through these steps, click “Create” to finalize the creation of your new virtual machine. You will now see your virtual machine listed in the VirtualBox Manager window.
In the next step, we will configure the settings of the virtual machine to optimize its performance and ensure compatibility with the desired operating system.
Step 4: Configure the virtual machine settings
Now that you have created a new virtual machine, it’s time to configure its settings to optimize performance and ensure compatibility with the desired operating system.
Follow these steps to configure the virtual machine settings:
- Ensure that the virtual machine you just created is selected in the VirtualBox Manager window.
- Click on the “Settings” button or navigate to the “Machine” menu and select “Settings”.
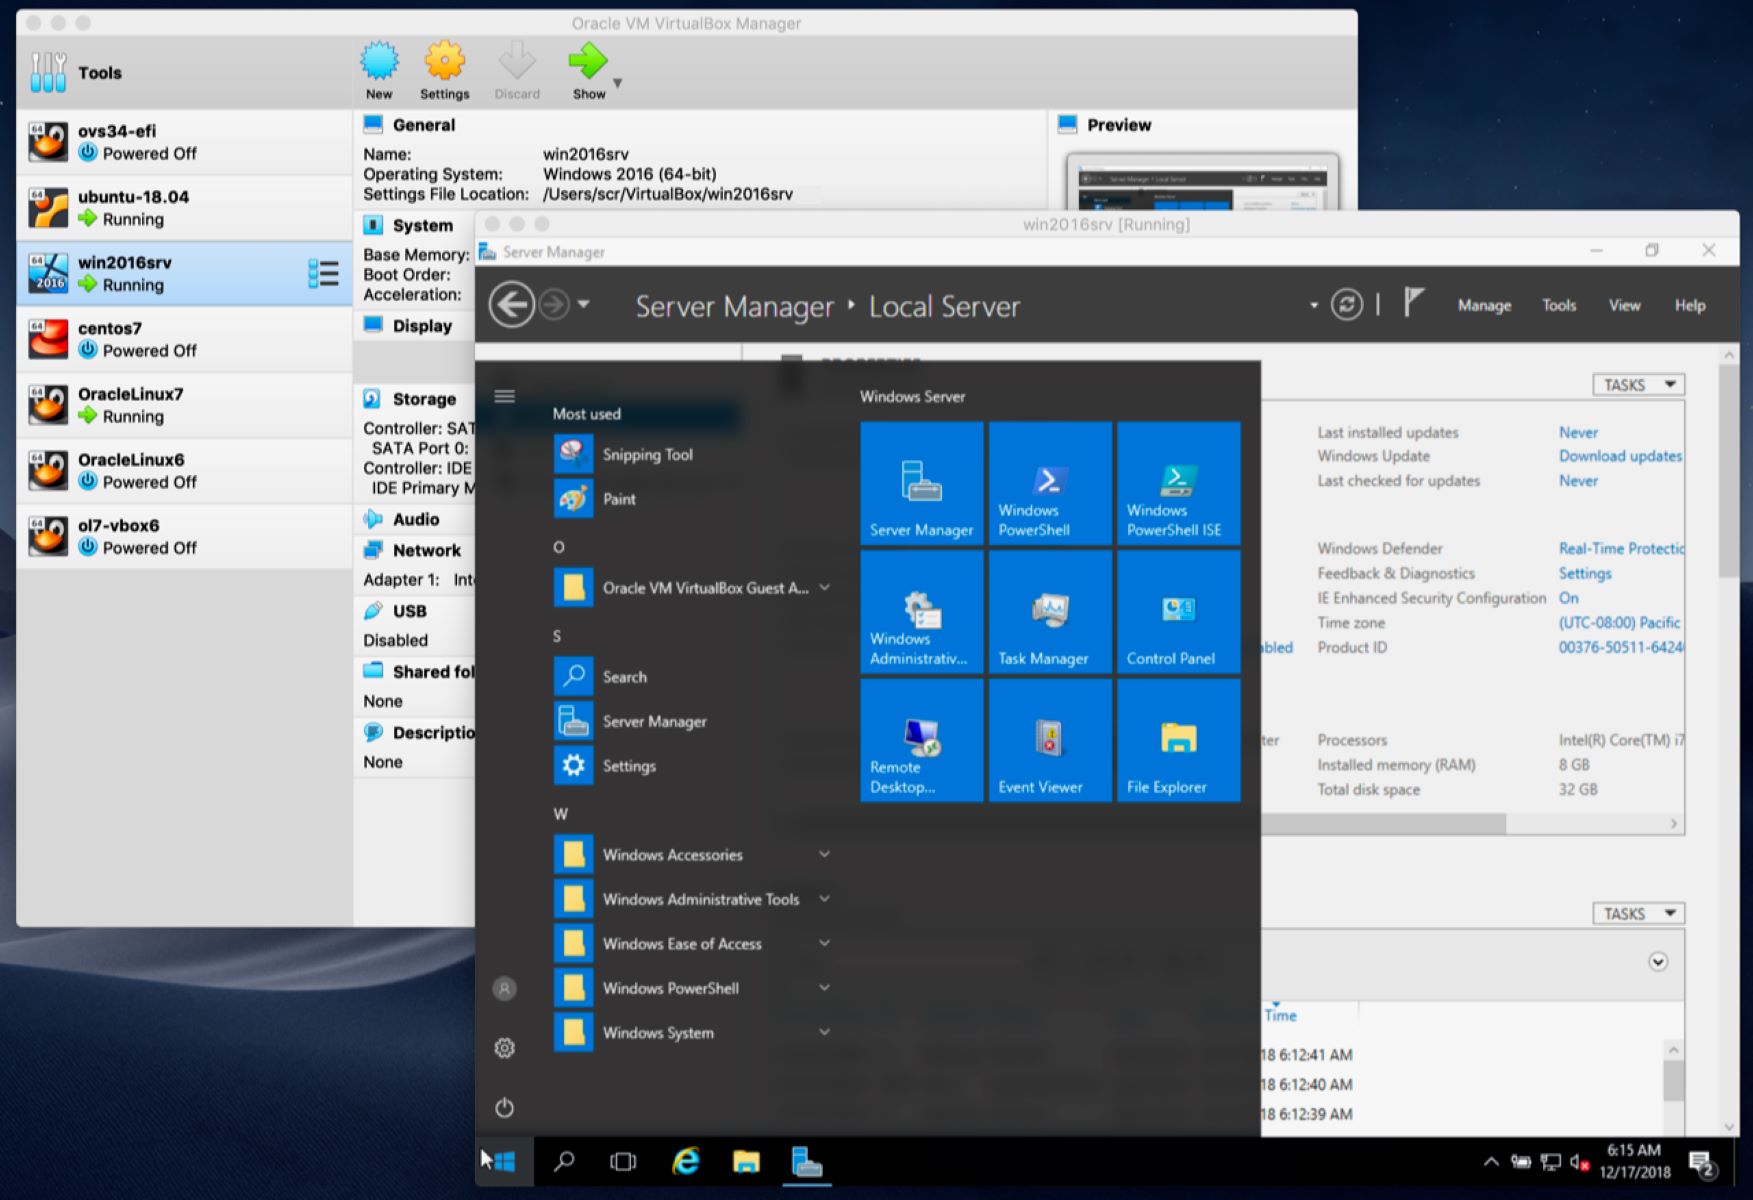
- In the settings window, you will find various tabs such as “General”, “System”, “Display”, “Storage”, and more.
- Start with the “System” tab. Here, you can adjust the number of processors assigned to the virtual machine. It is recommended to allocate 2 or more processors, depending on the capabilities of your host system.
- Next, navigate to the “Display” tab. Here, you can adjust the video memory allocated to the virtual machine. Increasing the video memory will enhance the graphics performance.
- Move to the “Storage” tab. Here, you can add the previously downloaded 64-bit ISO file as a virtual optical disk. Select the “Controller: IDE” option and click on the small disk icon to the right. Choose “Choose/Create a disk” and select the ISO file.
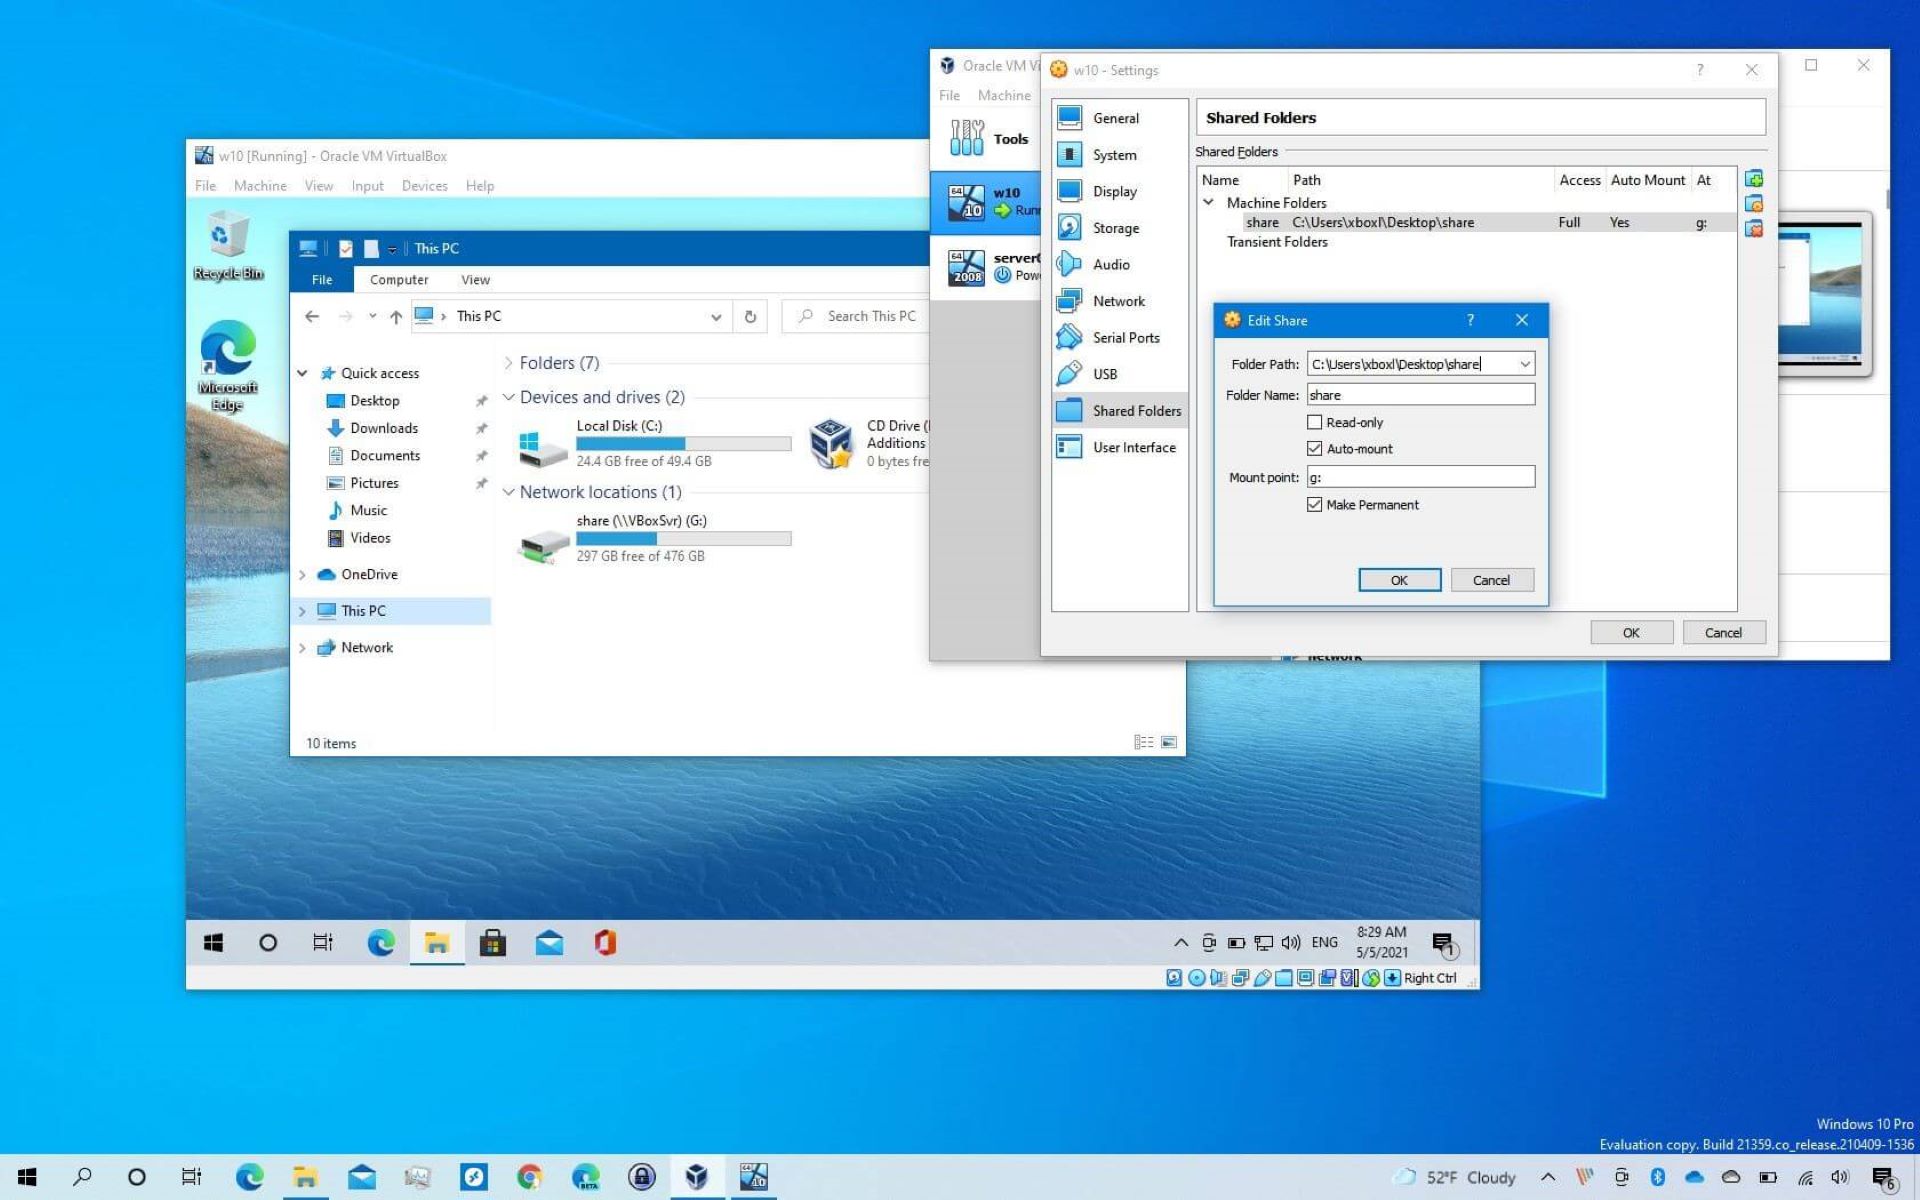
- If you want to enable additional features such as shared folders, drag and drop support, and clipboard sharing between your host and virtual machine, you can configure them in the “Shared Folders”, “Drag and Drop”, and “Clipboard” tabs.
- After making the necessary changes, click “OK” to save the settings.
Configuring these settings will ensure that your virtual machine has the necessary resources and capabilities to run the desired operating system smoothly. It is important to strike a balance between resource allocation and your host system’s capabilities to avoid any performance issues.
With the virtual machine settings configured, you are now ready to start the virtual machine and begin the installation of the operating system.
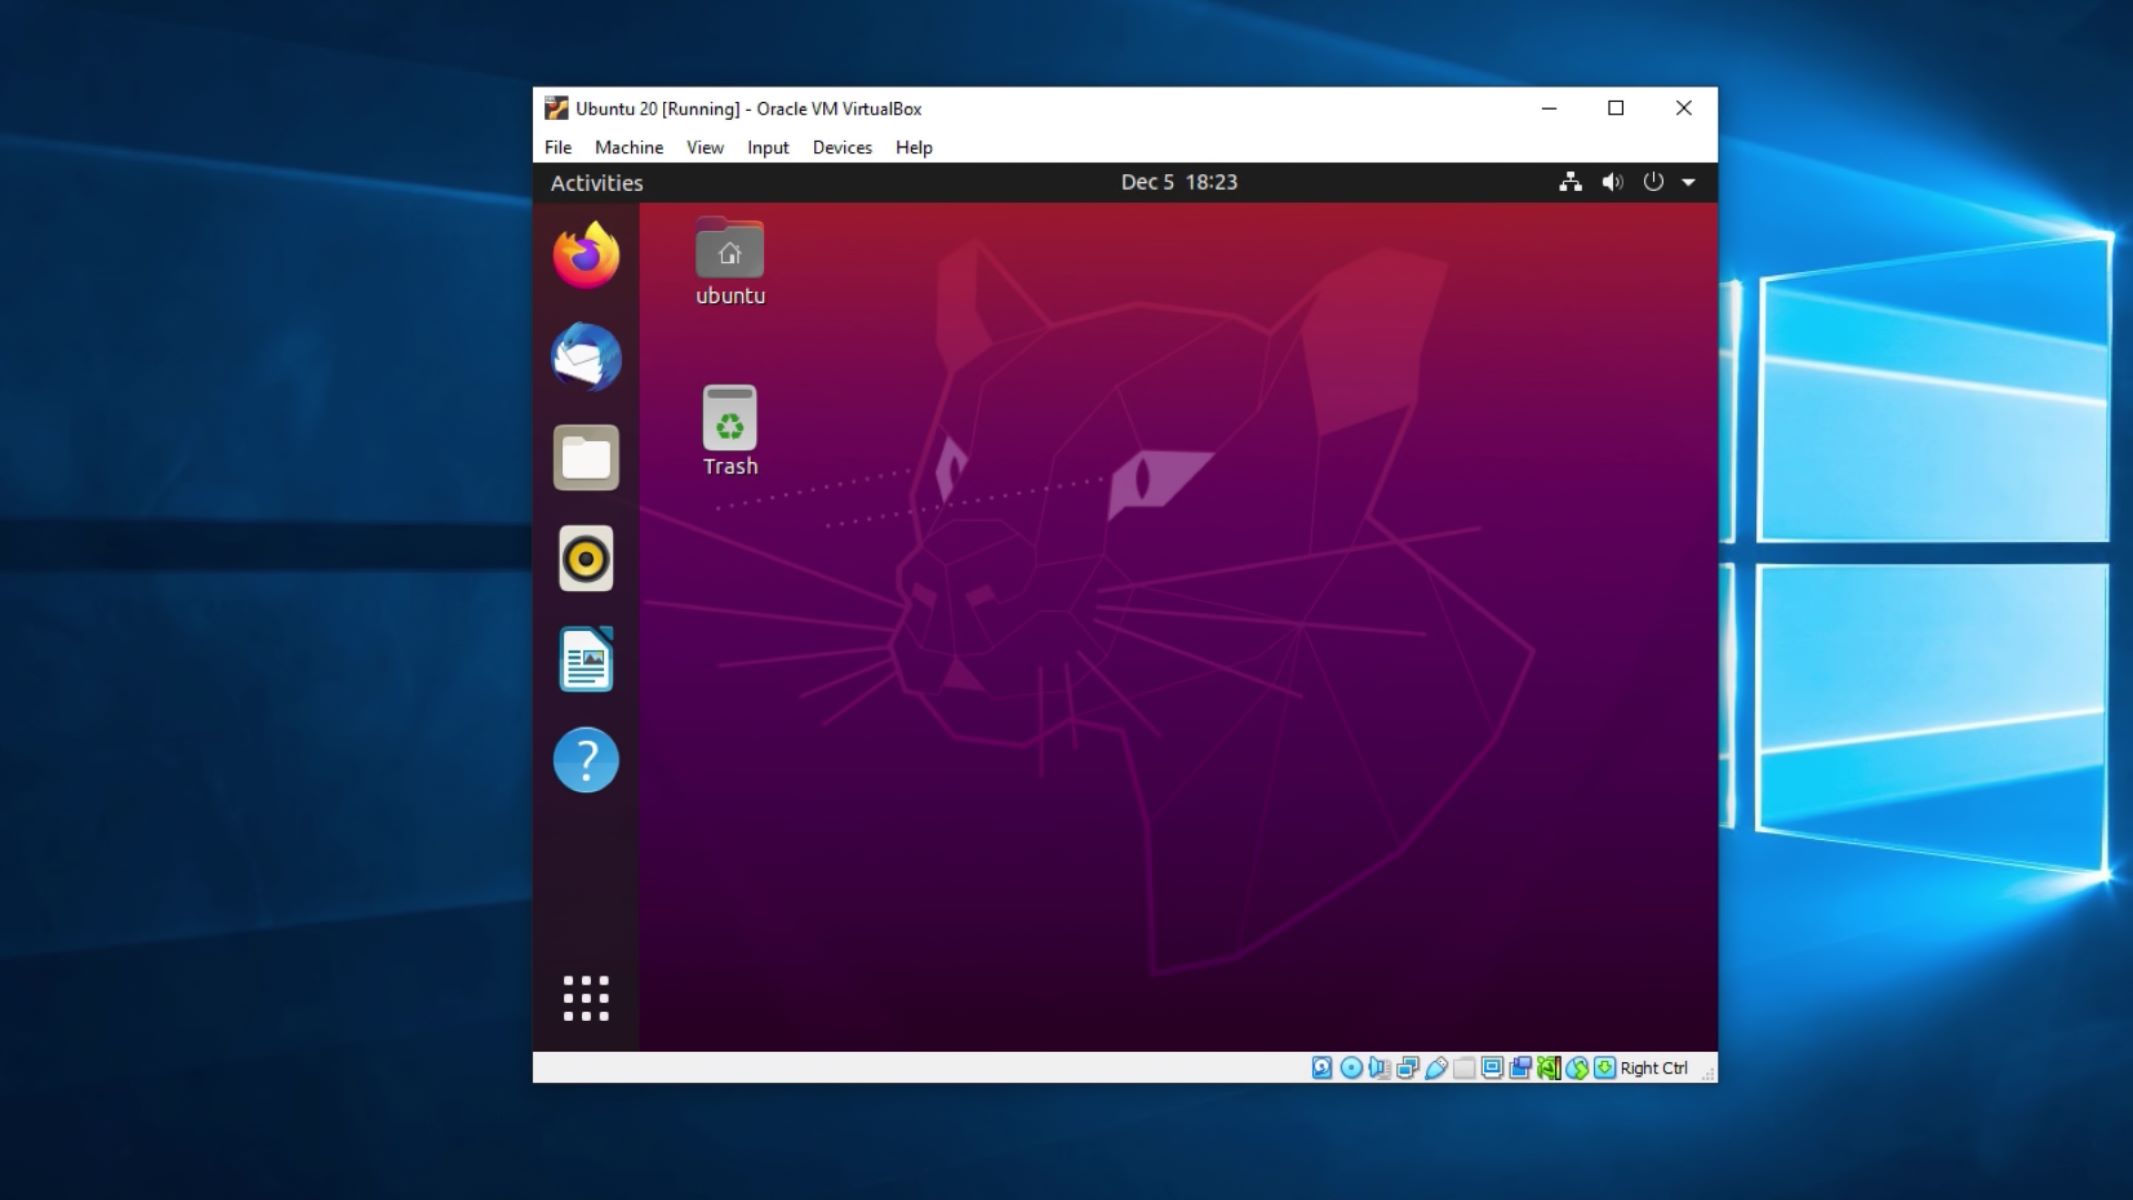
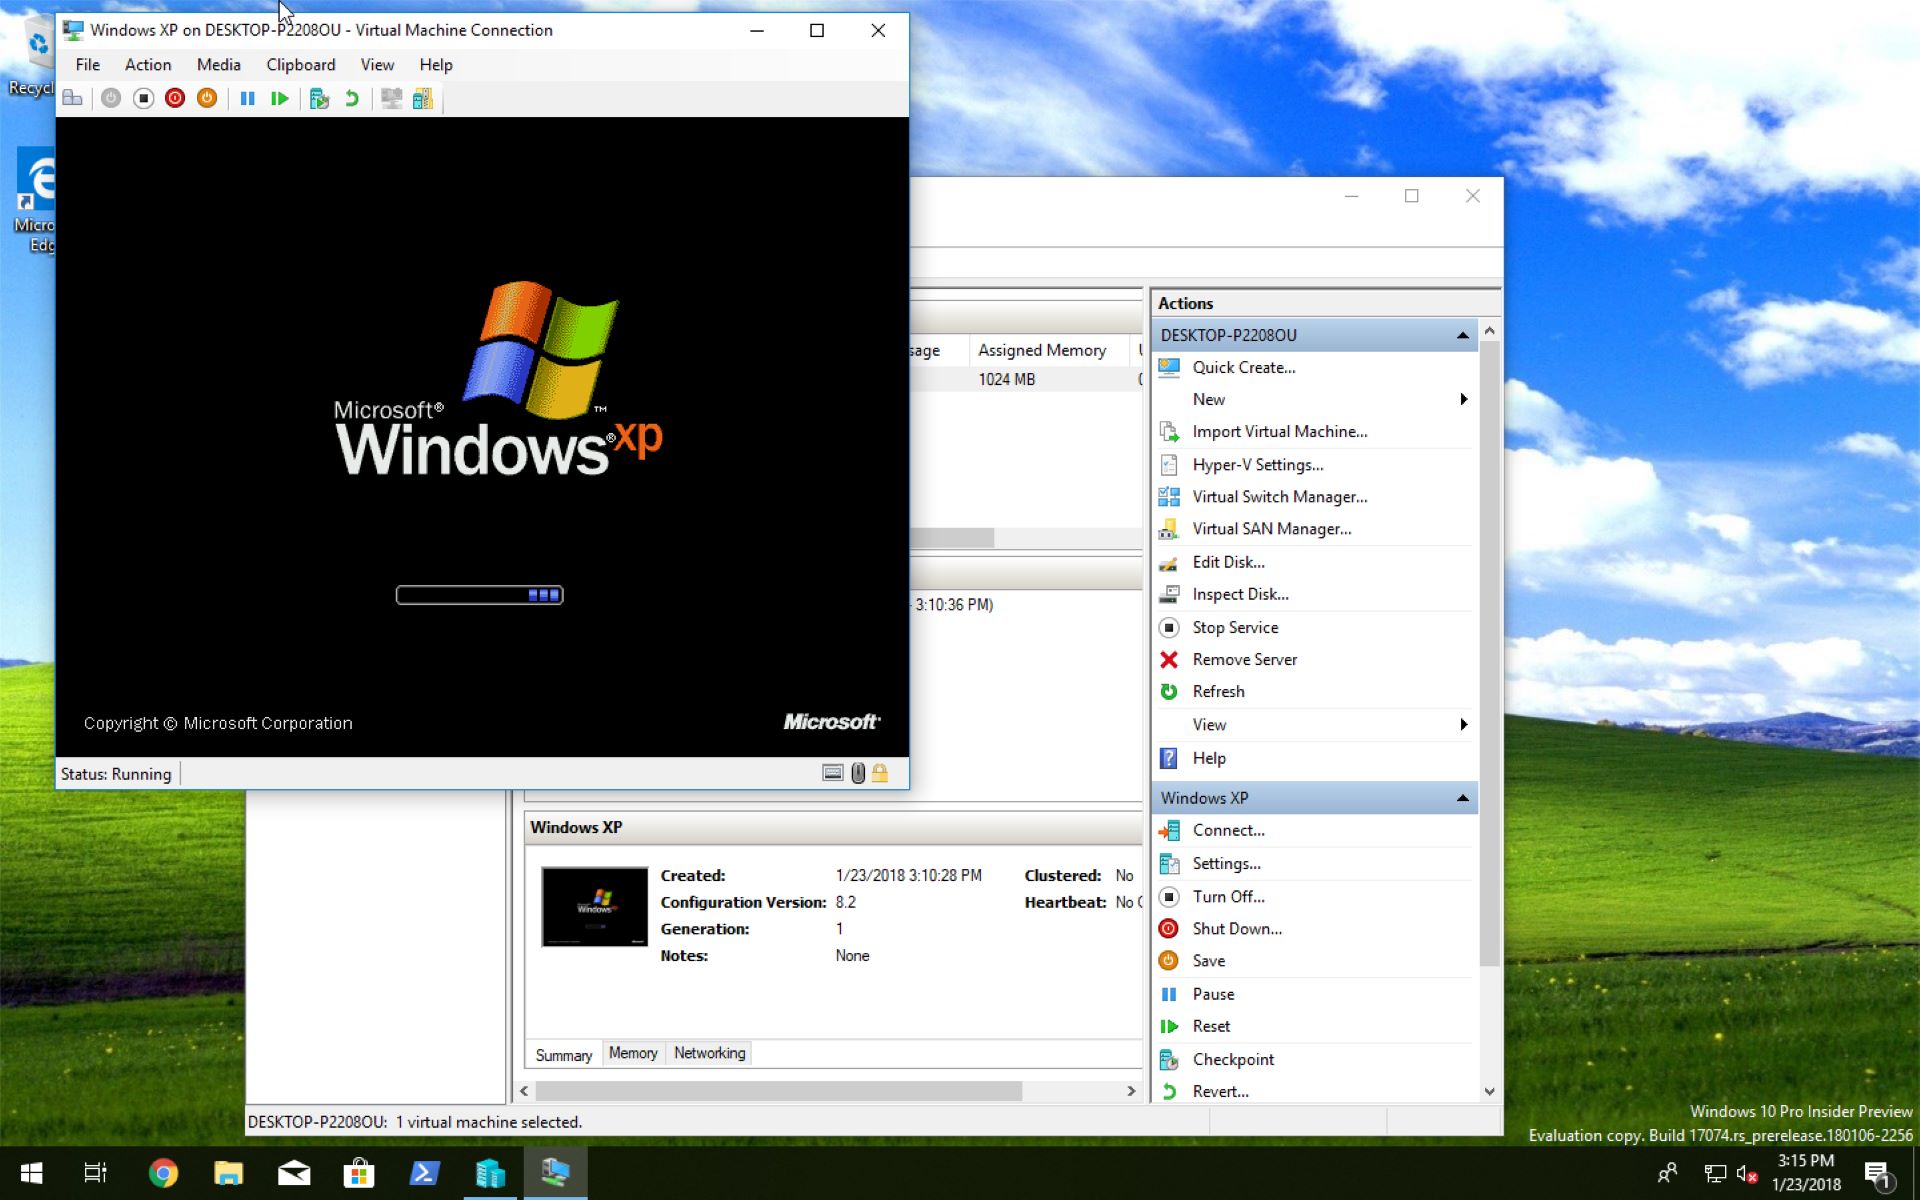
Step 5: Start the virtual machine and install the operating system
Now that you have configured the settings for your virtual machine, it’s time to start it up and begin the installation of the operating system.
Follow these steps to start the virtual machine and install the operating system:
- In the VirtualBox Manager window, ensure that your virtual machine is selected.
- Click on the “Start” button or right-click on the virtual machine and select “Start”.
- The virtual machine will start, and you will see a window displaying the virtual machine’s screen.
- At this point, VirtualBox may ask you to select the installation media. If you have correctly added the 64-bit ISO file as a virtual optical disk in the previous step, it should be automatically detected and selected. If not, you can manually select the ISO file by clicking the folder icon next to the drop-down menu.
- Once the installation media is selected, click on the “Start” button to begin the installation process.
- Follow the on-screen instructions provided by the operating system’s installation wizard. The steps may vary depending on the specific operating system you are installing.
- During the installation process, you may be prompted to make various selections such as language preferences, disk partitioning, and user account creation. Make the appropriate choices based on your preferences and requirements.
- Once the installation is complete, the virtual machine will restart. You can now proceed with the initial setup of the operating system, such as configuring network settings, installing updates, and customizing the user interface.
Congratulations! You have successfully started the virtual machine and initiated the installation of the operating system. Follow the on-screen instructions provided by the operating system’s installation wizard to complete the setup.
In the next step, we will cover how to install the VirtualBox Guest Additions, which are essential for enhancing the functionality and performance of your virtual machine.
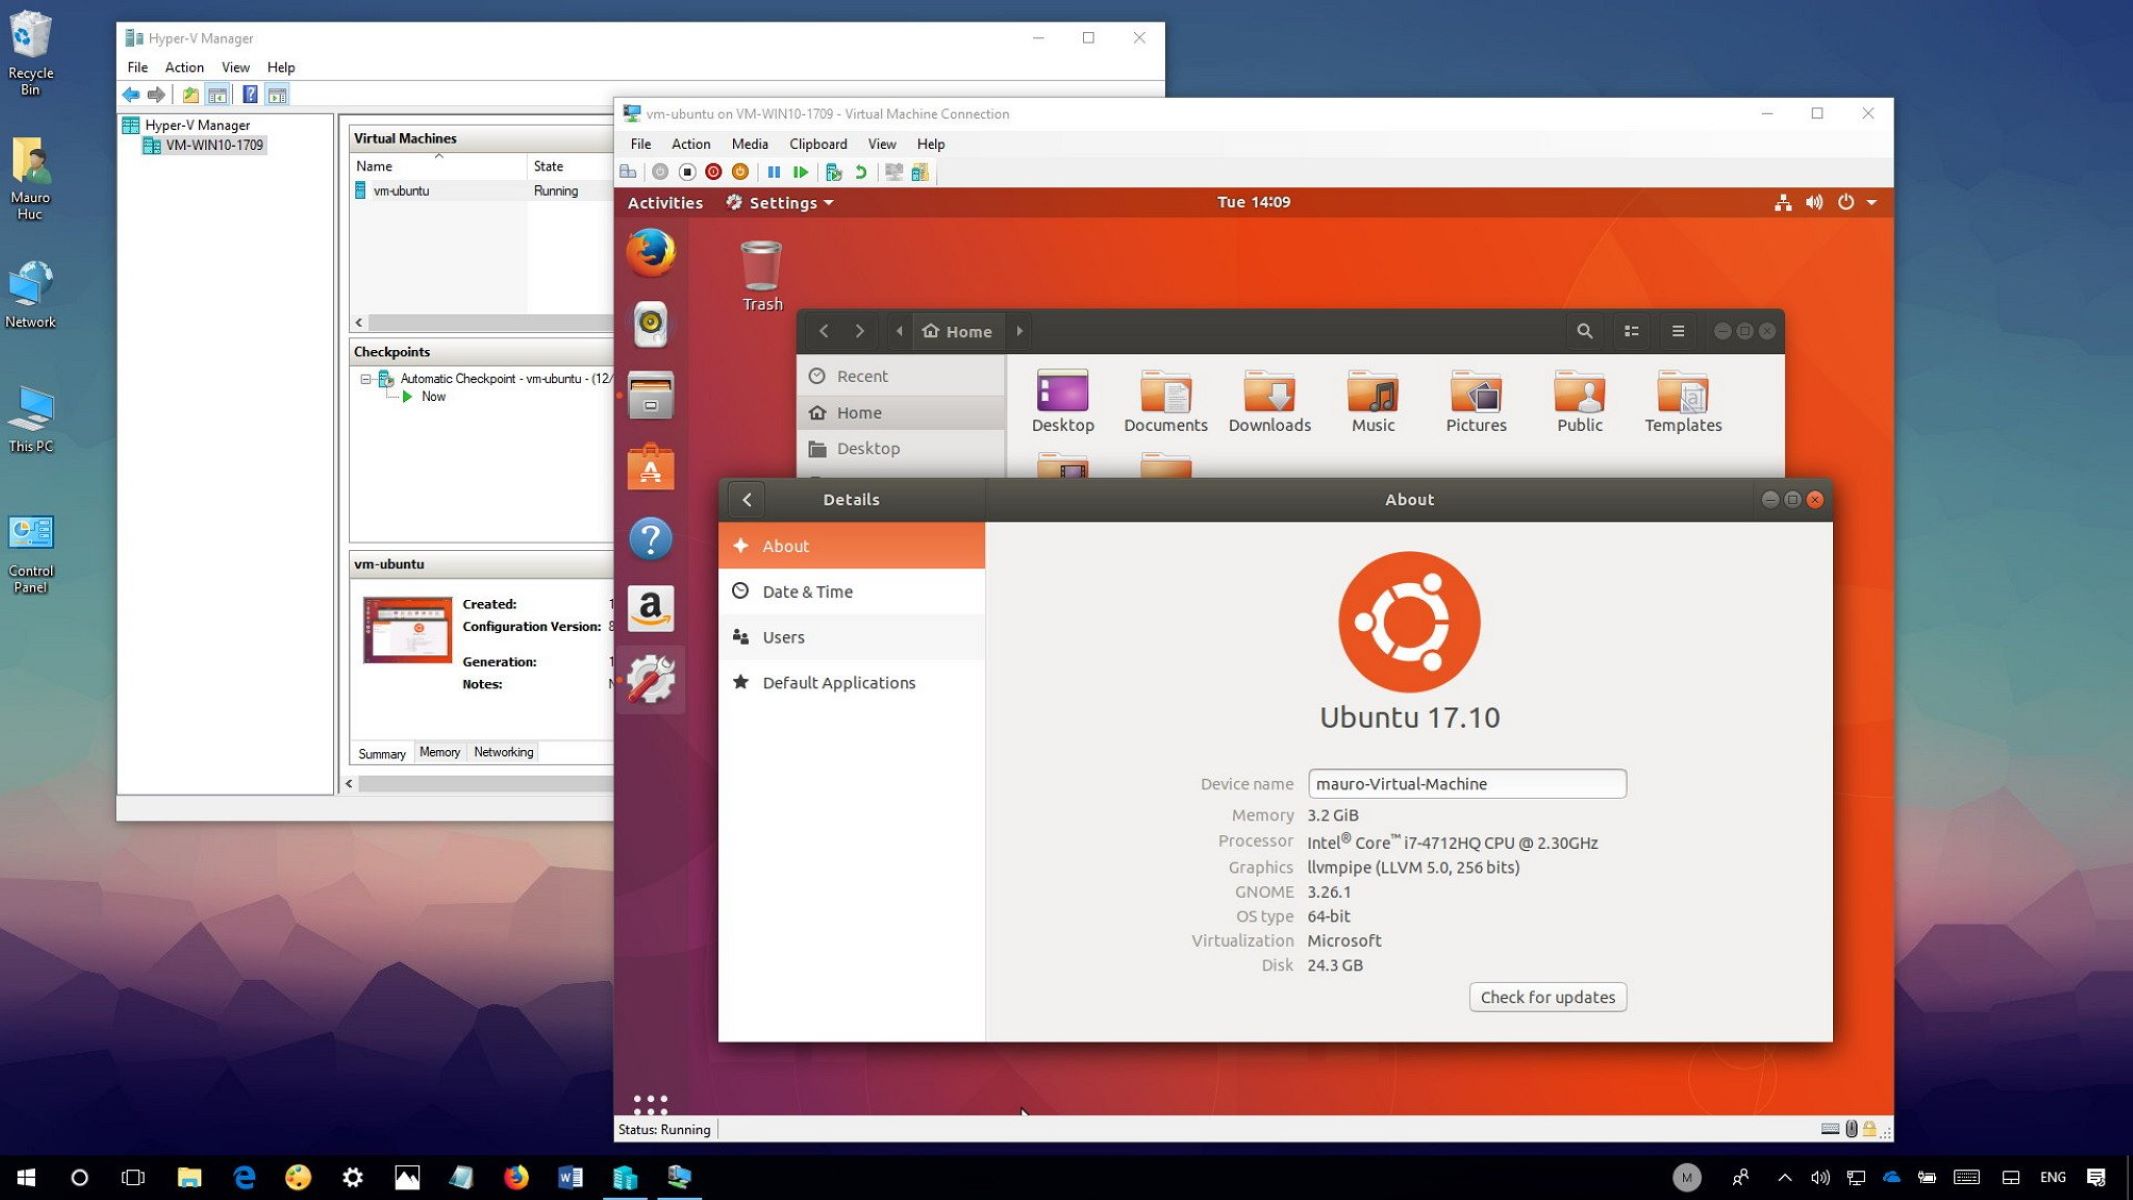
Step 6: Install VirtualBox Guest Additions
VirtualBox Guest Additions is a package of additional software and drivers that enhance the functionality and integration of a virtual machine with the host system. Installing VirtualBox Guest Additions is highly recommended as it provides features such as better display resolution, improved mouse and keyboard integration, and seamless sharing of files and folders between the host and virtual machine.
Follow these steps to install VirtualBox Guest Additions:
- Start your virtual machine and log in to the operating system.
- In the VirtualBox menu of the virtual machine window, select “Devices” and then choose “Insert Guest Additions CD image”. This will mount the Guest Additions ISO file to the virtual optical drive.
- Depending on the operating system, you may be prompted to autorun the CD. If not, you can manually navigate to the mounted Guest Additions CD and run the appropriate installer program.
- Follow the installation wizard and accept the default settings unless you have specific requirements.
- Once the installation is complete, restart your virtual machine to apply the changes.
- After the virtual machine has restarted, the Guest Additions will be active and integrated with the operating system.
With VirtualBox Guest Additions installed, you can now enjoy improved functionality and performance in your virtual machine. You can resize the virtual machine window to adjust the display resolution dynamically, seamlessly copy and paste text between the host and virtual machine, and easily share files and folders.
It is important to keep VirtualBox Guest Additions up to date to leverage the latest features and bug fixes. In case you need to update the Guest Additions, simply repeat the steps mentioned above with the latest version of the Guest Additions ISO file.
In the next step, we will explore how to adjust advanced settings specific to 64-bit virtual machines, maximizing their potential.
Step 7: Adjust advanced settings for 64-bit virtual machine
To ensure optimal performance and compatibility for your 64-bit virtual machine, it is recommended to adjust some advanced settings within VirtualBox. These settings will help maximize the potential of your virtual machine and enhance its overall functionality.
Follow these steps to adjust advanced settings for your 64-bit virtual machine:
- Make sure your virtual machine is selected in the VirtualBox Manager window.
- Click on the “Settings” button or go to the “Machine” menu and select “Settings”.
- Navigate to the “System” tab and select the “Acceleration” tab within it.
- Ensure that the “Enable nested paging” option is checked, if available. This option takes advantage of hardware virtualization capabilities and improves virtualization performance.
- If your CPU supports Intel Virtualization Technology (VT-x) or AMD Virtualization (AMD-V), ensure that the “Enable VT-x/AMD-V” option is checked. This option enables hardware virtualization support on your virtual machine.
- In the “Processor” tab, you can adjust the execution cap for your virtual machine. Increasing the execution cap can improve performance at the cost of higher CPU usage.
- In the “Display” tab, you can adjust the graphics controller type based on your host system and the desired performance level.
- Consider enabling 3D acceleration in the “Display” tab if your host system and guest operating system support it. This will improve the rendering performance of 3D graphics within the virtual machine.
- Under the “Network” tab, you can configure network settings such as enabling or disabling network adapters, choosing network modes, and adjusting network bandwidth.
- Review other tabs and settings according to your specific requirements and preferences.
- Click “OK” to save the changes once you have adjusted the advanced settings.
By adjusting these advanced settings, you can optimize your 64-bit virtual machine for better performance, enhanced graphics capabilities, and improved network connectivity. However, it is important to strike a balance between resource allocation and the capabilities of your host system to avoid any potential conflicts or performance issues.
Congratulations! You have successfully adjusted the advanced settings for your 64-bit virtual machine. You are now ready to fully utilize your virtual machine and explore the possibilities it offers.
Conclusion
Congratulations on successfully creating a 64-bit virtual machine in VirtualBox! You have taken the first step towards exploring the vast world of virtualization and unlocking new possibilities for software development, testing, and experimentation.
We began by installing VirtualBox, a powerful and user-friendly virtualization platform that allows you to create and manage virtual machines. With VirtualBox up and running, you downloaded a 64-bit ISO file of the desired operating system, which serves as the installation media for your virtual machine.
Next, you created a new virtual machine, configuring its settings to allocate resources and optimize performance. You then started the virtual machine and installed the operating system, following the installation wizard and making the necessary choices for a smooth setup.
To enhance the functionality and integration of your virtual machine, you installed VirtualBox Guest Additions. This additional software package provides features such as improved display resolution, seamless mouse and keyboard integration, and file and folder sharing between the host and virtual machine.
To maximize the potential of your 64-bit virtual machine, you adjusted advanced settings within VirtualBox. These settings include enabling hardware virtualization support, adjusting processor settings, optimizing graphics capabilities, and configuring network options.
With your virtual machine now up and running, you have a powerful tool at your disposal for testing software, running legacy applications, exploring different operating systems, and more. Take advantage of the flexibility and convenience that virtual machines offer to experiment, learn, and develop in a secure environment.
Remember to keep your virtual machine and VirtualBox Guest Additions updated to leverage the latest features and security enhancements. Also, regularly back up your virtual machine to ensure that your data and configurations are safe and accessible.
Now that you have a solid understanding of creating and configuring a 64-bit virtual machine in VirtualBox, it’s time to embark on your virtualization journey. Have fun exploring different operating systems, testing software, and expanding your skills in the ever-evolving world of virtual machines!