Introduction
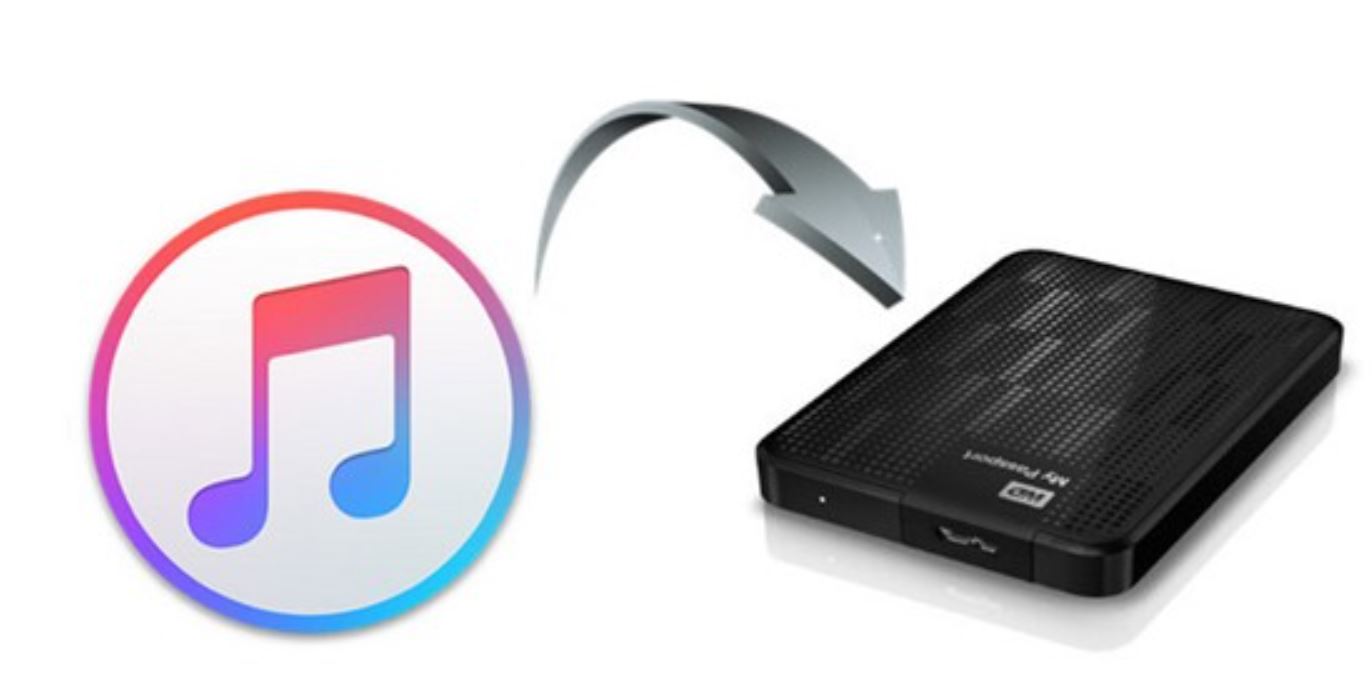
Welcome to our comprehensive guide on how to copy music onto a hard disk drive. In this digital age, where music collections are increasingly stored on computers and portable devices, having a backup of your favorite tunes is essential. Transferring your music library onto a hard disk drive not only provides a backup solution but also offers the convenience of accessing your music from various devices.
Whether you have a vast collection of MP3s or you want to preserve your cherished vinyl records and CDs, this guide will walk you through the process of copying music onto a hard disk drive. We will cover everything from choosing the right hard disk drive to organizing your music library and backing up your precious files.
Before we dive into the details, it is important to note that the information provided in this guide is applicable to both Windows and Mac computers. So regardless of the operating system you use, you will find valuable insights and step-by-step instructions to help you on your music-copying journey.
So, if you’re ready to ensure the safety and accessibility of your music collection, let’s get started by selecting the right hard disk drive for your needs.
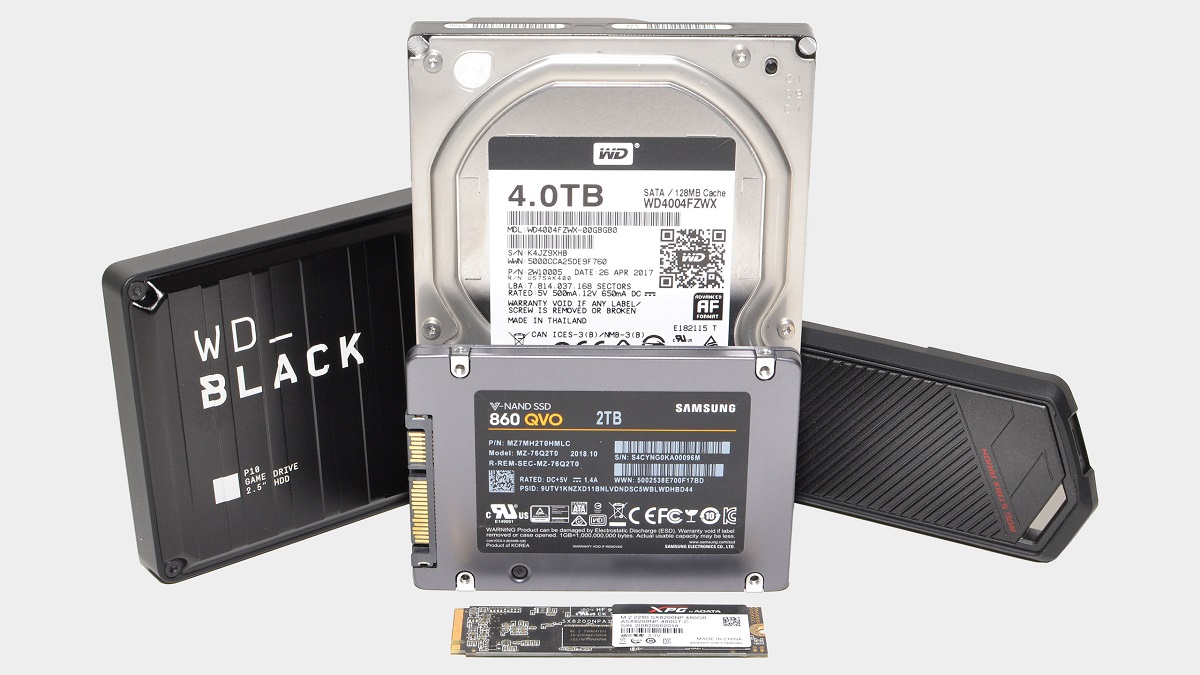
Choosing the Right Hard Disk Drive
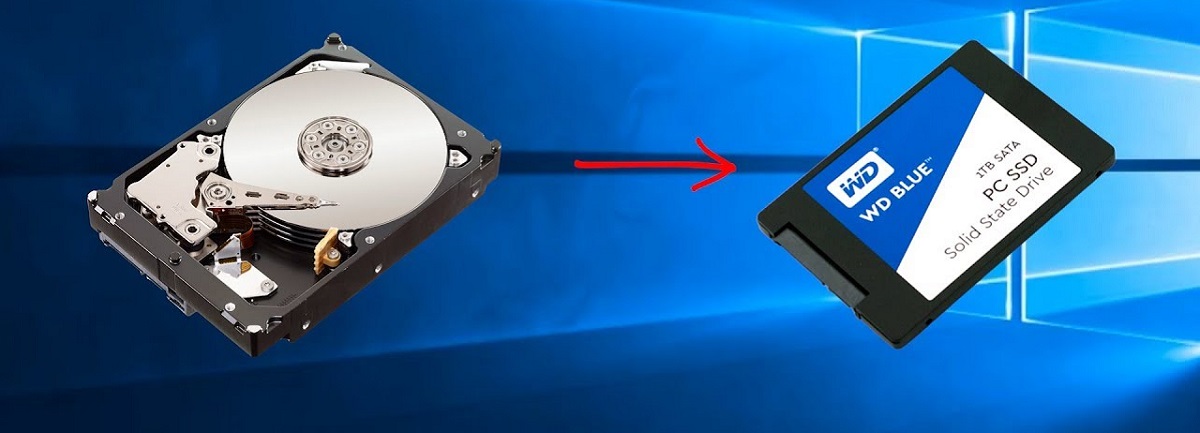
When it comes to selecting a hard disk drive (HDD) for storing your music files, there are several factors to consider. The capacity, speed, and connectivity options of the HDD play a vital role in ensuring a smooth and efficient music-copying process. Let’s explore these factors in detail:
Capacity: The capacity of the HDD determines how much music you can store. Consider the size of your music library and the future expansion of your collection. HDDs come in various sizes, ranging from 500GB to several terabytes. If you have a large collection or plan on adding more music in the future, opt for a higher-capacity HDD.
Speed: The speed of the HDD affects the transfer rate of your music files. Look for an HDD with high RPM (rotations per minute) for faster read and write speeds. This will ensure quicker file transfers and a seamless music playback experience.
Connectivity: The connectivity options of the HDD determine how you can connect it to your computer. USB 3.0 is the most common and widely supported option, offering fast data transfer speeds. Ensure that the HDD you choose is compatible with your computer’s USB ports.
Additionally, it’s worth considering features such as durability, portability, and brand reputation. Look for rugged HDDs if you plan on using them in portable settings or while traveling. Research various brands and read customer reviews to ensure reliability and performance.
Remember, the right HDD will not only provide ample storage space but also ensure a seamless music-copying experience. Take your time to evaluate your needs and choose a device that meets your requirements.
Preparing Your Computer
Before you start copying your music onto a hard disk drive, it’s important to properly prepare your computer. Taking a few simple steps will ensure a smooth and efficient music-copying process. Here’s what you need to do:
Check Available Storage: Make sure you have enough free space on your computer hard drive to accommodate the music files you want to copy. If necessary, delete any unnecessary files or transfer them to an external storage device to free up space.
Update Operating System: Ensure that your computer’s operating system is up to date. Regular system updates often include bug fixes and performance improvements that can enhance the copying process.
Install Required Software: Depending on the operating system and the method you choose for copying music, you may need to install specific software. For example, if you’re using iTunes to manage your music collection, make sure it’s up to date and functioning properly.
Organize your Music: It’s a good idea to organize your music files before transferring them to the hard disk drive. This will save you time and make it easier to locate specific songs or albums in the future. Create folders and subfolders with meaningful names and arrange your music files accordingly.
Scan for Viruses: Run a comprehensive antivirus scan on your computer to ensure that your music files are not compromised. This step is particularly crucial if you’re transferring files from external sources or if you’ve downloaded music from the internet.
Create a Backup: Although the purpose of this guide is to copy music onto a hard disk drive for backup purposes, it’s always a good practice to create an additional backup of your music files. Consider using cloud storage services or an external backup solution to safeguard your music collection.
By following these steps, you’ll ensure that your computer is ready for the music-copying process. Taking the time to prepare your computer will help minimize any potential issues or interruptions along the way.
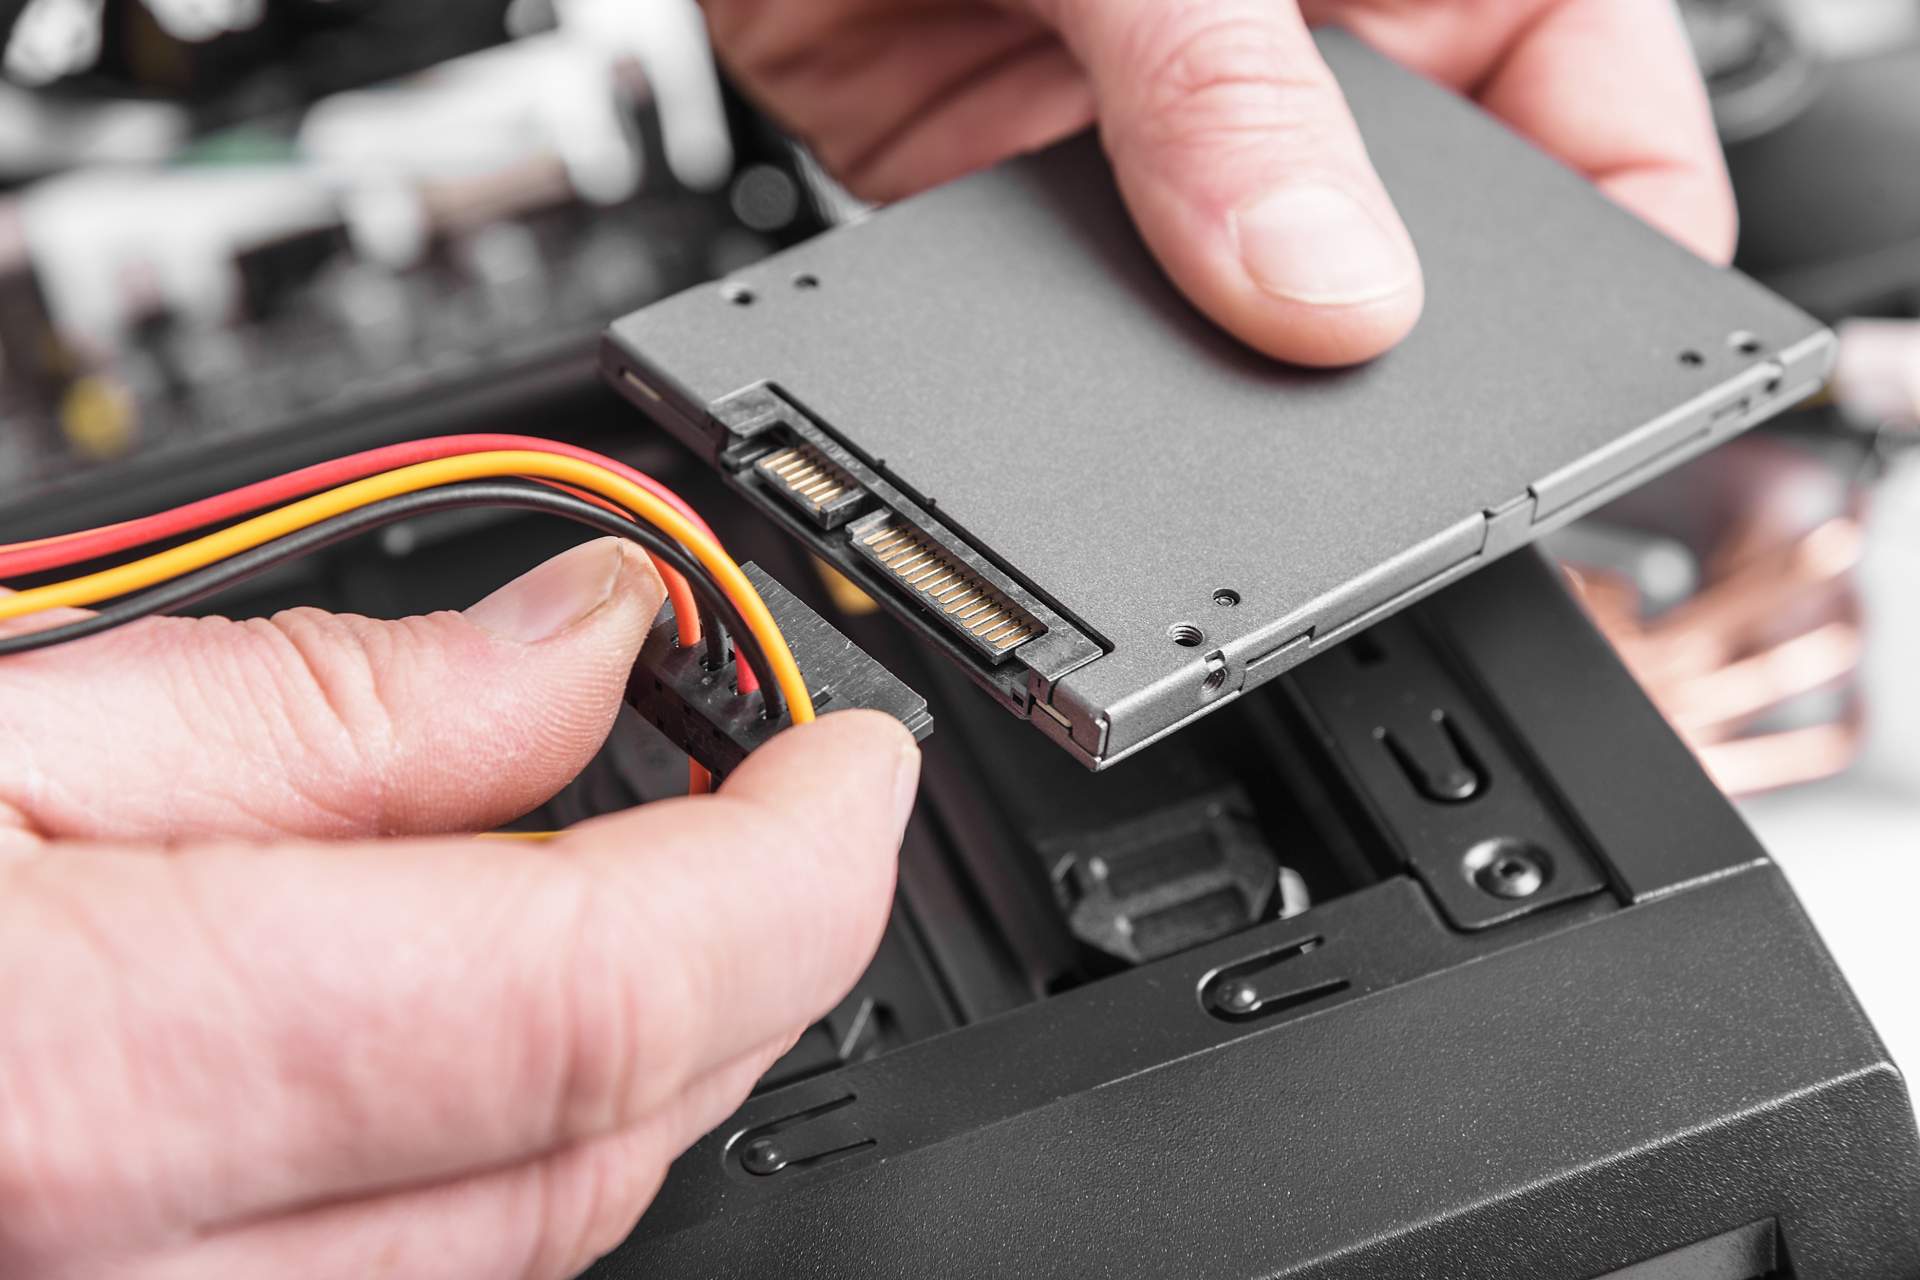
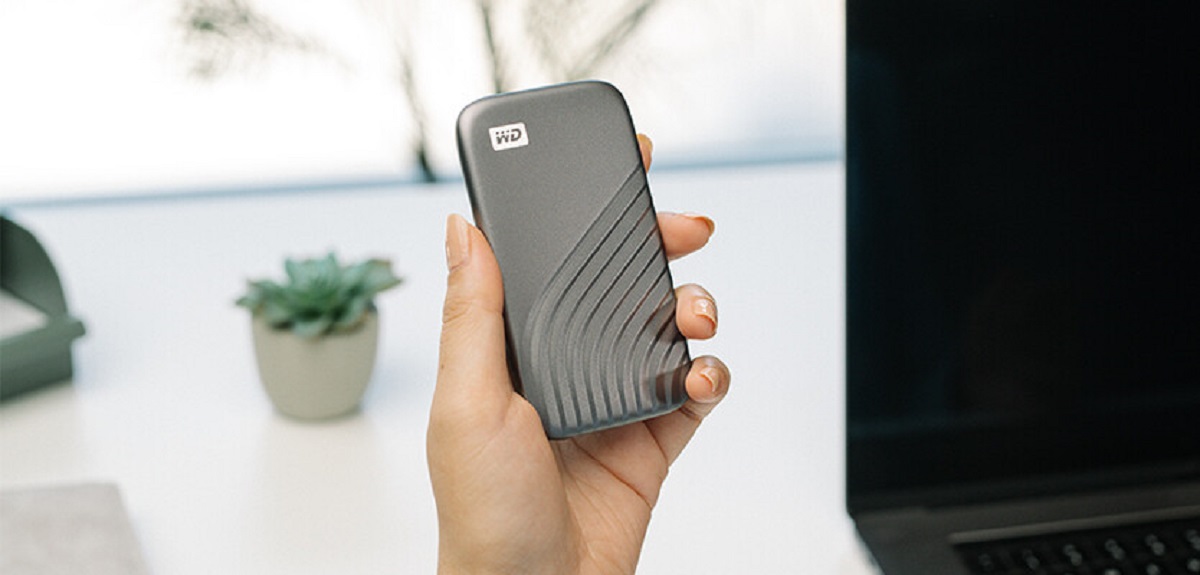
Connecting the Hard Disk Drive
Once you have selected the right hard disk drive (HDD) and prepared your computer, it’s time to connect the HDD to your machine. Follow these steps to ensure a proper connection:
Step 1: Power off your computer: Before connecting the HDD, it is crucial to power off your computer. This will prevent any potential electrical damage to the HDD or your computer’s USB ports.
Step 2: Identify the appropriate cable: Depending on your HDD, you may need to use a USB cable or another type of connector cable. Check the instructions provided with your HDD or consult the manufacturer’s website to determine the correct cable.
Step 3: Connect the HDD to your computer: Plug one end of the cable into the appropriate port on your HDD, and the other end into an available USB port on your computer. Ensure a secure connection by pushing the connectors in firmly.
Step 4: Power on your computer: After connecting the HDD, power on your computer. The operating system should detect the newly connected device and prompt you with a notification or a pop-up window.
Step 5: Install necessary drivers: In some cases, you may need to install specific drivers for your HDD. These drivers enable your computer to communicate effectively with the HDD. Refer to the user manual or the manufacturer’s website for driver installation instructions.
Step 6: Verify the connection: Open the “My Computer” or “This PC” folder on your computer and check if the HDD is listed as a connected device. If it is, you have successfully connected the HDD to your computer.
By following these steps, you will establish a stable connection between your hard disk drive and your computer. Once the HDD is properly connected, you can proceed with transferring your music files onto the drive.
Transferring Music Files
Now that you have successfully connected the hard disk drive (HDD) to your computer, it’s time to transfer your music files. Follow these steps to ensure a smooth and efficient transfer process:
Step 1: Open the Music Folder: Locate the folder on your computer where your music files are stored. This could be the default folder used by your media player or a specific folder you’ve created to organize your music.
Step 2: Select the Music Files: Select the specific music files or folders that you want to transfer to the HDD. You can do this by clicking and dragging or by using the keyboard shortcuts for selecting multiple files.
Step 3: Copy the Files: Right-click on the selected files and choose the “Copy” option from the context menu. Alternatively, you can use the keyboard shortcut Ctrl+C (or Command+C for Mac users) to copy the files.
Step 4: Open the HDD: Open the folder of the connected HDD on your computer. This can typically be found under the “My Computer” or “This PC” section, depending on your operating system.
Step 5: Paste the Files: Right-click inside the HDD folder and choose the “Paste” option from the context menu. Alternatively, you can use the keyboard shortcut Ctrl+V (or Command+V for Mac users) to paste the files onto the HDD.
Step 6: Monitor the Transfer: Depending on the size and number of files being transferred, the process may take some time. Monitor the progress of the transfer and ensure that all the files are successfully copied to the HDD without any errors.
Step 7: Safely Eject the HDD: Once the transfer is complete, safely eject the HDD from your computer. This step ensures that all data has been written to the drive and no files are in use. Follow the proper procedure to safely remove the HDD to avoid any data corruption or damage.
By following these steps, you can easily transfer your music files from your computer to the hard disk drive. Remember to keep backups of your music files and update your HDD periodically to ensure the safety and longevity of your music collection.
Organizing the Music Library
Now that you’ve transferred your music files onto the hard disk drive (HDD), it’s time to organize your music library. Proper organization will make it easier to navigate and locate specific songs or albums in the future. Follow these tips to effectively organize your music library:
Create Folders and Subfolders: Start by creating main folders for different genres, artists, or albums within the HDD. For example, you can have separate folders for “Rock,” “Pop,” “Jazz,” or folders for different artists or albums. Within each main folder, create subfolders for individual albums or songs.
Use Consistent Naming Conventions: Ensure that the names of your folders and files are consistent. Use proper capitalization, avoid special characters or symbols, and stick to a naming convention that makes sense to you. This will help with sorting and searching for specific music.
Tag Your Music Files: Use music management software, such as iTunes or Windows Media Player, to add tags to your music files. Tags include metadata such as title, artist, album, genre, and cover art. Tagging your files will enable you to sort and search for music based on these criteria more easily.
Create Playlists: Take advantage of the playlist feature in your music management software or media player. Create playlists based on moods, genres, or specific themes. This allows you to group songs from different folders and albums without physically moving them.
Add Album Artwork: If your music files don’t already have album artwork embedded, consider adding them. Album artwork not only enhances the visual appeal of your music library but also helps in quickly identifying specific albums.
Regularly Maintain and Update: As you add new music or make changes to your music library, ensure that you consistently maintain and update your organization scheme. This involves properly categorizing new files, updating tags, and adding them to the appropriate folders.
Remember that organizing your music library is a personal preference, so choose an organizational structure that works best for you. The goal is to create a system that allows you to effortlessly find and enjoy your favorite music whenever you want.
Backing up Your Music Files
After transferring and organizing your music files on the hard disk drive (HDD), it’s crucial to create a backup of your music library. Backing up your files will protect your valuable collection in case of unforeseen events such as hardware failure, data corruption, or accidental deletion. Follow these steps to ensure a reliable backup of your music files:
Step 1: Determine Backup Method: Decide on the backup method that suits your needs. You can choose to use an external hard drive, cloud storage services, or both for added redundancy and security.
Step 2: External Hard Drive Backup: Connect another external hard drive to your computer and copy your entire music library onto it. This ensures that you have a physical backup of your files that can be easily accessed in case of emergencies.
Step 3: Cloud Storage Backup: Sign up for a reliable cloud storage service such as Google Drive, Dropbox, or OneDrive. Upload your music files to the cloud, which provides an off-site backup solution accessible from any device with an internet connection.
Step 4: Automatic Backup: Set up automatic backup solutions on your computer and external hard drive or use cloud storage services with automatic syncing. This ensures that any changes or additions to your music library are automatically backed up without manual intervention.
Step 5: Regularly Update the Backup: Be diligent about updating your backups regularly. Whether you acquire new music or make changes to your existing files, ensure that both your external hard drive and cloud storage are up to date.
Step 6: Test the Backup: Periodically test the integrity of your backup by accessing and playing back the files from both the external hard drive and the cloud storage. This ensures that the backup is working properly and that your files are intact.
Step 7: Store Backup Safely: Keep your external hard drive in a secure location, away from potential physical damage or theft. If using cloud storage, ensure that you have strong, unique passwords and enable multi-factor authentication for added security.
Remember, a backup is only effective if it’s up to date and accessible. By following these steps and implementing a robust backup strategy, you can ensure the safety and longevity of your music collection, giving you peace of mind knowing that your treasured music files are securely backed up.
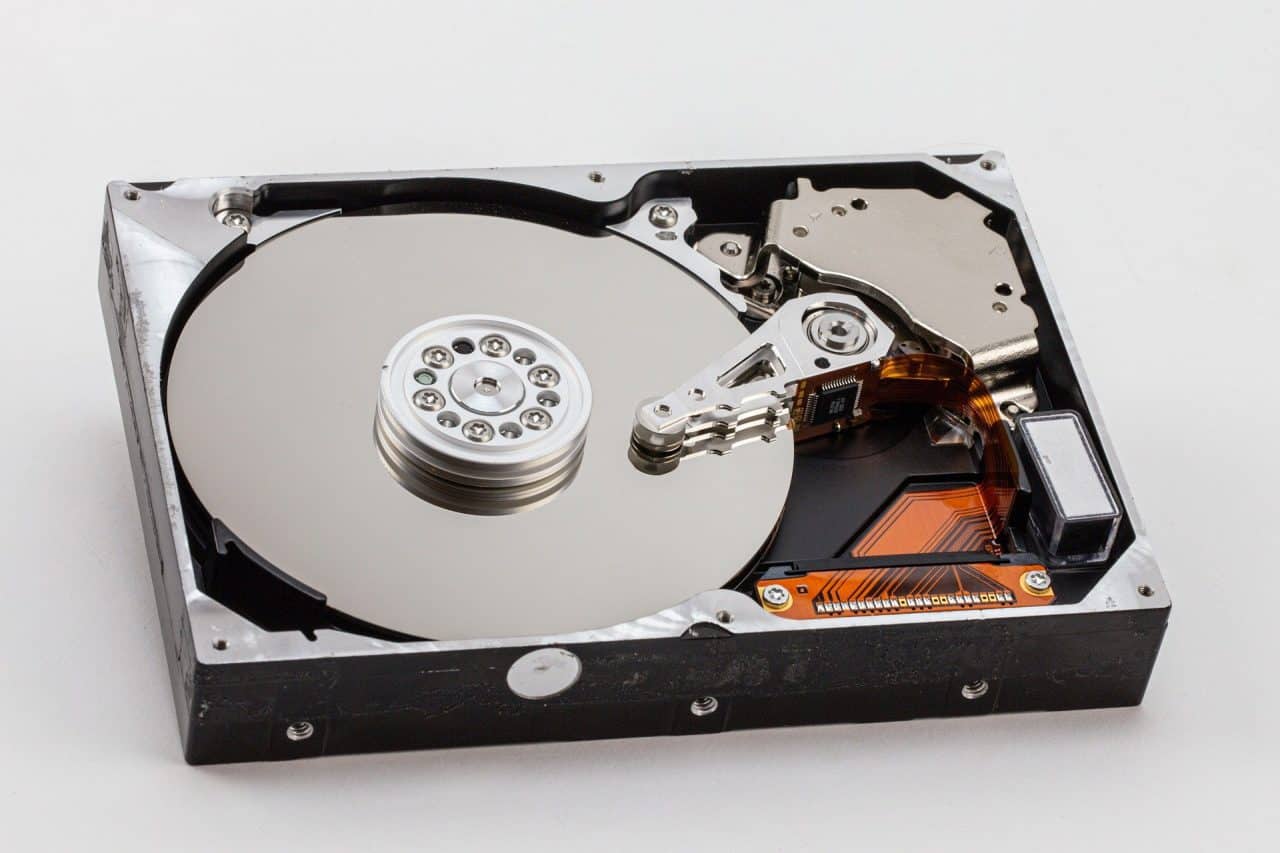
Ejecting the Hard Disk Drive
Once you have finished using the hard disk drive (HDD) and have successfully backed up your music files, it’s important to follow the proper procedure to safely eject the HDD from your computer. Ejecting the HDD ensures that all data is written to the drive and that it can be safely disconnected without any risk of data corruption or damage. Here’s how to safely eject the HDD:
Step 1: Save and Close any Active Processes: Before ejecting the HDD, make sure you have saved and closed any active processes or applications that may be using files stored on the HDD. This ensures that all data is properly written and no programs are accessing the drive.
Step 2: Locate the Eject Option: Locate the icon representing the HDD on your computer’s desktop or in the file explorer window. Usually, there will be an “eject” option next to the icon, which is represented by an upward-pointing arrow or a safety removal icon.
Step 3: Use the Eject Option: Right-click on the HDD icon and select the “eject” option from the context menu. Alternatively, you can left-click on the icon once and then look for the “eject” option in the toolbar at the top of the window.
Step 4: Wait for Confirmation: After selecting the eject option, wait for a confirmation message or notification indicating that it’s safe to remove the HDD. This message may vary depending on your operating system, but it will typically say something like “Safe to remove hardware” or “HDD can now be safely removed.”
Step 5: Physically Disconnect the HDD: Once you see the confirmation message, it is safe to physically disconnect the HDD from your computer. Carefully unplug the cable connecting the HDD to your computer, ensuring a smooth and gentle removal.
Step 6: Store the HDD Properly: After ejecting the HDD, store it in a safe and secure location, away from potential physical damage or extreme temperatures. If you have a protective case or bag for the HDD, use it to provide an additional layer of protection.
By following these steps to safely eject the HDD, you can ensure that your data is protected and the drive remains in good condition for future use. Proper ejection helps to prevent any loss or corruption of your music files, ensuring that you can continue to enjoy your music collection without any issues.
Conclusion
Congratulations! You have now learned how to copy music onto a hard disk drive (HDD) and ensure the safety and accessibility of your music collection. By carefully choosing the right HDD, preparing your computer, connecting the HDD, transferring your music files, organizing your music library, backing up your files, and safely ejecting the HDD, you have taken important steps to protect and enjoy your music.
Remember, a well-organized music library makes it easier to find and enjoy your favorite songs. Take the time to organize your music files into meaningful folders, add tags, and create playlists based on your preferences.
Backing up your music files is crucial to safeguarding your collection. Whether you choose to use an external hard drive or utilize cloud storage services, periodically update your backups to ensure they reflect any new additions or changes to your music library.
Lastly, always remember to safely eject the HDD from your computer before physically disconnecting it. This ensures that all data is properly written and reduces the risk of data corruption or damage to the drive.
With the knowledge and techniques gained from this guide, you can confidently copy music onto an HDD and maintain a well-organized and secure music library. Enjoy your music collection across various devices and platforms, knowing that your files are safe and easily accessible.
So go ahead, preserve your treasured music collection, and continue enjoying the magic of music for years to come!