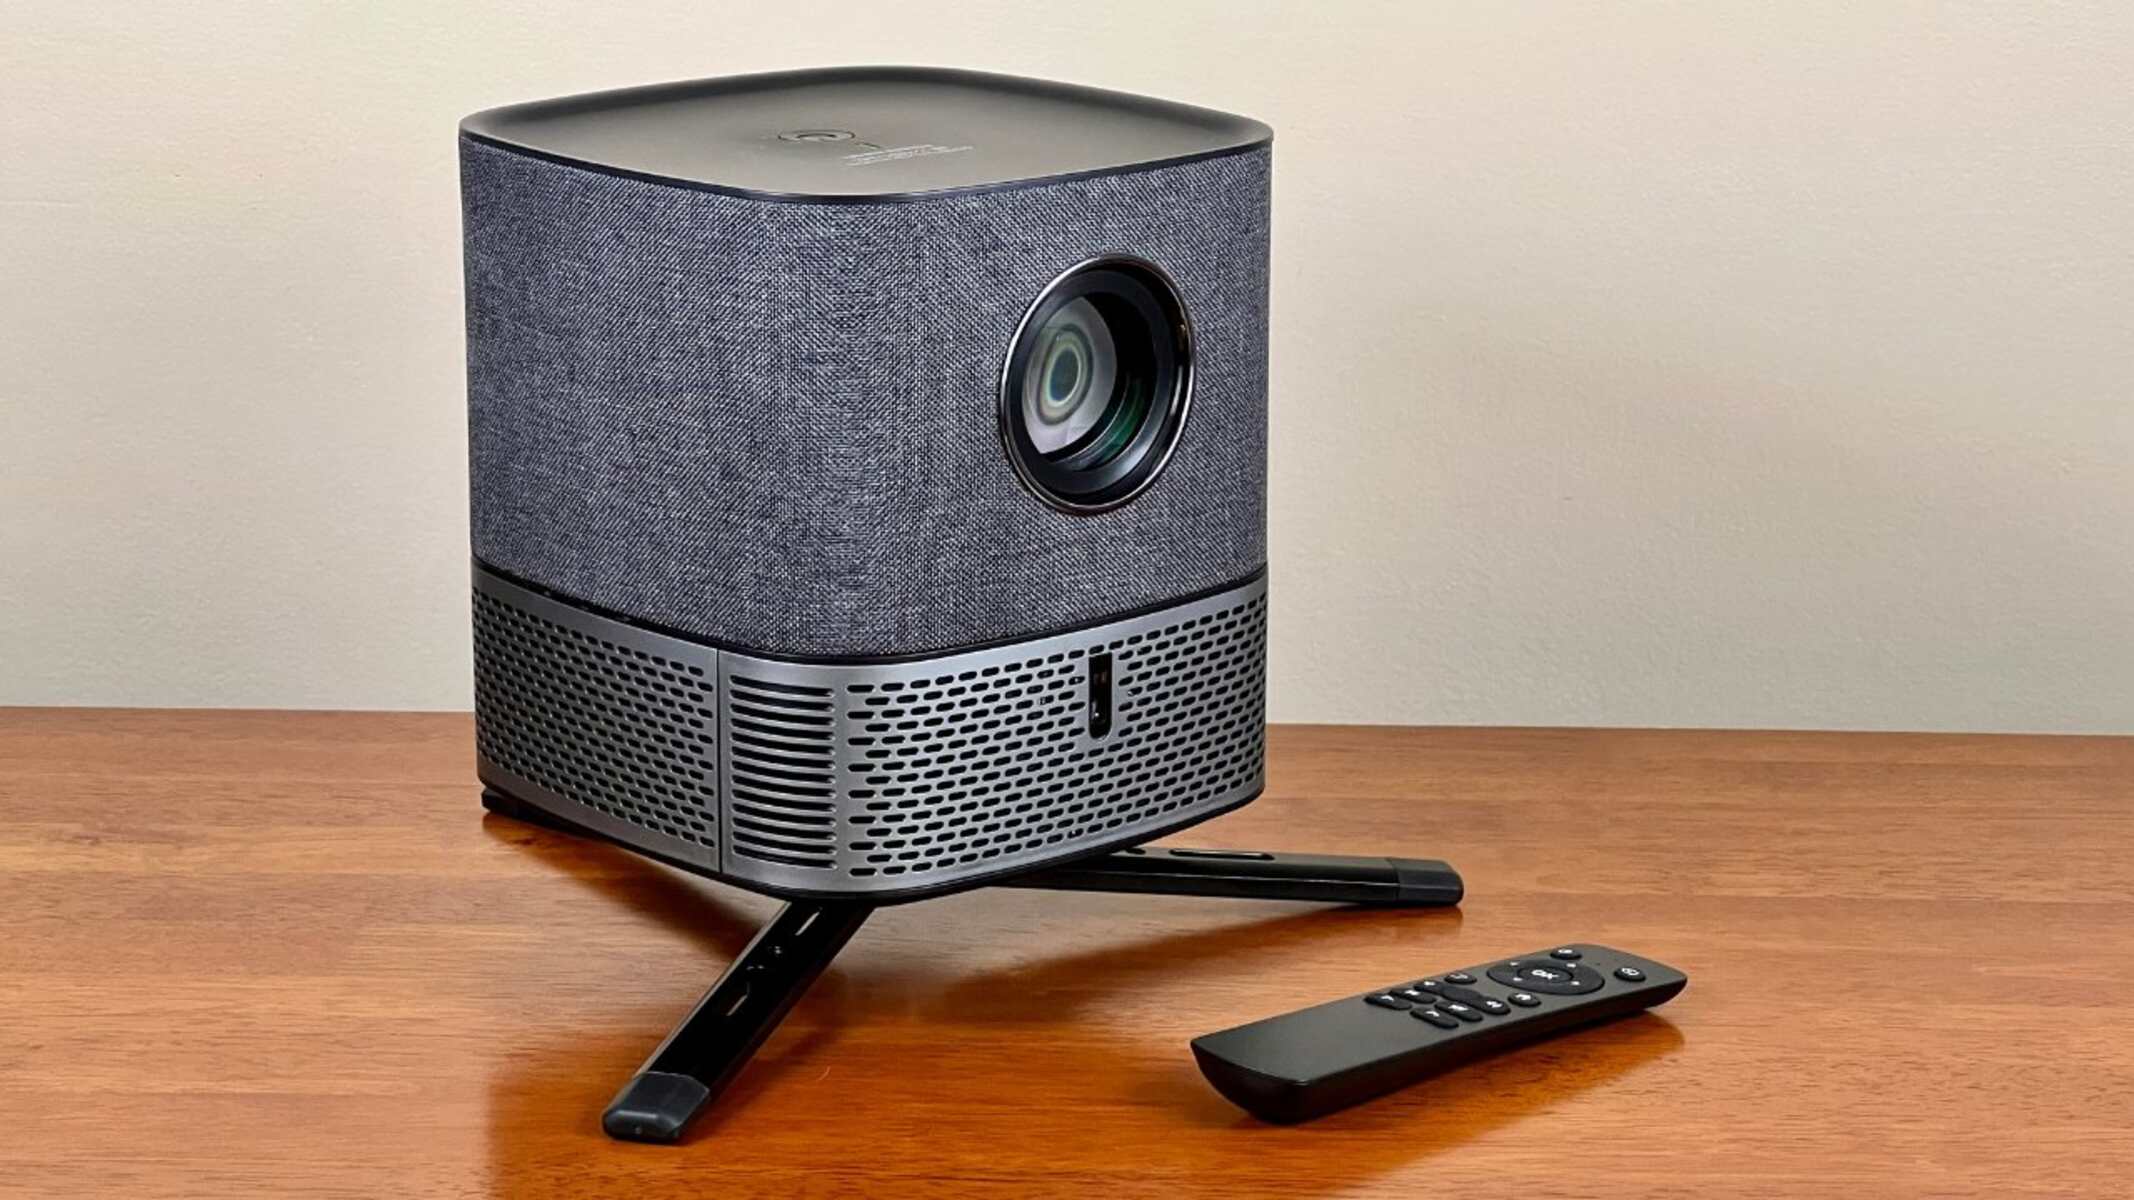
Introduction
Controlling a projector with your phone can greatly enhance your audiovisual experience, giving you the convenience and flexibility to operate the projector from anywhere in the room. Whether you’re giving a presentation, watching a movie, or playing games, being able to control the projector with your phone offers a whole new level of convenience and freedom.
In this article, we will guide you through the process of controlling a projector with your phone. You don’t need any technical expertise to follow these steps – just a compatible projector, a smartphone, and a simple app. We will take you through the necessary download and setup instructions, as well as provide some additional tips and troubleshooting advice along the way.
By the end of this article, you’ll be able to seamlessly control your projector with your phone, making your multimedia experience more enjoyable and hassle-free. So, let’s dive in and explore the steps to take for this convenient and efficient method of projector control.
Step 1: Download the Required App
The first step towards controlling your projector with your phone is to download the necessary app. Depending on the brand and model of your projector, there may be different apps available for this purpose. To find the right app, follow these steps:
- Check the manufacturer’s website: Visit the official website of your projector’s manufacturer and look for the “Downloads” or “Support” section. There, you should be able to find a list of recommended apps for remote control.
- Search your app store: If you’re unable to find the recommended app on the manufacturer’s website, head over to your smartphone’s app store (such as the Apple App Store or Google Play Store) and search for the name of your projector’s brand along with keywords like “remote control” or “projector control.”
- Read reviews and ratings: Once you’ve identified a few potential apps, take some time to read reviews and check the ratings. This will give you an idea of the app’s functionality and user experience.
- Download and Install: Choose the app that best suits your needs, based on the reviews and ratings, and tap the “Download” or “Install” button to get it on your phone.
Keep in mind that there may be both free and paid versions of the app available. Consider your requirements and budget before making a selection.
Once the app is downloaded and installed on your phone, you’re ready to move on to the next step: connecting your phone to the projector.
Step 2: Connect Your Phone to the Projector
Now that you have the required app installed on your phone, it’s time to connect your phone to the projector. Follow these steps to establish a connection:
- Ensure both your phone and the projector are connected to the same Wi-Fi network.
- Open the app on your phone and navigate to the “Settings” or “Setup” section.
- Select the option to connect to a projector.
- A list of available projectors should appear on your phone’s screen. Select your projector from the list.
- Follow any on-screen instructions to complete the connection process if prompted.
In some cases, you may need to enter a passcode provided by the projector to establish the connection. Refer to your projector’s user manual or the app’s documentation for specific instructions on how to proceed.
Once the connection is established, your phone is now paired with the projector, allowing you to control its functions remotely. It’s time to move on to the next step and set up the app for controlling the projector.
Step 3: Set Up the App
With your phone successfully connected to the projector, it’s time to set up the app for controlling the various functions of the projector. Here’s how:
- Open the app on your phone.
- Depending on the app, you may be prompted to grant certain permissions. Follow the on-screen instructions to grant the necessary permissions for the app to function properly.
- Explore the app’s interface and familiarize yourself with the available controls and options. Different apps may have varying layouts, so take some time to understand the app’s structure.
- Customize the settings according to your preferences. This may include options like aspect ratio, screen orientation, volume control, input selection, and more.
- If applicable, create a profile or user account within the app to save your preferred settings and configurations for future use.
It’s important to note that the available features and settings within the app may vary depending on the brand and model of your projector. Take advantage of any help documentation or tutorials provided by the app to maximize your understanding of its capabilities.
Once you have set up the app, you are now ready to control the projector with your phone. Let’s move on to the next step and explore how to effectively control the projector functions using your phone.
Step 4: Control the Projector with Your Phone
Now that you have the app set up, it’s time to unleash the full potential of controlling your projector using your phone. Here’s how you can effectively control the projector functions:
- Launch the app on your phone and ensure that the phone is connected to the projector.
- Depending on the app’s layout, you will usually find an interface with various buttons, sliders, or a virtual remote control.
- Use the app’s controls to navigate through different menu options, adjust settings, and perform specific functions such as changing the input source, adjusting volume, switching between different display modes, or even powering the projector on or off.
- Take advantage of any additional features offered by the app, such as screen mirroring, multimedia streaming, or presentation control.
- Experiment with the app’s features to find the controls that best suit your needs and preferences.
Remember, the specific controls and features available to you will depend on the app and the capabilities of your projector. It’s a good idea to refer to the app’s documentation or help section for any specific instructions or tips on controlling your projector.
By using your phone as a remote control, you can conveniently control the projector from anywhere in the room, without the need to be physically close to the projector itself. This provides you with freedom and flexibility to interact with your content without disruption.
Now that you have successfully mastered the art of controlling the projector with your phone, let’s move on to the final step where we will discuss some additional tips and troubleshooting advice to enhance your experience.
Step 5: Additional Tips and Troubleshooting
While controlling a projector with your phone is generally a straightforward process, there are some additional tips and troubleshooting steps that can help enhance your experience and address any potential issues. Consider the following:
- Make sure both your phone and the projector are fully charged or connected to a power source to avoid interruptions during your activities.
- If you encounter any connectivity issues, ensure that you are connected to the correct Wi-Fi network and that the projector is within range of your phone.
- If the app freezes or becomes unresponsive, try force quitting the app and relaunching it to restore functionality.
- Experiment with different placement options for your phone during use. It’s essential to find a comfortable and convenient position that allows you to easily access the app’s controls while still enjoying the projected content.
- Regularly update the app on your phone to ensure you have the latest features and bug fixes.
- If you experience any compatibility issues or need additional assistance, refer to the app’s support documentation or contact the app’s developer for further guidance.
By following these tips and troubleshooting steps, you can optimize your phone’s control over the projector and enjoy a seamless audiovisual experience.
Now that you’re equipped with the knowledge to control a projector with your phone, take advantage of this convenient method and elevate your multimedia experience. Whether you’re giving presentations, enjoying movies, or playing games, the ability to control the projector with your phone provides a new level of convenience and flexibility.
Enjoy the freedom and convenience of controlling your projector with your phone and delve into a world of seamless multimedia control. So, grab your phone, download the required app, connect it to your projector, set up the app, and start controlling your projector with ease!
Conclusion
Controlling a projector with your phone offers a convenient and flexible way to enhance your audiovisual experience. By following the steps outlined in this article, you can easily download the necessary app, connect your phone to the projector, set up the app, and effectively control the projector functions – all from the palm of your hand.
With the ability to adjust settings, change inputs, adjust volume, and even power on/off the projector, you have the freedom to interact with your content without being tied down to the projector itself. Whether you’re giving a presentation, enjoying a movie night, or playing games, the convenience of controlling the projector with your phone enhances your experience and adds a new level of convenience.
Remember to explore the various features and settings available within the app, customize them to your preferences, and take advantage of any additional functionalities offered. Additionally, make sure to follow the provided tips and troubleshooting steps to address any potential issues and optimize your control over the projector.
So, whether you’re in a conference room, at home, or anywhere else, grab your phone, download the app, and unlock a world of seamless projector control. Embrace the freedom and convenience of controlling your projector with your phone to elevate your multimedia experience.
Now that you have the knowledge and steps to control a projector with your phone, it’s time to embark on your audiovisual journey like never before. Enjoy the convenience, flexibility, and immersive experience that controlling your projector with your phone brings.


