Introduction
Welcome to the guide on how to control case fans on the H440 NZXT! As an owner of the H440 case, you know the importance of maintaining optimal airflow and temperature for your PC components. Properly controlling your case fans can help to improve overall system performance, reduce noise levels, and prolong the lifespan of your hardware.
The H440 NZXT is a popular choice among PC enthusiasts due to its sleek and minimalist design, superior build quality, and excellent cable management. However, one aspect that some users may find challenging is finding the ideal method to control the case fans. This is where this guide comes in handy.
In this article, we will walk you through the steps to effectively control the case fans on your H440 NZXT case. We will discuss different fan control methods, from installing a fan controller to using the NZXT CAM software for fan control. By the end of this guide, you will have a clear understanding of how to achieve the desired fan speed and airflow in your H440 setup.
Whether you are a beginner or an experienced PC builder, this guide is designed to help you gain control over your case fans and optimize the performance of your H440 NZXT. So, let’s dive in and learn how to take control of your case fans!
Why Control Case Fans on H440 NZXT?
Wondering why it is important to control the case fans on your H440 NZXT case? Let’s delve into the reasons why fan control is crucial for optimal performance and longevity of your PC components.
First and foremost, controlling the case fans helps in maintaining a balanced airflow within the chassis. The H440 NZXT case is known for its unique airflow design, which relies on a front-to-back airflow path. By controlling the fan speeds effectively, you can ensure that cool air is drawn in from the front intake fans and expelled out through the rear exhaust fans. This balanced airflow prevents heat buildup and helps your components stay within their recommended operating temperature range.
Furthermore, controlling the case fans allows you to reduce the noise levels generated by your PC. The H440 NZXT case already features noise-dampening materials and a smart fan layout, but by adjusting the fan speeds appropriately, you can further minimize any potential noise. This is especially beneficial if you use your PC for activities that require a quieter environment, such as content creation or video editing.
In addition to noise reduction, effective fan control can also contribute to energy efficiency. By optimizing the fan speeds based on the system’s cooling requirements, you can reduce power consumption and lower your electricity bills. This is particularly crucial for users who keep their PCs running for extended periods or utilize energy-intensive applications.
Another advantage of controlling the case fans is the ability to customize the cooling performance based on your specific needs. Whether you are a competitive gamer pushing your system to its limits or an overclocking enthusiast, having control over the fans allows you to adjust the cooling to match the demands of your setup. This ensures that your components are operating at their best performance while remaining within safe temperature thresholds.
To summarize, controlling the case fans on your H440 NZXT case is essential for maintaining optimal airflow, reducing noise levels, improving energy efficiency, and customizing cooling performance to suit your specific requirements. In the following sections, we will explore different methods to control the case fans on your H440 NZXT, so you can take full advantage of your PC’s potential.
Step 1: Assess the Fan Configuration on the H440
Before delving into controlling the case fans on your H440 NZXT, it is important to assess the fan configuration of your case. This will help you understand the current setup and determine any changes or improvements that may be needed. Here are a few key points to consider:
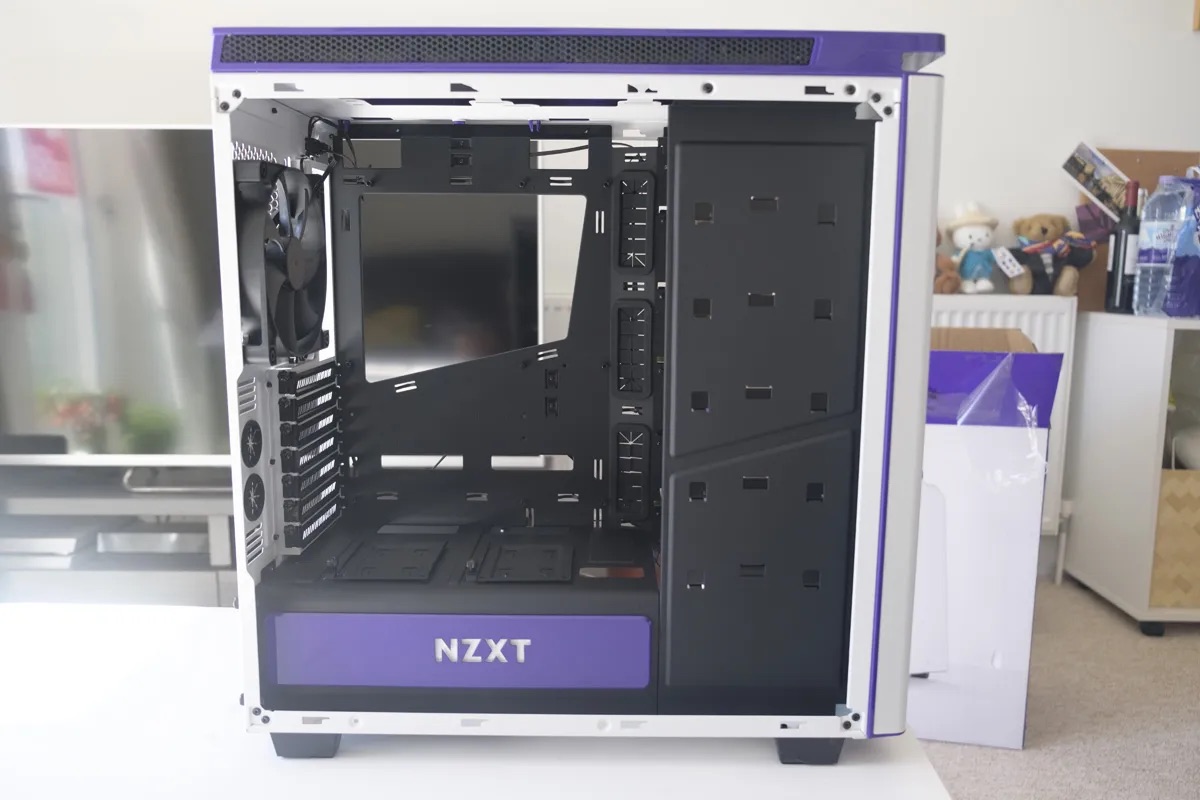
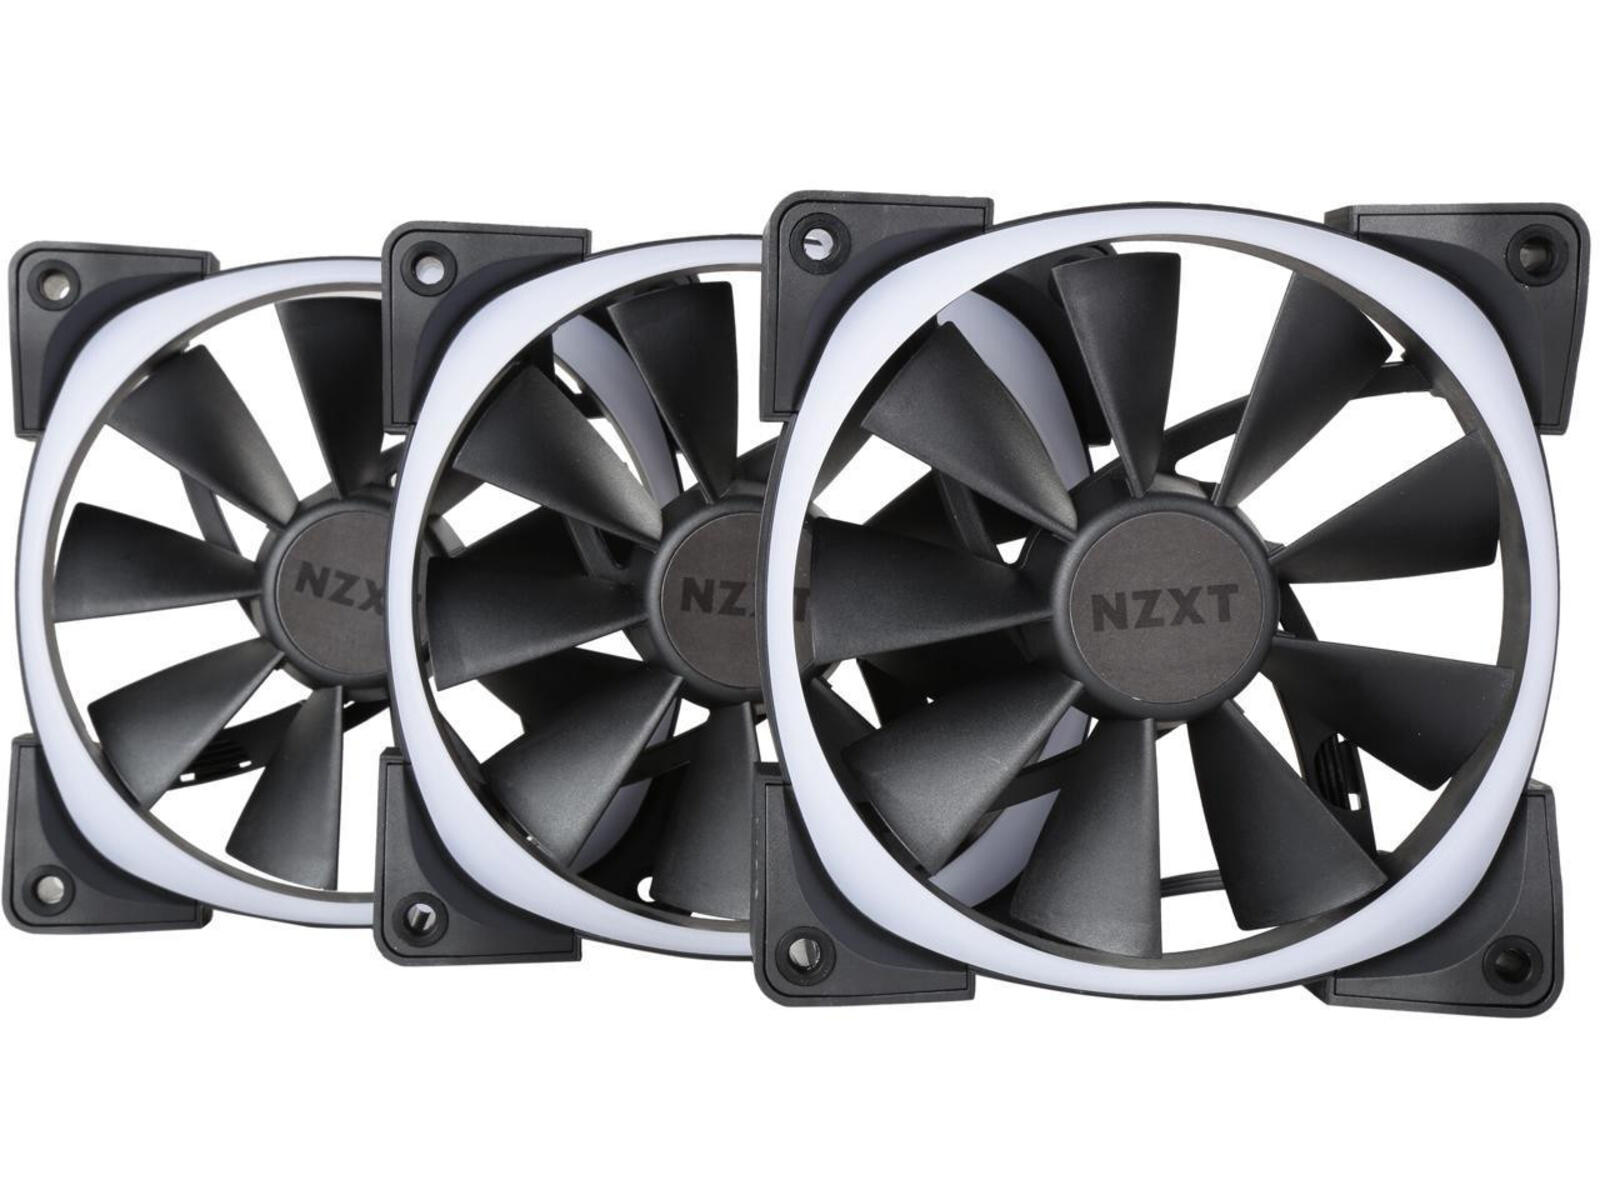
1. Fan Locations: Take note of the fan placements in your H440 case. The H440 typically comes with two front intake fans, one rear exhaust fan, and optional top exhaust fans. Make sure all the fans are correctly installed and functioning properly.
2. Fan Sizes: Determine the sizes of the pre-installed fans, as well as the compatibility of the case with different fan sizes. The H440 supports 120mm and 140mm fans, allowing for customization based on your preferences and cooling requirements.
3. Fan Speed Control: Check if your H440 case has built-in fan speed control options. Some cases have dedicated fan speed switches or connectors that allow for manual control of fan speeds without additional hardware or software.
4. Fan Orientation: Assess the direction in which the fans are mounted. The H440 follows a front-to-back airflow pattern, where the front fans draw cool air into the case, and the rear and top fans expel the hot air. Ensure that the fans are properly aligned to facilitate this airflow direction.
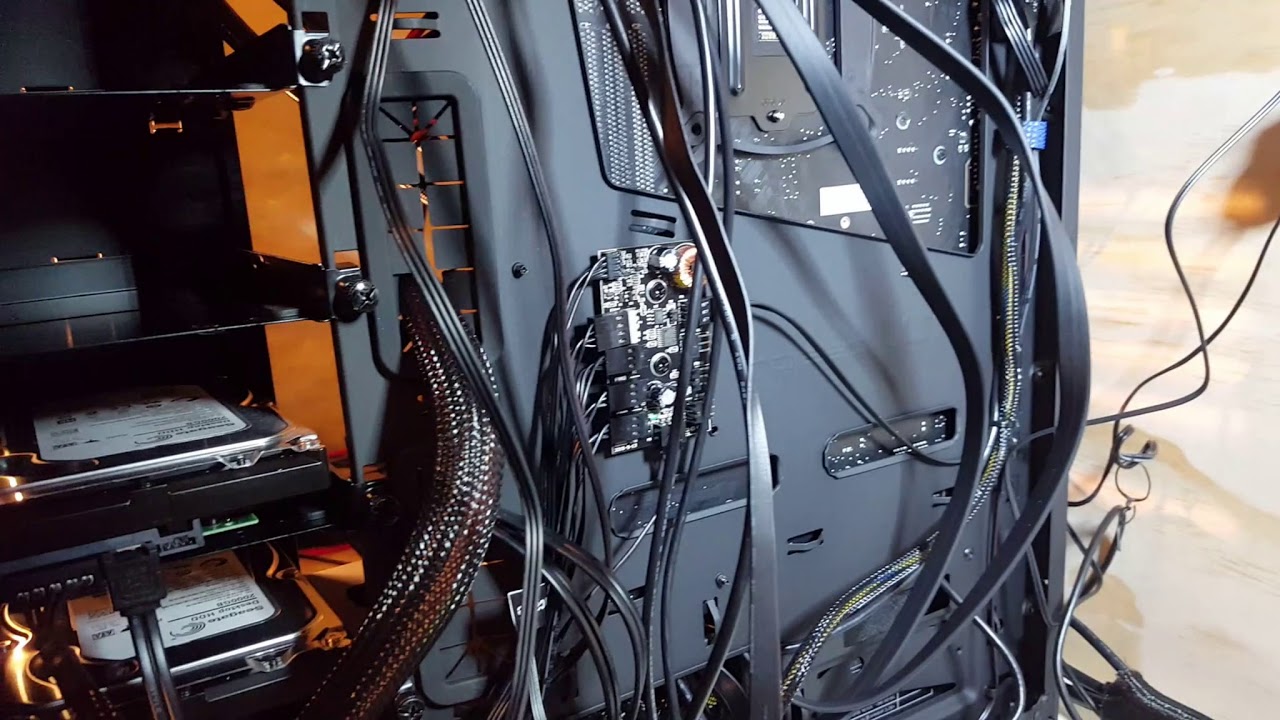
5. Cable Management: Evaluate the cable management within the case to ensure that the fan cables are neatly routed and not obstructing the airflow. Proper cable management helps to maintain a clean and efficient airflow path, enhancing cooling performance.
6. Dust Filters: Take a look at the dust filters on your H440 case. These filters help to keep dust and debris out of your system, ensuring better cooling efficiency over time. Check if the filters are clean and free of any clogs, and if not, clean or replace them as necessary.
By assessing the fan configuration on your H440 NZXT case, you will have a comprehensive understanding of the existing setup and be better equipped to control the case fans effectively. It will also help you identify any potential areas for improvement or customization as you move forward with fan control methods.
In the next section, we will discuss the different fan control methods available for the H440 NZXT case, allowing you to choose the one that best suits your needs and preferences.
Step 2: Determine the Desired Fan Control Method
Once you have assessed the fan configuration of your H440 NZXT case, the next step is to determine the desired fan control method that best suits your needs. There are several options available, each with its own advantages and considerations. Let’s explore some of the popular fan control methods:
1. Manual Fan Control: This method involves directly adjusting the fan speeds using physical controls or switches. Some cases, including the H440, may have built-in fan speed controls that allow you to manually adjust the speed of each fan. While manual control provides simplicity and immediate adjustments, it requires you to manually monitor and adjust the fan speeds as needed.
2. Software-Based Fan Control: Many motherboards and fan controllers offer software control options. With software like SpeedFan or BIOS/UEFI fan control settings, you can adjust the fan speeds through your computer’s operating system. This method provides more control and flexibility, allowing for precise fan speed adjustments based on system temperature or usage. However, it may require a bit of setup and software configuration.
3. Fan Controllers: Installing a dedicated fan controller is another popular method to control case fans. Fan controllers come in various forms, from simple knobs or sliders to more advanced LCD touch panels. They provide centralized control over multiple fans, allowing you to adjust speeds easily and monitor fan performance. Fan controllers can offer a more intuitive and hands-on approach to fan control, but they do require installation and occupy space in your case.
4. NZXT CAM Software: If you want a comprehensive and software-based solution with a user-friendly interface, the NZXT CAM software is a great option. Specifically designed for NZXT cases and accessories, the CAM software offers advanced fan control, system monitoring, and RGB customization. With CAM, you can create custom fan profiles, monitor temperatures, and even synchronize lighting effects with compatible components. It provides a centralized and intuitive control panel for managing your H440 case and optimizing fan performance.
Consider your preferences, technical proficiency, and budget when determining the ideal fan control method for your H440 NZXT case. Each method has its pros and cons, and the right choice depends on your specific requirements. In the next steps, we will explore the installation and usage of fan controllers and the NZXT CAM software, providing you with detailed instructions to effectively control your case fans.
Step 3: Installing a Fan Controller
If you prefer a dedicated hardware solution for controlling your case fans, installing a fan controller is a great option. A fan controller allows for centralized control and monitoring of your fans, providing an intuitive way to adjust fan speeds to suit your needs. Here’s a step-by-step guide on how to install a fan controller in your H440 NZXT case:
1. Choose a Fan Controller: There are various fan controllers available on the market, ranging from simple manual controllers to more advanced models with digital displays and customizable features. Consider your budget and requirements to select a fan controller that suits your needs.
2. Prepare for Installation: First, ensure that your PC is powered off and unplugged from the power source. Open the side panel of your H440 case to access the internal components. You may need to refer to the manual of your case and fan controller for specific instructions.
3. Locate Installation Position: Decide where you want to install the fan controller in your case. Choose a location that is easily accessible and does not obstruct other components or cables.
4. Mount the Fan Controller: Use the supplied screws or mounting brackets to secure the fan controller in the desired position. Make sure it is firmly attached to the case and doesn’t wobble or interfere with other components.
5. Connect the Fans: Locate the fan headers on the fan controller. You’ll typically find 3-pin or 4-pin connectors for each fan. Connect the case fans to the corresponding headers on the controller. Ensure that the fans are connected securely and the cables are neatly routed.
6. Connect Power: In most cases, fan controllers require power to operate. Connect a Molex or SATA power cable from your power supply to the fan controller. This will provide the necessary power to run the controller and control the fans.
7. Secure Wiring: Once all the connections are made, tidy up the cables inside your case using cable ties or the built-in cable management features of your H440 case. Ensure that the wiring is neatly organized, avoiding any obstructions to the airflow.
8. Close the Case: Once everything is installed and wired, close the side panel of your H440 case securely. Double-check that all connections are secure before powering on your PC.
With the fan controller successfully installed, you now have centralized control over your case fans. You can adjust the fan speeds as needed to maintain optimal airflow and balance the cooling performance of your H440 NZXT case.
In the next step, we will explore how to control your case fans using the NZXT CAM software, providing you with a comprehensive digital solution for fan control and system monitoring.
Step 4: Using the NZXT CAM Software for Fan Control
If you’re looking for a comprehensive and user-friendly software solution to control your case fans on the H440 NZXT, the NZXT CAM software is an excellent choice. The CAM software provides advanced fan control, system monitoring, and RGB customization features. Here’s a step-by-step guide on how to use the NZXT CAM software for fan control:
1. Download and Install: Visit the NZXT website and download the latest version of the CAM software. Install the software on your computer following the on-screen instructions.
2. Launch the CAM Software: After installation, launch the NZXT CAM software. Create an account or log in if you already have one.
3. Connect Your H440 NZXT Case: Connect your H440 case to your computer using the USB cable provided. This will allow the CAM software to detect and communicate with your case for fan control and monitoring.
4. Navigate to Fan Control: Once connected, navigate to the Fan Control section within the NZXT CAM software. Here, you’ll find various fan control options and settings.
5. Select the Fan: Select the fan you want to control from the list of detected fans. The CAM software will display the current fan speed and temperature for each fan.
6. Adjust Fan Speed: Use the slider or numerical input in the CAM software to adjust the fan speed. You can manually set the fan speed to a specific percentage or use the predefined fan profiles provided by the software.
7. Create Custom Fan Profiles: The NZXT CAM software allows you to create custom fan profiles based on temperature thresholds. This enables you to automatically adjust the fan speed according to the system temperature. Experiment with different profiles to find the optimal balance between cooling performance and noise levels.
8. Monitor Fan Performance: The CAM software provides real-time monitoring of your fan speeds, temperatures, and other key system metrics. Keep an eye on these values to ensure your fans are operating within the desired range.
9. Additional Features: Apart from fan control, the NZXT CAM software offers other features such as system monitoring, lighting control, and software updates. Explore these additional features to further enhance your PC setup.
Utilizing the NZXT CAM software for fan control provides a convenient and intuitive way to manage the cooling performance of your H440 NZXT case. Take advantage of the customization options and monitoring capabilities to optimize your system’s airflow and keep your components running at their best.
In the next step, we will explore how to manually adjust fan speeds on your H440 NZXT case without using any additional software or hardware.
Step 5: Adjusting Fan Speeds Manually
If you prefer a manual approach to control the fan speeds on your H440 NZXT case, you can do so without relying on any additional software or hardware. Here’s a step-by-step guide on how to adjust the fan speeds manually:
1. Locate the Fan Speed Controls: Look for the fan speed controls on your H440 NZXT case. Depending on the model and version, it may have built-in switches or controllers specifically designed for adjusting fan speeds.
2. Identify the Fan Control Options: Review the available fan control options provided by your case. This could include High, Medium, and Low settings, switch toggles, or adjustable knobs. Each control option corresponds to a specific fan speed setting.
3. Adjust the Fan Speeds: Select the desired fan speed setting that suits your requirements. If your case has switches, toggle them to the appropriate position. If it has knobs, rotate them to increase or decrease the fan speeds accordingly.
4. Observe the Fan Speed Changes: As you adjust the fan speed controls, monitor the changes in fan speeds. You can visually check the RPM (rotations per minute) of the fans or listen to their noise level to gauge the speed adjustments.
5. Fine-tune the Fan Speeds: If the predefined fan speed options do not meet your preferences, you can experiment with slight adjustments to achieve the desired cooling performance and noise levels. Take note of any temperature changes or noise improvements with each adjustment.
6. Monitor System Temperatures: Keep an eye on your system temperatures during and after adjusting the fan speeds. Ensure that the fan speed changes are maintaining optimal airflow and effectively cooling your PC components within their recommended temperature range.
7. Reassess and Modify as Needed: Periodically reassess your fan speed settings to ensure they continue to meet your requirements. Depending on changes in system load or ambient temperatures, you may need to adjust the fan speeds accordingly for optimal performance.
By manually adjusting the fan speeds on your H440 NZXT case, you have precise control over the cooling performance of your PC. This method allows for immediate adjustments without relying on third-party software or additional hardware.
However, it’s important to note that manual fan speed control may require regular monitoring and adjustment based on changing circumstances. If you prefer a more automated and customizable approach, refer to the previous sections on using software or hardware-based fan control methods.
In the following step, we will explore how to create custom fan profiles to further fine-tune the fan speeds on your H440 NZXT case.
Step 6: Creating Custom Fan Profiles
Creating custom fan profiles allows you to tailor the fan speeds on your H440 NZXT case to suit your specific needs, providing a more personalized and optimized cooling solution. Here’s a step-by-step guide on how to create custom fan profiles:
1. Determine Temperature Thresholds: Identify the temperature thresholds at which you want your fans to adjust their speeds. For example, you may want the fans to remain at low speeds when the system is cool and increase gradually as temperatures rise.
2. Access Fan Control Software: Use the fan control software associated with your H440 NZXT case, such as the NZXT CAM software, to access the fan control settings. Open the software and navigate to the section where you can create custom fan profiles.
3. Configure Fan Speeds: In the fan control settings, configure the fan speeds for each temperature threshold. You can typically set the fan speeds as a percentage of their maximum RPM. Start with lower speeds for lower temperatures and gradually increase them for higher temperatures.
4. Test and Adjust: Apply the custom fan profile and observe how the fans respond to temperature changes. Monitor the system temperatures, fan speeds, and noise levels to ensure they align with your expectations. If necessary, fine-tune the fan speeds in the custom profile for optimal performance.
5. Save and Apply: Once you are satisfied with the custom fan profile, save the settings in the fan control software. This will ensure that the custom profile is applied every time your computer starts up or resumes from sleep mode.
6. Monitor and Modify: Regularly monitor the performance of the custom fan profile. Keep an eye on the system temperatures, fan speeds, and noise levels to ensure that the fans are appropriately adjusting their speeds based on the defined temperature thresholds. Modify the custom profile if needed to accommodate any changes in system requirements or ambient temperatures.
Creating custom fan profiles gives you granular control over the cooling performance of your H440 NZXT case. By tailoring the fan speeds to specific temperature ranges, you can achieve optimal cooling efficiency while minimizing noise levels.
Note that the process of creating custom fan profiles may vary depending on the fan control software or hardware you are using. Refer to the specific instructions and documentation provided with your fan control solution for more detailed steps.
In the final step, we will discuss some common troubleshooting tips to help you resolve any potential fan control issues that may arise with your H440 NZXT case.
Step 7: Troubleshooting Common Fan Control Issues
While controlling the case fans on your H440 NZXT case can greatly enhance your PC’s performance, you may encounter some common issues along the way. Here are some troubleshooting tips to help you resolve these issues:
1. Fan Not Detected: If one or more fans are not detected by the fan control software or hardware, check the connections. Ensure that the fans are properly connected to the fan headers or controllers and that the cables are securely connected.
2. Fan Speeds Not Changing: If the fan speeds are not adjusting according to the defined settings, check that the fan control software or hardware is functioning properly. Restart the software or reset the hardware if needed. Also, verify that the temperature sensors are accurately reporting the system temperatures.
3. Noise Issues: If your case fans are producing excessive noise, consider cleaning them to remove any accumulated dust. Additionally, check for any obstructions in the fan blades or impeller. If the noise persists, consider replacing the fans with quieter models that meet your cooling requirements.
4. Temperature Spikes: If you notice sudden temperature spikes without a corresponding increase in fan speeds, check for any software conflicts or background processes that may be consuming system resources. Run a thorough malware scan to ensure that your system is not compromised.
5. Inconsistent Fan Speeds: If the fan speeds fluctuate unexpectedly, check the temperature readings from different sensors to ensure they are consistent. Also, verify that the fan control settings are properly configured and that there are no conflicts between the fan control software and other installed software.
6. Fan Control Software Compatibility: Ensure that the fan control software you are using is compatible with your operating system and hardware. Check for any available software updates or patches that may address compatibility issues or bug fixes.
7. Consult Manufacturer Documentation: If you encounter persistent fan control issues or require further assistance, consult the documentation provided by the manufacturer of your H440 NZXT case, fan control software, or fan controller. They may have specific troubleshooting steps or support resources available to help you resolve the issues.
Remember, troubleshooting fan control issues requires patience and careful examination of the components, connections, and settings. By following these troubleshooting tips and seeking support from the relevant manufacturers, you can overcome common fan control issues and ensure optimal cooling performance for your H440 NZXT case.
Now that you are equipped with troubleshooting knowledge, you can confidently address any fan control issues that may arise during the setup and configuration of your H440 NZXT case.
Conclusion
Congratulations! You have reached the end of this guide on how to effectively control the case fans on your H440 NZXT case. By following the steps outlined in this guide, you have learned how to assess the fan configuration, determine the desired fan control method, install a fan controller, utilize the NZXT CAM software, adjust fan speeds manually, create custom fan profiles, and troubleshoot common fan control issues.
Controlling case fans is crucial for maintaining optimal airflow, reducing noise levels, improving energy efficiency, and customizing cooling performance to suit your specific needs. Whether you opt for manual control, software-based solutions, or dedicated fan controllers, you now have the knowledge and tools to take full control of your H440 NZXT case’s cooling capabilities.
As you experiment with different fan control methods, remember to monitor system temperatures, fan speeds, and noise levels to ensure your PC is operating within safe and effective parameters. Fine-tune your fan settings as needed to achieve the perfect balance between cooling performance and noise levels that work best for your setup.
If you encounter any issues along the way, refer back to the troubleshooting section for guidance or consult the documentation and support resources provided by the manufacturers of your components and software.
Now that you have mastered the art of controlling case fans on the H440 NZXT case, you can enjoy improved system performance, reduced noise levels, and a more efficient PC experience. Happy computing!