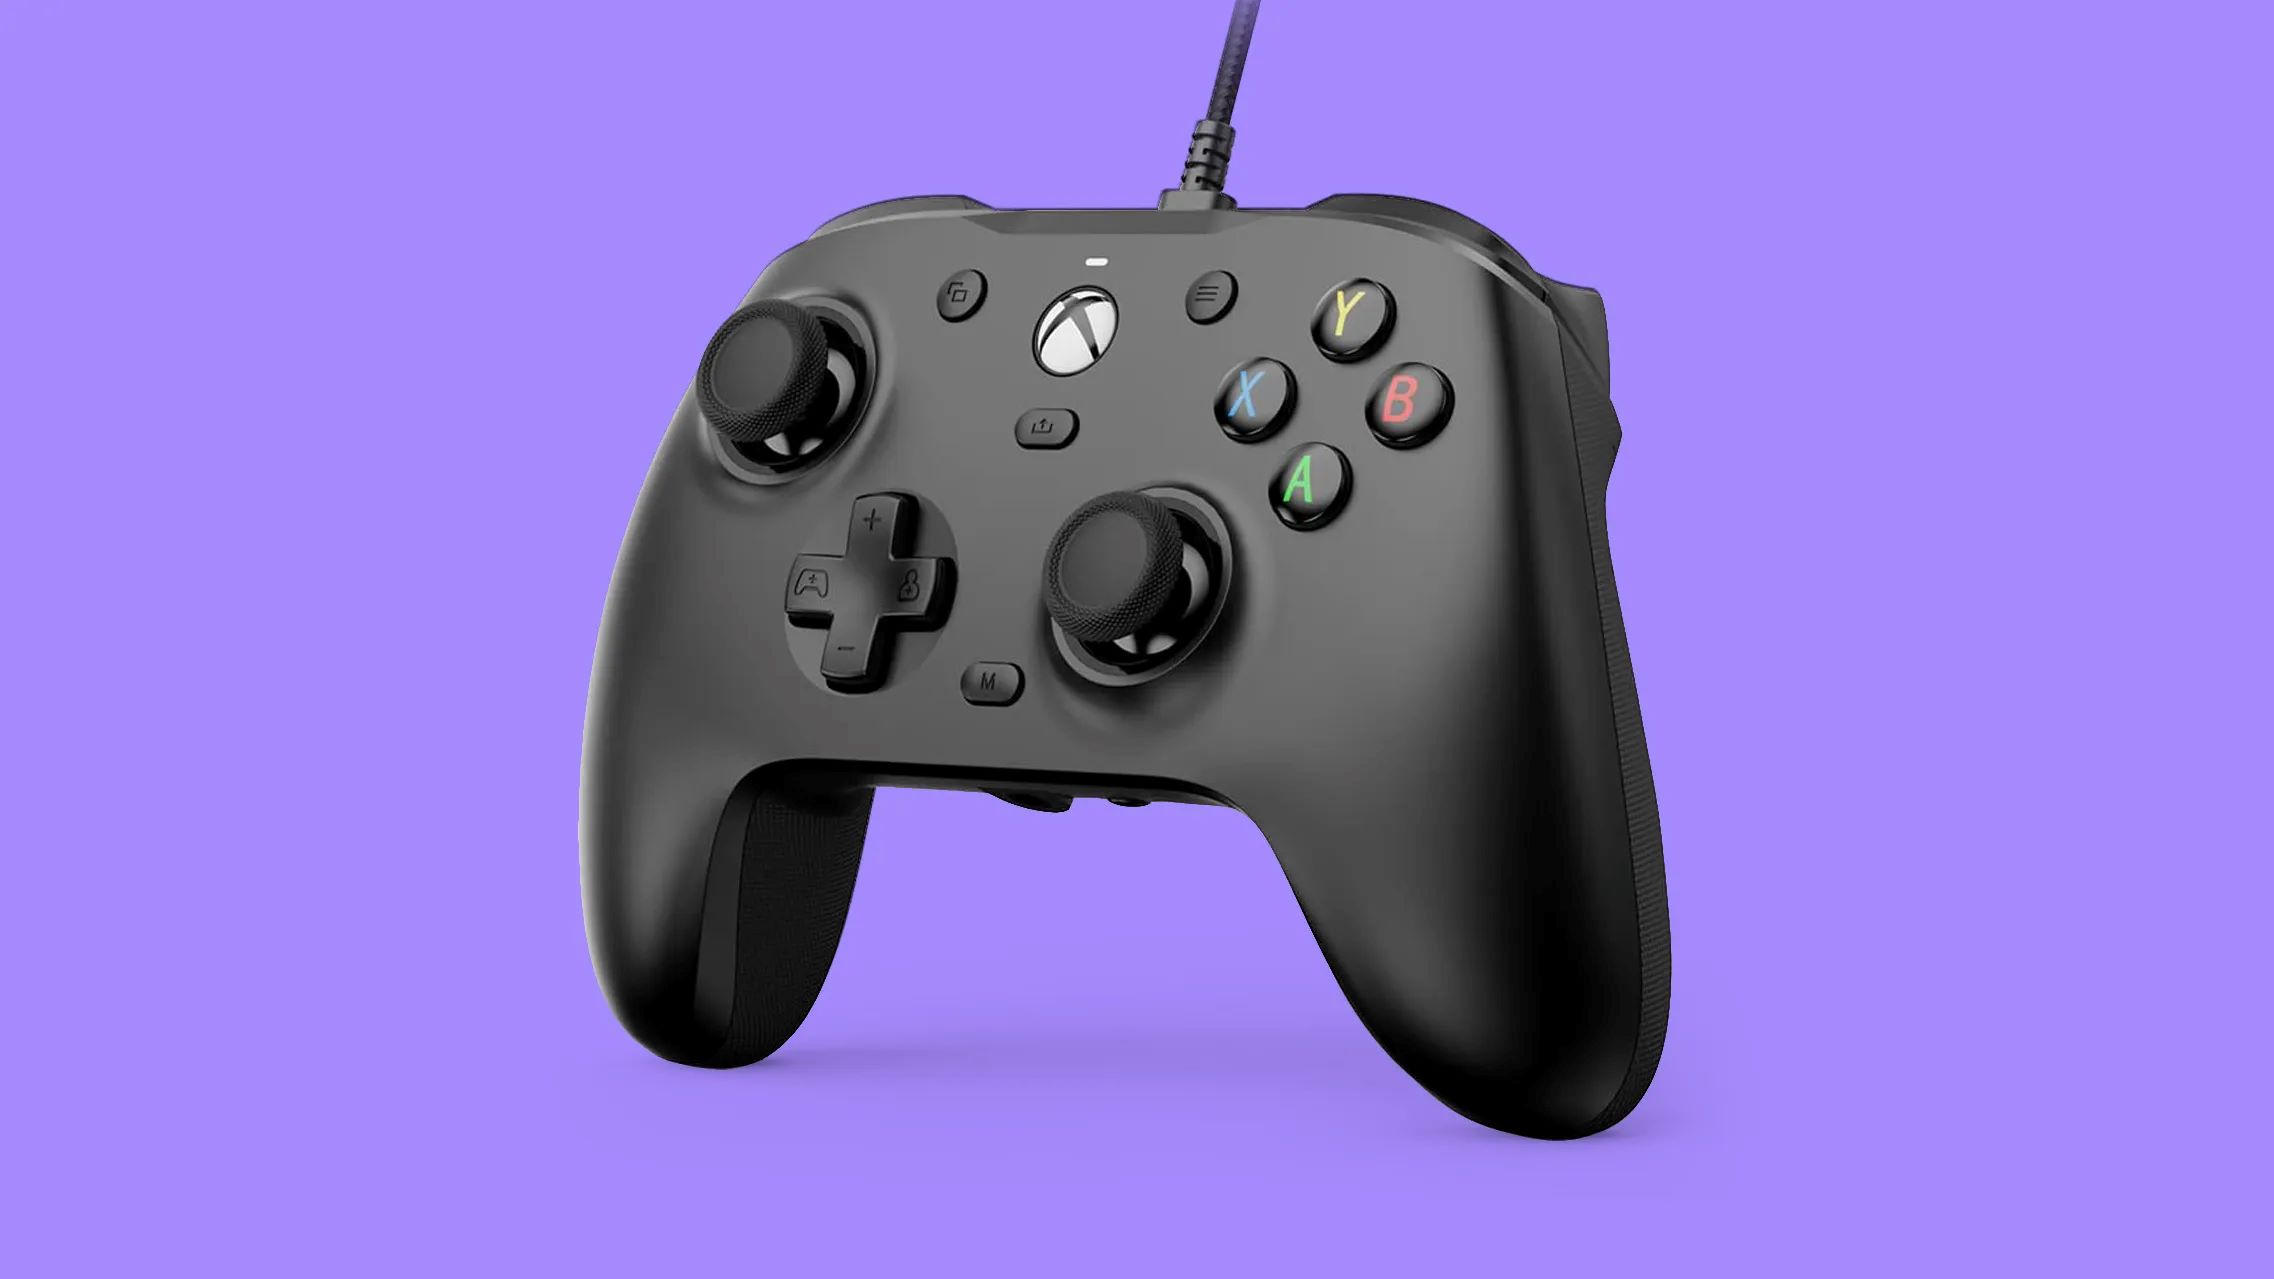
Introduction
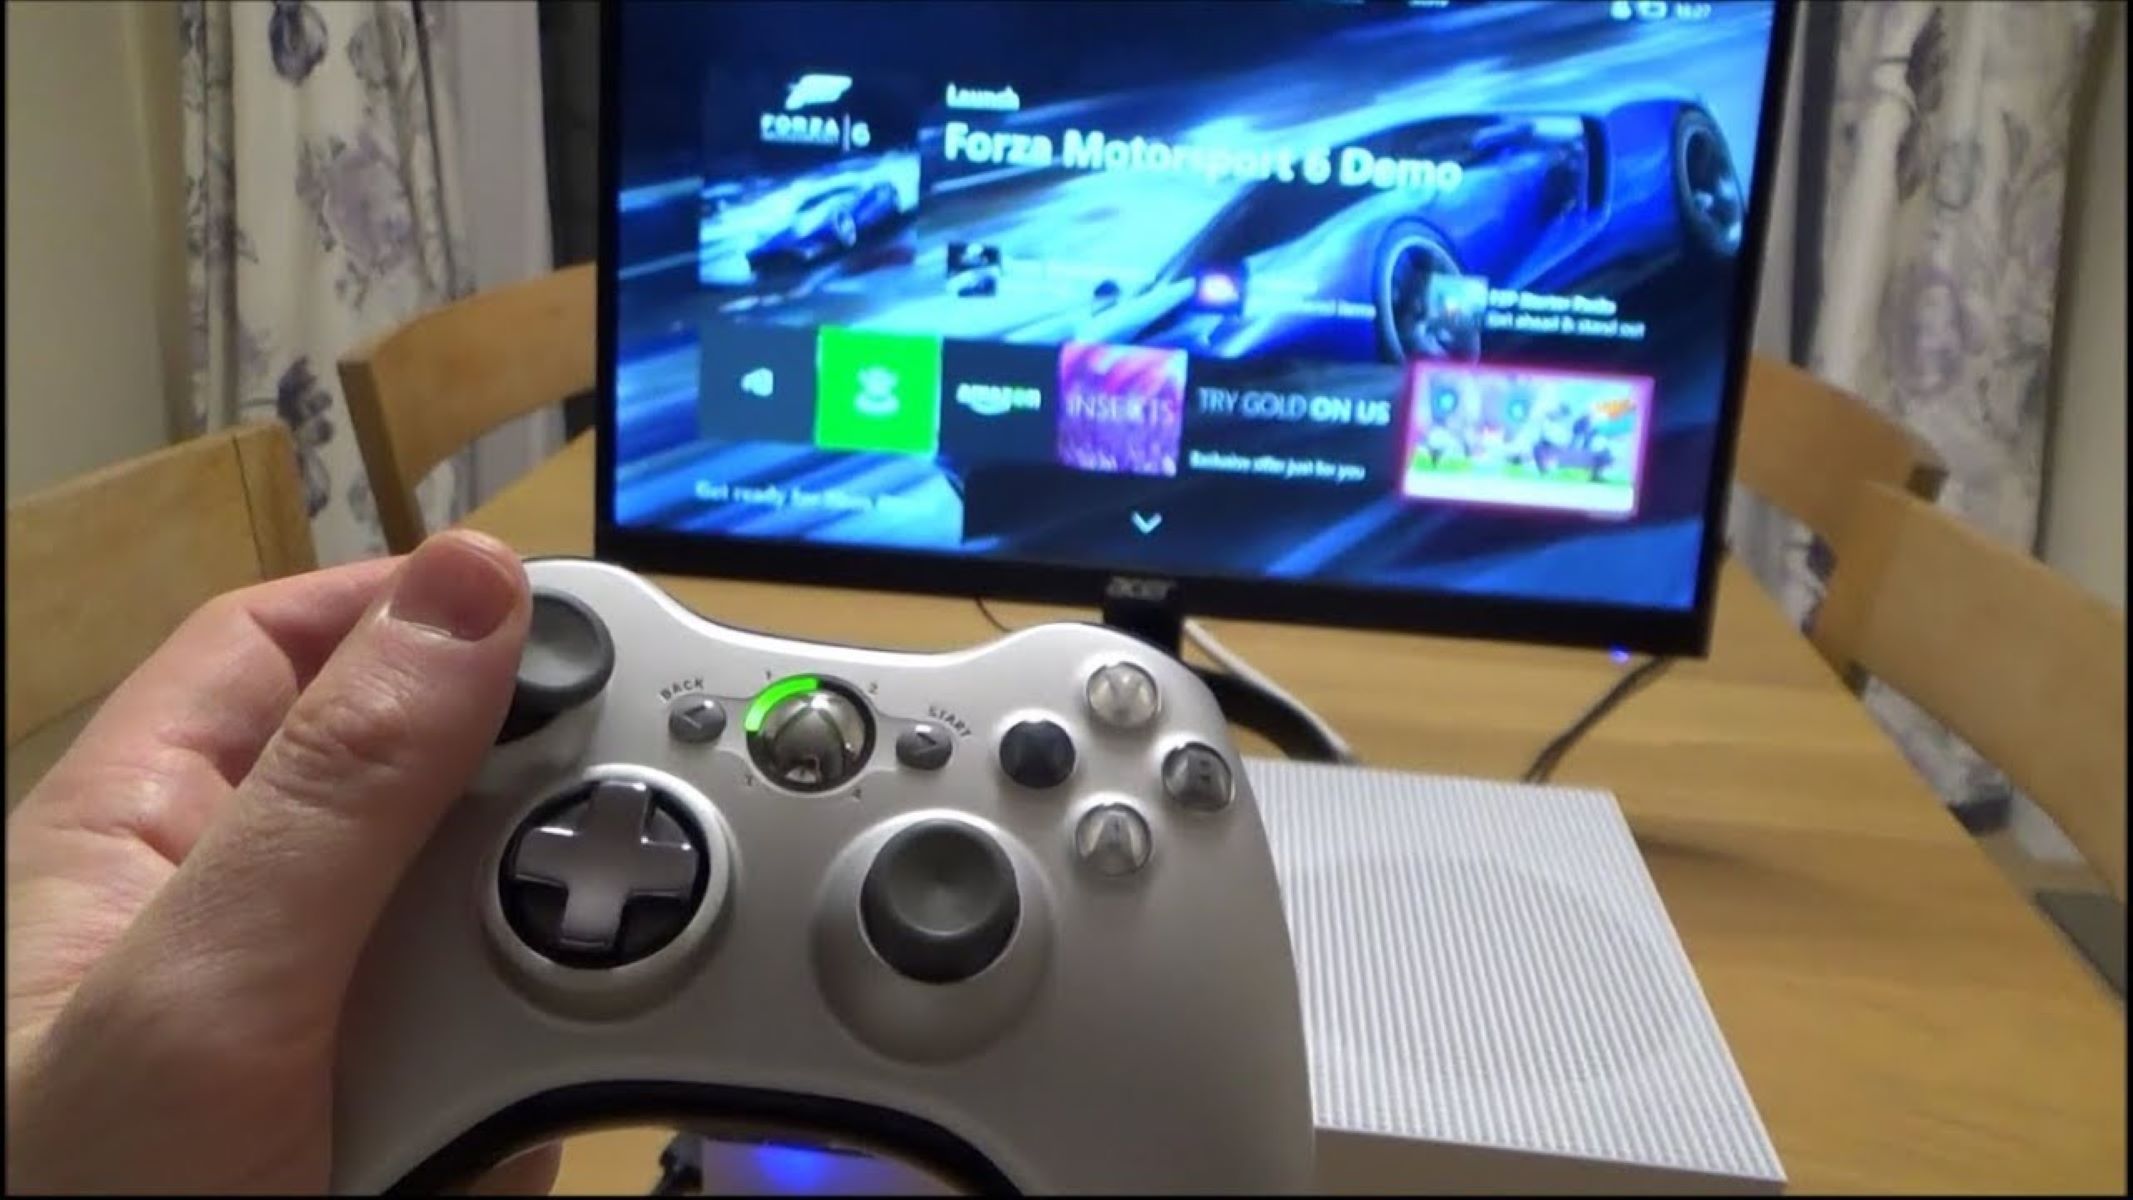
Are you an avid gamer looking to play your favorite PC games with the comfort and familiarity of an Xbox 360 controller? Well, you’re in luck! Connecting an Xbox 360 controller to your PC can provide you with a seamless gaming experience, whether you’re racing through virtual tracks or battling fierce enemies.
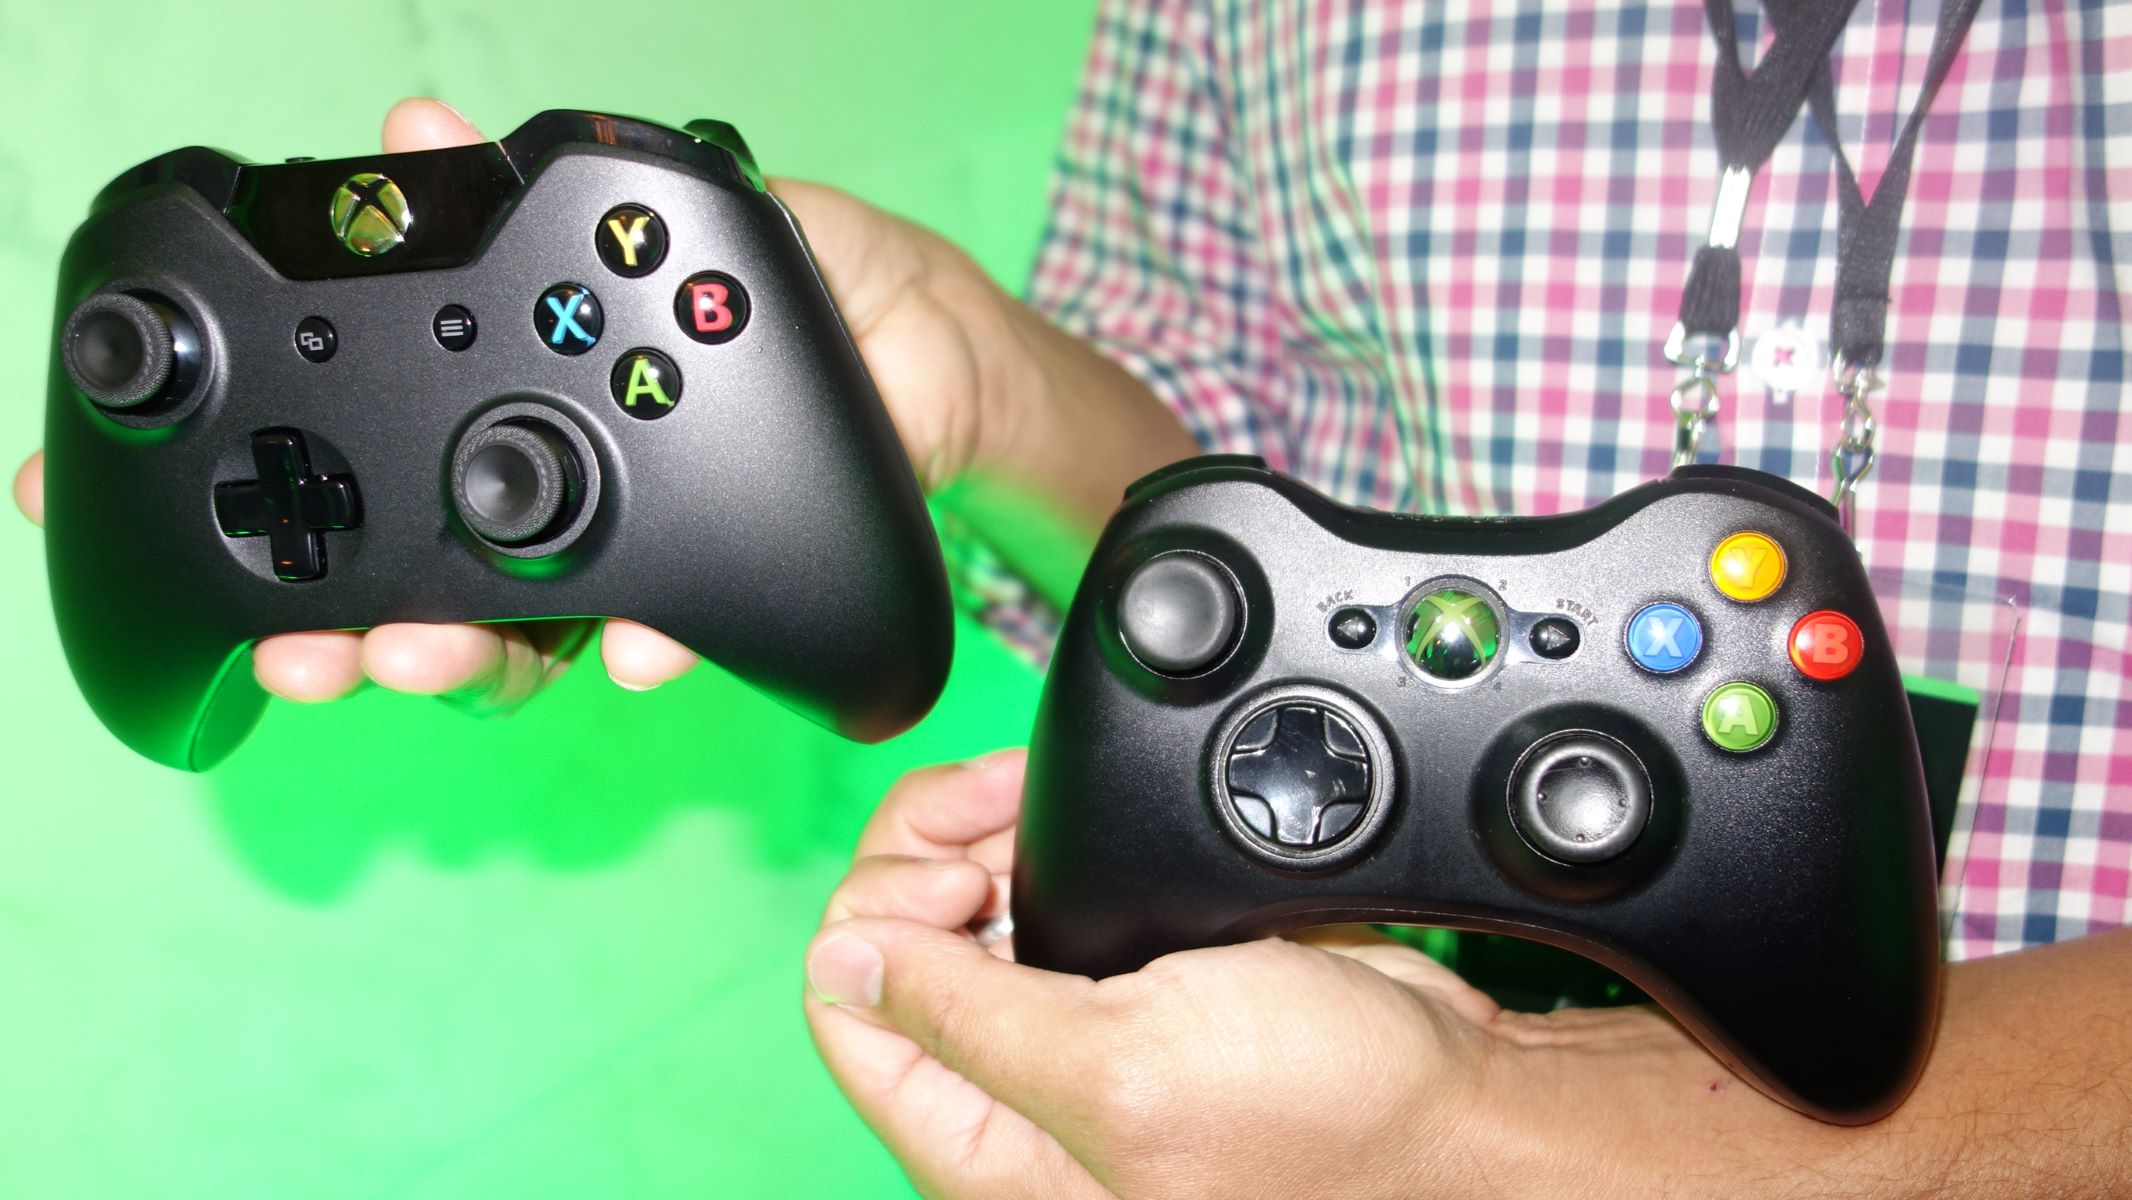
The Xbox 360 controller is renowned for its ergonomic design and precise controls, making it a popular choice among gamers. With the right software and a few simple steps, you can easily connect your Xbox 360 controller to your PC, allowing you to enjoy your games with the controller of your choice.
In this article, we will guide you through the process of connecting an Xbox 360 controller to your PC, both using a wired and wireless connection. We will also cover the installation of the necessary drivers and provide troubleshooting tips to ensure a hassle-free gaming experience.
Whether you’re a casual gamer or a hardcore enthusiast, this guide will help you make the most of your gaming setup and enhance your gameplay experience. So grab your Xbox 360 controller and let’s get started on connecting it to your PC!
Step 1: Downloading the Xbox 360 Controller Software
Before you can connect your Xbox 360 controller to your PC, you’ll need to download and install the appropriate software. This software is essential for your PC to recognize and interact with the Xbox 360 controller. Follow these steps to download the Xbox 360 controller software:
- Open your preferred web browser and navigate to the official Microsoft website.
- Search for the “Xbox 360 Controller for Windows” software.
- Click on the official Microsoft page for the Xbox 360 controller software.
- On the software page, you’ll find the option to download the software. Ensure that you select the version that corresponds to your operating system.
- Click on the “Download” button to initiate the download process.
- Once the download is complete, locate the downloaded file on your computer.
- Double-click on the file to start the installation process.
- Follow the on-screen instructions to install the Xbox 360 controller software onto your PC.
- Once the installation is complete, you’re ready to move on to the next step.
Downloading and installing the Xbox 360 controller software is a crucial step as it ensures that your PC recognizes the controller’s inputs correctly. It also enables you to customize controller settings and mapping according to your preferences. So make sure to complete this step before attempting to connect your Xbox 360 controller to your PC.
Step 2: Connecting the Xbox 360 Controller to PC via Wired Connection
If you have a wired Xbox 360 controller, connecting it to your PC is a straightforward process. Follow these steps to establish a wired connection:
- Ensure that your PC is powered on and running.
- Take the USB cable that came with your Xbox 360 controller and plug one end into the controller.
- Insert the other end of the USB cable into an available USB port on your PC.
- Your computer should automatically detect the controller and begin installing any necessary drivers. If prompted, follow the on-screen instructions to complete the installation.
- Once the drivers are installed, your Xbox 360 controller should be ready to use on your PC.
- To test the connection, launch a game or application that supports gamepad input.
- Verify that the controller inputs are registering correctly within the game or application.
- If the controller is not functioning properly, double-check that the drivers were installed correctly and try reconnecting the controller.
- Once you’ve successfully connected the Xbox 360 controller via a wired connection, you can enjoy your favorite PC games with the comfort and precision of a controller.
Connecting the Xbox 360 controller to your PC using a wired connection provides a reliable and low-latency gaming experience. The controller will be powered directly from your PC, eliminating the need for batteries or charging. With a wired connection, you can focus on your gameplay without worrying about any wireless interference.
Remember, using a wired connection will limit your mobility compared to a wireless connection. However, it’s a great option if you plan to play games in close proximity to your PC or if you prefer the stability of a wired connection.
Step 3: Connecting the Xbox 360 Controller to PC via Wireless Connection
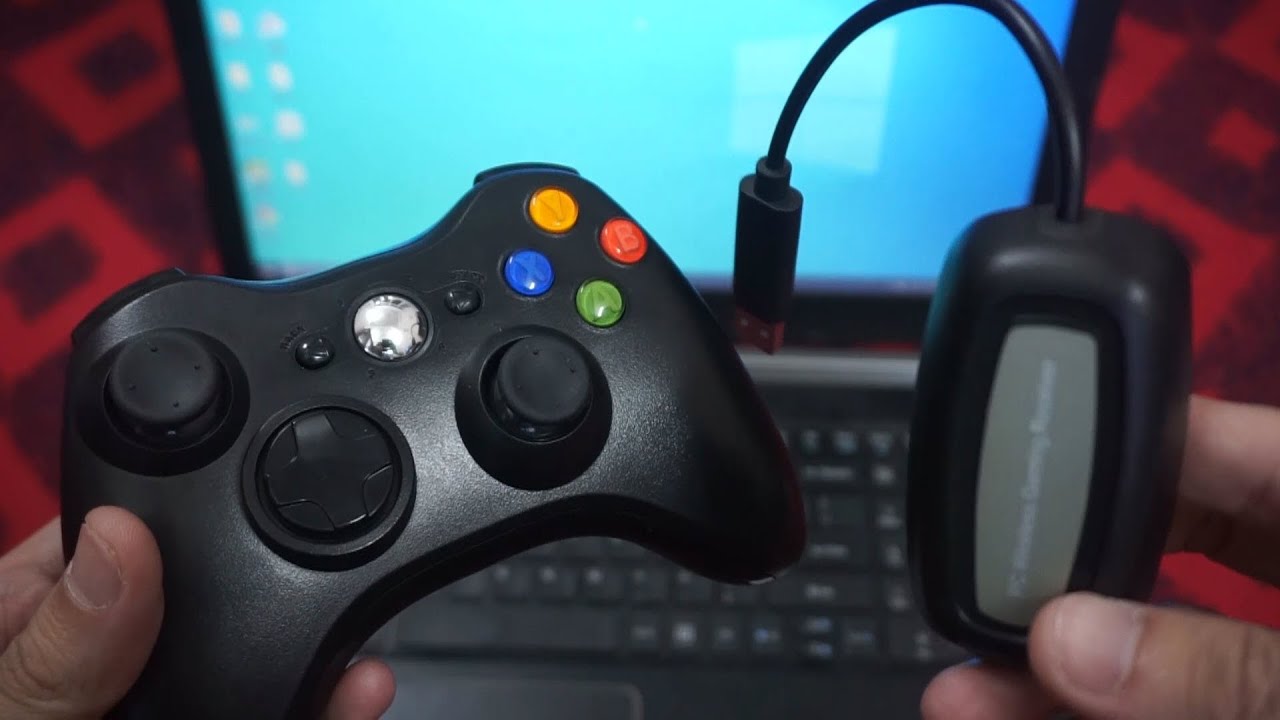
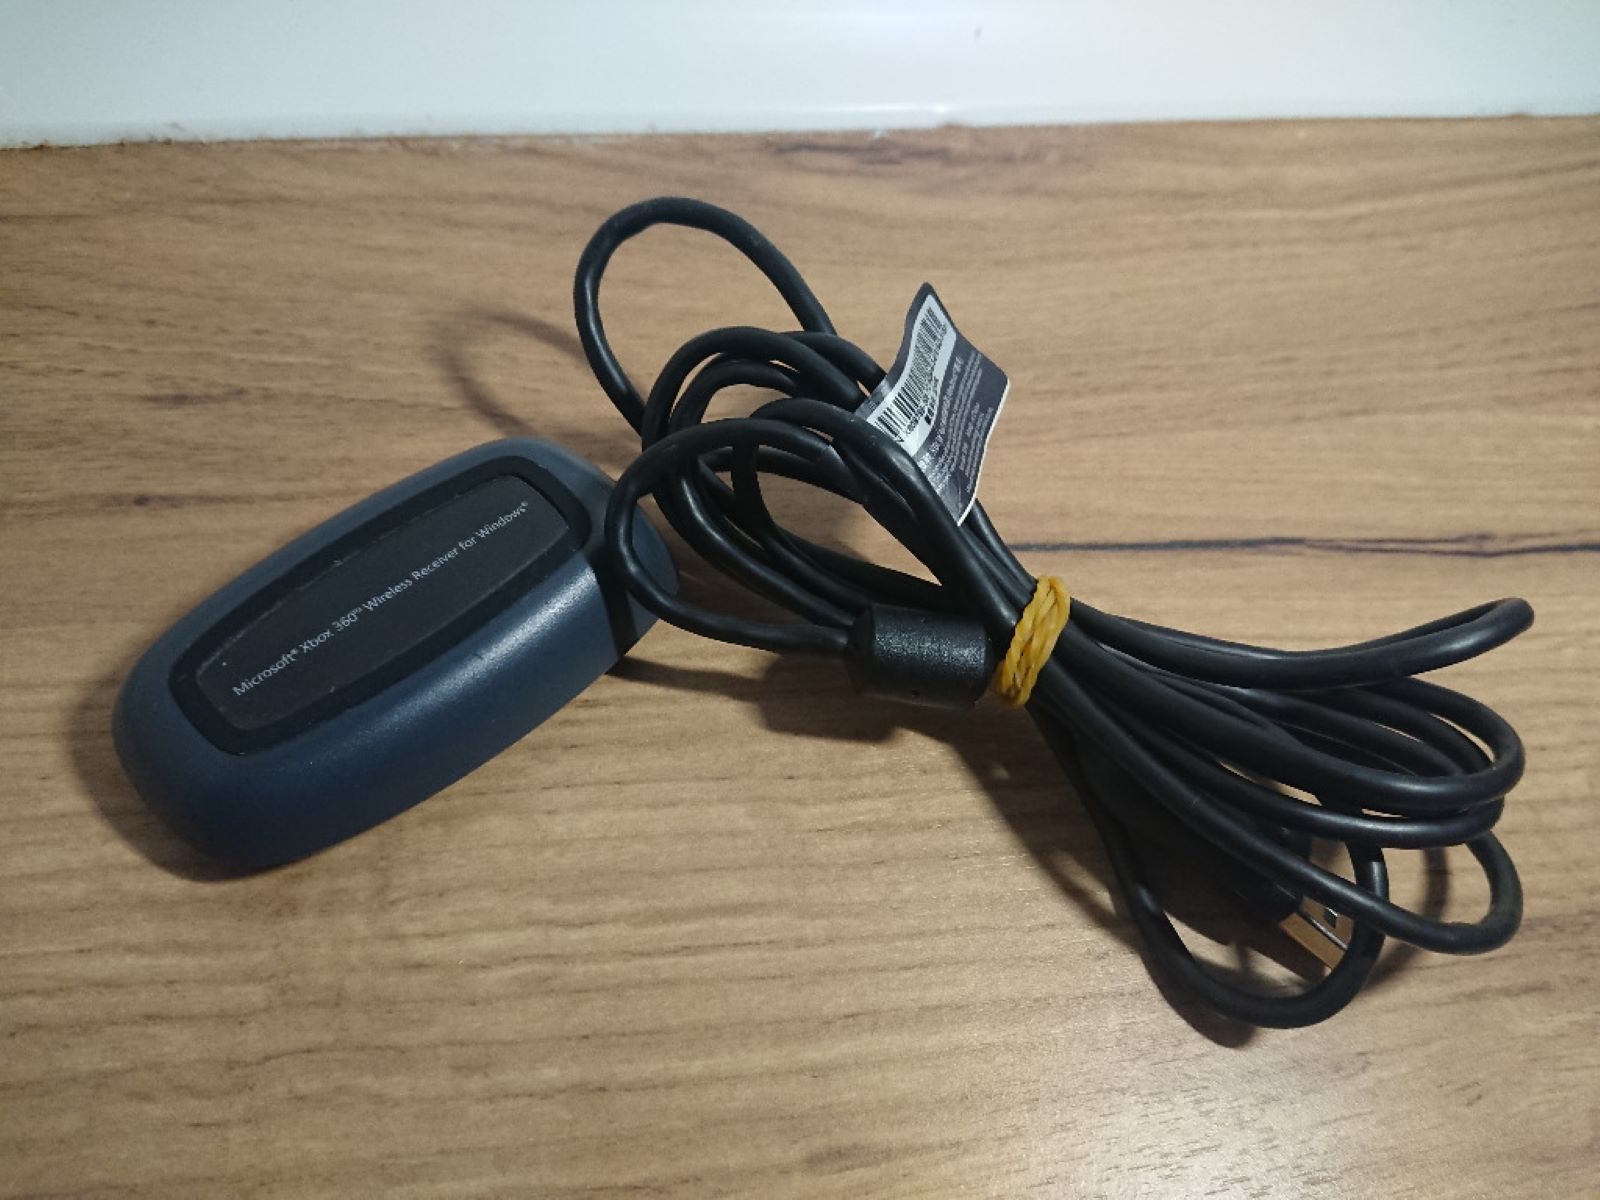
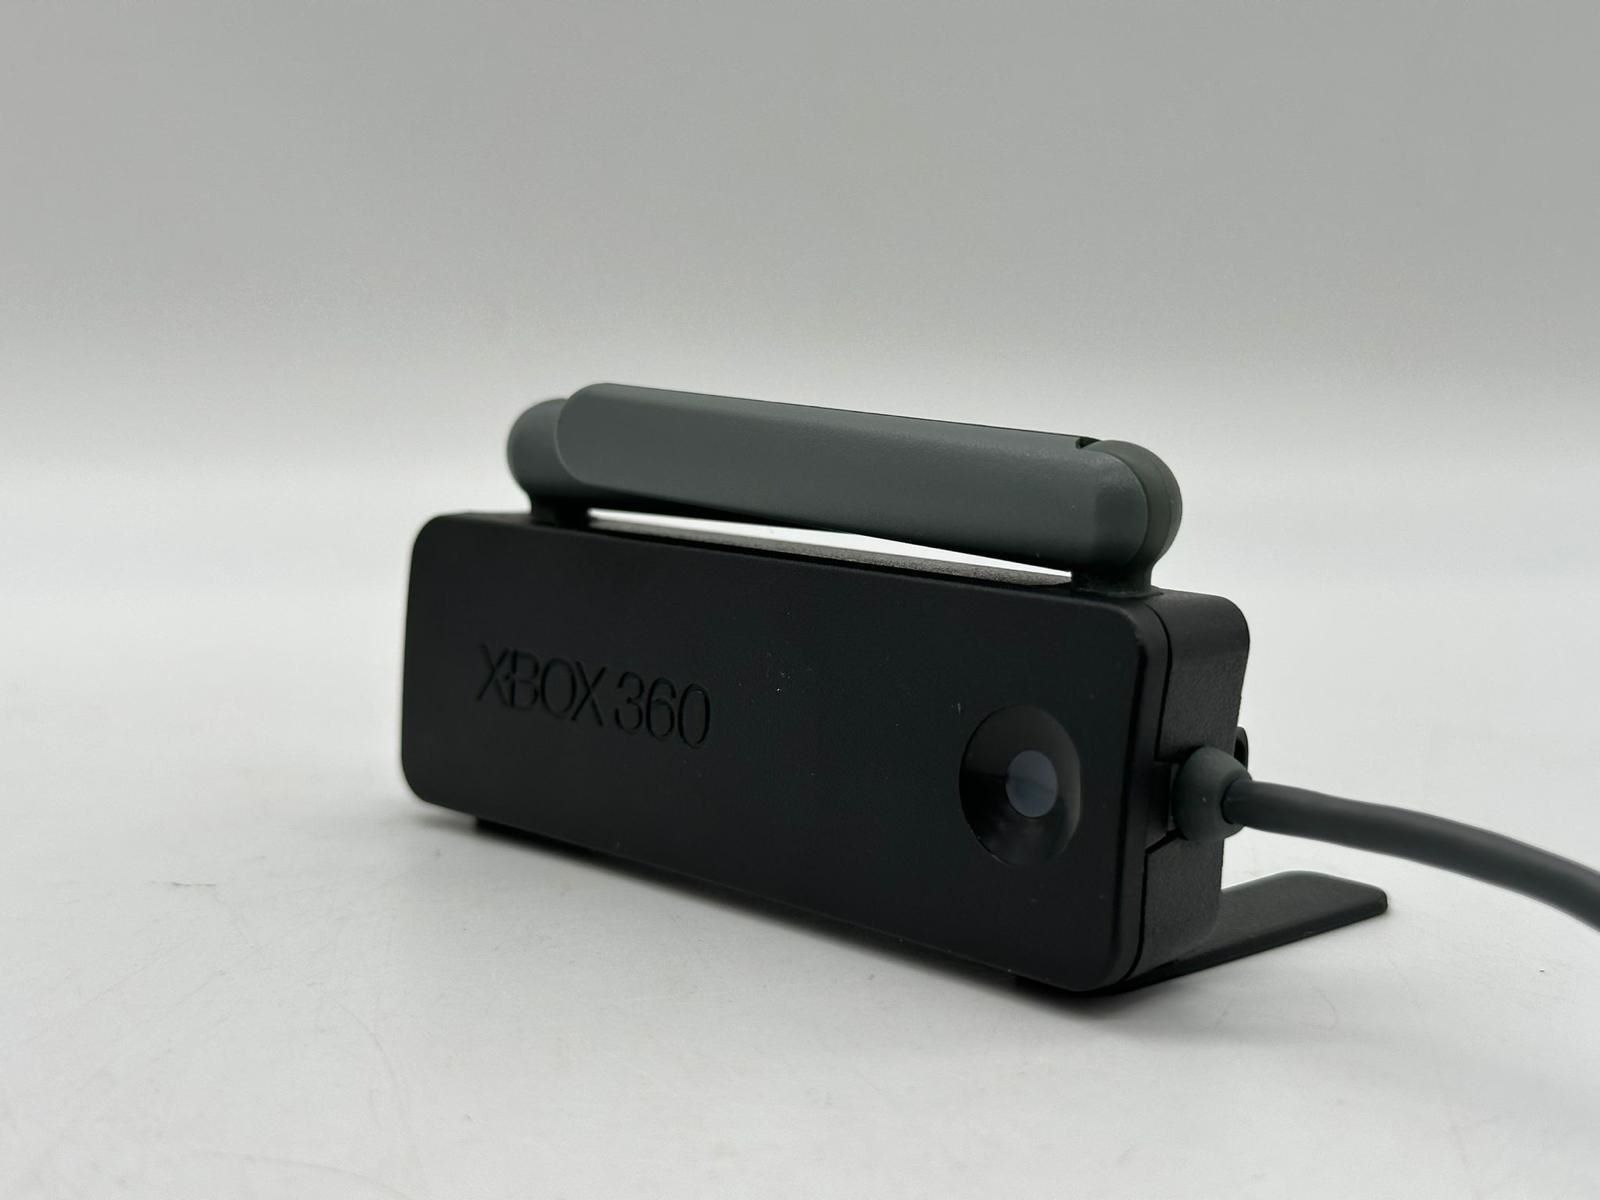
If you have a wireless Xbox 360 controller, you can connect it to your PC using a wireless receiver. Follow these steps to establish a wireless connection:
- Plug the wireless receiver into an available USB port on your PC.
- Press the “Connect” button on the wireless receiver.
- On your Xbox 360 controller, press and hold the “Guide” button until it starts flashing.
- Press the “Connect” button on the wireless receiver again within a few seconds.
- The “Guide” button on your Xbox 360 controller will stop flashing once the connection is established.
- Once the connection is established, your Xbox 360 controller will be ready for use on your PC.
- Launch a game or application that supports gamepad input to test the controller’s functionality.
- Ensure that the controller inputs are registering correctly within the game or application.
- If the controller is not responding as expected, try repositioning the wireless receiver or checking for any potential interference.
- Once the wireless connection is established, you can enjoy the freedom of playing your PC games without the constraints of a wired connection.
Using a wireless connection allows you to have more flexibility and mobility while gaming on your PC. With the Xbox 360 controller and the wireless receiver, you can comfortably play games from a distance, whether you’re relaxing on your couch or sitting at your desk.
Note that the wireless receiver can support up to four Xbox 360 controllers simultaneously, making it an excellent option for multiplayer gaming sessions. Each controller will need to be connected following the same steps mentioned above.
Now that you’ve successfully connected your Xbox 360 controller to your PC via a wireless connection, you can enjoy a wire-free gaming experience and immerse yourself in your favorite games.
Step 4: Installing Xbox 360 Controller Drivers on Windows
In order for your PC to properly recognize and work with the Xbox 360 controller, you may need to install the necessary drivers. The installation process may vary depending on your Windows version. Follow these general steps to install the Xbox 360 controller drivers on Windows:
- Connect your Xbox 360 controller to your PC via either a wired or wireless connection, as discussed in the previous steps.
- Open the “Device Manager” in Windows by right-clicking on the “Start” button and selecting “Device Manager” from the context menu.
- In the Device Manager, look for the “Xbox 360 Peripherals” category.
- Expand the category and you should see an entry for “Xbox 360 Controller” or a similar name.
- Right-click on the controller entry and select “Update Driver” from the context menu.
- Choose the option to “Search automatically for updated driver software”.
- Windows will search for the appropriate driver and install it automatically if it is available.
- If Windows cannot find the driver, you may need to manually download it from the official Microsoft website or from the manufacturer’s website.
- Once you have downloaded the driver, select the option to “Browse my computer for driver software” in the Update Driver wizard.
- Navigate to the location where you saved the downloaded driver file and follow the on-screen instructions to complete the installation.
- After the installation is complete, restart your PC to ensure that the new drivers are fully loaded.
Installing the Xbox 360 controller drivers is crucial in order to utilize all the features of the controller and ensure its compatibility with your PC. By following these steps, you can ensure that your controller is properly recognized and functions correctly while gaming on your Windows PC.
Please note that the steps provided above are general instructions for installing the Xbox 360 controller drivers on Windows. The process may vary slightly depending on your specific Windows version or any custom hardware configurations. It’s always recommended to refer to official documentation or support channels for more detailed instructions tailored to your system.
Step 5: Testing and Troubleshooting the Xbox 360 Controller Connection
After connecting and installing the Xbox 360 controller on your PC, it’s important to test the connection and ensure that the controller is working properly. Here are some steps you can take to test and troubleshoot the Xbox 360 controller connection:
- Launch a game or application that supports gamepad input.
- Verify that the Xbox 360 controller inputs are registering correctly within the game or application.
- Test all the buttons, triggers, thumbsticks, and other input features of the controller to ensure they are functioning as expected.
- If you encounter any issues with the controller not responding or certain inputs not working, perform the following troubleshooting steps:
- Ensure that your Xbox 360 controller is properly connected to your PC, either wired or wirelessly.
- If using a wired connection, check that the USB cable is securely plugged into both the controller and the PC.
- If using a wireless connection, ensure that the wireless receiver is plugged into an available USB port and that the controller is within range.
- Try disconnecting and reconnecting the Xbox 360 controller from your PC to refresh the connection.
- Restart your PC to see if that resolves any temporary software conflicts.
- Check for any available updates for your Xbox 360 controller driver software and install them if necessary.
- If you are using custom controller mapping software, check its settings and configurations to ensure they are properly set up.
- Refer to the troubleshooting guides and support documentation from the official Microsoft website or the controller manufacturer for further assistance.
- By testing and troubleshooting your Xbox 360 controller connection, you can identify and resolve any issues that may arise, ensuring a smooth and enjoyable gaming experience.
Ensuring that your Xbox 360 controller is functioning correctly is essential for a seamless gaming experience on your PC. By following the steps above, you can troubleshoot and address any problems that may arise, and continue gaming with optimal control and precision.
Remember to consult official documentation or seek support from the manufacturer if you encounter any persistent issues with your Xbox 360 controller connection.
Conclusion
Connecting your Xbox 360 controller to your PC opens up a whole new world of gaming possibilities. Whether you prefer the wired or wireless option, the process is relatively simple and can greatly enhance your gaming experience.
In this guide, we covered the steps to download the necessary Xbox 360 controller software, connect the controller via both wired and wireless connections, install the required drivers on Windows, and test and troubleshoot the controller’s functionality. Following these steps will ensure that your Xbox 360 controller is recognized by your PC and ready for use in your favorite games.
Remember, when connecting the Xbox 360 controller to your PC, it’s important to ensure that the necessary drivers are installed, and any troubleshooting steps are taken to address any issues that may arise. This will ensure optimal performance and responsiveness of the controller, allowing you to enjoy your games to the fullest.
Whether you’re exploring virtual worlds, competing in intense multiplayer battles, or embarking on thrilling adventures, the Xbox 360 controller can provide the comfort and precision needed for an immersive gaming experience.
So, grab your Xbox 360 controller, follow the steps outlined in this guide, and get ready to embark on exciting gaming adventures with your trusted controller by your side!


