Introduction
Welcome to our guide on how to connect a wireless Xbox 360 controller to your PC. Whether you are a passionate gamer or simply enjoy the convenience of playing games on your computer, connecting your Xbox 360 controller can greatly enhance your gaming experience. The Xbox 360 controller is known for its comfortable design and ergonomic features, making it a popular choice for gamers worldwide.
By connecting your wireless Xbox 360 controller to your PC, you can enjoy a wide range of games that are compatible with controllers. This opens up new possibilities for playing games that may have better controller support or require precise analog stick movements. Additionally, you can use the controller to play games using emulators or stream games from your Xbox console to your PC.
In this guide, we will walk you through the step-by-step process of connecting your wireless Xbox 360 controller to your PC. We will cover everything you need to know, from installing the necessary drivers to syncing the controller with your PC using the Xbox 360 Wireless Gaming Receiver. So, let’s get started and dive into the world of PC gaming with your trusted Xbox 360 controller.
Requirements
Before you begin the process of connecting your wireless Xbox 360 controller to your PC, there are a few requirements you need to fulfill. Ensuring that you have the right equipment and software will help make the setup process smoother and ensure compatibility. Here is what you need:
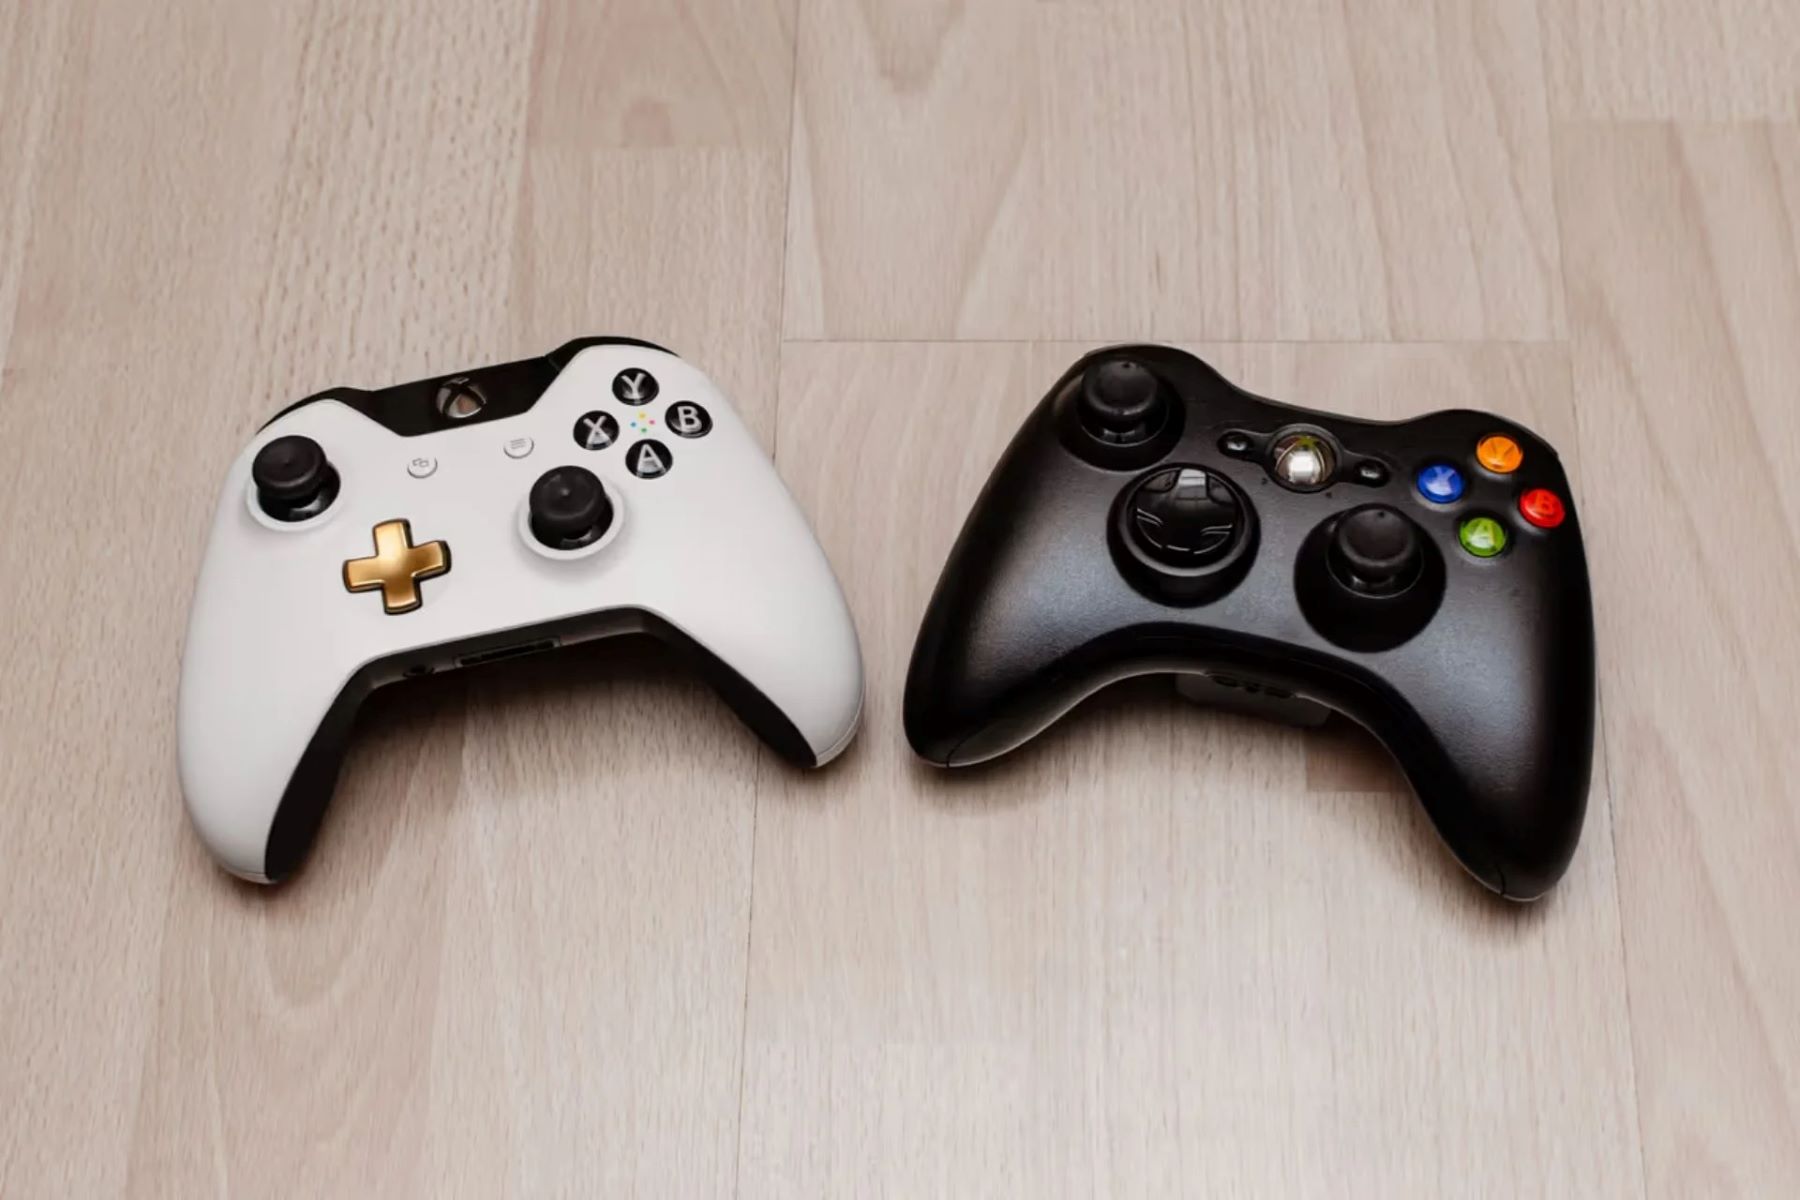
- Xbox 360 Wireless Controller: You will need an Xbox 360 wireless controller for this setup. Make sure you have a fully functional controller with working batteries.
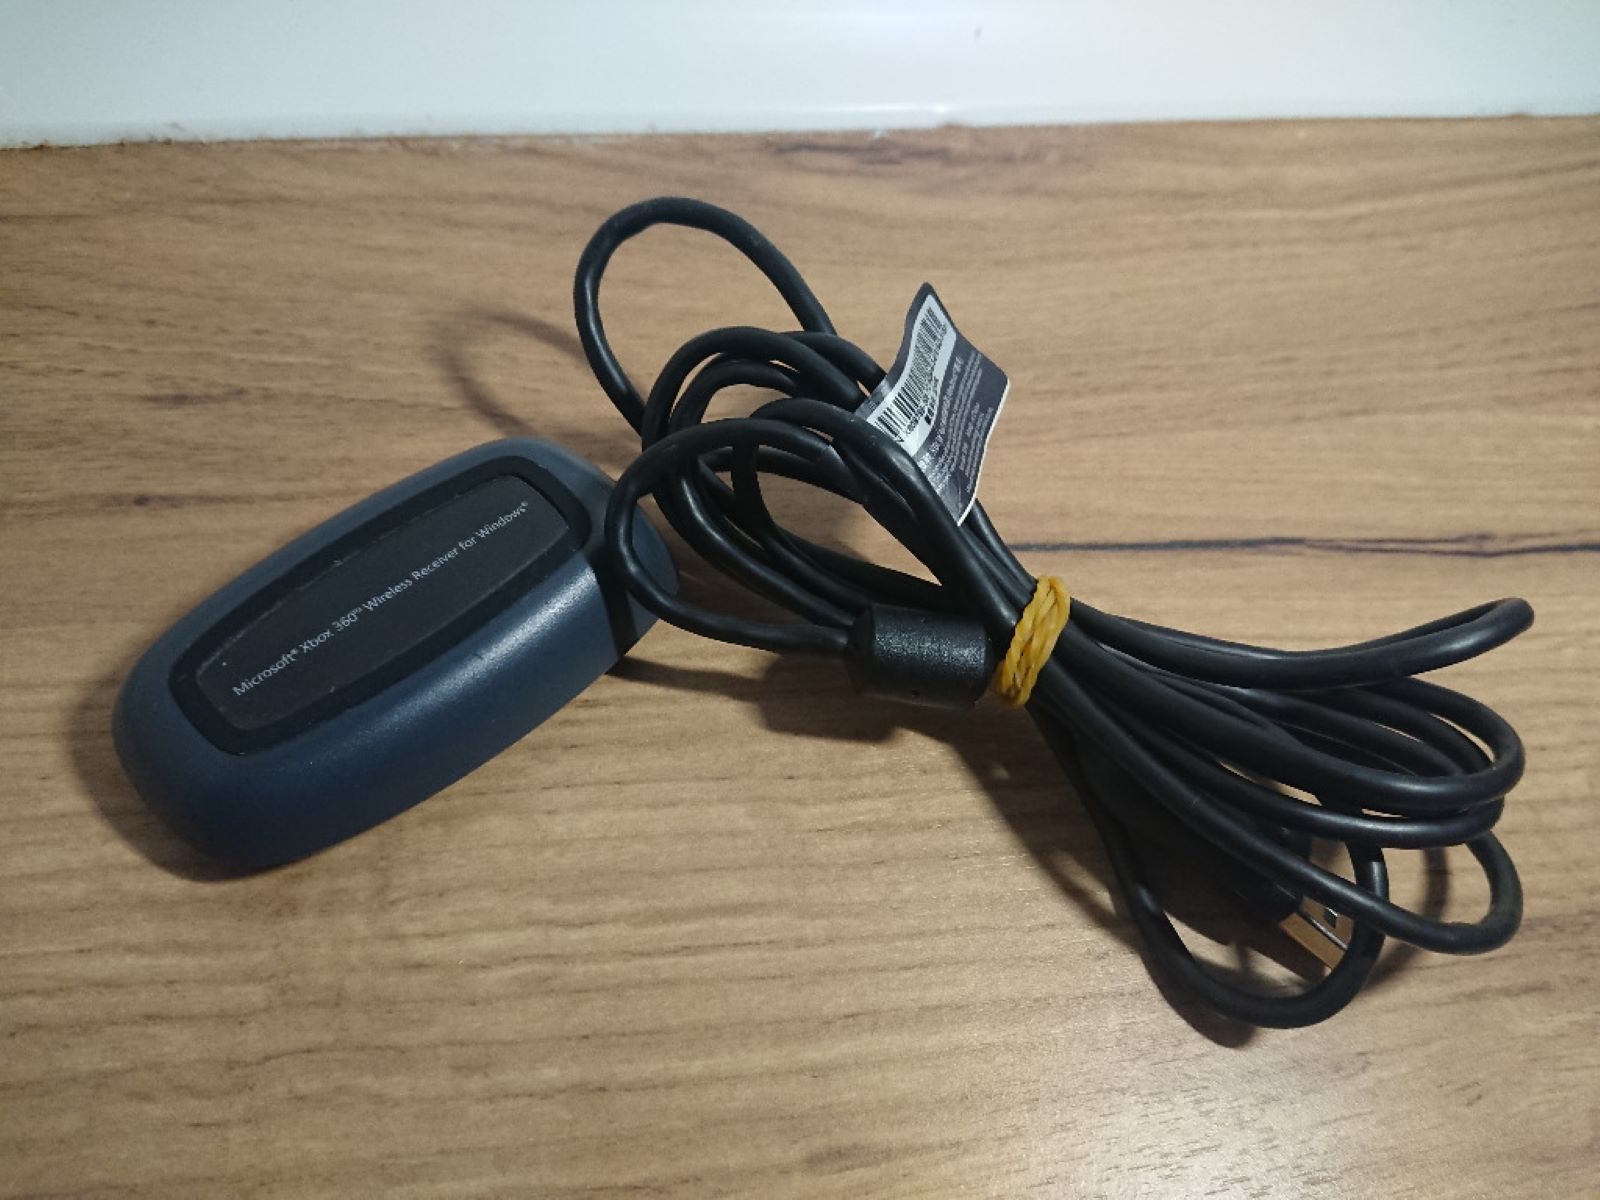
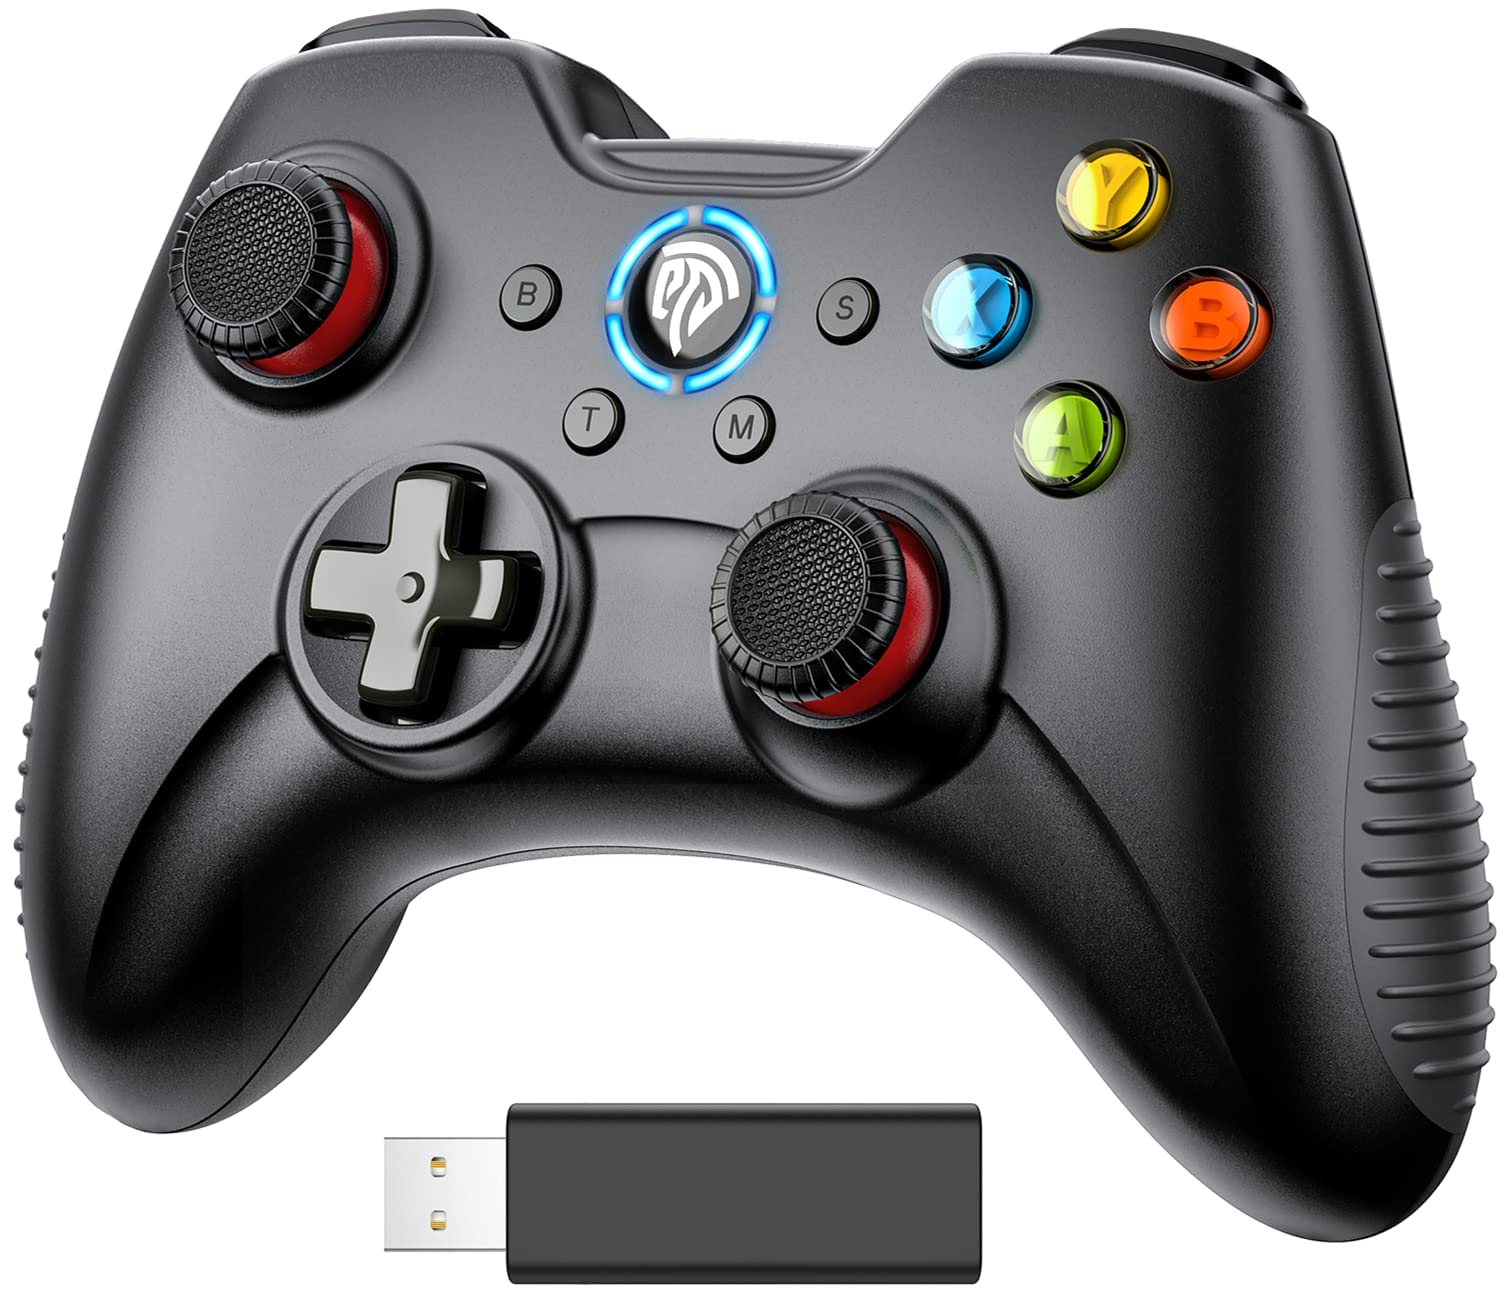
- Xbox 360 Wireless Gaming Receiver: To connect the wireless controller to your PC, you will need an Xbox 360 Wireless Gaming Receiver. This device allows the PC to recognize and connect with the wireless controller. Ensure that you have the official Xbox 360 Wireless Gaming Receiver.
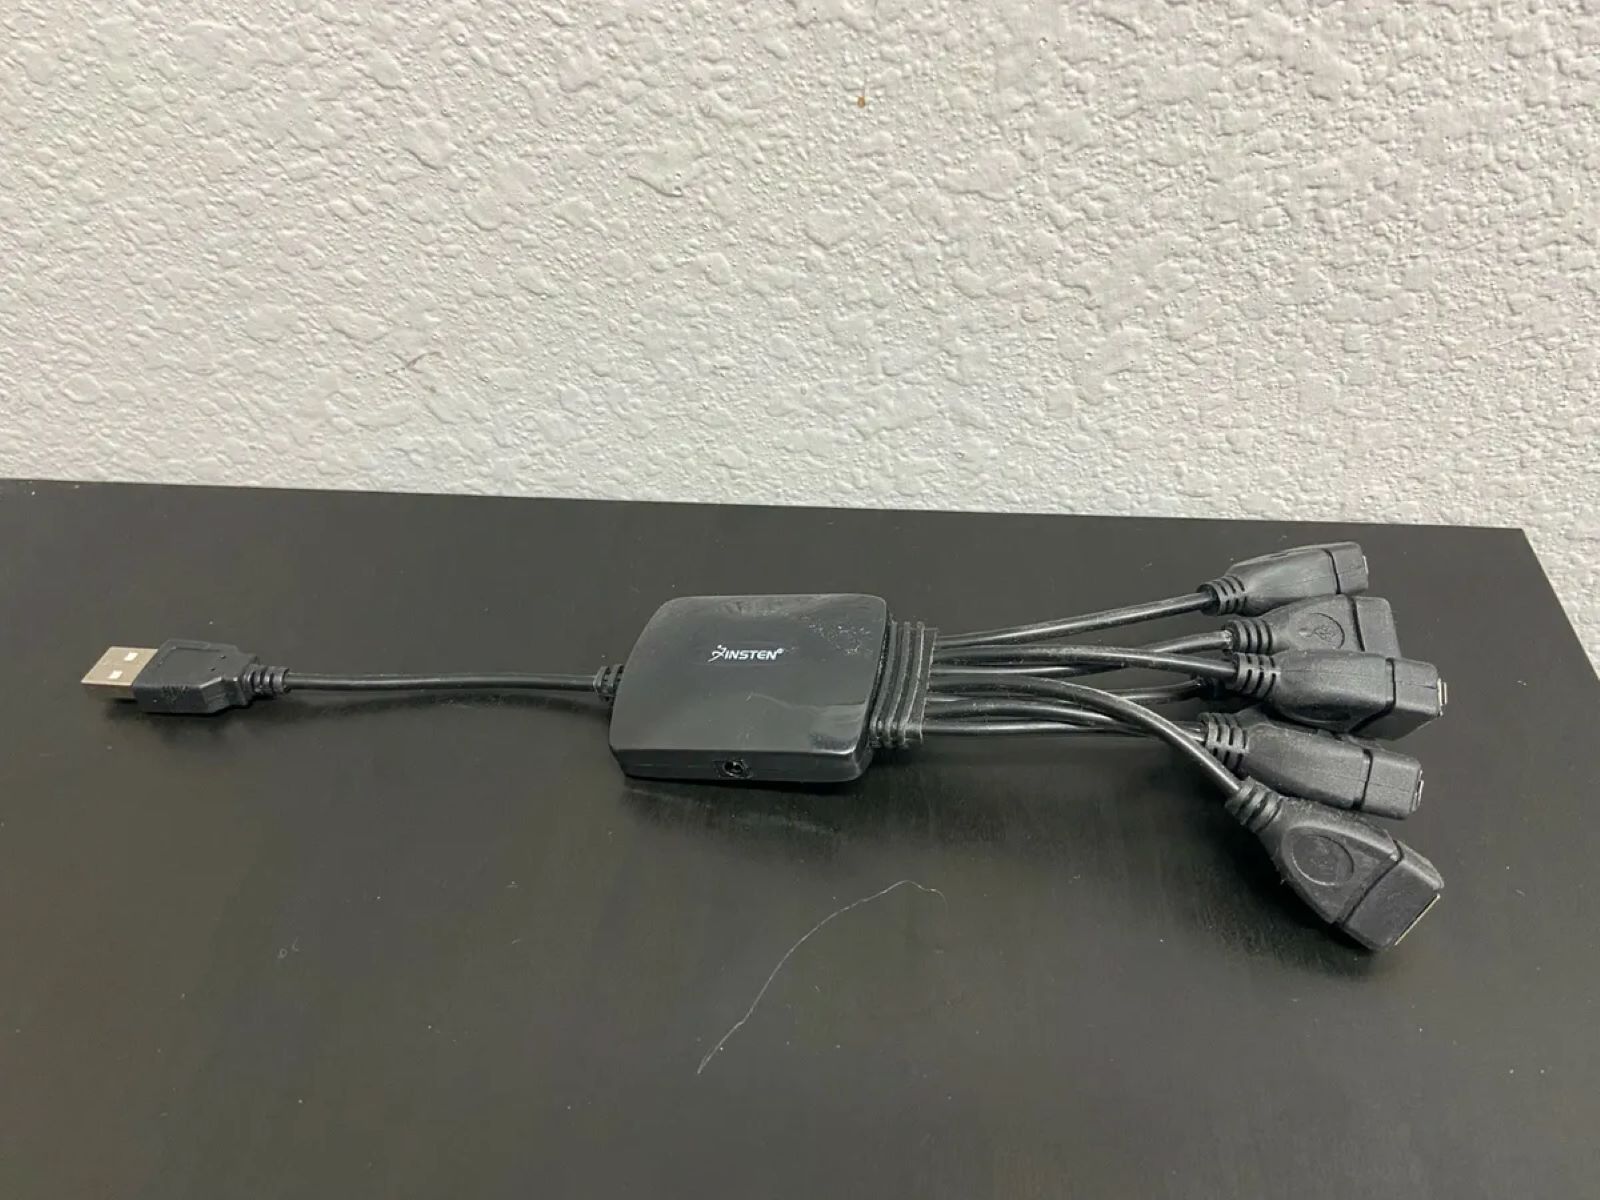
- USB Port: Your PC should have an available USB port for connecting the Xbox 360 Wireless Gaming Receiver. Make sure the port is not damaged and is functioning properly.
- Windows Operating System: This guide is specific to connecting the wireless Xbox 360 controller to a PC running the Windows operating system. Ensure that your PC is running a compatible version of Windows, such as Windows 10, Windows 8, or Windows 7.
- Internet Connection: An internet connection is required to download the necessary drivers for your Xbox 360 controller. Ensure that you have a stable internet connection to avoid any interruptions during the installation process.
By meeting these requirements, you can proceed with the setup process without any compatibility or connectivity issues. Once you have gathered all the required equipment and ensured compatibility, you can move on to the next steps of installing the necessary drivers for your Xbox 360 controller and connecting it to your PC using the Xbox 360 Wireless Gaming Receiver.
Step 1: Install the Xbox 360 Controller drivers on your PC
The first step in connecting your wireless Xbox 360 controller to your PC is to install the necessary drivers. These drivers enable your PC to recognize and communicate with the Xbox 360 controller. Here’s how you can install the drivers:
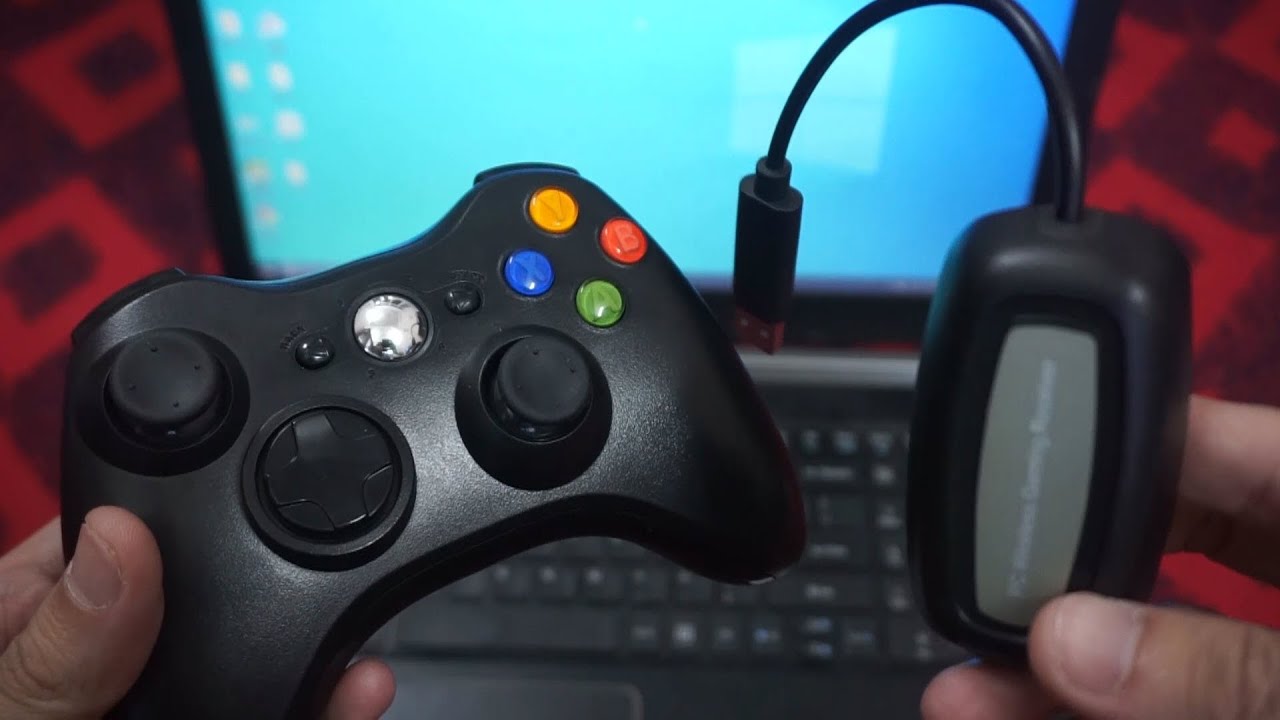
- Connect the Xbox 360 Wireless Gaming Receiver to your PC’s USB port. Ensure that the receiver is securely plugged in.
- Once connected, your PC should detect the receiver and attempt to install the drivers automatically. If the automatic installation process doesn’t start, follow the next step.
- Open your web browser and visit the official Microsoft Xbox 360 Accessories support page.
- Download the Xbox 360 Accessories Software that matches your operating system.
- Once the download is complete, locate the downloaded file and run it to start the installation process.
- Follow the on-screen instructions provided by the installer. Accept any prompts or agreements and click “Next” to proceed.
- Once the installation is complete, restart your PC to ensure that the changes take effect.
After completing these steps, the necessary Xbox 360 Controller drivers will be installed on your PC. This enables your PC to recognize and communicate with the wireless controller. It’s crucial to install the official drivers from the Microsoft website to ensure compatibility and optimize performance.
Now that you have successfully installed the Xbox 360 Controller drivers on your PC, you can move on to the next step of connecting the wireless Xbox 360 controller to your PC using the Xbox 360 Wireless Gaming Receiver.
Step 2: Connect the Wireless Xbox 360 Controller to your PC using the Xbox 360 Wireless Gaming Receiver
Now that you have installed the Xbox 360 Controller drivers on your PC, it’s time to connect your wireless Xbox 360 controller to your PC using the Xbox 360 Wireless Gaming Receiver. Follow these steps:
- Ensure that your Xbox 360 controller is turned on and has working batteries. Press and hold the Xbox Guide button in the center of the controller to power it on.
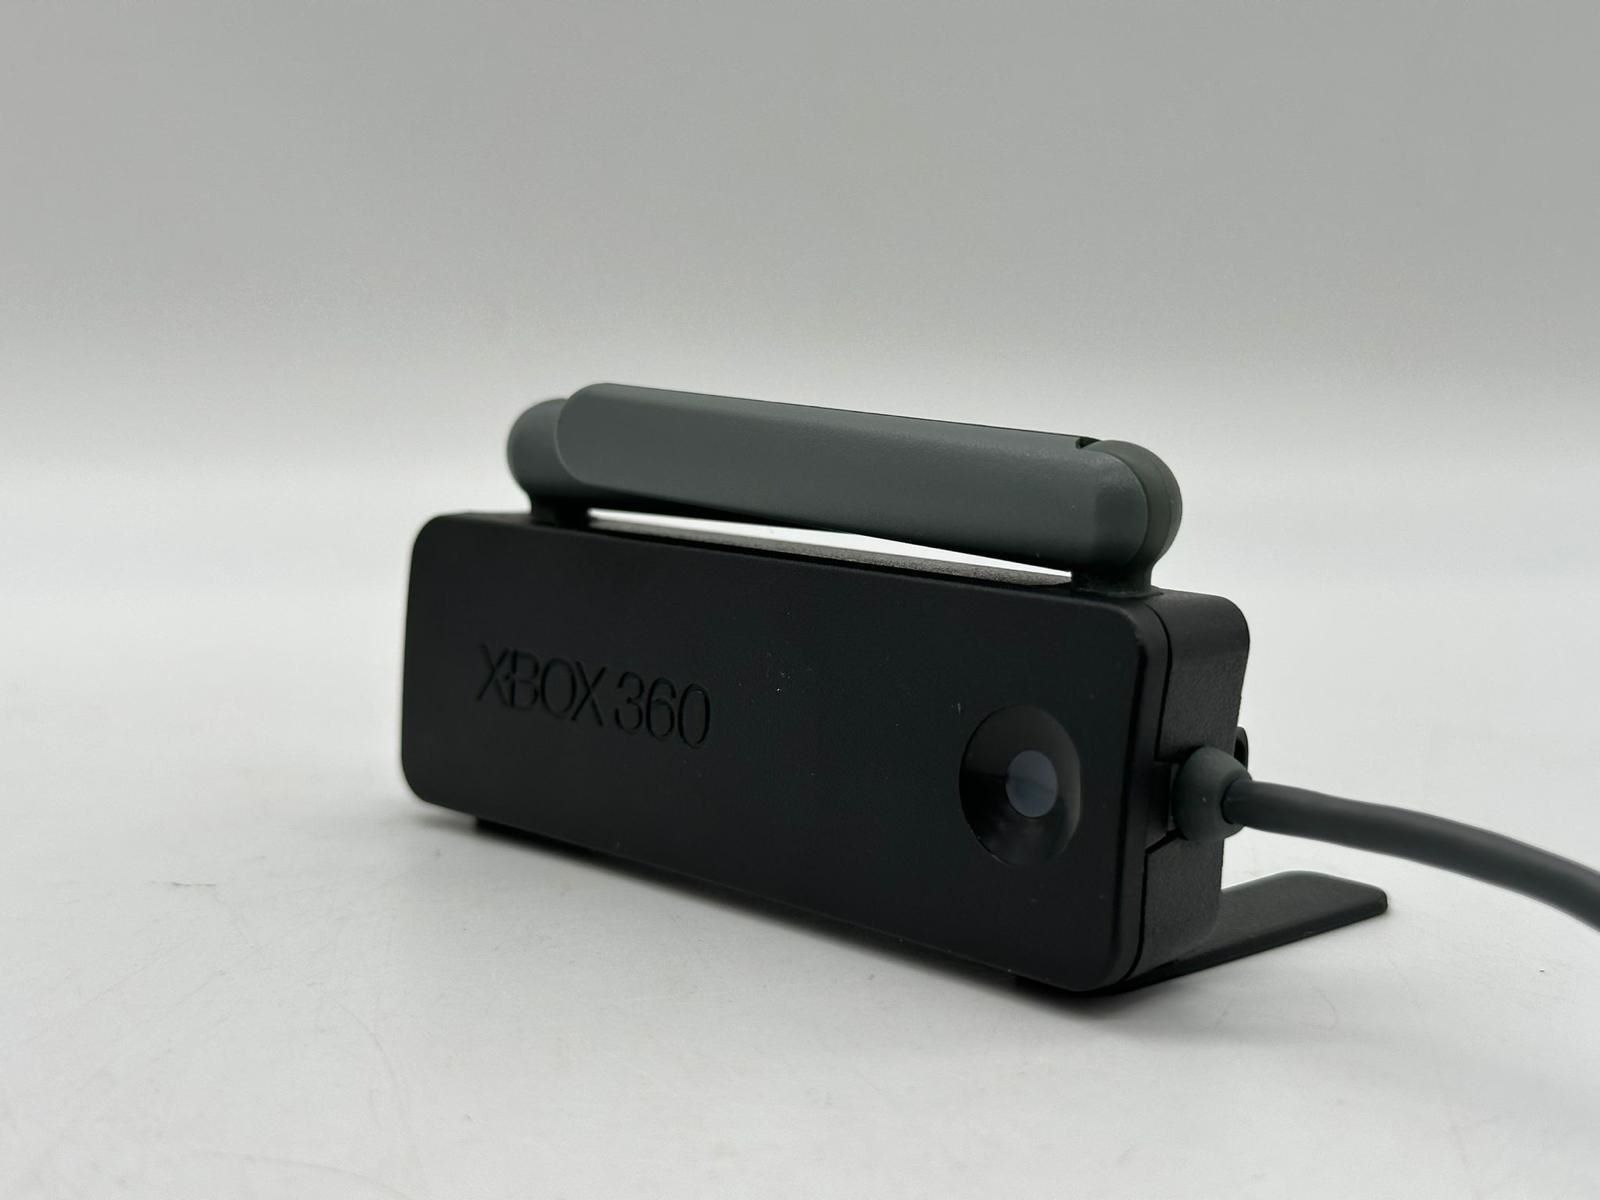
- Press the Connect button on the Xbox 360 Wireless Gaming Receiver. The button is located on the front or side of the receiver. When pressed, the light on the receiver should start flashing.
- On your Xbox 360 controller, press and hold the Connect button located on the front of the controller. The Xbox Guide button will start flashing.
- Release the Connect button on both the receiver and the controller. The light on the Xbox 360 Wireless Gaming Receiver should stay lit, indicating a successful connection.
Your wireless Xbox 360 controller is now connected to your PC through the Xbox 360 Wireless Gaming Receiver. The receiver acts as a bridge between your controller and your PC, allowing you to use the controller to play games on your computer.
It’s important to note that each wireless receiver can support up to four controllers simultaneously. If you have multiple controllers, repeat the steps above for each controller to connect them to your PC.
With your wireless Xbox 360 controller connected to your PC, you can now proceed to the next step of syncing the controller to the receiver.
Step 3: Sync the Wireless Xbox 360 Controller to the Receiver
After connecting the wireless Xbox 360 controller to your PC using the Xbox 360 Wireless Gaming Receiver, the next step is to sync the controller with the receiver. This process ensures proper communication between the controller and your PC. Follow these steps to sync your wireless Xbox 360 controller:
- Press the connect button on the Xbox 360 Wireless Gaming Receiver again. The light on the receiver will begin flashing.
- On your Xbox 360 controller, press and hold the connect button again. The Xbox Guide button will start flashing.
- Wait for a few seconds. The lights on both the Xbox 360 Wireless Gaming Receiver and the Xbox 360 controller will stop flashing and remain lit, indicating a successful sync.
Once the sync process is complete, your wireless Xbox 360 controller is now fully synced with the Xbox 360 Wireless Gaming Receiver and ready to use with your PC.
If the syncing process fails, make sure that both the receiver and the controller are in sync mode. If the receiver’s light does not flash when the connect button is pressed, try pressing and holding the button for a few seconds until it starts flashing.
It’s worth mentioning that if you disconnect the Xbox 360 Wireless Gaming Receiver from your PC or turn off your controller, you may need to repeat the sync process to reconnect the controller to the receiver.
With your wireless Xbox 360 controller successfully synced to the receiver, it’s time to move on to the final step – testing the controller to ensure it’s working properly on your PC.
Step 4: Test the Wireless Xbox 360 Controller on your PC
After syncing the wireless Xbox 360 controller to the receiver, it’s essential to test whether the controller is working correctly on your PC. Testing the controller ensures that the inputs are registered and that you can enjoy a seamless gaming experience. Follow these steps to test your wireless Xbox 360 controller on your PC:
- Open a game or an application that supports controllers on your PC. It could be a game from your Steam library, an emulator, or any other controller-compatible software.
- Use the controller to navigate through the game’s menus or perform actions. Test all the buttons, triggers, and analog sticks to ensure that they are functioning as expected.
- Check the controller’s vibration function by triggering actions in the game that should cause the controller to vibrate. If the game supports rumble feedback, you should feel the vibrations through the controller.
- Adjust the controller settings within the game or application if necessary. Most games offer options to customize the controller’s sensitivity, button mapping, and other settings to suit your preferences.
If the wireless Xbox 360 controller functions correctly in your game or application, congratulations! You have successfully connected and tested your controller on your PC.
However, if you encounter any issues or the controller does not respond as expected, ensure that you have followed the setup process correctly. Double-check that you have installed the Xbox 360 Controller drivers, synced the controller to the receiver, and selected the appropriate controller settings within the game or application.
If problems persist, you may want to troubleshoot the controller or seek additional support from the game developer or Microsoft’s official support channels.
Now that you have tested your wireless Xbox 360 controller and ensured that it is working properly on your PC, you’re ready to enjoy a seamless gaming experience using your trusted controller.
Conclusion
Connecting a wireless Xbox 360 controller to your PC opens up a whole new world of gaming possibilities. With the controller’s ergonomic design and comfortable grip, you can enjoy a seamless gaming experience on your computer. Whether you’re playing games that have native controller support or using emulators to relive classic gaming moments, the wireless Xbox 360 controller brings added convenience and precision to your gaming sessions.
In this guide, we walked you through the step-by-step process of connecting your wireless Xbox 360 controller to your PC. We covered the necessary requirements, including the Xbox 360 Wireless Gaming Receiver, and explained how to install the drivers for proper recognition. We also detailed the steps to connect and sync the wireless controller to the receiver, ensuring smooth communication between the controller and your PC.
Finally, we emphasized the importance of testing the controller on your PC to ensure that all buttons, triggers, and analog sticks are functioning correctly. By following these steps, you can confidently use your wireless Xbox 360 controller on your PC, enhancing your gaming experience and immersing yourself in the virtual worlds of various games.
Remember, if you encounter any issues during the setup process or while testing the controller, try troubleshooting the problem or seeking assistance from the game developer or Microsoft’s official support channels.
Now that you’re equipped with the knowledge and understanding of how to connect a wireless Xbox 360 controller to your PC, grab your controller, start exploring the vast library of controller-compatible games, and enjoy hours of gaming excitement on your PC.