Introduction
Welcome to the world of virtual reality! If you have just purchased a VR headset and are eager to dive into immersive experiences, you might be wondering how to connect your VR headset to your TV. Connecting your VR headset to your TV not only allows you to share the virtual experience with others but also enables you to play VR games and watch VR movies on a larger screen.
Before we get started, it’s important to note that the process of connecting a VR headset to a TV may vary depending on the brand and model of your VR headset and TV. However, the basic steps remain the same. In this guide, we will walk you through the general process of connecting your VR headset to your TV, so you can start enjoying a larger-than-life virtual reality experience.
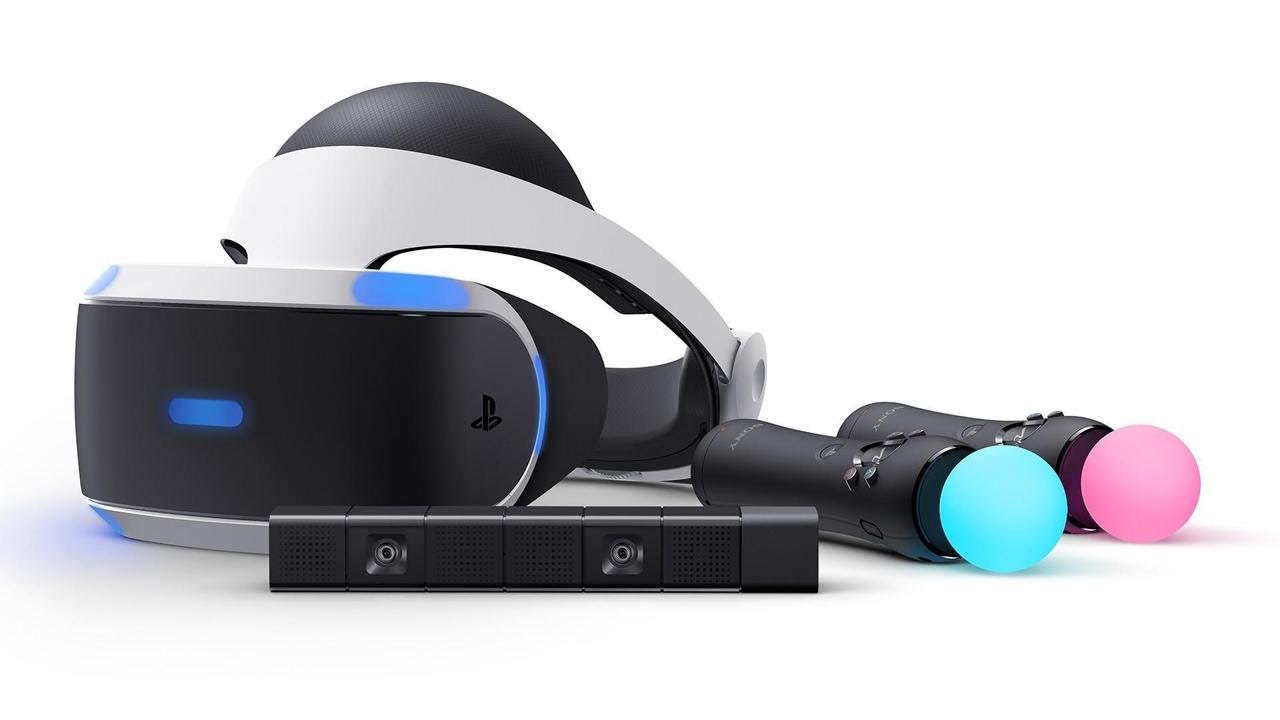
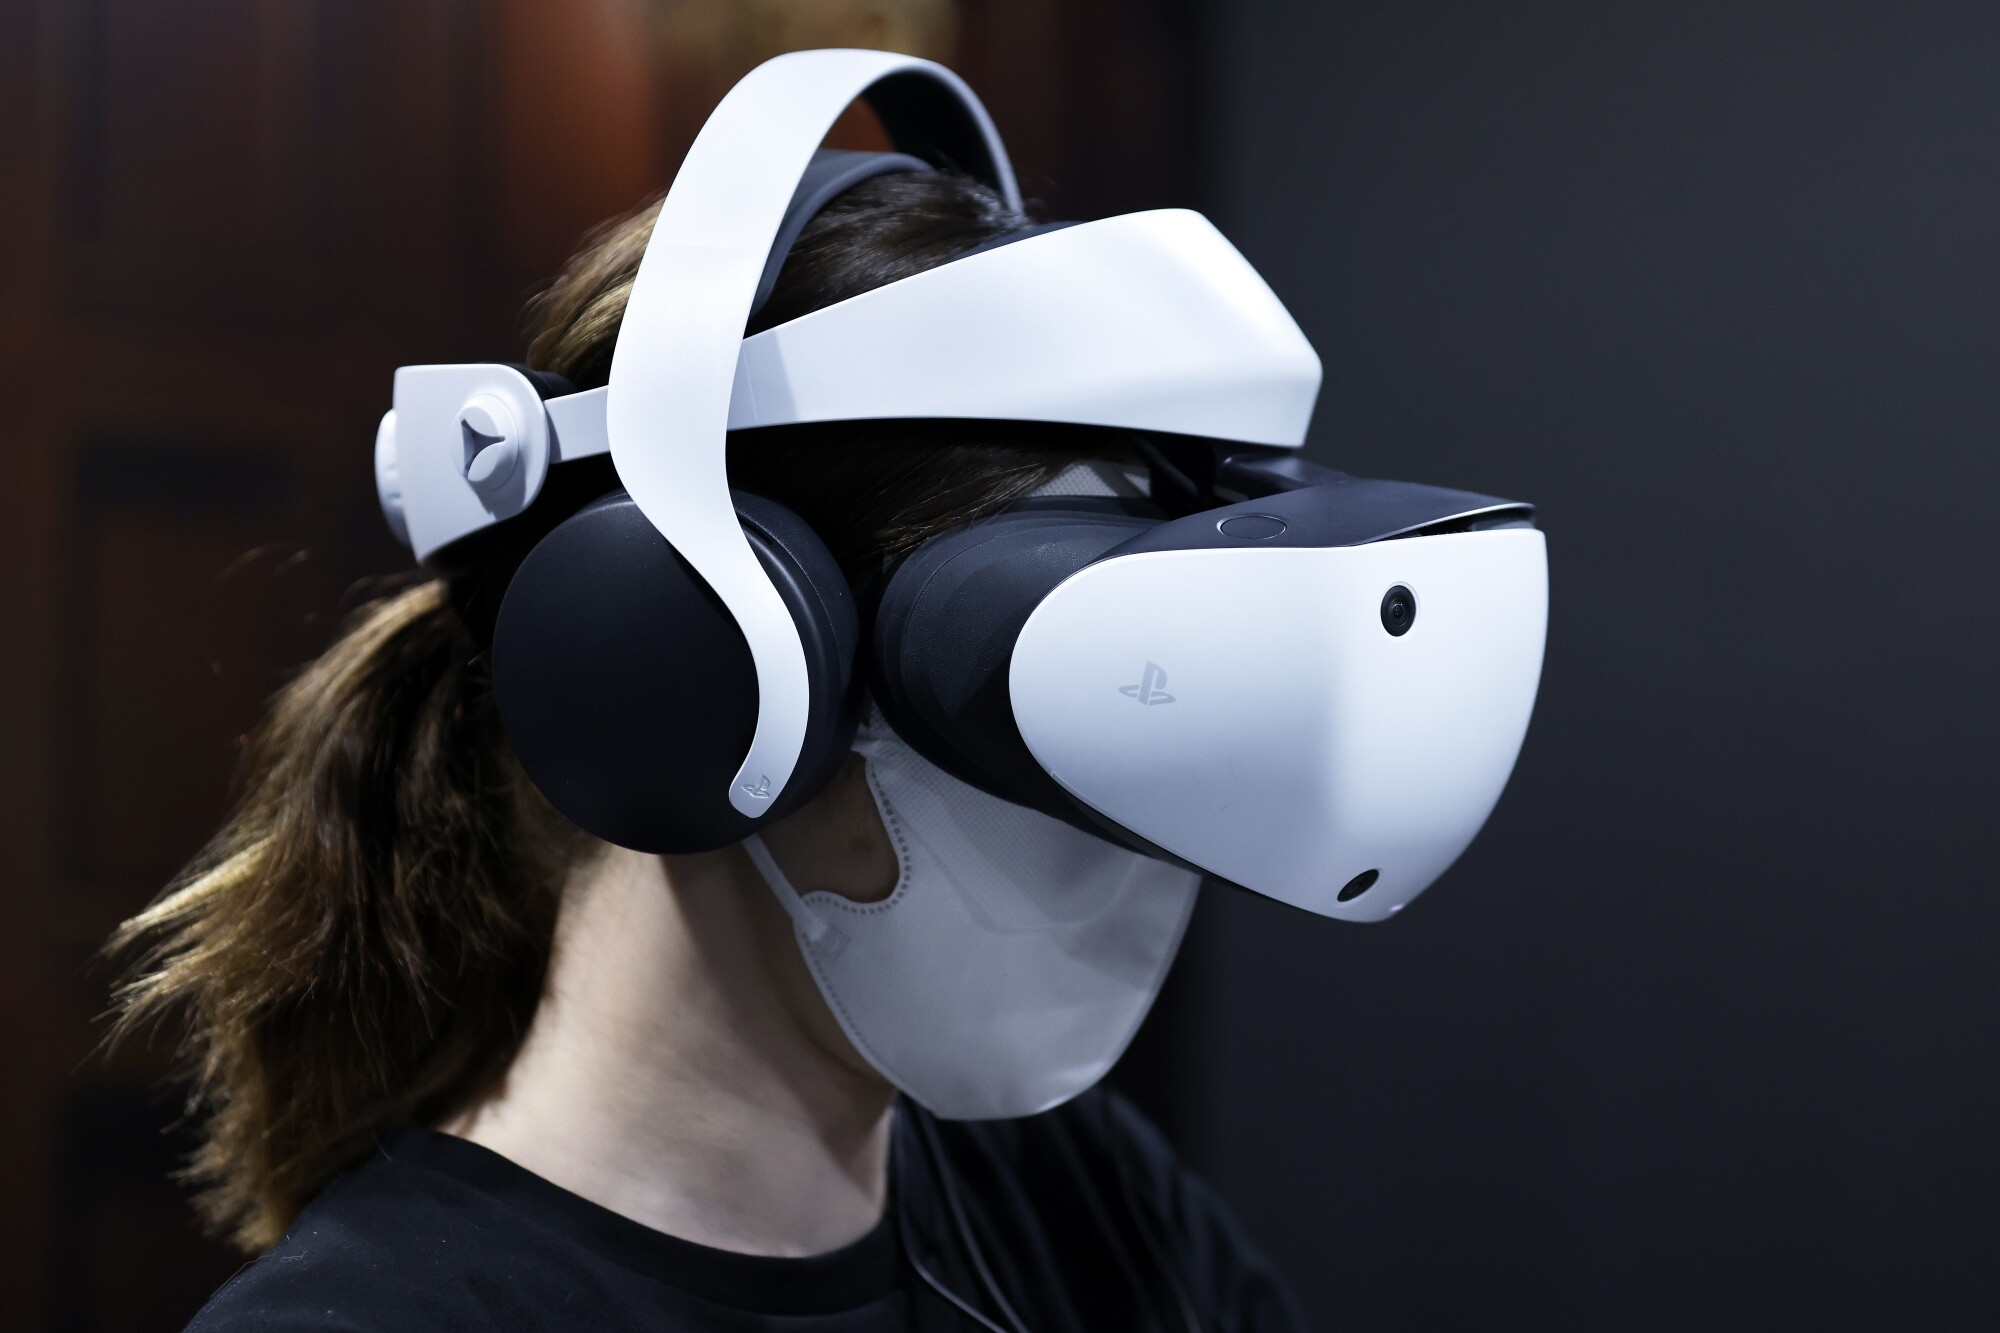
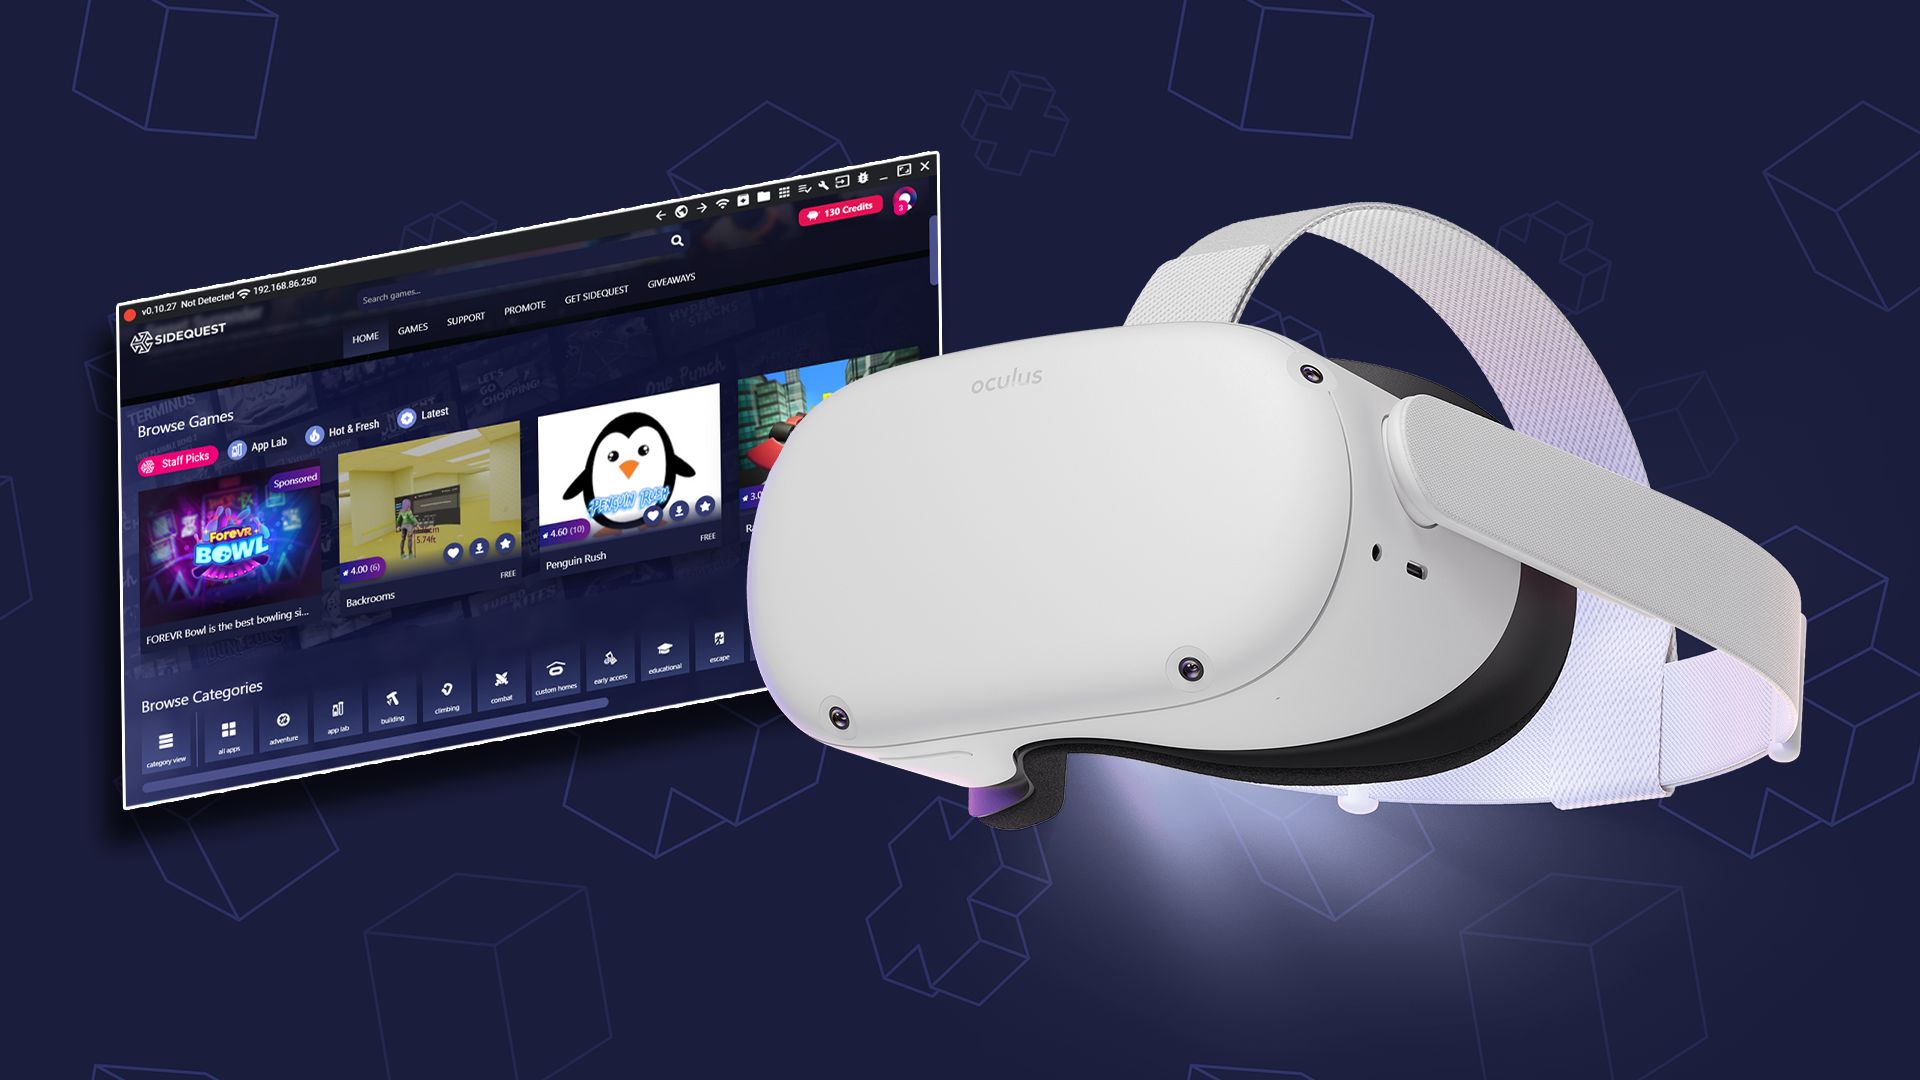
Whether you own an Oculus Rift, HTC Vive, PlayStation VR, or any other VR headset, the connection process typically involves a few simple steps. First, you need to ensure compatibility between your VR headset and TV. Then, you will connect the HDMI cable and USB cable, adjust the TV settings, and set up the VR headset display. Don’t worry if you’re not tech-savvy – we’ll explain each step in detail.
So, if you’re ready to unlock the full potential of your VR headset and take your virtual reality experience to the next level, let’s dive in and learn how to connect your VR headset to your TV!
Step 1: Check compatibility
Before you start connecting your VR headset to your TV, it’s crucial to ensure compatibility between the two devices. Different VR headsets have different requirements and compatibility with TVs. Here’s how you can check if your VR headset and TV are compatible:
- Check the HDMI ports: Most VR headsets, such as the Oculus Rift, HTC Vive, and PlayStation VR, require an HDMI connection to the TV. Make sure your TV has an available HDMI port that you can use to connect the VR headset.
- Verify the HDMI version: Some VR headsets, like the Oculus Rift S, require an HDMI 2.0 port for optimal performance. Check the HDMI version supported by your VR headset and ensure that your TV has a compatible HDMI port.
- Confirm the resolution: VR headsets often have specific resolution requirements for the TV. Check the recommended resolution for your VR headset and ensure that your TV can support it. This information can usually be found in the user manual or on the manufacturer’s website.
- Consider audio compatibility: Some VR headsets have built-in headphones or require separate audio connections. Check if your VR headset requires audio connections to the TV or if it has its own audio output. Ensure that your TV can accommodate the audio requirements of your VR headset.
If your VR headset and TV meet the compatibility requirements, you’re ready to move on to the next step. However, if there are any compatibility issues, don’t worry. You can still enjoy your VR headset by connecting it to a computer or gaming console that meets the requirements. Alternatively, you can consider upgrading your TV or VR headset to ensure compatibility.
Step 2: Connect the HDMI cable
Once you have confirmed the compatibility between your VR headset and TV, it’s time to connect them using an HDMI cable. Follow these steps to connect the HDMI cable:
- Locate the HDMI ports: On the back or side of your TV, you’ll find one or more HDMI ports. Take note of the HDMI port you’ll be using for the VR headset.
- Connect one end of the HDMI cable to the HDMI port on the VR headset. Depending on the headset, the HDMI port may be located on the headset itself or on a separate breakout box.
- Connect the other end of the HDMI cable to the HDMI port on your TV. Make sure to insert the cable fully into the port to ensure a secure connection.
Once the HDMI cable is securely connected to both the VR headset and the TV, you’re ready to move on to the next step. It’s important to note that some VR headsets may require additional steps or adapters for the HDMI connection. Refer to the user manual or instructions provided by the manufacturer for any specific requirements.
If you’re connecting multiple devices to your TV, such as a gaming console or cable box, you may need to switch to the appropriate HDMI input on your TV. Use the input/source button on your TV remote to select the HDMI input where the VR headset is connected. This ensures that the VR content is displayed on the TV screen.
Now that the HDMI cable is connected, you’re one step closer to enjoying a larger display of your virtual reality experiences. Let’s move on to the next step to complete the connection process.
Step 3: Connect the USB cable
In addition to the HDMI cable, many VR headsets require a USB connection to enable communication between the headset and the TV. Follow these steps to connect the USB cable:
- Locate the USB port: Check your VR headset for a USB port. It may be located on the headset itself or on a separate breakout box.
- Connect one end of the USB cable to the USB port on the VR headset.
- Connect the other end of the USB cable to an available USB port on your TV. Some newer TVs have USB ports specifically labeled for connecting VR headsets or gaming devices. If your TV doesn’t have a designated USB port, you can use a USB adapter or a USB hub to connect the VR headset to an available USB port on your TV.
Once the USB cable is connected to both the VR headset and the TV, the two devices will establish a connection and allow for data transfer. The USB connection is necessary for the VR headset to transmit tracking data and receive power from the TV.
It’s important to ensure that the USB connection is secure to avoid any interruptions in the VR experience. If you experience any issues or the VR headset is not recognized by your TV, double-check the USB connection and try different USB ports if available.
Now that the HDMI and USB cables are connected, you’re one step away from enjoying an immersive virtual reality experience on your TV. Let’s move on to the next step to ensure that the TV settings are optimized for the VR display.
Step 4: Adjust TV settings
After connecting the HDMI and USB cables, it’s important to adjust the settings on your TV to ensure optimal display quality for your VR headset. Here are some key settings to consider:
- Picture Mode: Select a picture mode that provides a bright and vibrant display. Depending on your TV, you may have options like Dynamic, Game, or Cinema mode. Experiment with different picture modes to find the one that suits your preference.
- Resolution: Set the resolution of your TV to match the recommended resolution of your VR headset. This ensures that the VR content is displayed with the correct aspect ratio and clarity.
- Refresh Rate: VR experiences often benefit from a higher refresh rate. Check if your TV supports a higher refresh rate, such as 120Hz, and enable it if available.
- Input Lag: Reduce input lag as much as possible. This helps in achieving a smooth and responsive VR experience. Look for settings like “Game Mode” or “PC Mode” that can help minimize input lag.
- Audio Output: Set the audio output to either the TV speakers or your preferred audio system. Depending on your VR headset, you may need to adjust the audio settings on both the TV and the VR headset.
Don’t forget to consult your TV’s user manual for specific instructions on adjusting these settings, as the menu options and terminology may vary. Take your time to fine-tune the settings to your liking, ensuring an immersive and enjoyable VR experience on your TV.
Keep in mind that adjusting TV settings may have an impact on regular TV viewing as well. If you find that the settings optimized for your VR headset are not suitable for regular TV content, consider creating a separate picture profile or saving the settings for easy switching.
With the TV settings adjusted, you’re almost ready to step into the virtual world. Let’s move on to the final step and set up the display on your VR headset.
Step 5: Set up VR headset display
Now that your VR headset is connected to your TV and the TV settings are adjusted, it’s time to set up the display on your VR headset. Follow these steps to ensure a seamless connection:
- Put on your VR headset and power it on. Follow the instructions provided by the manufacturer to turn on the VR headset.
- Depending on the VR headset, you may need to perform a calibration or setup process. This typically involves adjusting the headset position and ensuring that it is properly aligned with your eyes for the best viewing experience. Follow the instructions on the VR headset’s display or the provided documentation to complete the setup process.
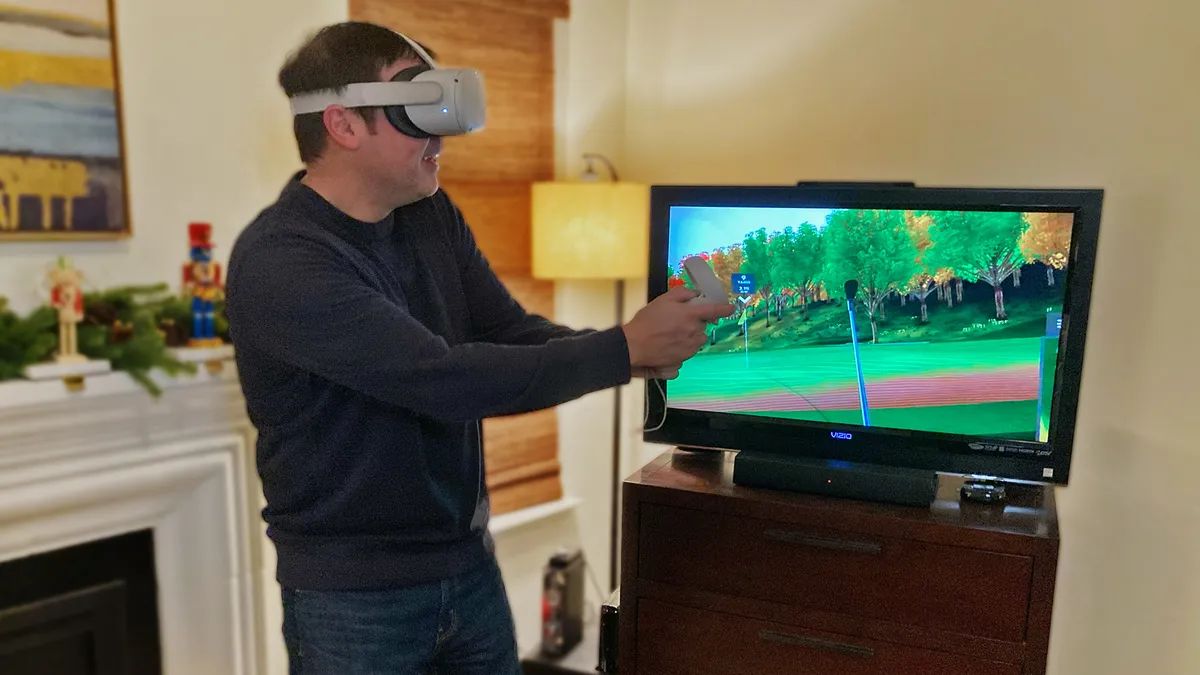
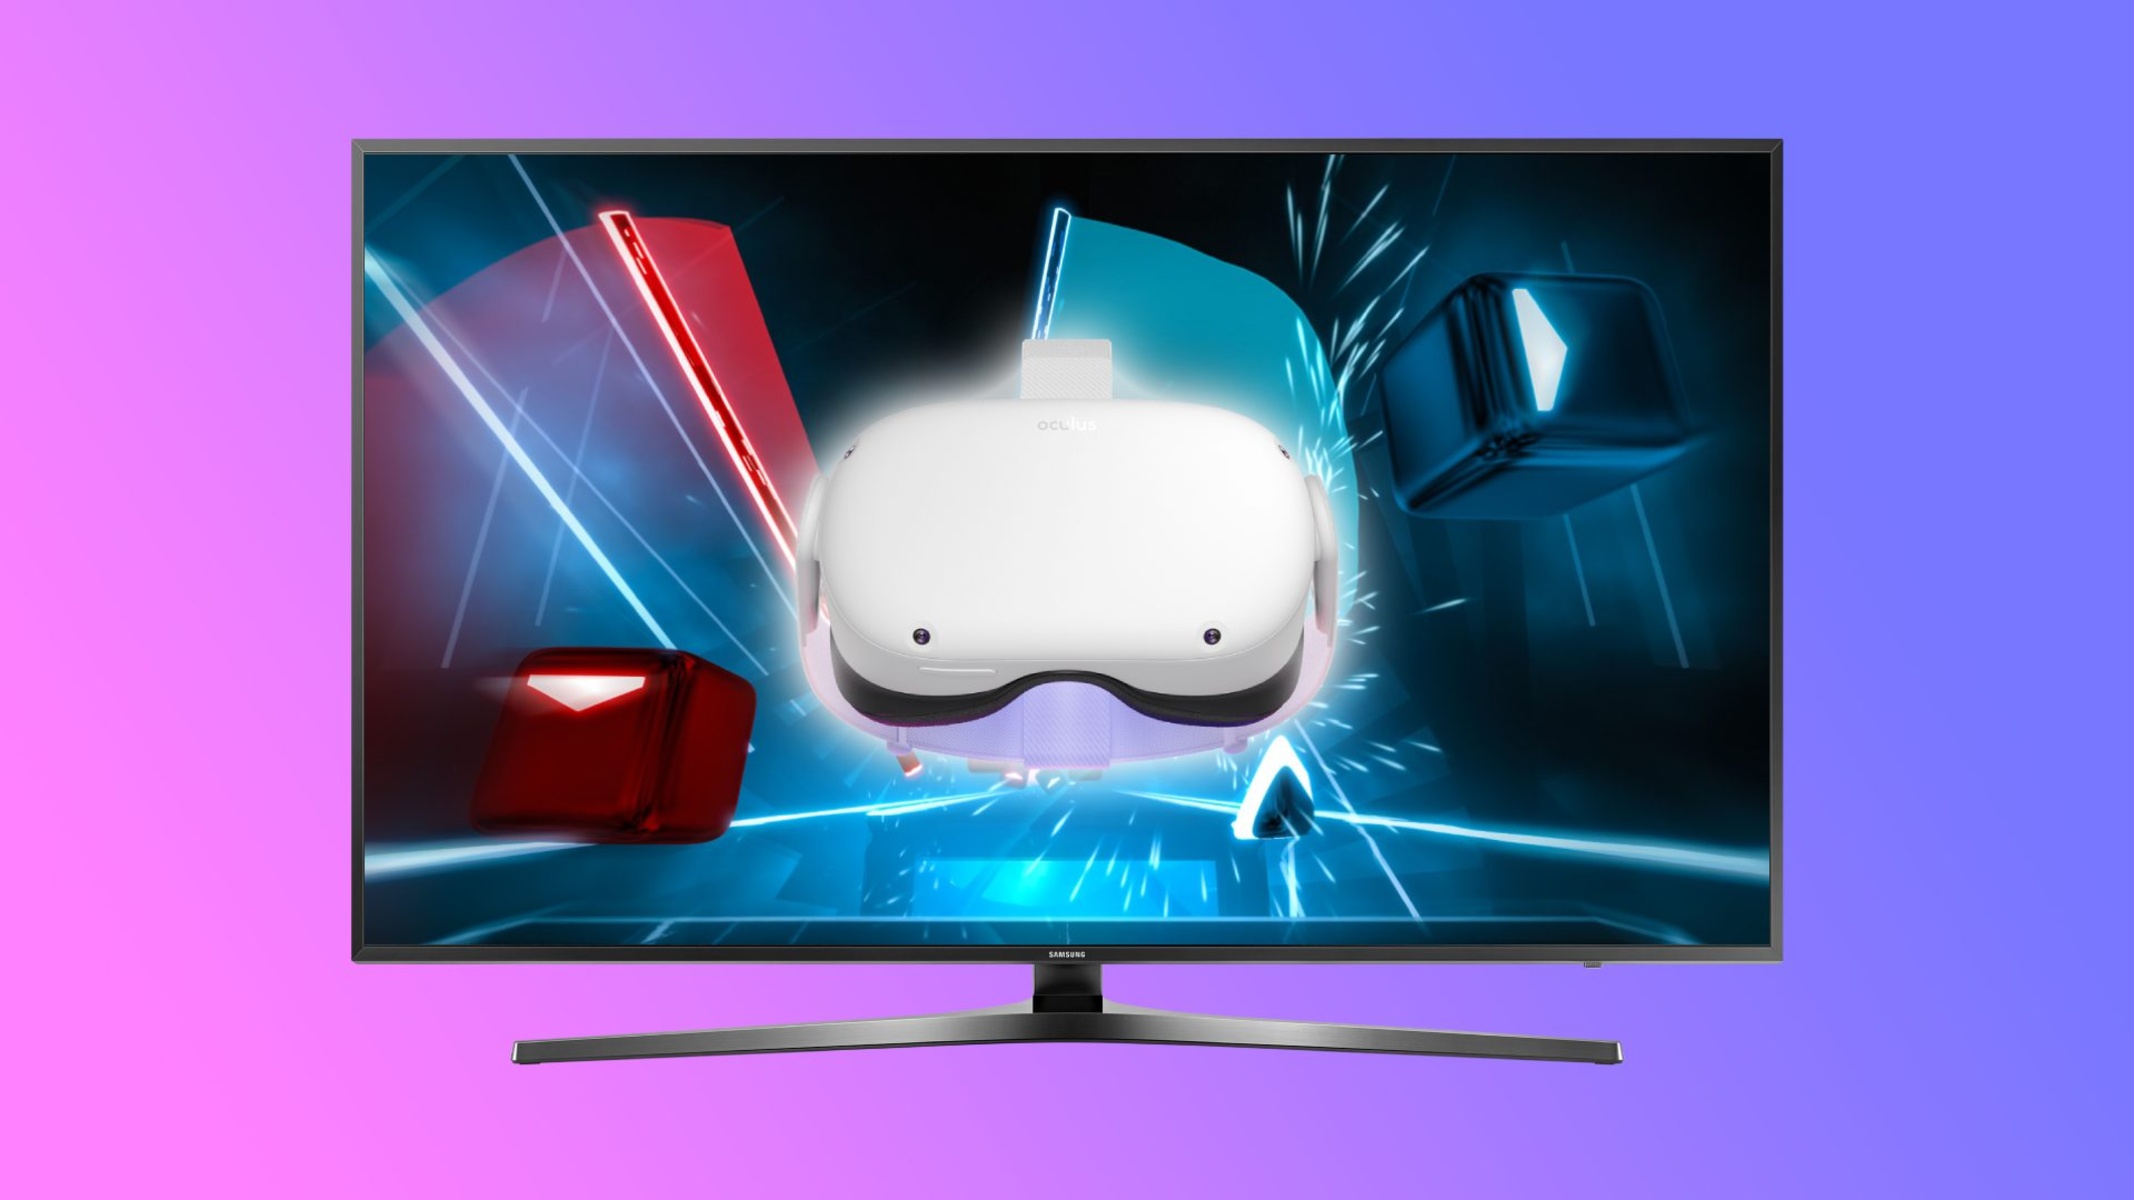
- Once the VR headset is calibrated and set up, you should see the virtual reality content mirrored on the TV screen. The TV will display what you see in the VR headset, allowing others to watch or follow along with your virtual experiences.
- Make any necessary adjustments to the VR headset’s display settings, such as brightness, contrast, and IPD (inter-pupillary distance), to enhance your comfort and optimize the visual experience. Refer to the user manual or instructions provided by the manufacturer for guidance on adjusting these settings.
With the display properly set up on your VR headset, you can now fully immerse yourself in the virtual reality experience while sharing it with others through the TV screen. Explore virtual worlds, play VR games, or watch VR movies, all on a larger display for a more captivating and engaging experience.
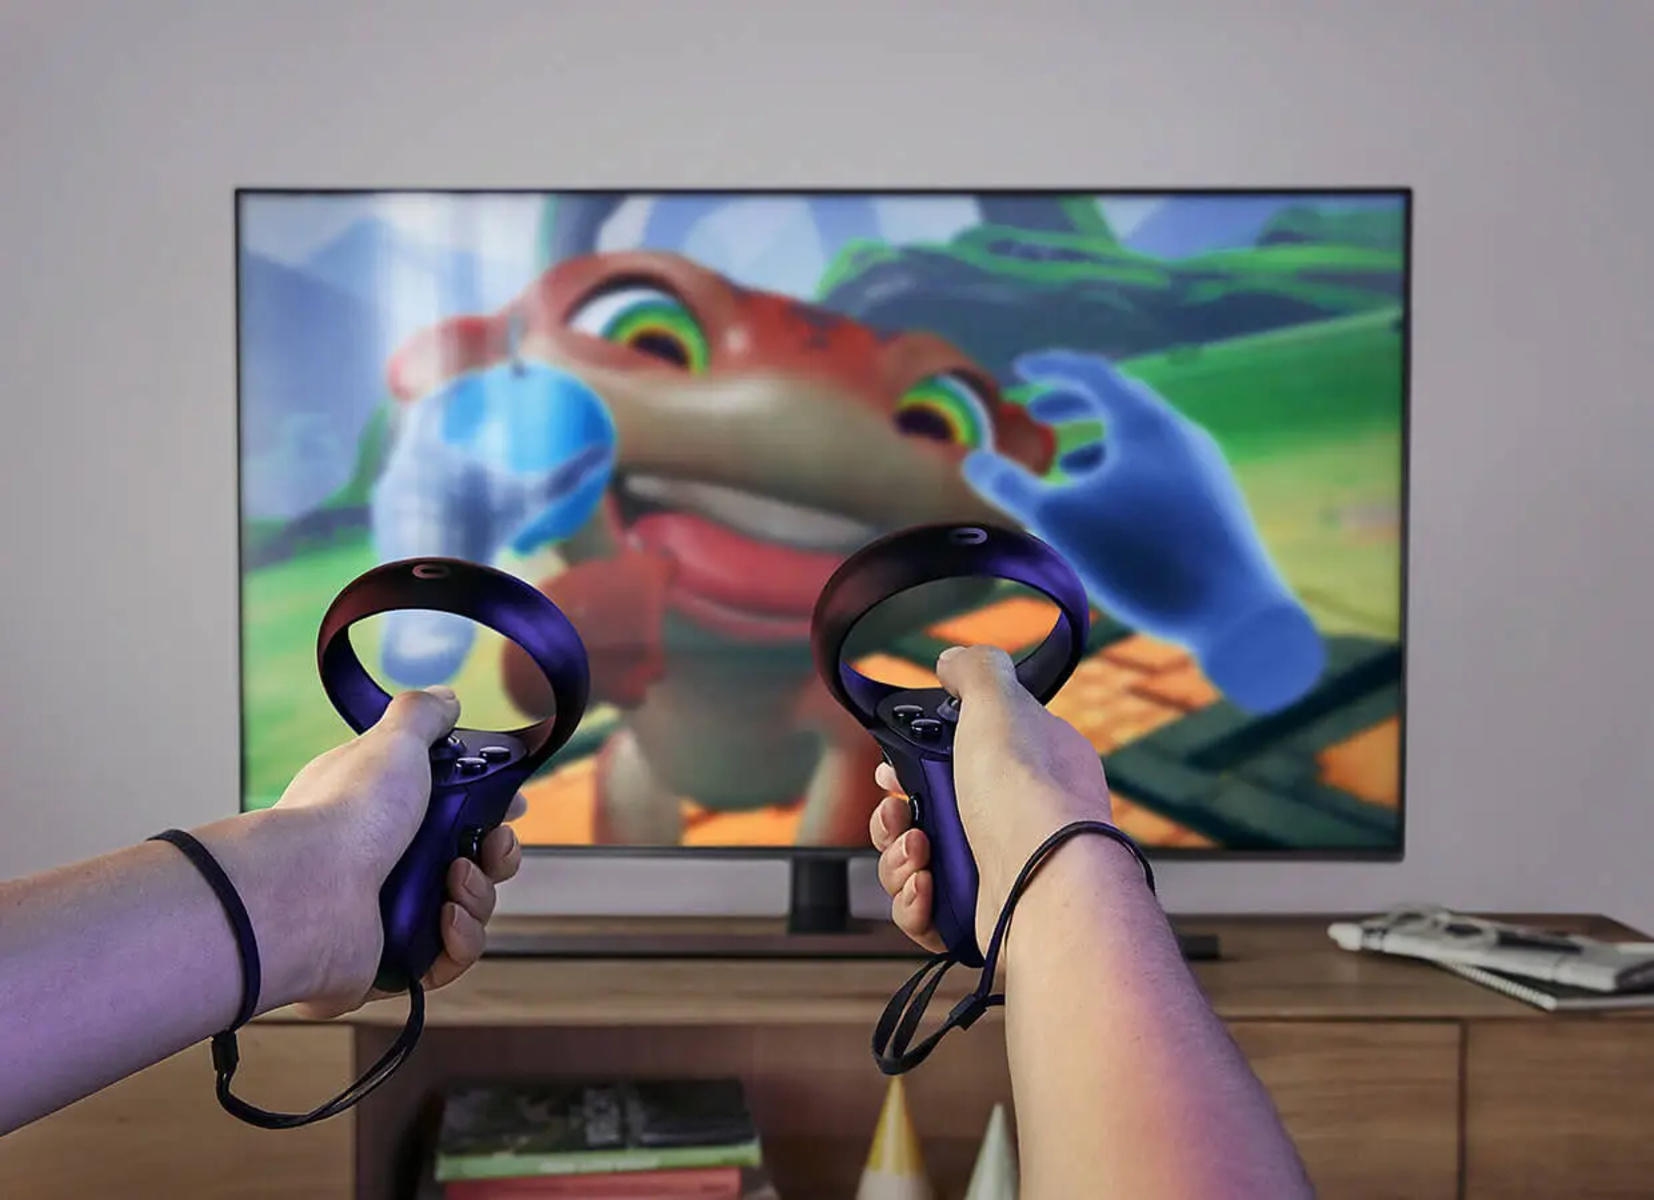
Remember to familiarize yourself with the controls and interaction methods specific to your VR headset. Each VR headset has its own set of controllers or tracking systems to navigate within the virtual environments. Refer to the user manual or online resources for tutorials on how to get the most out of your VR headset.
Congratulations! You have successfully connected your VR headset to your TV and set up the display. Now it’s time to embark on thrilling virtual adventures, showcase your VR skills to friends and family, and enjoy a whole new level of entertainment.
Conclusion
Connecting your VR headset to your TV opens up a whole new world of immersive experiences and entertainment. By following the steps outlined in this guide, you can easily connect your VR headset to your TV and enjoy virtual reality on a larger screen.
Remember to check the compatibility between your VR headset and TV, ensuring that they have the necessary HDMI and USB ports. Adjust the TV settings to optimize the display for your VR headset and fine-tune the picture mode, resolution, refresh rate, and audio output.
Once the connections are made and the settings are adjusted, set up the display on your VR headset by powering it on, performing any necessary calibration or setup process, and making any final adjustments to the display settings on the VR headset itself.
Now, you’re ready to immerse yourself in thrilling virtual reality experiences, explore virtual worlds, play games, and watch movies, all on a larger screen. Don’t forget to familiarize yourself with the controls and interaction methods specific to your VR headset for the best experience.
Enjoy the journey into the virtual world as you share your adventures with others through the TV screen. Whether you’re playing games, exploring far-off destinations, or diving into virtual art, connecting your VR headset to your TV takes your virtual reality experience to a whole new level of enjoyment.
So, what are you waiting for? Connect your VR headset to your TV and get ready for an extraordinary visual and immersive journey that will transport you into a world of endless possibilities!