Introduction
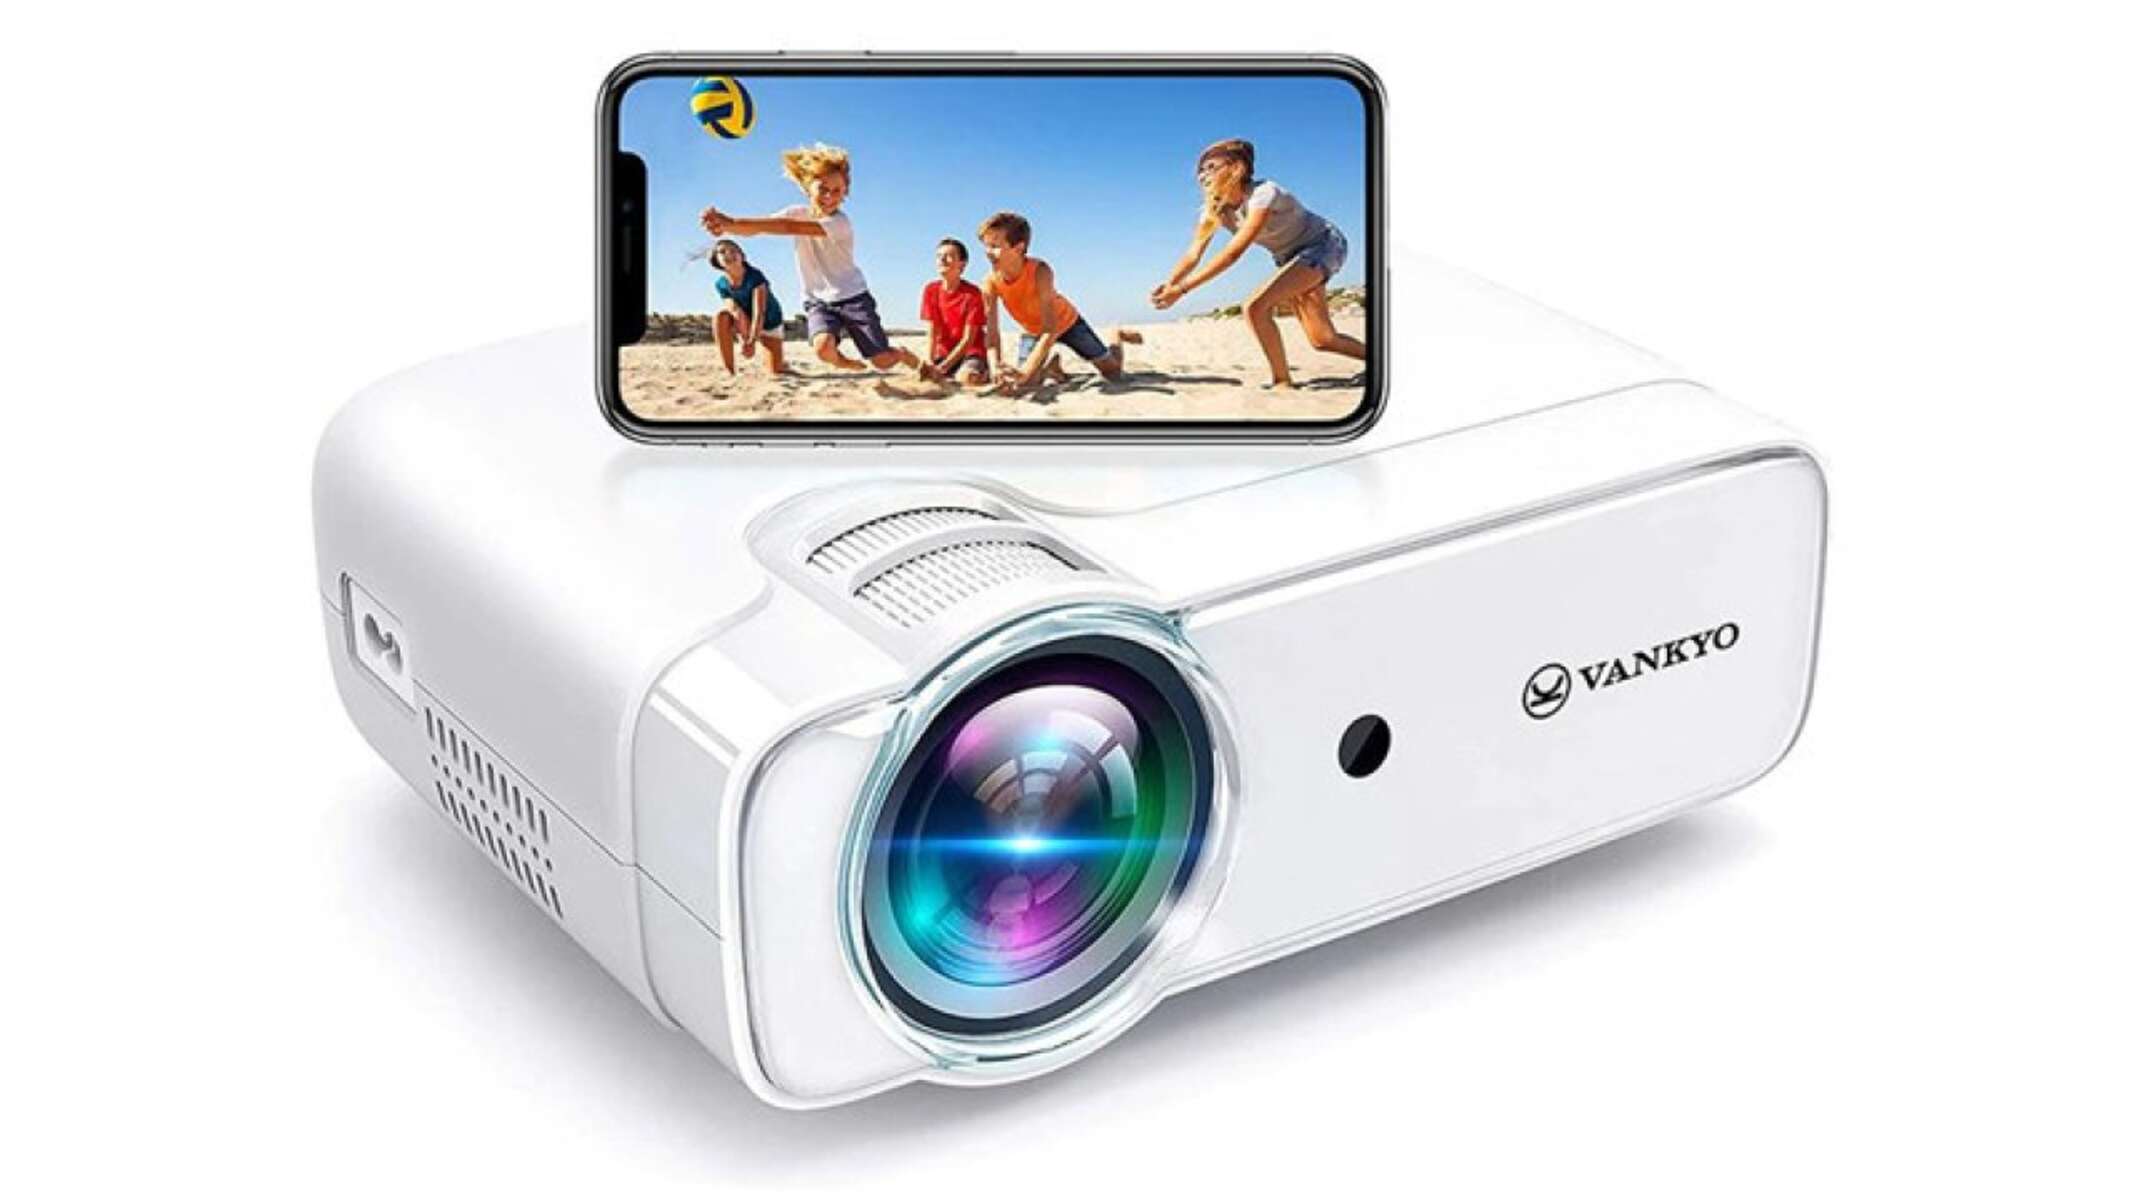
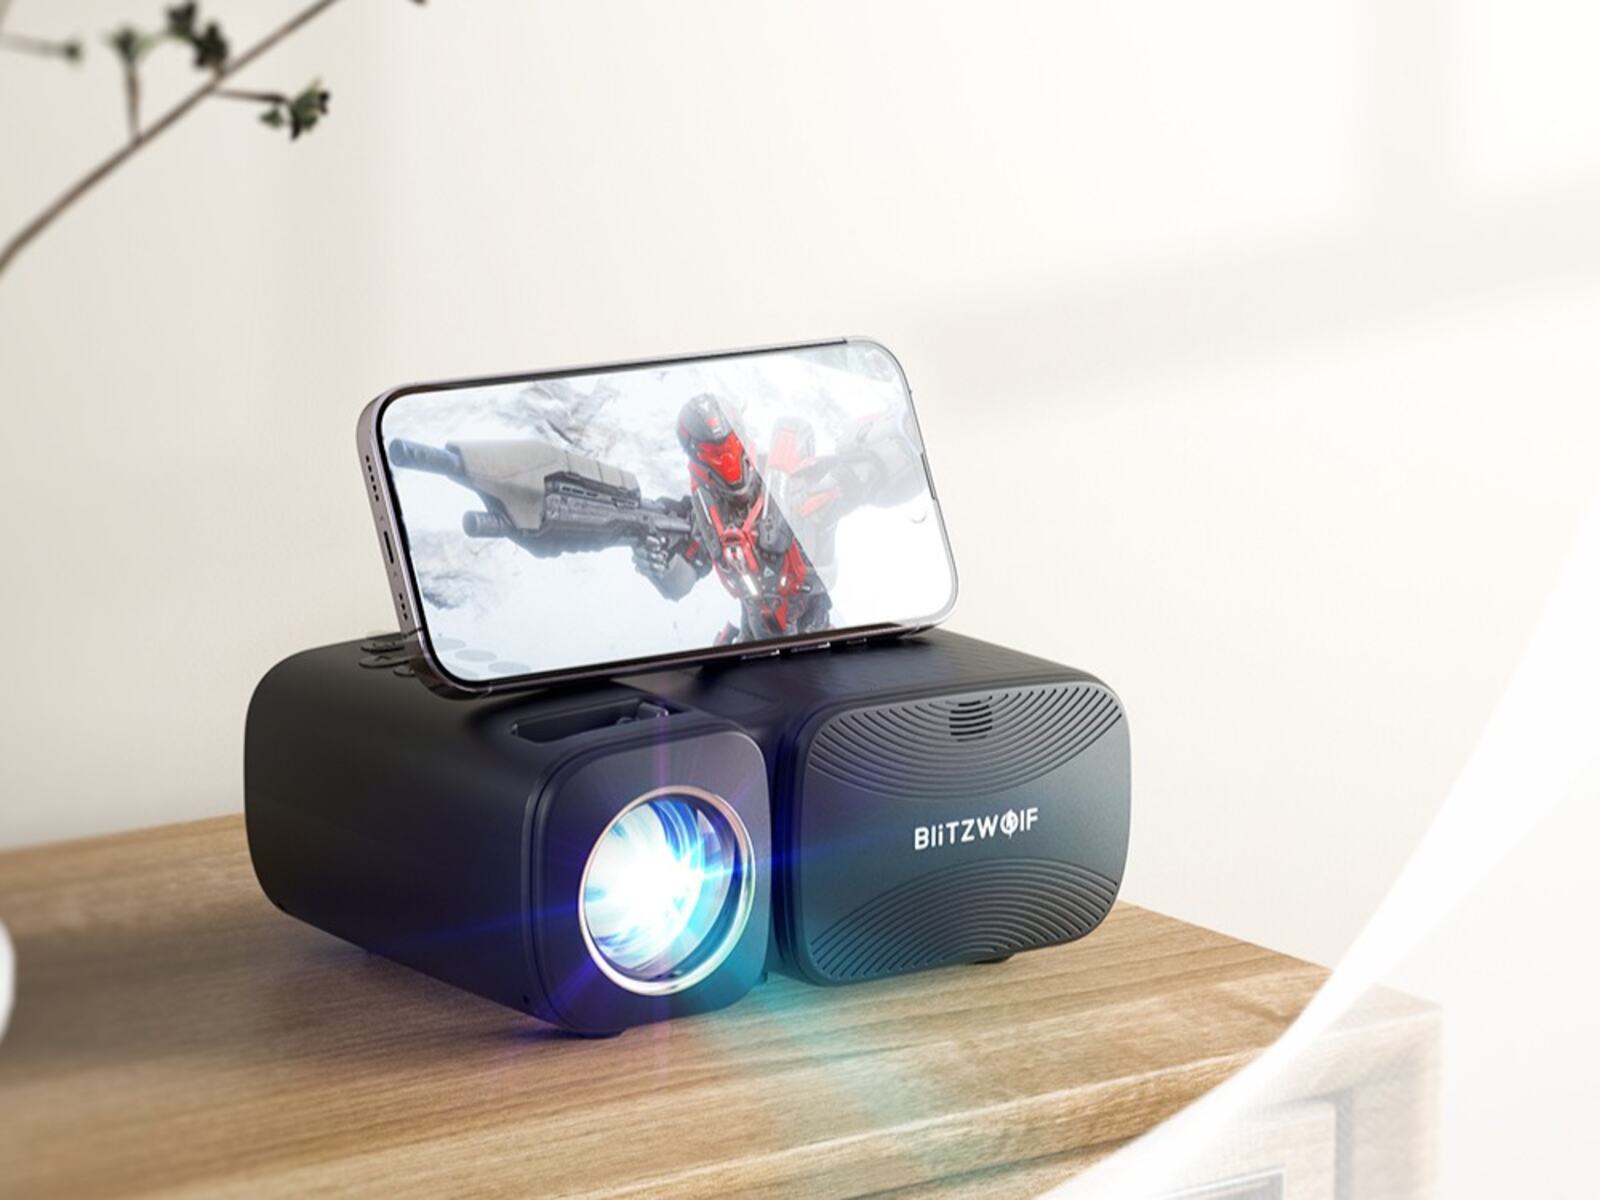
Welcome to the world of entertainment, where the possibilities are endless. With advancements in technology, we now have the convenience of connecting our iPhones to projectors, allowing us to enjoy a bigger and more immersive viewing experience. If you own a Vankyo projector and want to learn how to connect it to your iPhone, you have come to the right place.
In this article, we will walk you through a step-by-step guide on how to connect your Vankyo projector to your iPhone. Whether you want to share your favorite photos with your friends and family, stream videos from your favorite apps, or deliver a captivating presentation, connecting your iPhone to a Vankyo projector is simple and efficient.
We understand that technology can often be intimidating, but rest assured, connecting your iPhone to a Vankyo projector is a breeze. You don’t need to be a tech expert to follow this guide. We will provide easy-to-follow instructions that will have you enjoying your iPhone’s display on the big screen in no time.
Before we dive into the steps, let’s quickly go over the equipment you will need for this setup. Having the necessary equipment ready will ensure a smooth and seamless connection process.
Step 1: Gather the necessary equipment
Before you can connect your Vankyo projector to your iPhone, it’s important to gather all the necessary equipment. Here’s what you will need:
- A Vankyo projector: Make sure you have a working Vankyo projector that supports iPhone connectivity. Check the user manual or the manufacturer’s website to ensure compatibility.
- An iPhone: Any iPhone model that supports screen mirroring or video output can be connected to the Vankyo projector. Ensure that your iPhone is updated to the latest operating system version.
- An HDMI cable: To establish a connection between your iPhone and the Vankyo projector, you will need an HDMI cable. Make sure the cable is in good condition and has the necessary length to reach from your iPhone to the projector.
- An HDMI to Lightning adapter: Since iPhones use Lightning ports instead of HDMI ports, you will need an HDMI to Lightning adapter to connect the HDMI cable to your iPhone. This adapter allows you to transmit the video and audio output from your iPhone to the projector.
- An audio cable (optional): If you want to enhance the audio experience, you can use an audio cable to connect your iPhone to external speakers or amplifiers. This is especially useful for watching movies or giving presentations where high-quality audio is desired.
Once you have gathered all of these essential components, you are ready to move on to the next step: connecting the Vankyo projector to a power source.
Step 2: Connect the Vankyo projector to a power source
Before you can start the process of connecting your Vankyo projector to your iPhone, it’s crucial to ensure the projector is properly connected to a power source. Follow these simple steps:
- Locate the power cord that came with your Vankyo projector. It should have a standard plug on one end and a connector specific to your projector on the other end.
- Plug the standard end of the power cord into a power source, such as a wall outlet or power strip. Make sure the outlet is functioning correctly and providing adequate power.
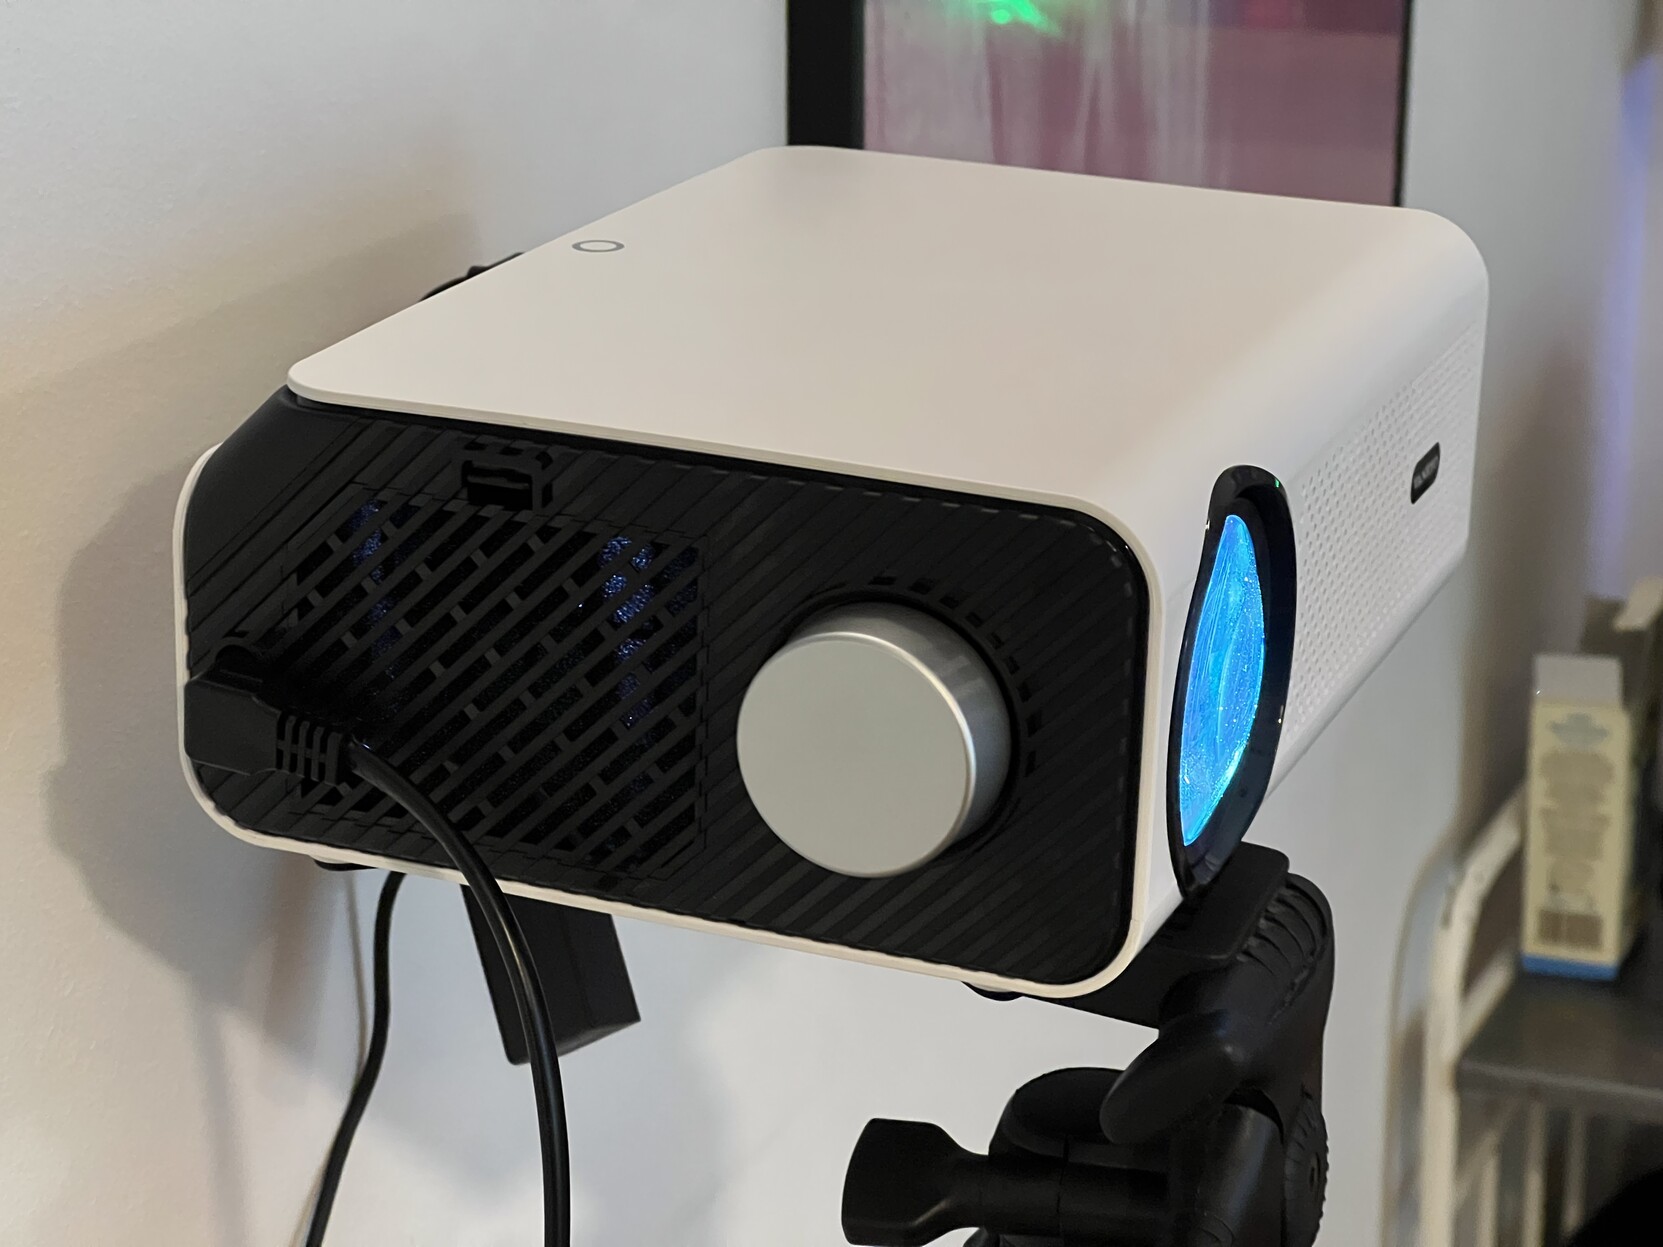
- Take the other end of the power cord and connect it to the power input port on the back of the Vankyo projector. Ensure the connection is secure.
- Once the projector is connected to a power source, press the power button on the projector or the remote control to turn it on. You should see the power indicator light up, indicating that the projector is receiving power.
- Wait for the Vankyo projector to go through its startup process. This may take a few seconds or minutes, depending on the model. Once the projector is ready, you will see the main menu or a blank screen.
With the Vankyo projector successfully powered on and ready to go, you can now move on to the next step: connecting the projector to your iPhone.
Step 3: Connect the Vankyo projector to the iPhone
Now that your Vankyo projector is powered on, it’s time to establish a connection between the projector and your iPhone. Follow these steps to get started:
- Take the HDMI cable and connect one end to the HDMI output port on the back of the Vankyo projector. Ensure the connection is secure.
- If you’re using an iPhone with a Lightning port (such as iPhone 12 or older models), connect the other end of the HDMI cable to the HDMI to Lightning adapter.
- Now, plug the HDMI to Lightning adapter into the Lightning port of your iPhone. Again, make sure the connection is secure.
- Once the HDMI cable is connected to both the projector and iPhone, turn on your iPhone by pressing the power button.
- If prompted, enter your passcode or use Face ID/Touch ID to unlock your iPhone.
- You should now see the iPhone’s home screen or lock screen displayed on the Vankyo projector. If not, check that the projector is set to the correct HDMI input source using the projector’s remote control or menu settings.
Congratulations! You have successfully connected your Vankyo projector to your iPhone. The digital world of your iPhone is now ready to be projected onto a larger screen.
Before moving on to the next step, make sure to adjust the display settings on your iPhone to optimize the viewing experience.
Step 4: Adjust the display settings on the iPhone
Now that your Vankyo projector is successfully connected to your iPhone, it’s time to optimize the display settings to ensure the best visual experience. Follow these steps to adjust the display settings on your iPhone:
- On your iPhone, navigate to the “Settings” app, which can be found on your home screen.
- Scroll down and tap on “Display & Brightness”.
- Adjust the brightness level by dragging the slider. Find the brightness level that suits your preference and provides optimal visibility for the projected image.
- If you wish to enable or disable auto-brightness, toggle the switch next to “Auto-Brightness”. Enabling auto-brightness will adjust the screen brightness automatically based on the ambient lighting conditions.
- Next, tap on “Text Size” if you want to adjust the size of the text displayed on your iPhone. Drag the slider to increase or decrease the text size to your liking.
- To further customize the display, you can tap on “Display Zoom”. Here, you have the option to choose between “Standard” and “Zoomed” display modes. Select the mode that provides the most comfortable and clear view for you.
- Lastly, you can also enable or disable “True Tone” by toggling the switch. True Tone adjusts the color temperature of your display to match the ambient lighting conditions, resulting in a more natural and pleasant viewing experience.
With the display settings adjusted to your liking, you are now ready to move on to the next step: configuring the Vankyo projector settings for optimal performance.
Step 5: Configure the Vankyo projector settings
After connecting your Vankyo projector to your iPhone and adjusting the display settings on your iPhone, it’s important to configure the projector settings for optimal performance. Follow these steps to configure the Vankyo projector settings:
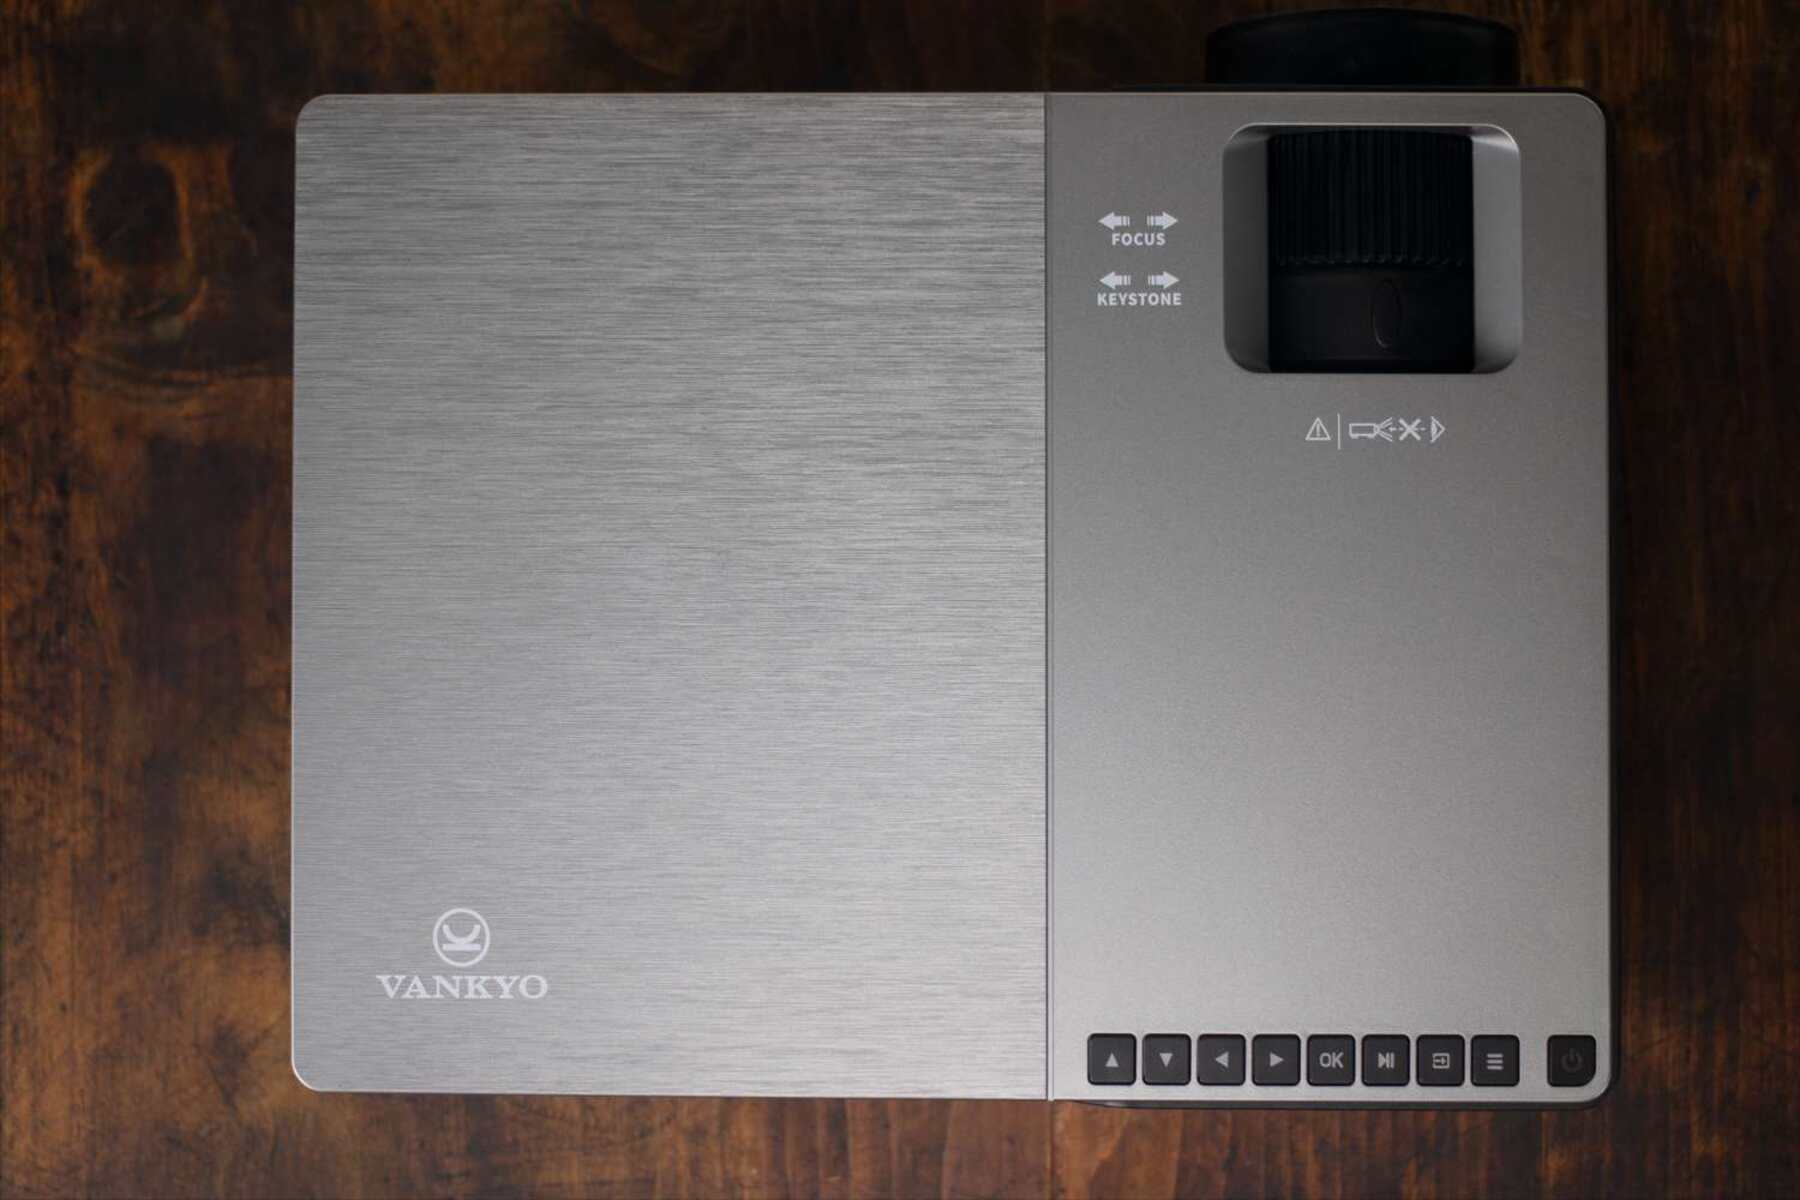
- Using the remote control or the buttons on the projector, navigate to the on-screen menu of the Vankyo projector.
- Look for the “Input” or “Source” option in the menu and select the HDMI input that corresponds to the port you connected your iPhone to.
- Once the correct HDMI input is selected, you should see the screen mirrored from your iPhone on the projector.
- Explore the projector settings menu to further fine-tune the image quality and other display options. You may find settings such as brightness, contrast, color temperature, aspect ratio, and keystone correction.
- Adjust these settings based on your preferences and the environment you are using the projector in. For example, you can increase the brightness if the room is well-lit or adjust the aspect ratio to match the content you are viewing.
- Some Vankyo projectors may also have built-in speakers. If you want to use the projector’s speakers, make sure the volume is set at an appropriate level.
- If you prefer external audio, connect the audio cable from your iPhone to external speakers or amplifiers for a better sound experience.
By configuring the Vankyo projector settings, you can optimize the display quality and audio output to suit your preferences and create an immersive viewing experience.
With the projector settings properly configured, you are now ready to enjoy your iPhone’s display on the big screen!
Step 6: Enjoy your iPhone display on the big screen!
Congratulations! You have successfully connected your Vankyo projector to your iPhone and adjusted the necessary settings. Now, it’s time to sit back, relax, and enjoy your iPhone’s display on the big screen. Here are a few suggestions to make the most out of this immersive experience:
- Stream movies and TV shows: Open your favorite streaming apps like Netflix, Hulu, or Disney+ on your iPhone and enjoy watching your favorite movies and TV shows on a larger screen. The vibrant colors and sharp details will truly enhance your viewing experience.
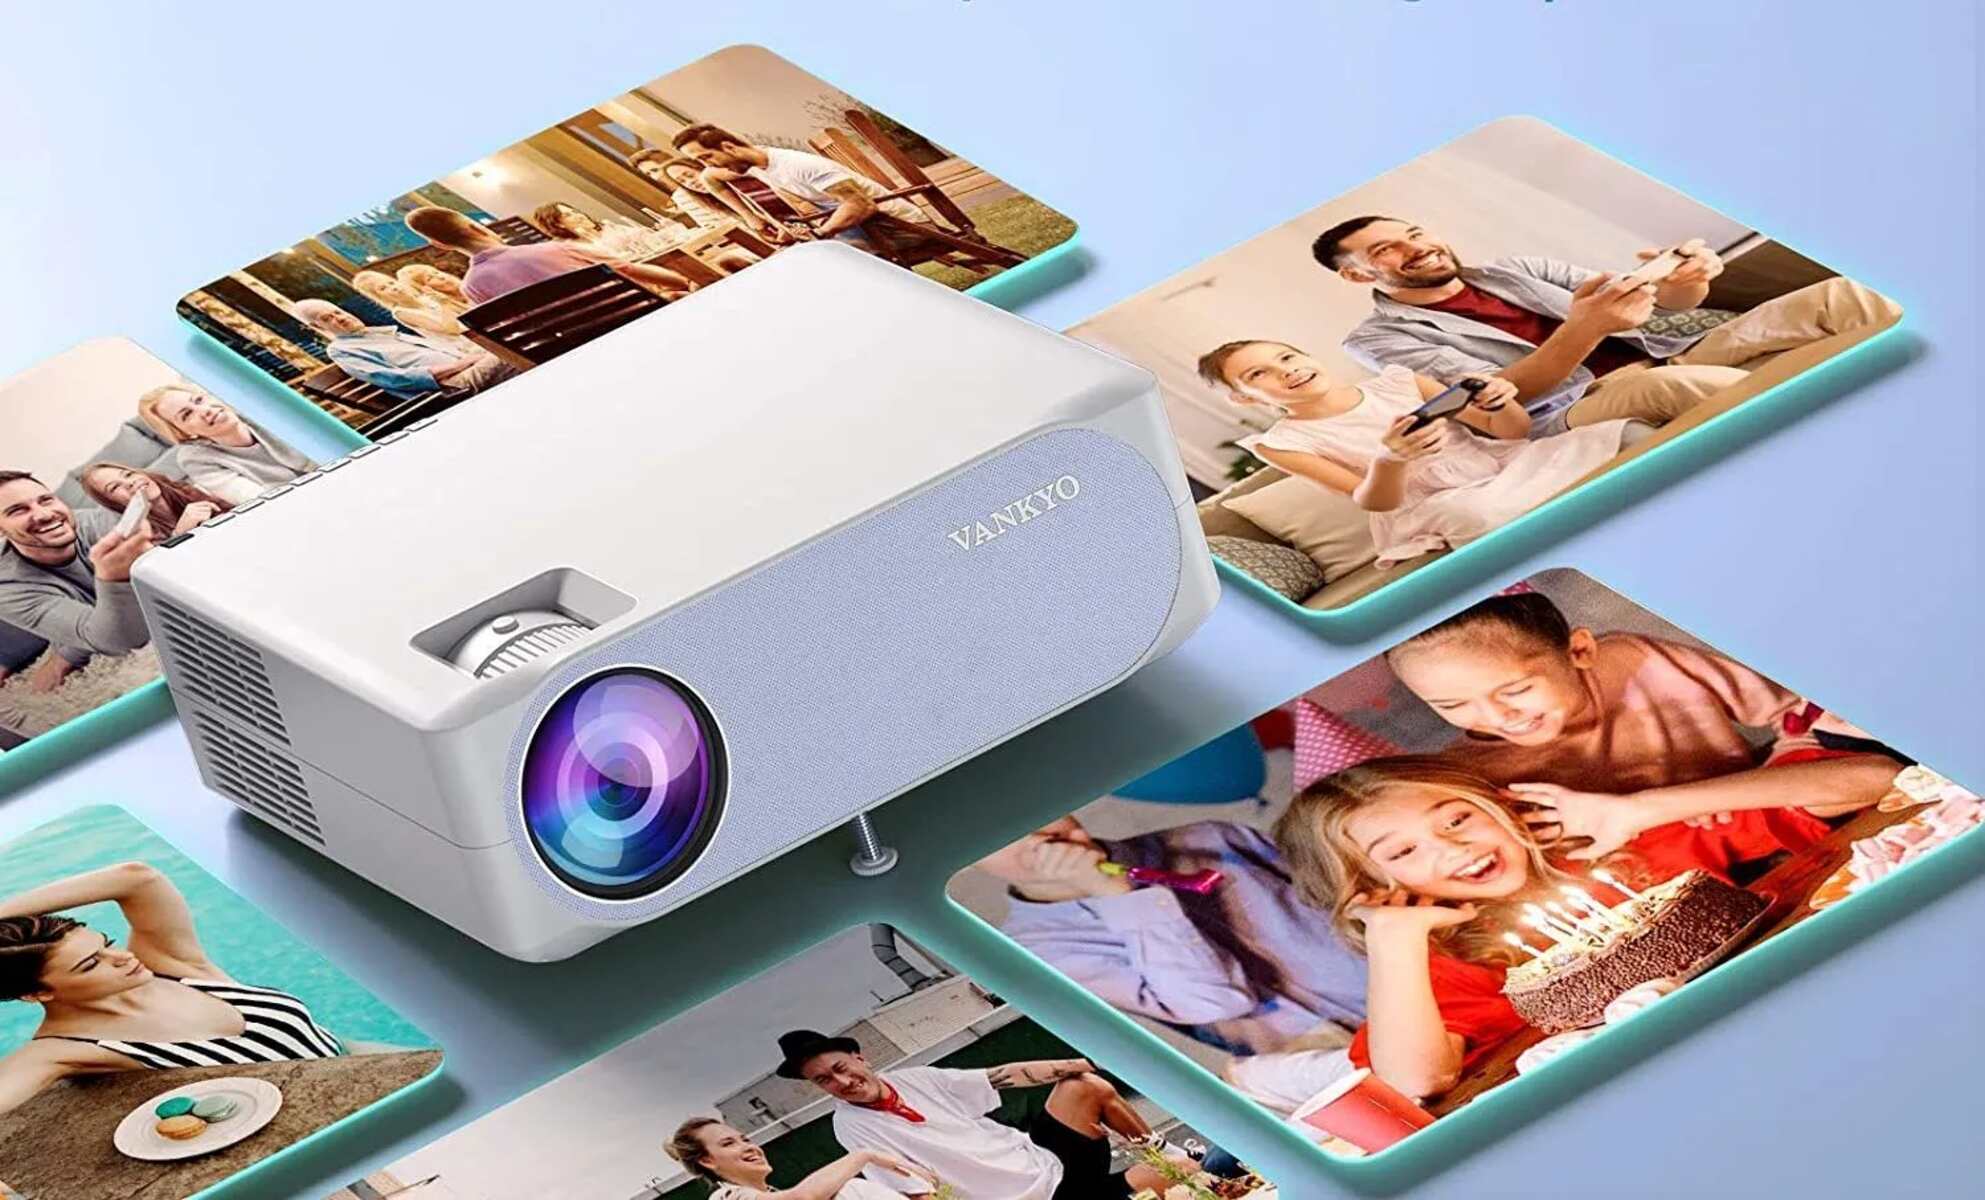
- Share photos and videos: Use the Photos app on your iPhone to share special moments with friends and family. Whether it’s a slideshow of your vacation photos or a video montage of precious memories, viewing them on a bigger screen will make them even more captivating.
- Create a cinematic gaming experience: Connect your iPhone game controller to your device and play your favorite mobile games on the big screen. Experience the action-packed gameplay with enhanced graphics and immerse yourself in the virtual world.
- Deliver impressive presentations: If you need to give a presentation for work or school, connecting your iPhone to the Vankyo projector allows you to showcase your slides and multimedia content on a larger scale. Capture your audience’s attention with crisp visuals and make a lasting impression.
- Engage in video conferences: Transform your video conference calls into a more immersive experience by projecting your colleagues or clients onto a larger screen. Enjoy the benefits of a larger display to see participants more clearly and make your communication more effective.
Remember to adjust the volume to your desired level and situate yourself in a comfortable position for a truly enjoyable viewing experience. With your iPhone connected to the Vankyo projector, the possibilities are endless.
When you finish using the setup, make sure to disconnect your iPhone and turn off the projector to save power and ensure a longer lifespan for your devices.
Now, it’s time to grab your popcorn, get cozy, and indulge in the immersive world of your iPhone’s display on the big screen!
Conclusion
Connecting your iPhone to a Vankyo projector opens up a whole new world of entertainment, presentations, and sharing experiences. With the simple steps outlined in this guide, you can easily connect your Vankyo projector to your iPhone and enjoy a larger, more immersive display.
By gathering the necessary equipment, connecting the Vankyo projector to a power source, establishing a connection between the projector and your iPhone, adjusting the display settings, and configuring the projector settings, you can ensure a seamless and optimized viewing experience.
Whether you’re streaming movies, sharing photos with loved ones, playing games, delivering presentations, or engaging in video conferences, the combination of your iPhone and Vankyo projector offers endless possibilities.
Remember to explore the various settings and options on both your iPhone and the projector to personalize the experience to your liking. Fine-tune the image quality, adjust the audio settings, and make use of additional features to enhance your viewing or presentation experience.
Lastly, always remember to disconnect your iPhone and turn off the Vankyo projector when you’re finished to conserve power and ensure the longevity of your devices.
Now, armed with the knowledge and guidance provided in this article, it’s time for you to enjoy your iPhone’s display on the big screen with the Vankyo projector. Sit back, relax, and immerse yourself in a whole new level of entertainment and productivity!


