Introduction
Connecting to a Wi-Fi network is an essential task for anyone using a computer, whether it’s for work, school, or leisure. If you’re using Windows 7, it’s relatively straightforward to connect to a Wi-Fi network and get online. In this guide, we’ll walk you through the step-by-step process of connecting to Wi-Fi on Windows 7.
In today’s digital age, having a stable internet connection is crucial for performing various activities, such as browsing the web, downloading files, streaming videos, and staying connected with others. Wi-Fi networks provide a convenient way to access the internet without the need for physical cables, allowing you to connect to the web from anywhere within the network’s range.
Windows 7 is a widely used operating system that offers robust networking features. Whether you’re using a laptop or a desktop computer, connecting to a Wi-Fi network on Windows 7 requires just a few simple steps.
In this guide, we’ll explore the process of connecting to a Wi-Fi network on Windows 7, providing you with the knowledge and confidence to get online quickly and easily. We’ll cover everything from accessing the Network and Sharing Center to troubleshooting common connection issues.
So, whether you’re setting up a new computer or connecting to a different Wi-Fi network, let’s dive in and discover how to connect to Wi-Fi on Windows 7!
Step 1: Access the Network and Sharing Center
The first step to connect to a Wi-Fi network on Windows 7 is to access the Network and Sharing Center. This central hub allows you to manage and configure various network settings on your computer.
To access the Network and Sharing Center, you can follow these simple steps:
- Click on the network icon located in the system tray on the bottom right corner of the taskbar. The icon typically resembles a series of bars or the Wi-Fi symbol.
- A pop-up window will appear displaying the available Wi-Fi networks in your area.
- Click on the “Open Network and Sharing Center” option located at the bottom of the pop-up window. Alternatively, you can search for “Network and Sharing Center” in the Windows Start menu and click on the corresponding search result.
Once you click on the “Open Network and Sharing Center” option, a new window will open, presenting you with a comprehensive view of your network settings and connections. This interface acts as a control panel for managing various aspects of your network configuration.
The Network and Sharing Center provides you with information about your network connections, including the status of your current connection, the network type (public, private, or work), and other relevant details.
Additionally, the Network and Sharing Center allows you to perform various tasks related to your network settings, such as setting up a new connection, troubleshooting network issues, and managing network adapters.
By accessing the Network and Sharing Center, you have taken the first step towards connecting to Wi-Fi on Windows 7. In the next step, we’ll explore how to manage wireless networks on your computer.
Step 2: Click on the “Manage wireless networks” option
After accessing the Network and Sharing Center, the next step in connecting to Wi-Fi on Windows 7 is to click on the “Manage wireless networks” option. This feature allows you to view, add, and edit the list of wireless networks your computer has connected to in the past.
To find the “Manage wireless networks” option, follow these steps:
- Once you’re in the Network and Sharing Center, look for the sidebar on the left-hand side of the window. You’ll find a list of options related to managing your network connections.
- Click on the “Manage wireless networks” option. This will open a new window that displays a list of all the wireless networks your computer has connected to in the past.
The “Manage wireless networks” feature is particularly useful when you want to connect to a network you have previously used but is not currently in range. By managing this list, you can prioritize and configure your preferred wireless networks, ensuring a seamless connection experience.
Inside the “Manage wireless networks” window, you’ll see a list of all the networks your computer has connected to before. Each network entry will include information such as the network name (SSID), security type, and whether the network is manually connected or automatically connected.
To modify or remove a wireless network from the list, you can simply right-click on the network entry and choose the corresponding option from the context menu. This gives you the flexibility to adjust your network preferences based on your needs.
By clicking on the “Manage wireless networks” option, you’re taking control of your wireless connections on Windows 7. In the next step, we’ll explore how to add a new wireless network to your computer.
Step 3: Add a new wireless network
Adding a new wireless network to your Windows 7 computer allows you to connect to networks that are not in the pre-existing list. Whether you’re setting up a new Wi-Fi network or connecting to a network for the first time, this step will ensure that your computer recognizes and establishes a connection with the desired network.
To add a new wireless network on Windows 7, follow these simple steps:
- From the “Manage wireless networks” window, click on the “Add” button located at the top of the window. This will launch the “Manually connect to a wireless network” wizard.
- In the wizard, you’ll need to provide the necessary information about the network you want to connect to. This includes the network name (SSID), security type, and the encryption key (password).
- Enter the network name (SSID) exactly as it appears, ensuring that you don’t include any extra spaces or characters. Use caution when typing the encryption key (password) to avoid any mistakes.
- If you want Windows to automatically connect to this network whenever it’s in range, make sure to check the box that says “Start this connection automatically”.
- Click on the “Next” button to proceed. Windows will attempt to connect to the network using the provided information.
- If the connection is successful, you’ll see a confirmation message. Click on the “Close” button to complete the process.
Adding a new wireless network ensures that your Windows 7 computer recognizes and saves the network’s settings, making it easier to connect in the future. By following these steps, you’ll have the option to connect to a wider range of networks and stay connected wherever you go.
In the next step, we’ll explore how to connect to a wireless network on Windows 7 using the information you have provided.
Step 4: Enter the necessary network details
In this step, we’ll guide you through entering the necessary network details to connect to a wireless network on Windows 7. By providing the correct information, you’ll be able to establish a secure and stable connection with the desired network.
To enter the necessary network details, follow these steps:
- Ensure that you’re still in the “Manually connect to a wireless network” wizard from the previous step.
- Enter the network name (SSID) exactly as it appears. Double-check for any spelling or capitalization errors.
- Choose the appropriate security type for the network. You can select from options such as WEP, WPA, or WPA2, depending on the network’s security settings.
- Provide the encryption key (password) for the network. Make sure to enter the password correctly, taking note of any uppercase or lowercase letters, as well as any special characters.
- If the network has a hidden SSID, check the box that says “Connect even if the network is not broadcasting”. This will allow your computer to detect and connect to the hidden network.
- Once you have entered all the necessary network details, click on the “Next” button to continue.
- Windows will attempt to connect to the network using the provided information. If the connection is successful, you’ll see a confirmation message. Click on the “Close” button to complete the process.
Entering the correct network details is crucial to establish a successful connection. Make sure to carefully input the network name and encryption key to avoid any errors that may prevent your computer from connecting to the network.
Now that you have entered the necessary network details, it’s time to move on to the next step and connect to the wireless network on your Windows 7 computer.
Step 5: Connect to the wireless network
After entering the necessary network details, the next step is to connect to the wireless network on your Windows 7 computer. This step finalizes the process and allows you to start enjoying a seamless internet connection.
To connect to the wireless network, follow these steps:
- Make sure that the network icon is still displayed in the system tray on the bottom right corner of the taskbar. It should indicate that wireless networks are available.
- Click on the network icon to display the available wireless networks in your area. A list of networks will appear.
- Locate the network that you want to connect to and click on its name (SSID). You may need to scroll through the list to find the desired network.
- If the network is secured, Windows will prompt you to enter the encryption key (password). Type in the password correctly, taking note of any uppercase or lowercase letters, as well as any special characters.
- Click on the “Connect” button to establish a connection with the wireless network.
- Windows will attempt to connect to the network using the provided information. If the connection is successful, you’ll see a confirmation message. You are now connected to the wireless network!
Once you’re connected to a wireless network, you can start accessing the internet and enjoying all the benefits of a stable and secure Wi-Fi connection. Your Windows 7 computer will automatically remember the network and connect to it whenever it’s in range, making it convenient for future use.
Now that you have successfully connected to the wireless network, you’re ready to browse the web, stream videos, or perform any other online activities on your Windows 7 computer.
Step 6: Troubleshooting common connection issues
While connecting to a wireless network on Windows 7 is usually a straightforward process, there may be instances when you encounter connection issues. In this step, we’ll provide some troubleshooting tips to help you overcome common Wi-Fi connection problems and ensure a smooth experience.
If you’re experiencing difficulties connecting to a wireless network on Windows 7, consider the following troubleshooting steps:
- Double-check your network details: Ensure that you have entered the correct network name (SSID) and encryption key (password). Even small errors in spelling or capitalization can prevent a successful connection.
- Restart your computer: Sometimes, a simple restart can resolve connection issues by resetting the network settings.
- Move closer to the wireless router: If you’re experiencing signal problems or weak connectivity, try moving closer to the router to establish a stronger connection.
- Check your router’s settings: Ensure that your router is broadcasting the Wi-Fi signal and that it’s compatible with Windows 7. You may need to consult your router’s manual or contact your internet service provider for assistance.
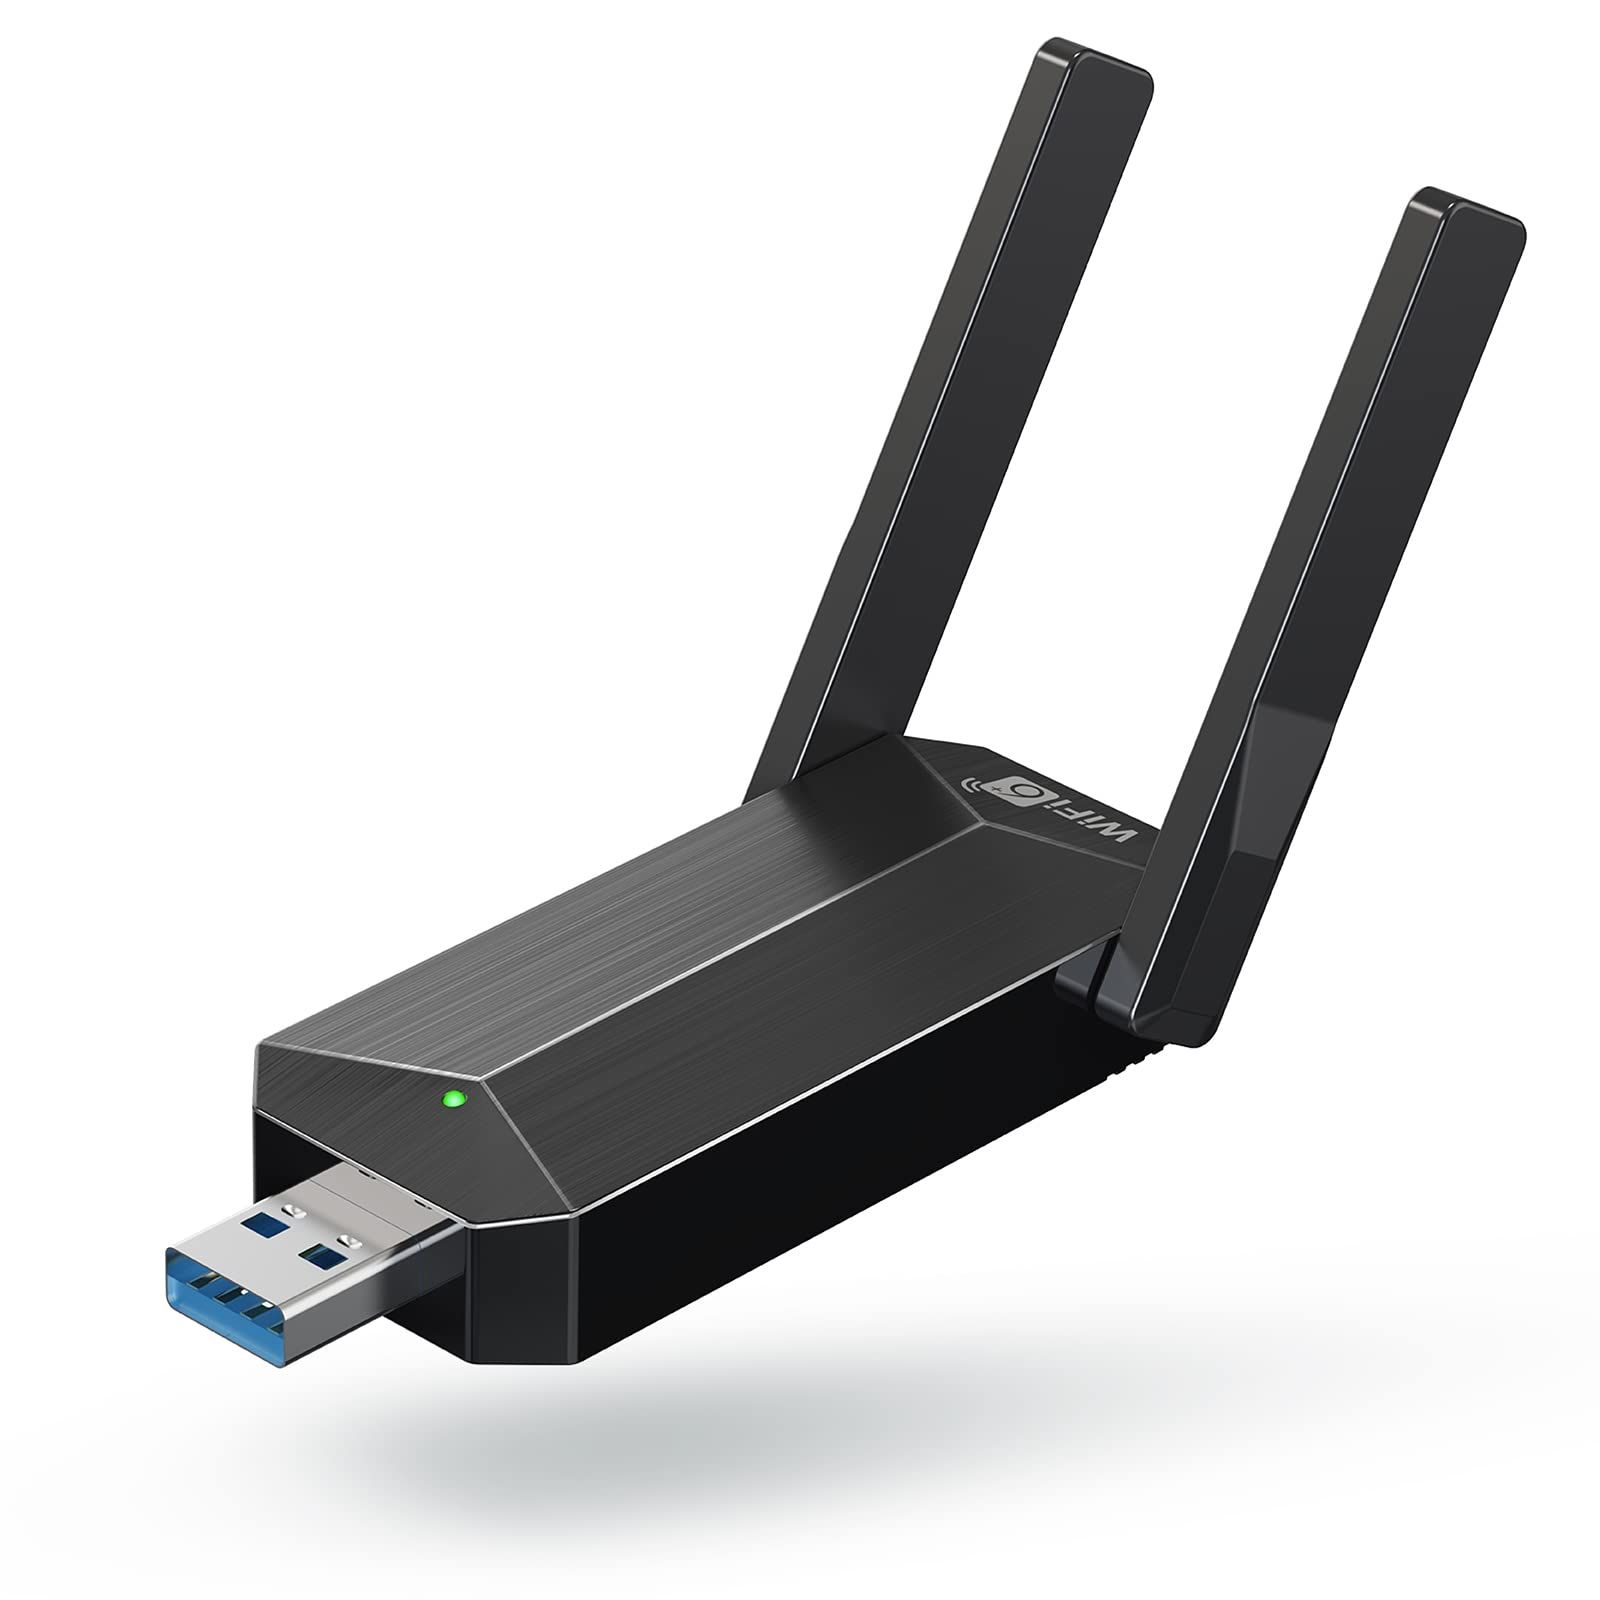
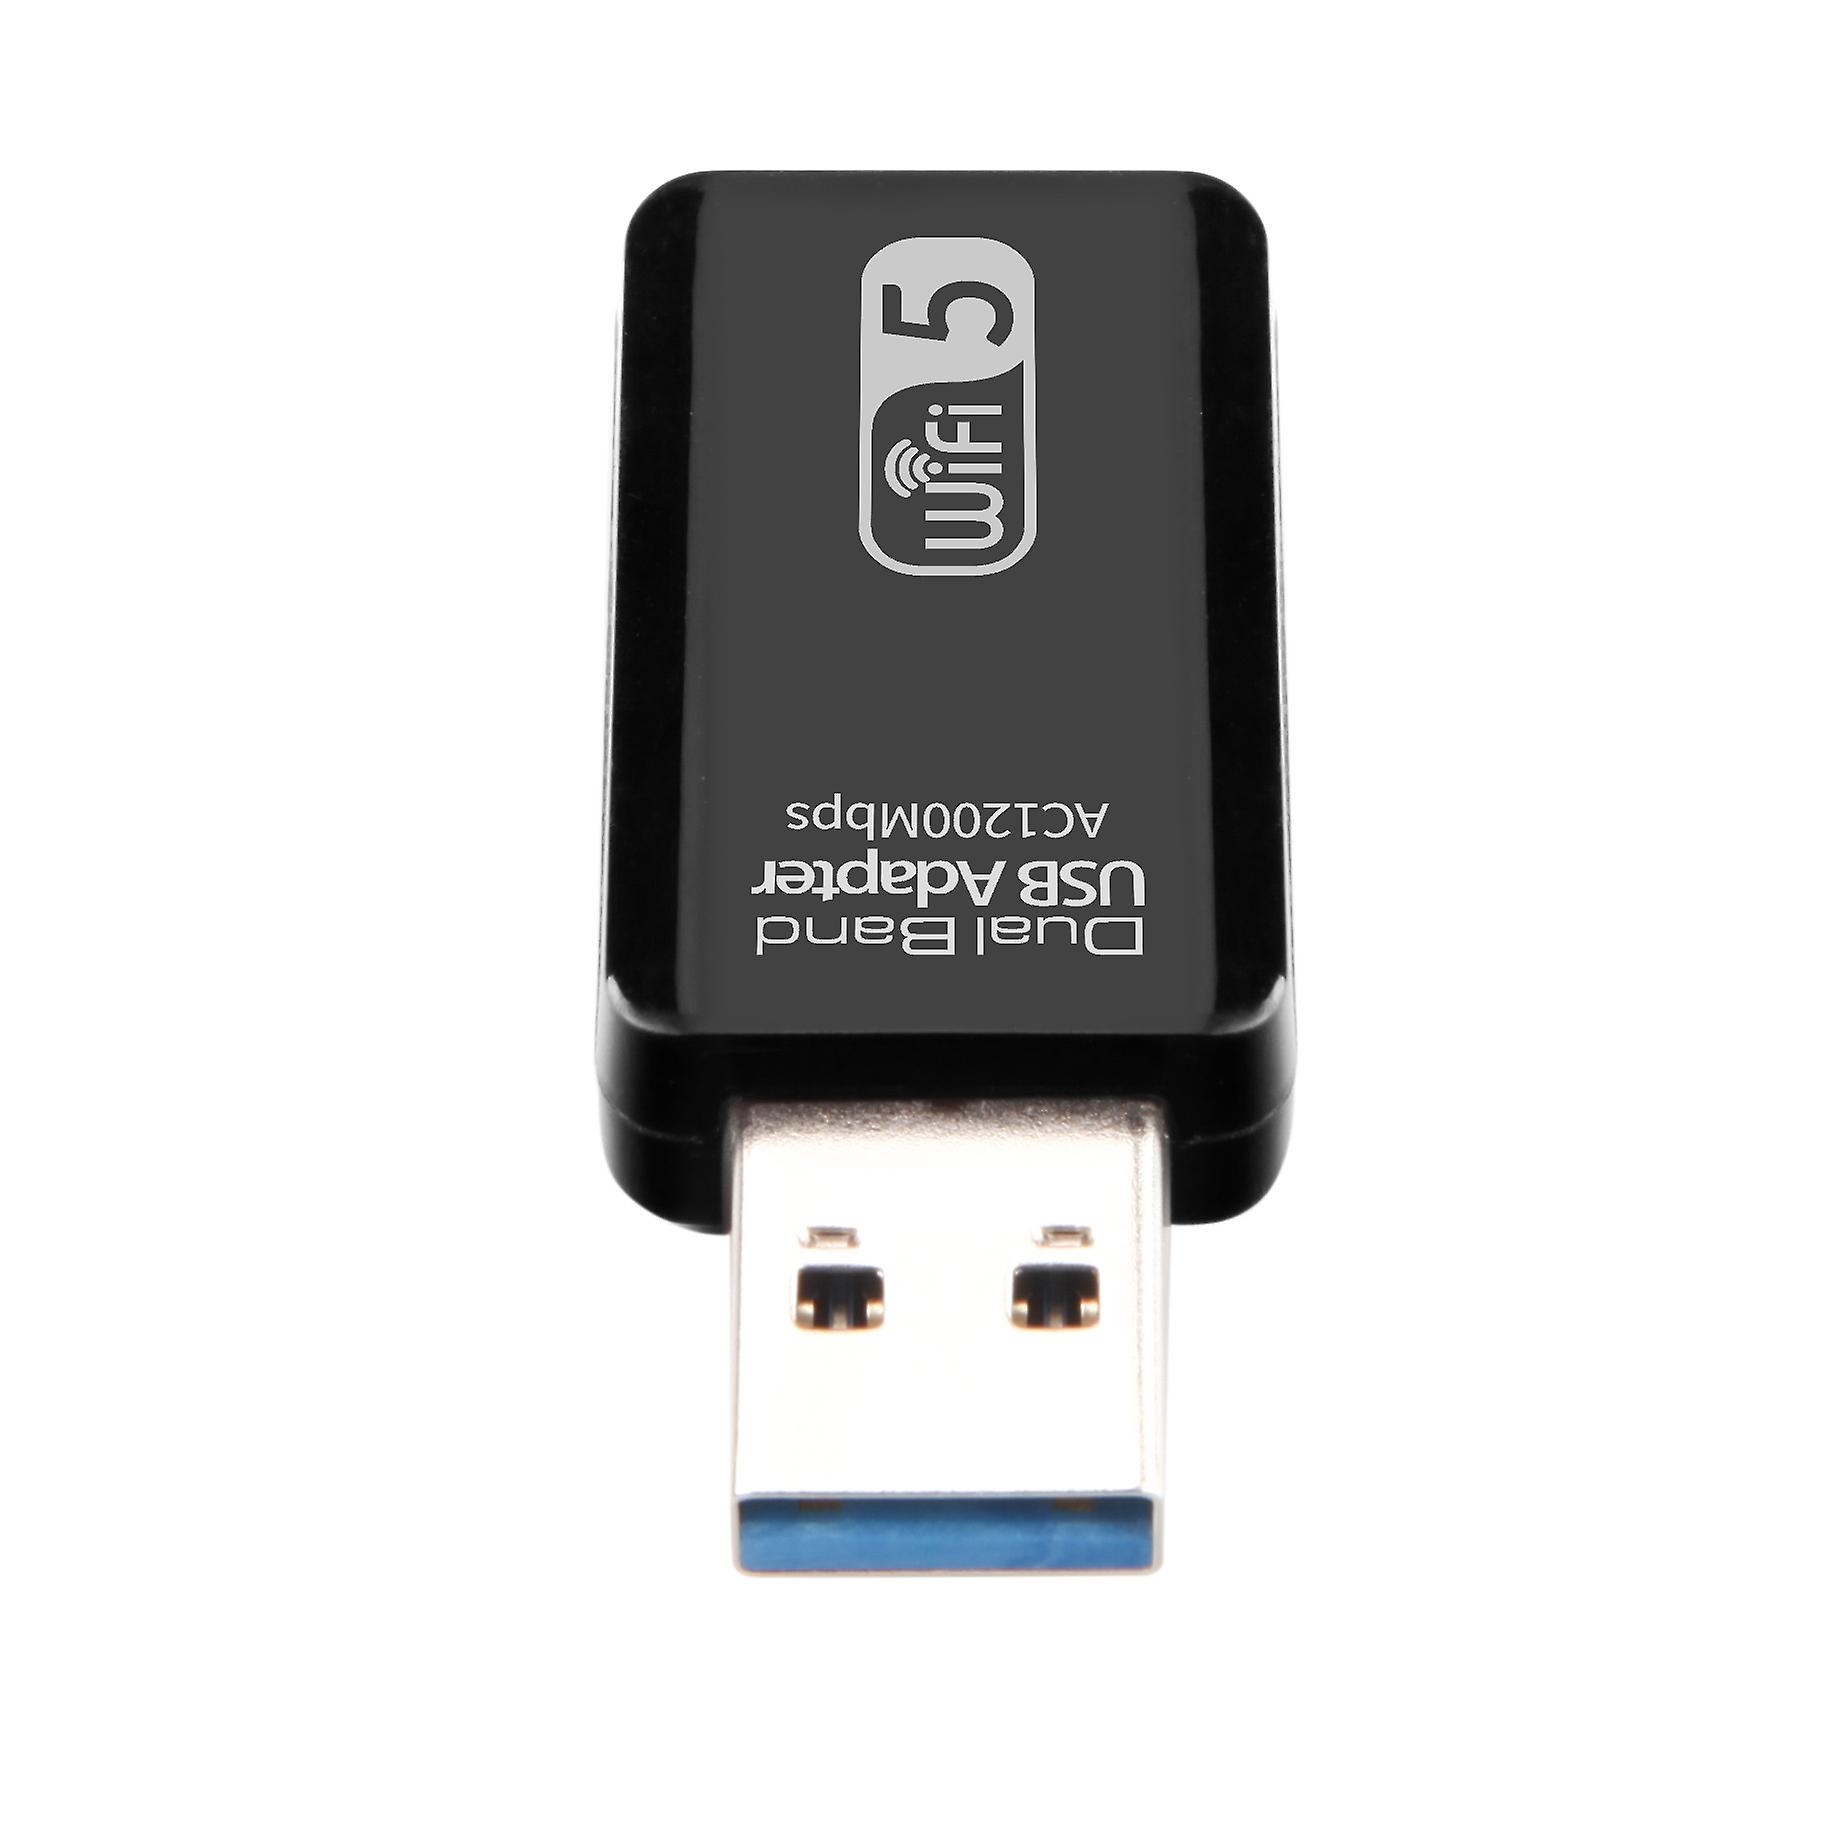
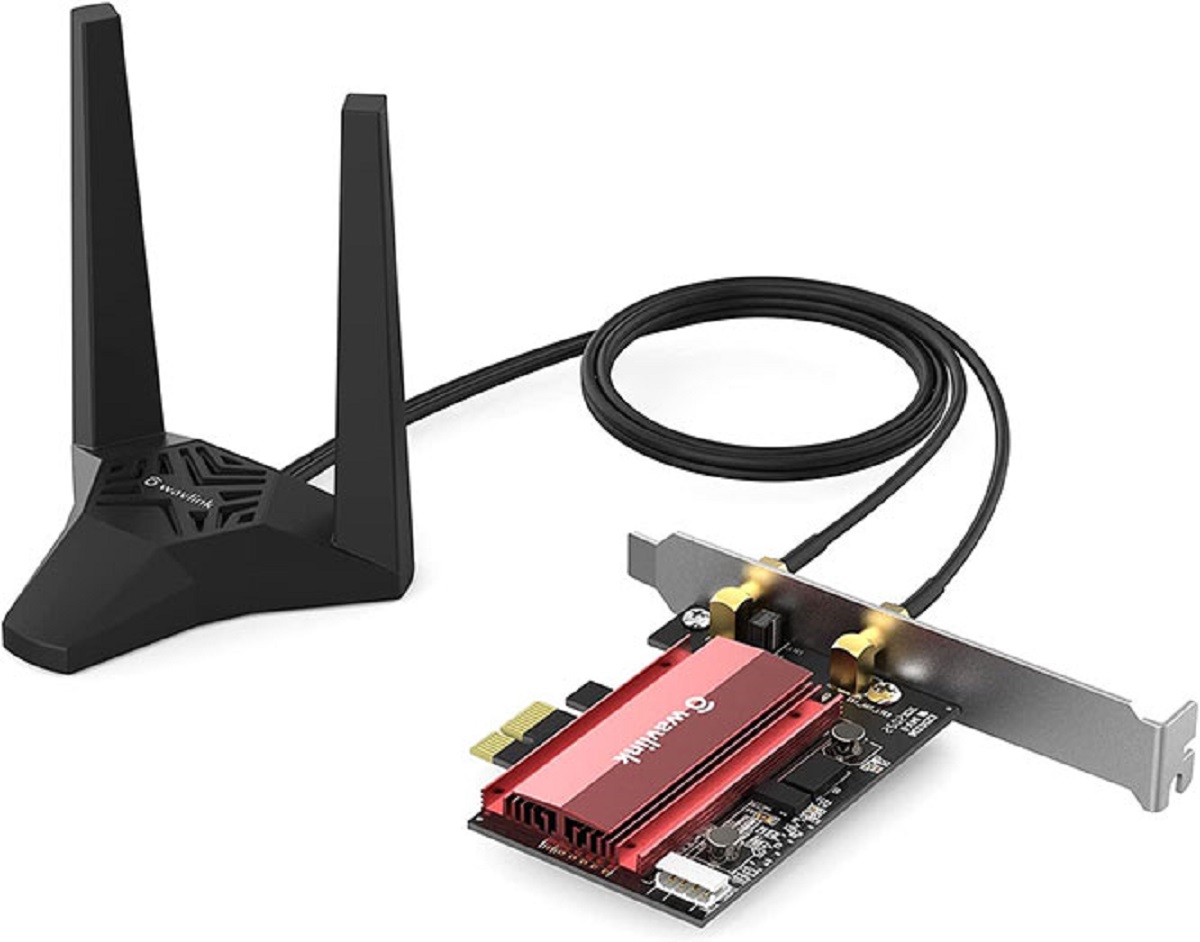
- Update your wireless adapter driver: Outdated or incompatible drivers can cause connection problems. Visit the manufacturer’s website to download and install the latest driver for your wireless adapter.
- Disable third-party antivirus or firewall software: Sometimes, security software can interfere with Wi-Fi connections. Temporarily disable any third-party antivirus or firewall software and check if the connection issues are resolved.
- Reset your network hardware: If all else fails, you can try resetting your router and modem. This process varies depending on the model, so refer to the respective user manuals for instructions.
By following these troubleshooting tips, you can often resolve common connection issues and get your Windows 7 computer connected to a wireless network again.
If you continue to experience difficulties, it may be helpful to consult online support forums or contact your internet service provider for further assistance. They can provide more specific troubleshooting steps based on your unique situation.
Now that you’re equipped with troubleshooting knowledge, you can confidently address common Wi-Fi connection issues on your Windows 7 computer.
Conclusion
Connecting to a Wi-Fi network on Windows 7 is an essential skill for anyone using a computer. By following the step-by-step guide outlined in this article, you can easily connect to a wireless network and enjoy a stable and secure internet connection.
We started by accessing the Network and Sharing Center, which serves as the central hub for managing network settings on your Windows 7 computer. Then, we discussed how to click on the “Manage wireless networks” option to view and manage your network connections.
Next, we covered the process of adding a new wireless network to your computer, ensuring that you can connect to networks that are not in the pre-existing list. We walked you through entering the necessary network details, including the network name (SSID) and encryption key (password).
Finally, we explored how to connect to the wireless network, allowing you to enjoy a seamless internet experience. We also provided troubleshooting tips for common connection issues, equipping you with the knowledge to overcome potential challenges.
Remember, if you encounter any difficulties during the process or still experience connection issues, don’t hesitate to seek additional support from online forums or your internet service provider. They can provide specific guidance based on your unique situation.
With the ability to connect to Wi-Fi networks on Windows 7, you can now browse the web, download files, stream videos, and stay connected with others effortlessly.
So go ahead, put this knowledge into action, and enjoy the benefits of a fast and reliable internet connection on your Windows 7 computer!


