Introduction
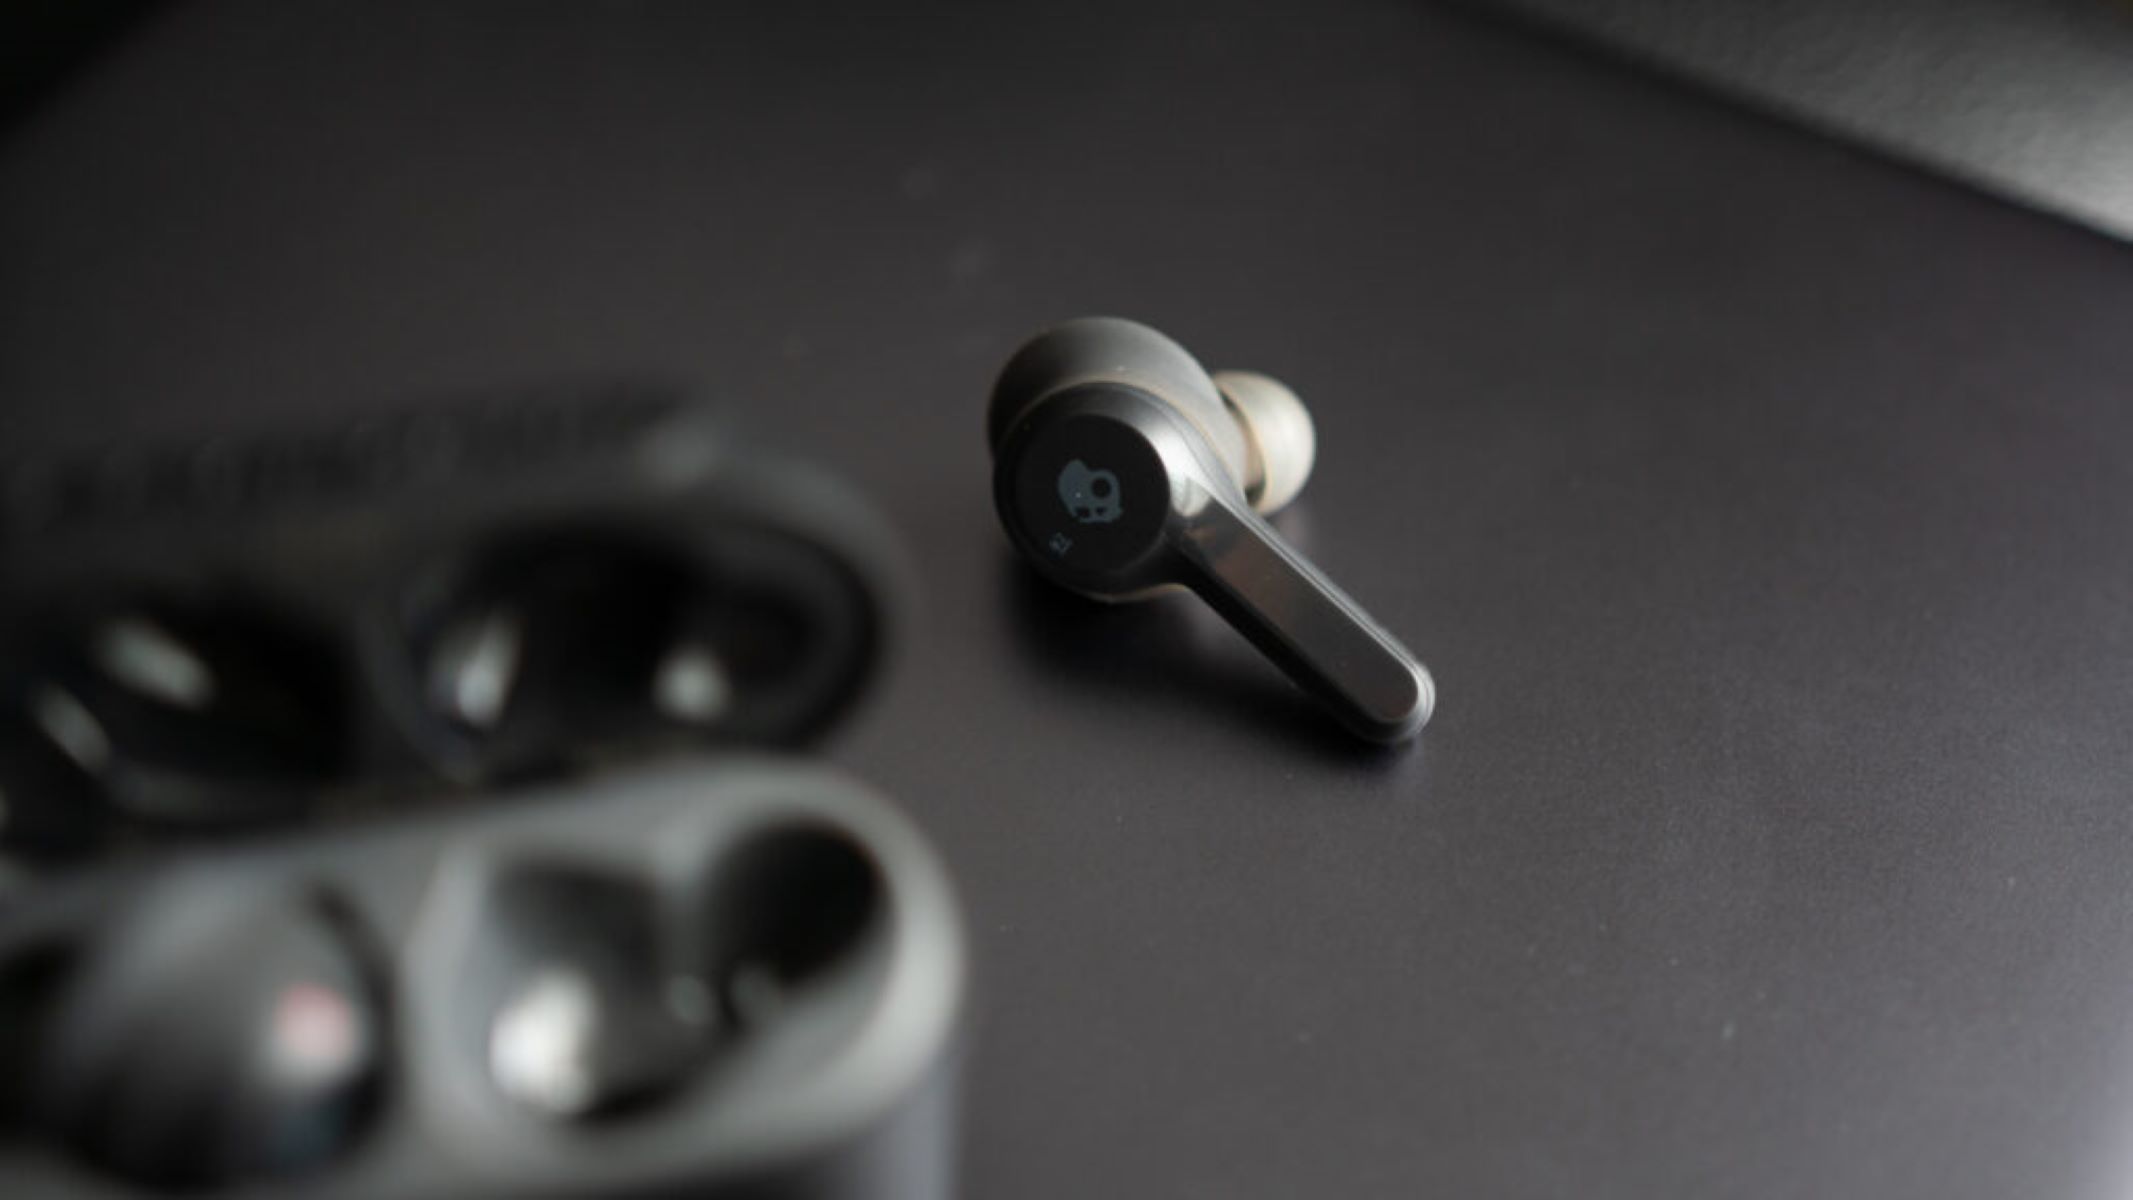
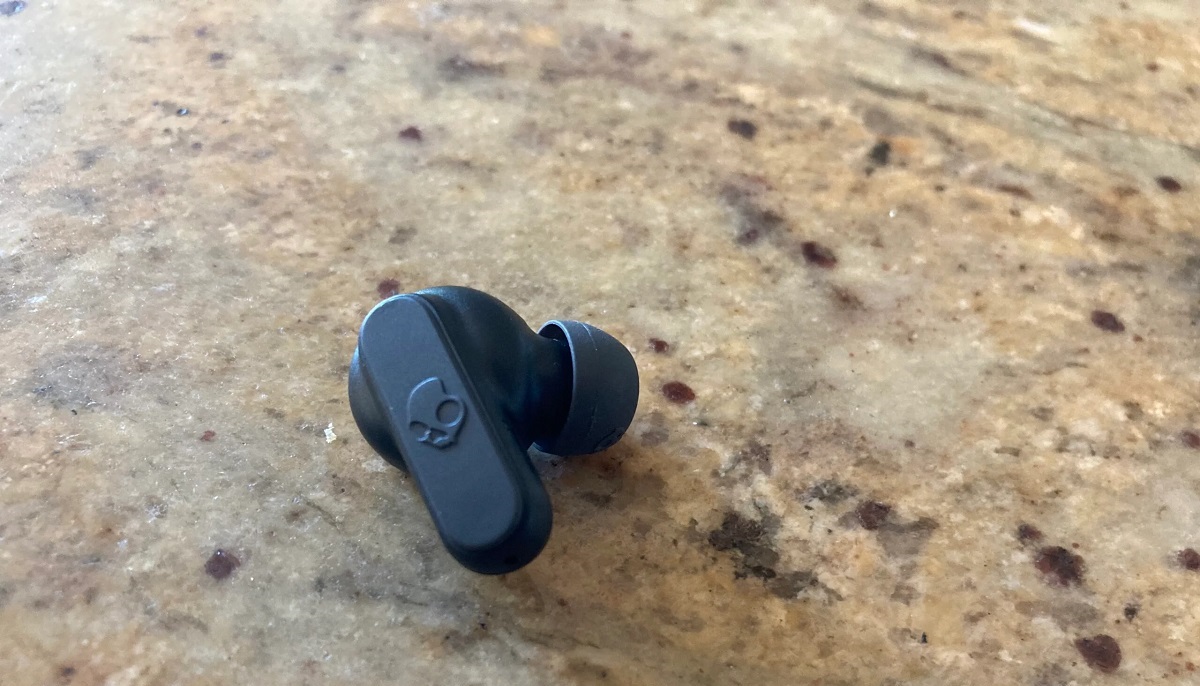
Welcome to the world of Skullcandy Wireless Earbuds! These cutting-edge earbuds offer you the freedom and convenience to enjoy your favorite music and take calls without the hassle of tangled wires. With their sleek design and advanced features, Skullcandy Wireless Earbuds are a must-have accessory for music lovers and tech enthusiasts.
In this article, we will guide you through the process of connecting your Skullcandy Wireless Earbuds to your device. Whether you’re using a smartphone, tablet, or computer, the steps are similar across different platforms. By following our easy-to-understand instructions, you’ll be able to seamlessly pair your earbuds with your device and start enjoying an enhanced audio experience.
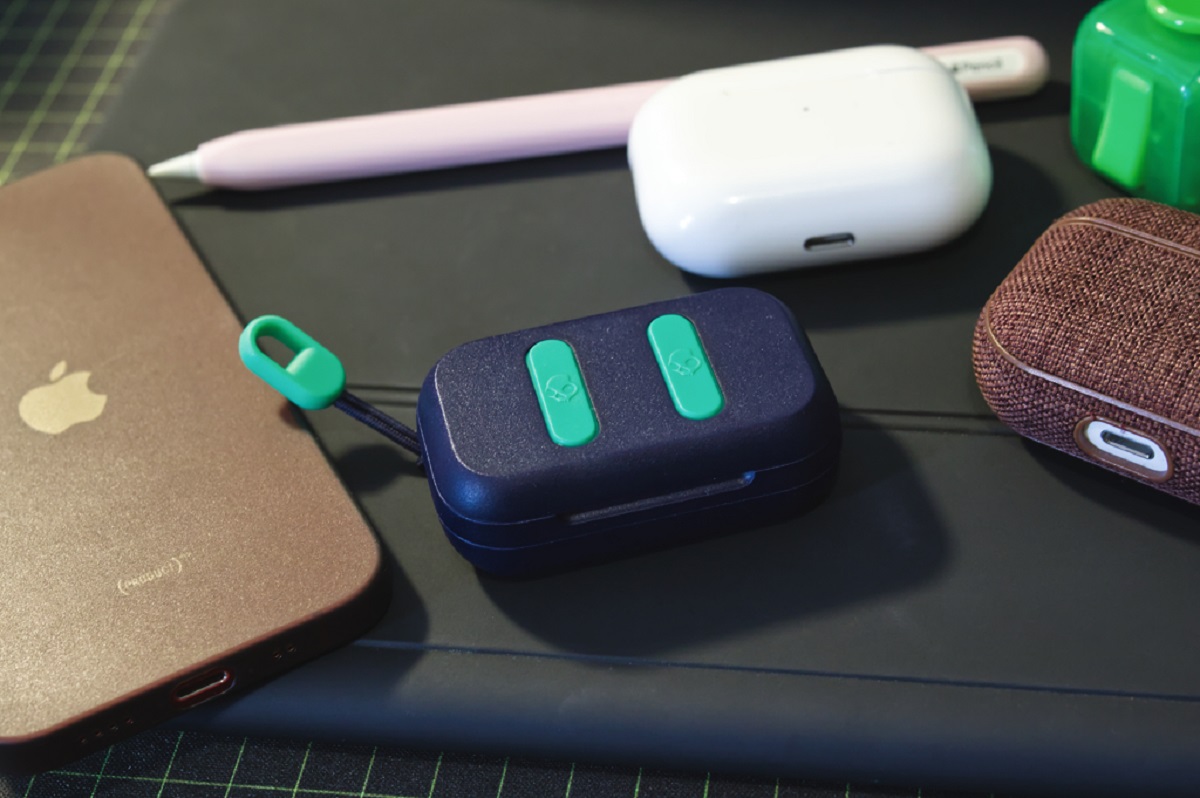
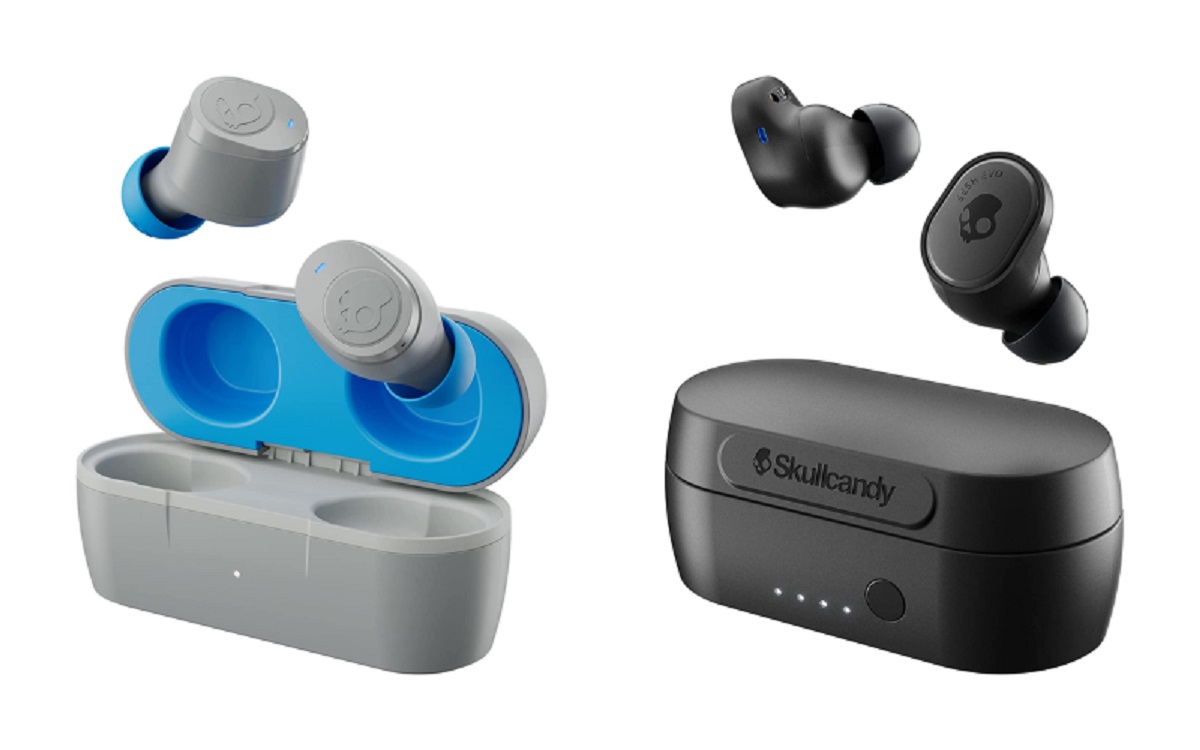
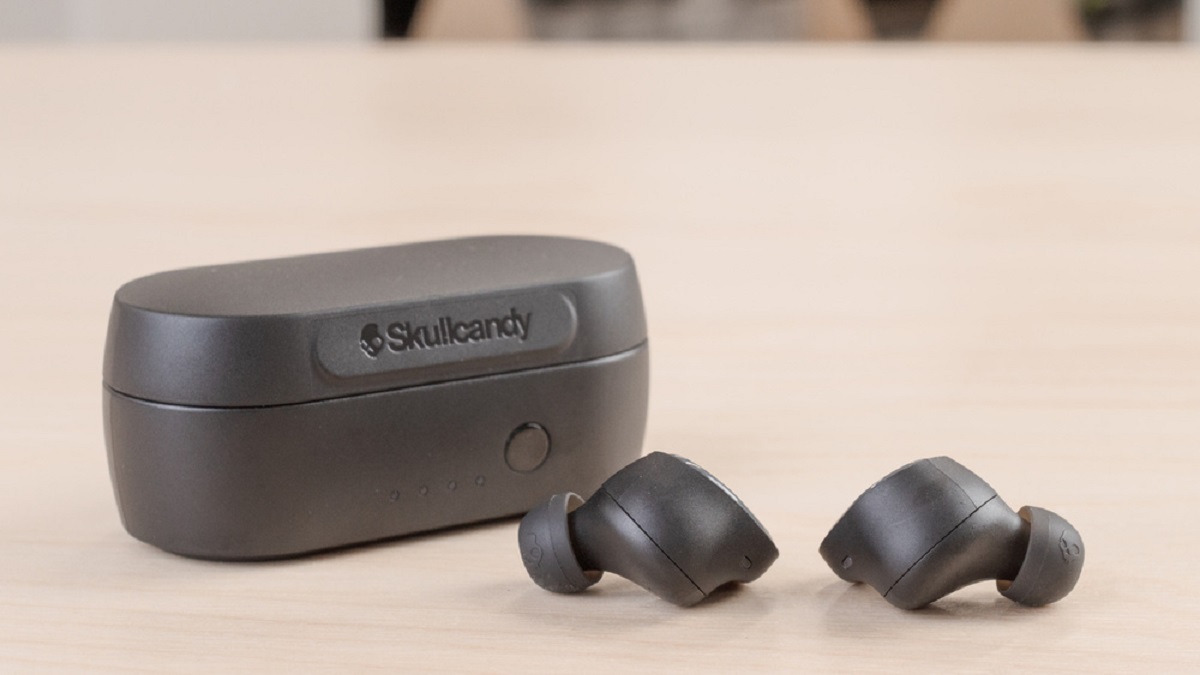
Before we dive into the step-by-step process, it’s important to ensure that your Skullcandy Wireless Earbuds are charged and ready to go. Most models come with a charging case that provides extra battery life, so make sure to charge both the earbuds and the case before attempting to connect them to your device.
Now, grab your Skullcandy Wireless Earbuds, and let’s get started on this exciting journey of wire-free audio!
Step 1: Turn on your Skullcandy Wireless Earbuds
The first step in connecting your Skullcandy Wireless Earbuds is to ensure that they are turned on. This may seem obvious, but it’s essential to double-check before starting the pairing process.
To turn on your Skullcandy Wireless Earbuds, locate the power button on either one of the earbuds or the charging case. The location of the power button may vary depending on the model you have. Press and hold the power button until you see a light indicator or hear a sound that indicates the earbuds are powering on.
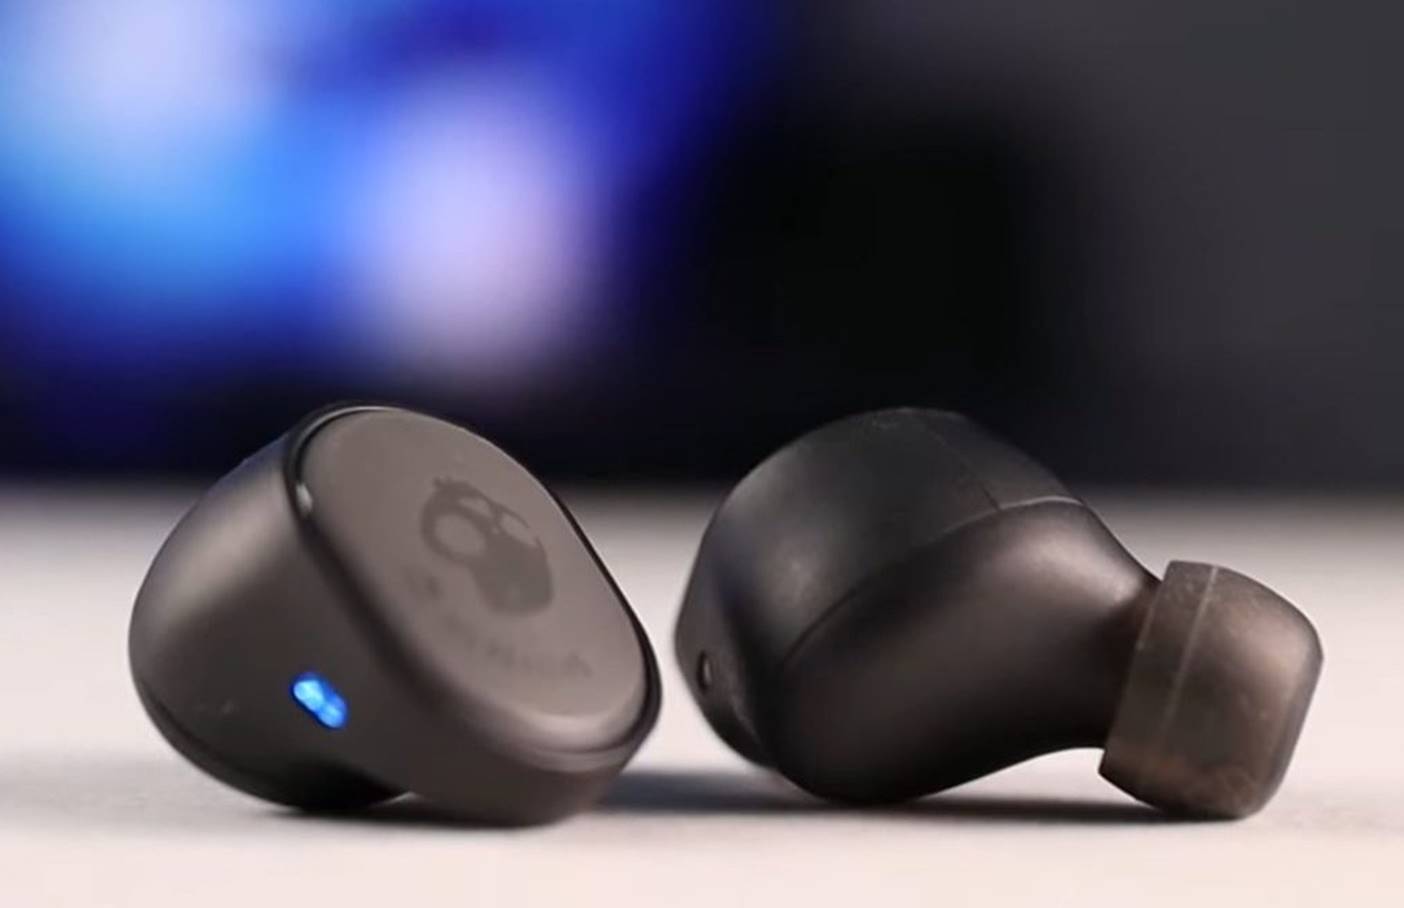
Once the Skullcandy Wireless Earbuds are turned on, the LED light on the earbuds or the charging case should start blinking or remain steady, indicating that they are ready to be paired with your device.
It’s important to note that some Skullcandy Wireless Earbuds may automatically turn on when you remove them from the charging case. In this case, you won’t need to manually turn them on.
If you are experiencing any issues turning on your Skullcandy Wireless Earbuds, ensure that they are adequately charged. Place them back in the charging case and connect it to a power source using the provided USB cable. Allow the earbuds to charge for a sufficient amount of time before attempting to turn them on again.
Now that your Skullcandy Wireless Earbuds are turned on and ready, it’s time to move on to the next step: activating Bluetooth on your device.
Step 2: Activate Bluetooth on your device
Before you can connect your Skullcandy Wireless Earbuds to your device, you need to make sure that Bluetooth is enabled on your device. Bluetooth is a wireless technology that allows devices to connect and communicate with each other.
To activate Bluetooth on your device, follow these steps:
- Go to the settings menu of your device. This can typically be found in the main menu or by swiping down from the top of the screen and selecting the settings icon.
- Look for the Bluetooth option in the settings menu. It is usually represented by the Bluetooth symbol or the word “Bluetooth”.
- Toggle the switch to turn on Bluetooth. Once enabled, the Bluetooth icon should appear in the status bar of your device.
It’s important to note that the exact steps to enable Bluetooth may vary slightly depending on the device and operating system you are using. If you’re having trouble finding the Bluetooth option, refer to the user manual or do a quick online search specific to your device model.
Once Bluetooth is enabled on your device, it will start scanning for nearby Bluetooth devices to connect with. Keep in mind that your Skullcandy Wireless Earbuds need to be in pairing mode for them to appear in the list of available devices.
In the next step, we will guide you on how to put your Skullcandy Wireless Earbuds in pairing mode, so you can successfully connect them to your device.
Step 3: Put your Skullcandy Wireless Earbuds in pairing mode
In order to connect your Skullcandy Wireless Earbuds to your device, you’ll need to put them in pairing mode. Pairing mode allows the earbuds to be discoverable by your device, so they can establish a connection.
The process of putting your Skullcandy Wireless Earbuds in pairing mode may vary depending on the model you have. Here are a few common methods to put them in pairing mode:
- Method 1: Press and hold the multifunction button on either one of the earbuds for a few seconds until you see a flashing LED light. This indicates that the earbuds are now in pairing mode.
- Method 2: If your earbuds have a separate pairing button, press and hold that button until the LED light starts flashing. This will put the earbuds in pairing mode.
- Method 3: For some models, simply taking the earbuds out of the charging case automatically puts them in pairing mode. Look for any visual or audio cues that indicate the earbuds are ready to be paired.
Keep in mind that the specific instructions may differ based on the model of your Skullcandy Wireless Earbuds. Consult the user manual for your particular model if you’re unsure of how to put them in pairing mode.
Once the earbuds are in pairing mode, they will be discoverable by your device, which means they will appear in the list of available Bluetooth devices. Now, let’s move on to the next step and learn how to connect your Skullcandy Wireless Earbuds to your device.
Step 4: Connect your Skullcandy Wireless Earbuds to your device
Now that your Skullcandy Wireless Earbuds are in pairing mode, it’s time to connect them to your device. The process may vary slightly depending on the device and operating system you are using, but the general steps are as follows:
- Open the Bluetooth settings menu on your device. This can usually be found in the settings or connections menu.
- Look for a list of available devices and select the name of your Skullcandy Wireless Earbuds. The name will typically start with “Skullcandy” followed by the model number or a unique identifier.
- If prompted, confirm the pairing by selecting “Pair” or entering a provided code. The code is usually displayed on both your device and the earbuds.
- Wait for the connection to be established. Once connected, you should see a confirmation message or the Bluetooth icon on your device will change to indicate a successful pairing.
It’s important to note that some devices may require additional steps or have slightly different options in their Bluetooth settings menu. Follow any on-screen instructions or consult the device’s user manual for specific guidance.
If you’re having trouble connecting your Skullcandy Wireless Earbuds to your device, here are a few troubleshooting tips:
- Ensure that your earbuds are within range of your device. Bluetooth generally has a range of around 30 feet (10 meters), but this can vary depending on the environment and any obstacles.
- Make sure that the earbuds are still in pairing mode. If the LED light stops flashing or there are no visual indicators, try putting them back in pairing mode.
- Restart your device and try the connection process again. Sometimes a simple restart can resolve connectivity issues.
- If all else fails, refer to the user manual or contact Skullcandy support for further assistance.
Once the connection is established, you’re ready to enjoy the freedom of wire-free audio with your Skullcandy Wireless Earbuds!
Step 5: Test the connection and troubleshoot if necessary
After successfully connecting your Skullcandy Wireless Earbuds to your device, it’s important to test the connection to ensure everything is working as intended. Here’s how you can do so:
- Play a song or audio file on your device.
- Listen carefully to ensure that the audio is coming through the Skullcandy Wireless Earbuds and not from the device’s speakers.
- Adjust the volume on both your device and the earbuds to your desired level.
If you’re not hearing any sound or experiencing any issues with the connection, here are a few troubleshooting steps you can take:
- Ensure that your device’s volume is turned up and not on mute. Sometimes, the volume settings can affect the audio output.
- Check the Bluetooth settings on your device and make sure that the Skullcandy Wireless Earbuds are still connected. If the connection appears to be unstable or interrupted, try disconnecting and reconnecting the earbuds.
- Restart both your device and the earbuds. Turning them off and on again can help resolve minor connection issues.
- If the problem persists, try connecting the earbuds to a different device to see if the issue is specific to your original device.
- If none of the above steps work, refer to the user manual or contact Skullcandy support for further assistance.
It’s also worth mentioning that some Skullcandy Wireless Earbuds come with companion apps that allow you to customize settings and access additional features. If your model has an accompanying app, consider downloading it and exploring the available options for optimizing your audio experience.
Congratulations! You’ve successfully connected and tested your Skullcandy Wireless Earbuds. Now, you can enjoy your favorite music or take calls wirelessly, wherever you go.
Conclusion
Connecting your Skullcandy Wireless Earbuds to your device is a simple process that allows you to enjoy the convenience and freedom of wire-free audio. By following the step-by-step instructions provided in this guide, you can easily pair your earbuds with your device and start enjoying your favorite music, podcasts, or phone calls without the hassle of tangled wires.
Remember to ensure that your Skullcandy Wireless Earbuds are turned on and adequately charged before initiating the pairing process. Activate Bluetooth on your device and put the earbuds in pairing mode to make them discoverable. Once you find the earbuds in the list of available Bluetooth devices, select them and confirm the pairing.
After a successful connection, test the audio output and troubleshoot any issues that may arise. Check the volume settings, restart your devices if necessary, and make sure the earbuds are connected securely. If further assistance is needed, consult the user manual or reach out to Skullcandy support for guidance.
Now, enjoy the freedom of wire-free audio and immerse yourself in an enhanced audio experience with your Skullcandy Wireless Earbuds. Whether you’re commuting, working out, or simply relaxing, these earbuds provide a convenient and high-quality sound experience.
Don’t forget to explore any companion apps or customization options that may come with your Skullcandy Wireless Earbuds. These can further enhance your audio experience by allowing you to customize settings and access additional features.
Thank you for choosing Skullcandy Wireless Earbuds. Now, go ahead and indulge in the joy of wireless audio!


