Introduction
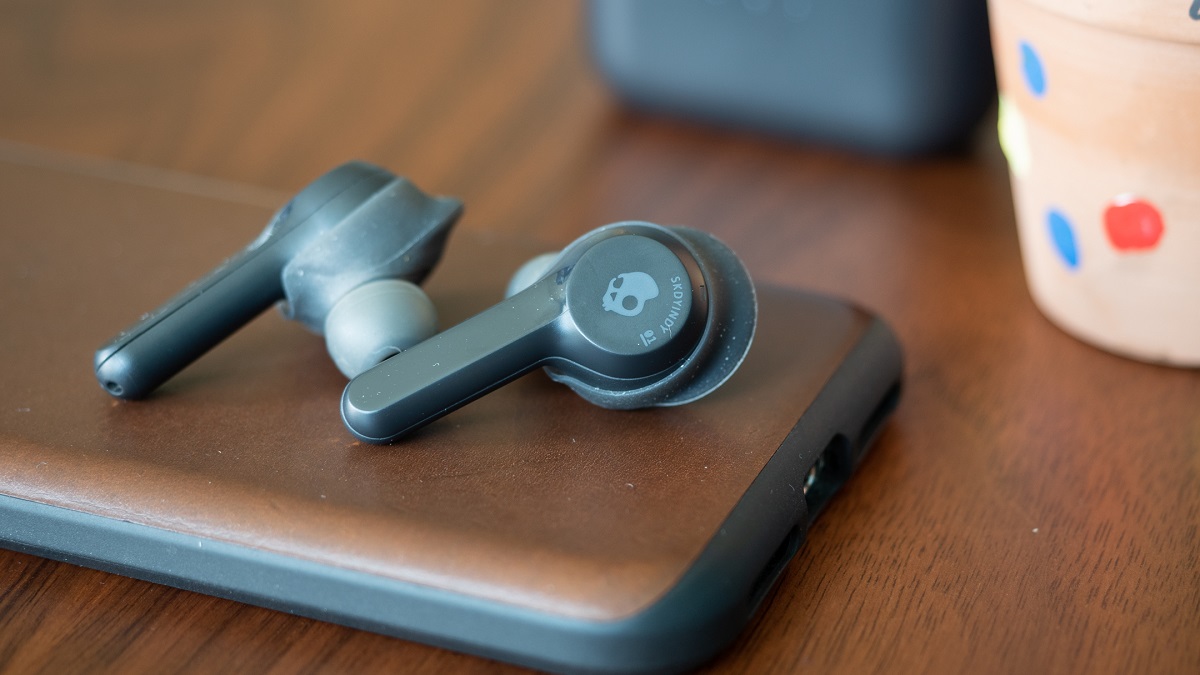
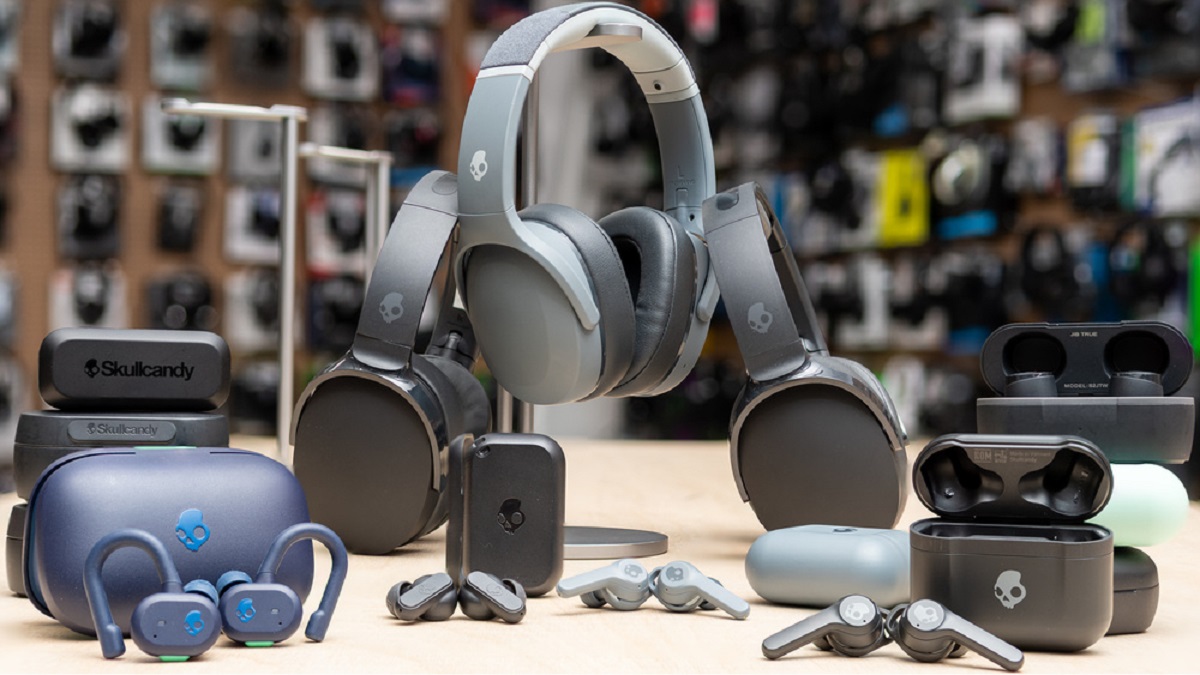
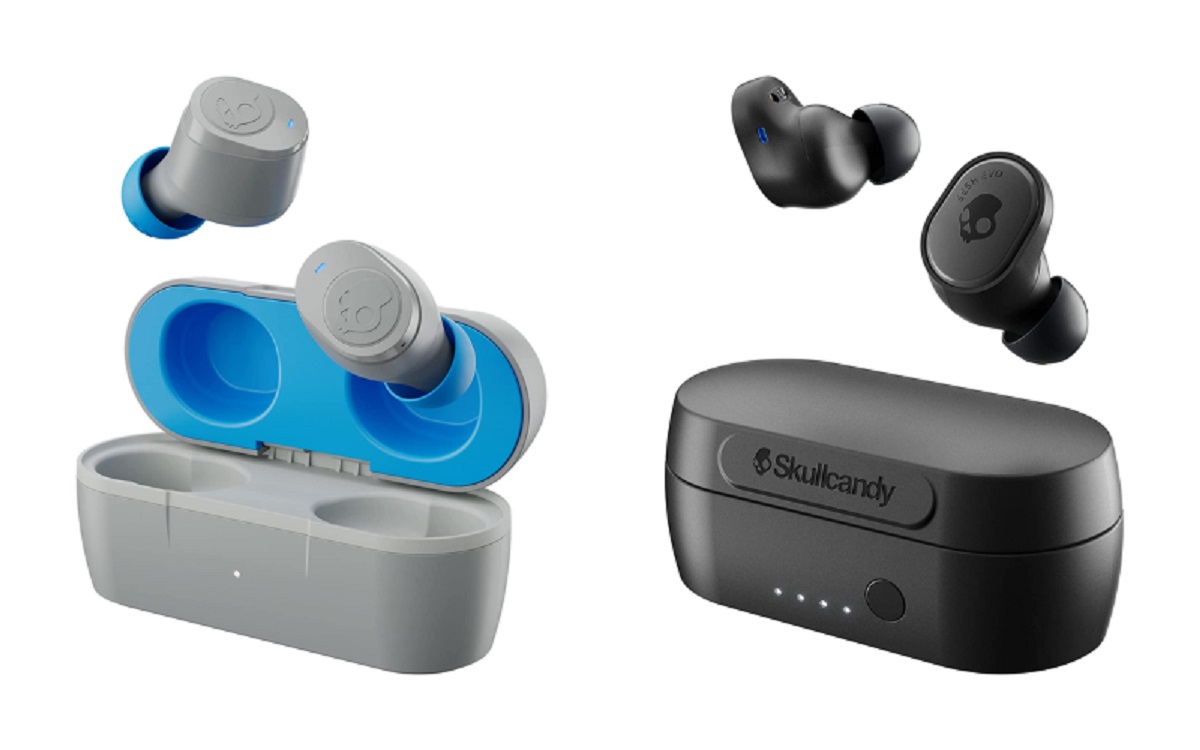
Welcome to the world of Skullcandy Indy wireless earbuds! These sleek and stylish earbuds provide a seamless audio experience, allowing you to enjoy your favorite music, podcasts, and calls without the hassle of tangled wires. Whether you’re working out at the gym, commuting to work, or simply relaxing at home, the Indy earbuds offer the perfect blend of comfort, convenience, and exceptional sound quality.
Connecting your Skullcandy Indy earbuds to your device is a breeze with the built-in Bluetooth technology. Once connected, you’ll be able to enjoy the freedom of wireless listening, keeping you in tune with your favorite audio content wherever you go.
In this guide, we’ll walk you through the simple steps to connect your Skullcandy Indy wireless earbuds to your device. Whether you have a smartphone, tablet, or computer, we’ll cover the basics to ensure a seamless connection. With these easy-to-follow instructions, you’ll soon be enjoying crystal-clear audio and experiencing the true convenience of wireless listening.
So, let’s dive in and get started on setting up your Skullcandy Indy earbuds!
Step 1: Power on the Skullcandy Indy earbuds
Before you can connect your Skullcandy Indy earbuds to your device, you need to make sure they are powered on. Here’s how to do it:
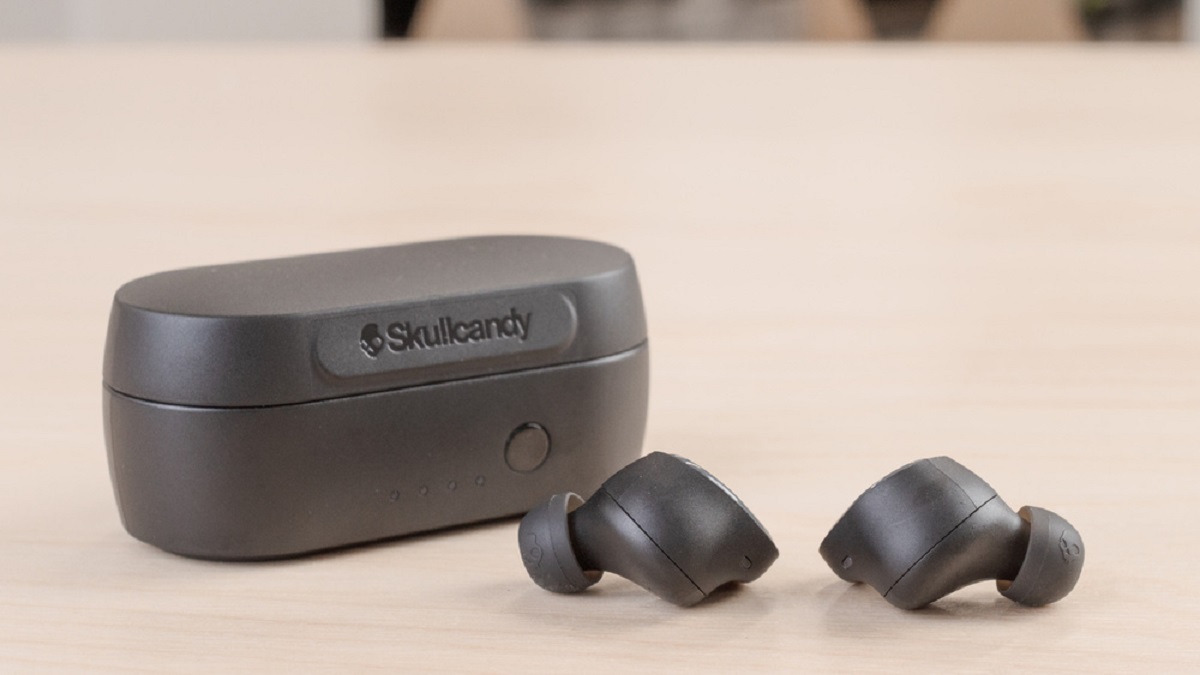
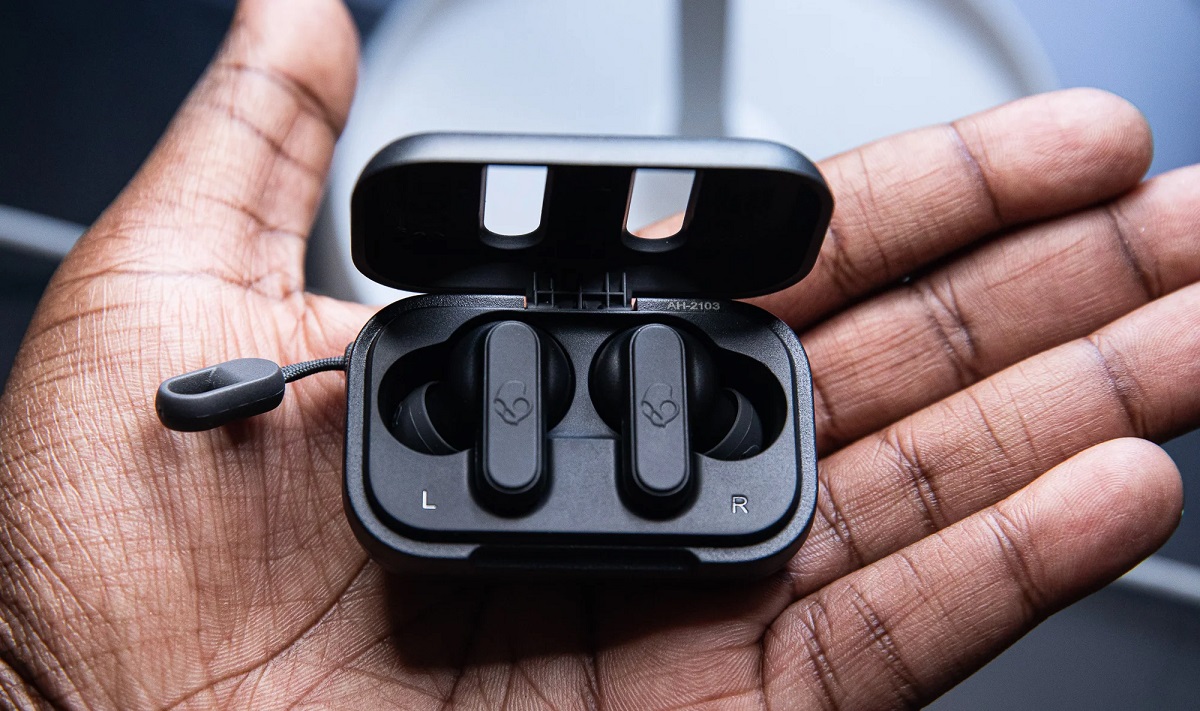
1. Start by removing the earbuds from the charging case. Ensure that the charging case has enough power to charge the earbuds.
2. Once the earbuds are out of the charging case, you will notice a small button located on the outer edge of each earbud. Press and hold both buttons simultaneously for a few seconds.
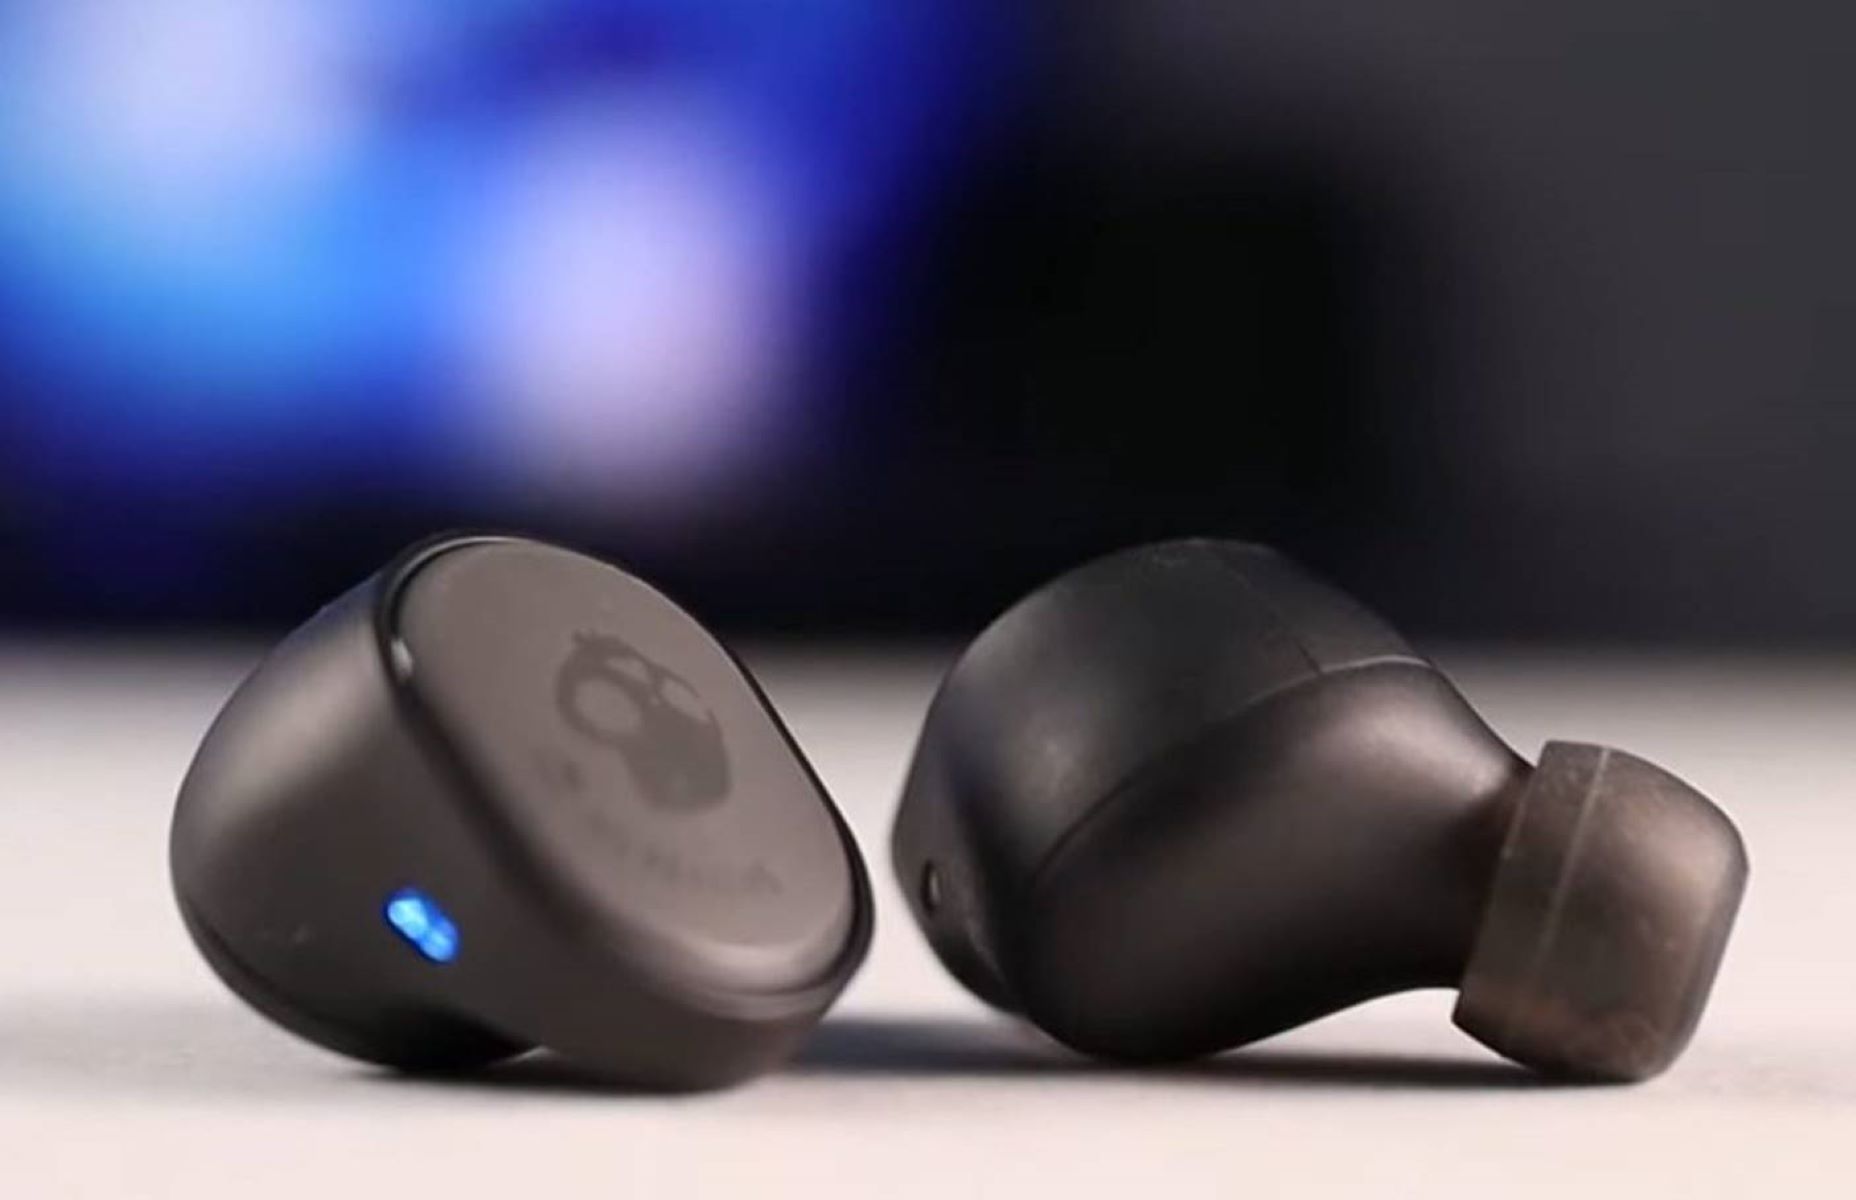
3. As you hold the buttons, you will see the LED indicator lights on the earbuds start to blink or flash. This indicates that the earbuds are powered on and ready to connect.
4. Keep holding the buttons until the LED lights on both earbuds start to alternate blinking, indicating that the earbuds are in pairing mode.
5. It’s important to note that if you’re using the earbuds for the first time, they will automatically enter pairing mode. However, if you’ve previously connected them to a device, you may need to manually put them in pairing mode by following the steps above.
Once you have successfully powered on the Skullcandy Indy earbuds and placed them into pairing mode, you’re ready to move on to the next step: activating Bluetooth on your device.
Step 2: Activate Bluetooth on your device
Now that your Skullcandy Indy earbuds are powered on and in pairing mode, the next step is to activate Bluetooth on your device. Bluetooth allows your device to communicate wirelessly with the earbuds. Here’s how to activate Bluetooth on different devices:
For smartphones and tablets:
- Unlock your device and go to the Settings menu.
- Look for the Bluetooth option and tap on it.
- Ensure that the Bluetooth toggle switch is turned on. If it’s off, toggle it to the on position.
For computers (Windows operating system):
- Click on the Start menu in the bottom-left corner of the screen.
- Select Settings and then click on Devices.
- In the Devices menu, click on Bluetooth & other devices.
- Ensure that the Bluetooth toggle switch is turned on.
For computers (Mac operating system):
- Click on the Apple menu in the top-left corner of the screen.
- Select System Preferences.
- In the System Preferences window, click on Bluetooth.
- Ensure that the Bluetooth checkbox is checked.
By activating Bluetooth on your device, you’re enabling it to discover and connect to nearby Bluetooth devices, including your Skullcandy Indy earbuds. Once you’ve successfully activated Bluetooth, you’re ready to move on to the next step: selecting “Indy” on the Bluetooth settings of your device.
Step 3: Select “Indy” on the Bluetooth settings of your device
Now that Bluetooth is activated on your device, it’s time to pair and connect your Skullcandy Indy earbuds. Here’s how to select “Indy” on the Bluetooth settings of your device:
- Go to the Bluetooth settings of your device. The steps to access Bluetooth settings may vary depending on your device’s operating system, but it is usually found in the Settings menu or the Control Center.
- In the list of available Bluetooth devices, you should see a device named “Indy” or “Skullcandy Indy.” This is your Skullcandy Indy earbuds.
- Tap or click on the “Indy” device to select it. This will initiate the pairing process between your device and the earbuds.
- Wait for a few moments as your device establishes a connection with the Skullcandy Indy earbuds. The LED lights on the earbuds may blink or change colors to indicate a successful connection.
- Once the pairing is complete, you should see a notification or indication on your device confirming the successful connection to the Skullcandy Indy earbuds.
It’s important to note that the pairing process may take a few seconds or up to a minute, depending on your device and the environment. If you encounter any difficulties in finding or connecting to the “Indy” device, ensure that the earbuds are in pairing mode as described in Step 1. You may also try restarting your device or toggling the Bluetooth settings off and on to refresh the connection.
Once you have successfully selected “Indy” on the Bluetooth settings of your device and established a connection, you’re ready to move on to the next step: putting the earbuds in pairing mode.
Step 4: Put the earbuds in pairing mode
Before you can fully connect your Skullcandy Indy earbuds to your device, it’s important to put them in pairing mode. This allows your device to recognize and establish a secure connection with the earbuds. Here’s how to put the earbuds in pairing mode:
- Ensure that both earbuds are powered on. If they are not powered on, refer back to Step 1 to turn them on.
- If the earbuds were previously connected to another device, make sure they are disconnected by turning off the Bluetooth connection on that device.
- With the earbuds powered on, press and hold the button on one of the earbuds until you hear a voice prompt or see the LED indicator flashing. This voice prompt or flashing LED indicates that the earbud is now in pairing mode.
- Repeat the same process on the other earbud. Press and hold the button until you hear the voice prompt or see the LED indicator flashing.
- Once both earbuds are in pairing mode, they will automatically seek each other out and establish a connection. You will hear a voice prompt or see the LED indicator confirm the successful pairing between the earbuds.
- At this point, the earbuds are ready to connect to your device. Keep the earbuds in pairing mode until you complete the connection process with your device.
Putting the Skullcandy Indy earbuds in pairing mode ensures that they are actively searching for a device to connect to. This makes it easier for your device to discover and establish a connection with the earbuds. Once the earbuds are in pairing mode, you’re ready to move on to the next step: connecting the earbuds to your device.
Step 5: Connect the earbuds to your device
Now that your Skullcandy Indy earbuds are in pairing mode, it’s time to connect them to your device. This will establish a secure and stable connection, allowing you to enjoy your audio content wirelessly. Here’s how to connect the earbuds to your device:
- On your device, navigate to the Bluetooth settings menu. The process to access this menu may vary depending on your device’s operating system.
- Ensure that Bluetooth is turned on and scan for available devices. Your Skullcandy Indy earbuds should appear in the list of available devices.
- Select the “Indy” or “Skullcandy Indy” device from the list. This will prompt your device to initiate the connection process with the earbuds.
- Wait for a few moments as the device establishes a connection with the earbuds. The LED lights on the earbuds may blink or change colors to indicate a successful connection.
- Once the connection is established, you should receive a notification or confirmation on your device that it is connected to the Skullcandy Indy earbuds.
It’s important to note that the process of connecting the earbuds to your device may take a few seconds or up to a minute, depending on the device and signal strength. If you encounter any issues during the connection process, ensure that the earbuds are still in pairing mode as described in Step 4. You may also try restarting your device or toggling the Bluetooth settings off and on to refresh the connection.
Once you have successfully connected the Skullcandy Indy earbuds to your device, you’re ready to move on to the next step: testing the connection and adjusting settings if needed.
Step 6: Test the connection and adjust settings if needed
After connecting your Skullcandy Indy earbuds to your device, it’s important to test the connection and make any necessary adjustments to ensure optimal audio quality and functionality. Here’s what you should do:
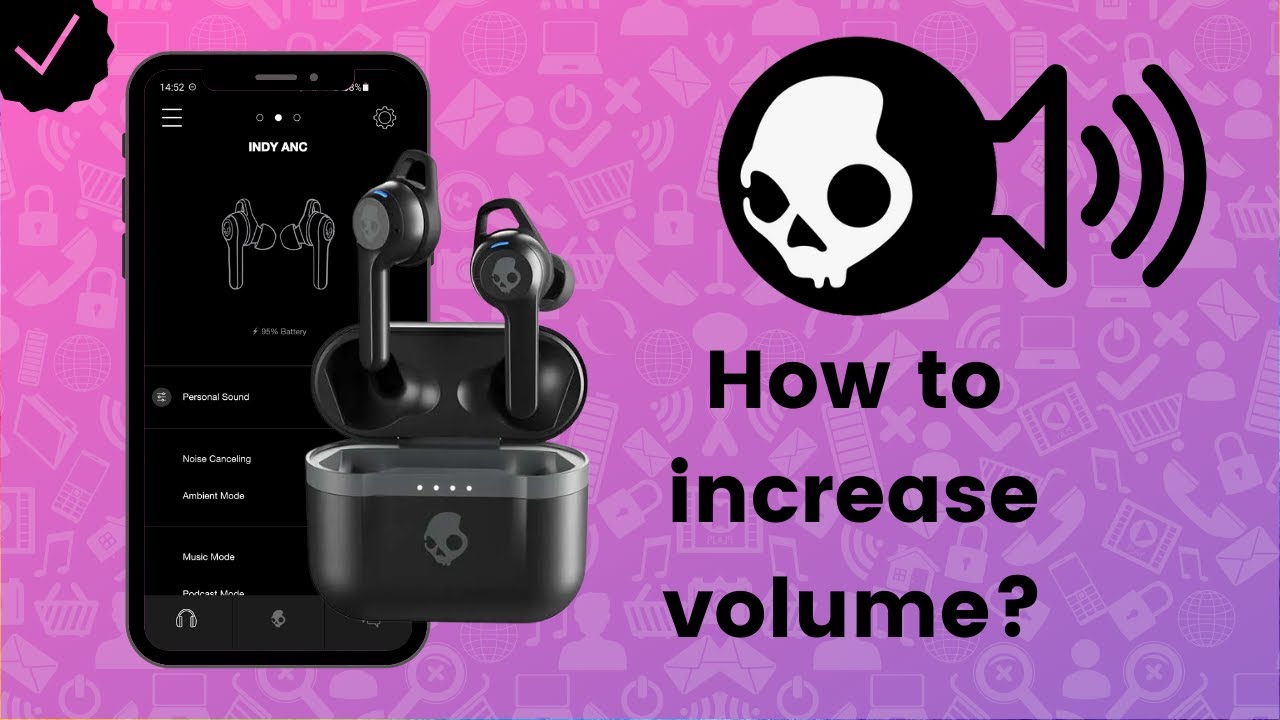
- Play some audio on your device, such as a song or a video, and make sure that the sound is coming through the Skullcandy Indy earbuds. If you don’t hear any sound, check the volume settings on both your device and the earbuds. Adjust them accordingly to your desired level.
- If you notice any audio lag or delay between the video and audio playback, you may need to adjust the settings on your device. Some devices have options to sync audio and video or reduce latency in Bluetooth settings. Explore these settings and make the necessary adjustments to improve synchronization.
- Test the controls on the earbuds to ensure they are functioning properly. Most Skullcandy Indy earbuds have built-in controls for playing/pausing music, skipping tracks, adjusting volume, and answering phone calls. Familiarize yourself with these controls and ensure they are working as intended.
- Experiment with different earbud fit options to find the most comfortable and secure fit for your ears. Skullcandy Indy earbuds often come with multiple ear tips and stability gels that can be interchanged to achieve the best fit. A secure fit ensures better sound isolation and overall audio experience.
During this testing phase, make sure to pay attention to any audio dropouts or connectivity issues. In case of poor connection or audio quality, try moving closer to the connected device or removing any potential sources of interference, such as other Bluetooth devices or Wi-Fi routers.
If you encounter any difficulties or have specific audio settings you’d like to adjust, consult the user manual or visit the Skullcandy website for further guidance and support.
Once you have tested the connection, adjusted the settings if needed, and ensured a comfortable fit, you’re all set to enjoy your favorite audio content with the Skullcandy Indy earbuds!
Conclusion
Congratulations! You have successfully connected your Skullcandy Indy wireless earbuds to your device and are now ready to immerse yourself in a world of wireless audio. By following the simple steps outlined in this guide, you have unlocked the convenience and freedom of enjoying your favorite music, podcasts, and calls without the hassle of tangled wires.
We started by powering on the earbuds and activating Bluetooth on your device. Then, we guided you through the process of selecting “Indy” on the Bluetooth settings and putting the earbuds in pairing mode. Next, you learned how to connect the earbuds to your device, ensuring a stable and seamless wireless connection. Finally, we encouraged you to test the connection, adjust settings if needed, and find the most comfortable fit.
Remember, maintaining a good connection and optimizing audio quality may require periodic adjustments and troubleshooting. If you encounter any issues along the way, refer to the user manual or reach out to Skullcandy’s customer support for assistance.
Now that you’ve mastered the art of connecting your Skullcandy Indy earbuds, it’s time to enjoy the freedom of wireless listening. Whether you’re on the go, working out, or relaxing at home, the Indy earbuds will accompany you every step of the way, delivering exceptional sound and convenience.
So put on your earbuds, choose your favorite playlist, and immerse yourself in the immersive world of wireless audio. Happy listening!


