Introduction
Are you a retro gaming enthusiast who wants to experience the nostalgic joy of playing classic Nintendo Entertainment System (NES) games on your modern LED TV? Look no further! In this guide, we will walk you through the step-by-step process of connecting your beloved NES console to your LED TV, so you can relive those cherished childhood memories.
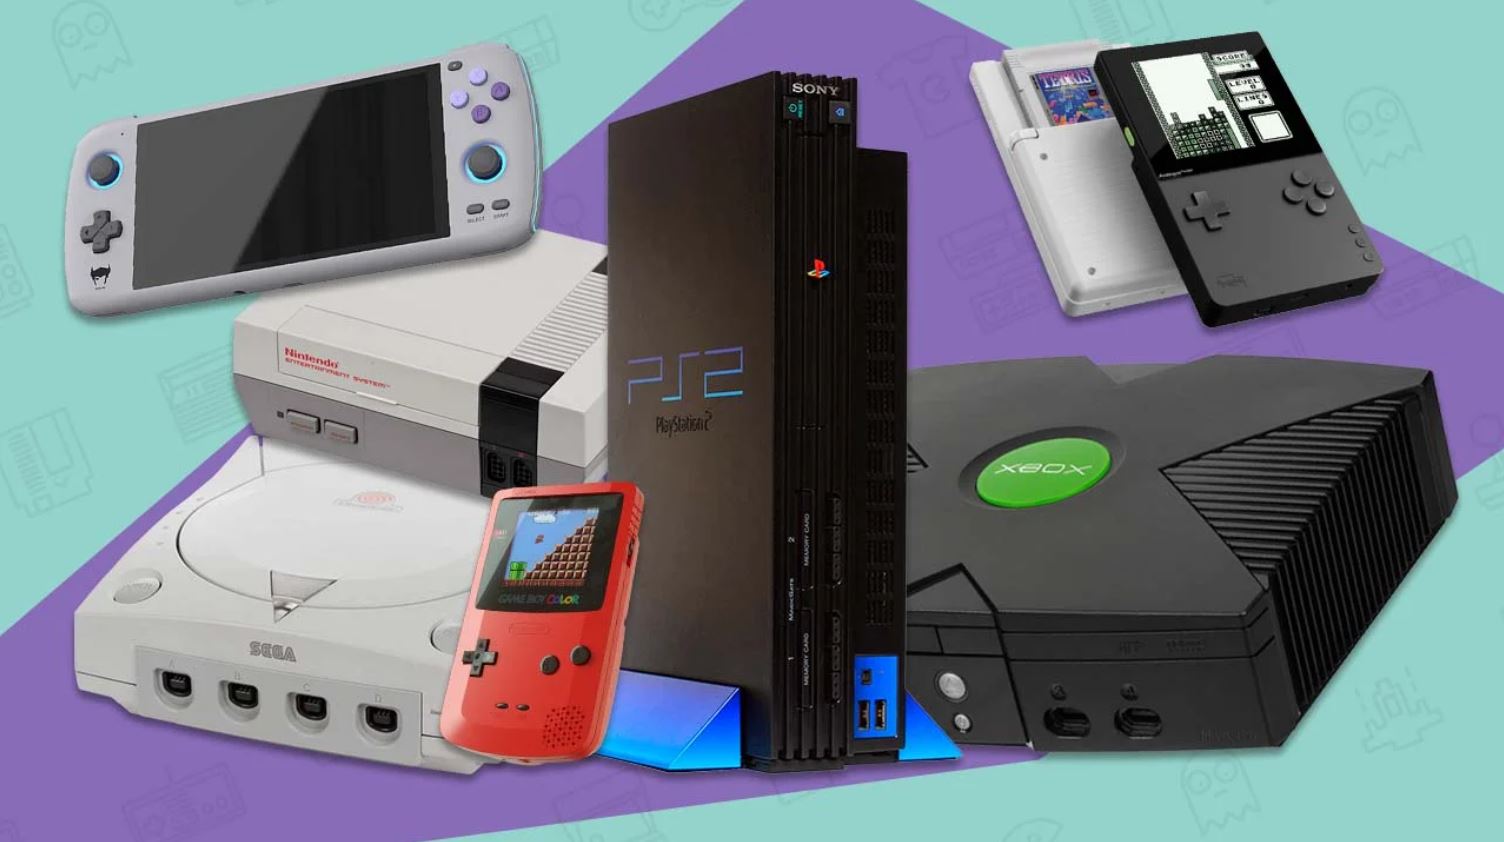
The NES, released in the 1980s, introduced iconic games like Super Mario Bros, The Legend of Zelda, and Donkey Kong to the world. While these games have stood the test of time, traditional CRT TVs have become obsolete, leaving gamers to wonder how they can play their favorite NES titles on modern flat-screen TVs.
Connecting a retro NES console to an LED TV may seem daunting, as the technology has changed significantly over the years. However, with the right equipment and a little know-how, you can easily bring back the magic of NES gaming on your modern television.
In this guide, we will outline the tools and steps required to successfully connect your NES console to your LED TV. We will cover everything from checking your TV’s compatibility to troubleshooting common issues that may arise along the way.
So, dust off your NES console, grab your favorite NES game cartridges, and get ready to embark on an exciting journey back in time. Let’s dive into the detailed instructions on how to connect your retro NES to your LED TV, and get ready to experience the joy of classic gaming once again!
What You Will Need
Before you start connecting your retro NES console to your LED TV, it’s important to gather the necessary tools and equipment. Here’s a list of items you’ll need to ensure a smooth and successful setup:
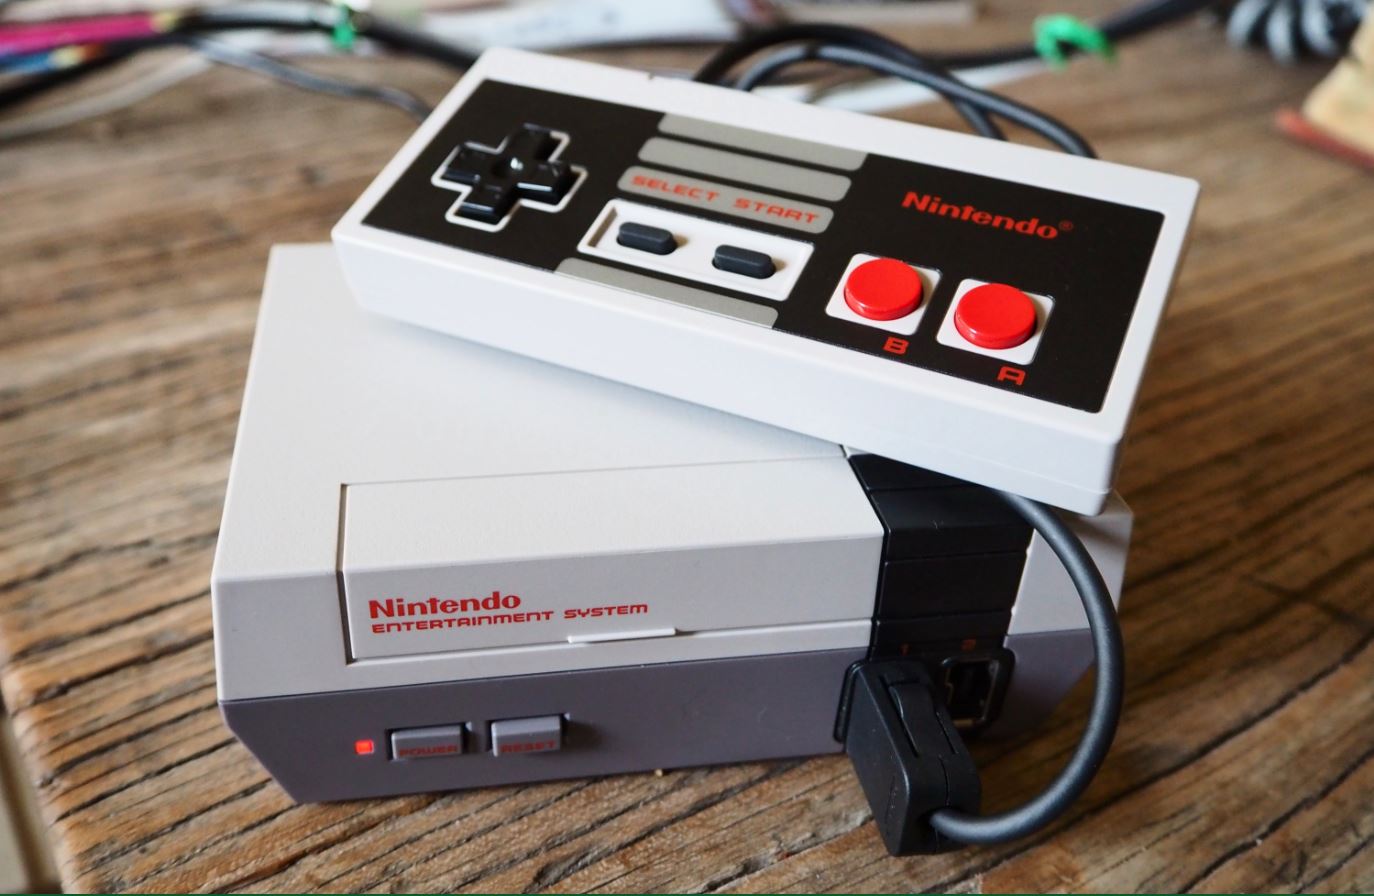
1. NES Console: Of course, you’ll need an original Nintendo Entertainment System console to play your favorite NES games. Make sure it’s in good working condition with all the required cables.
2. NES Game Cartridges: Don’t forget to collect your favorite NES game cartridges, as they are the heart and soul of your gaming experience. Ensure they are clean and in good working condition.
3. LED TV: You’ll need a modern LED TV with HDMI inputs. Most LED TVs on the market today have multiple HDMI ports, which will come in handy for connecting your NES console.
4. HDMI Cable: A standard HDMI cable is crucial to establish a connection between your NES console and LED TV. Make sure you have a high-quality HDMI cable with sufficient length to comfortably reach from your NES console to your TV.
5. Power Adapter: Locate the power adapter for your NES console, as it is essential for powering the console during gameplay. Ensure that it is in good working condition.
6. NES Controllers: To fully enjoy multiplayer games or relive the authentic NES experience, you’ll need NES controllers. These can be original controllers or third-party replicas, as long as they are compatible with the NES console.
7. Optional Accessories: Depending on your personal preference, you may want to consider additional accessories such as a controller extension cable, a CRT filter to recreate the retro look, or a gaming chair for added comfort during extended gaming sessions.
Now that you have all the necessary tools and equipment, you’re ready to move on to the next steps in connecting your retro NES console to your LED TV.
Step 1: Check TV Compatibility
Before diving into the connection process, it’s important to verify that your LED TV is compatible with the NES console. While most modern LED TVs have HDMI inputs, not all of them are compatible with older gaming consoles like the NES.
Here are a few things to consider to ensure compatibility:
1. Look for HDMI Ports: Check the back or side of your LED TV for HDMI ports. These are typically rectangular in shape and labeled as “HDMI.” Take note of the number of available HDMI ports.
2. HDMI Version: Confirm that your LED TV supports HDMI version 1.3 or higher. This is crucial as older HDMI versions may not be compatible with the NES console.
3. Input Lag: Input lag refers to the time it takes for a command from a controller to appear on the screen. Some LED TVs have higher input lag, which can make gaming feel less responsive. Research your TV model to determine its input lag and ensure it’s within an acceptable range for gaming.
4. Gaming Mode: Many modern TVs have a dedicated gaming mode, which reduces input lag and enhances the gaming experience. Enable this mode to optimize your gaming sessions.
If your LED TV checks all the compatibility requirements mentioned above, congratulations! You’re ready to proceed with connecting your NES console to the TV. However, if your TV does not meet the necessary criteria, you may need to consider alternative options, such as using an HDMI adapter or an upscaler device to connect your NES console to your TV.
Remember, it’s essential to ensure compatibility before proceeding with the connection process to avoid any frustration or disappointment. Once you’ve confirmed that your LED TV is compatible, let’s move on to the next step: connecting the NES console.
Step 2: Connect the NES Console
Now that you have confirmed the compatibility of your LED TV, it’s time to connect your NES console. Follow these simple steps to establish a connection:
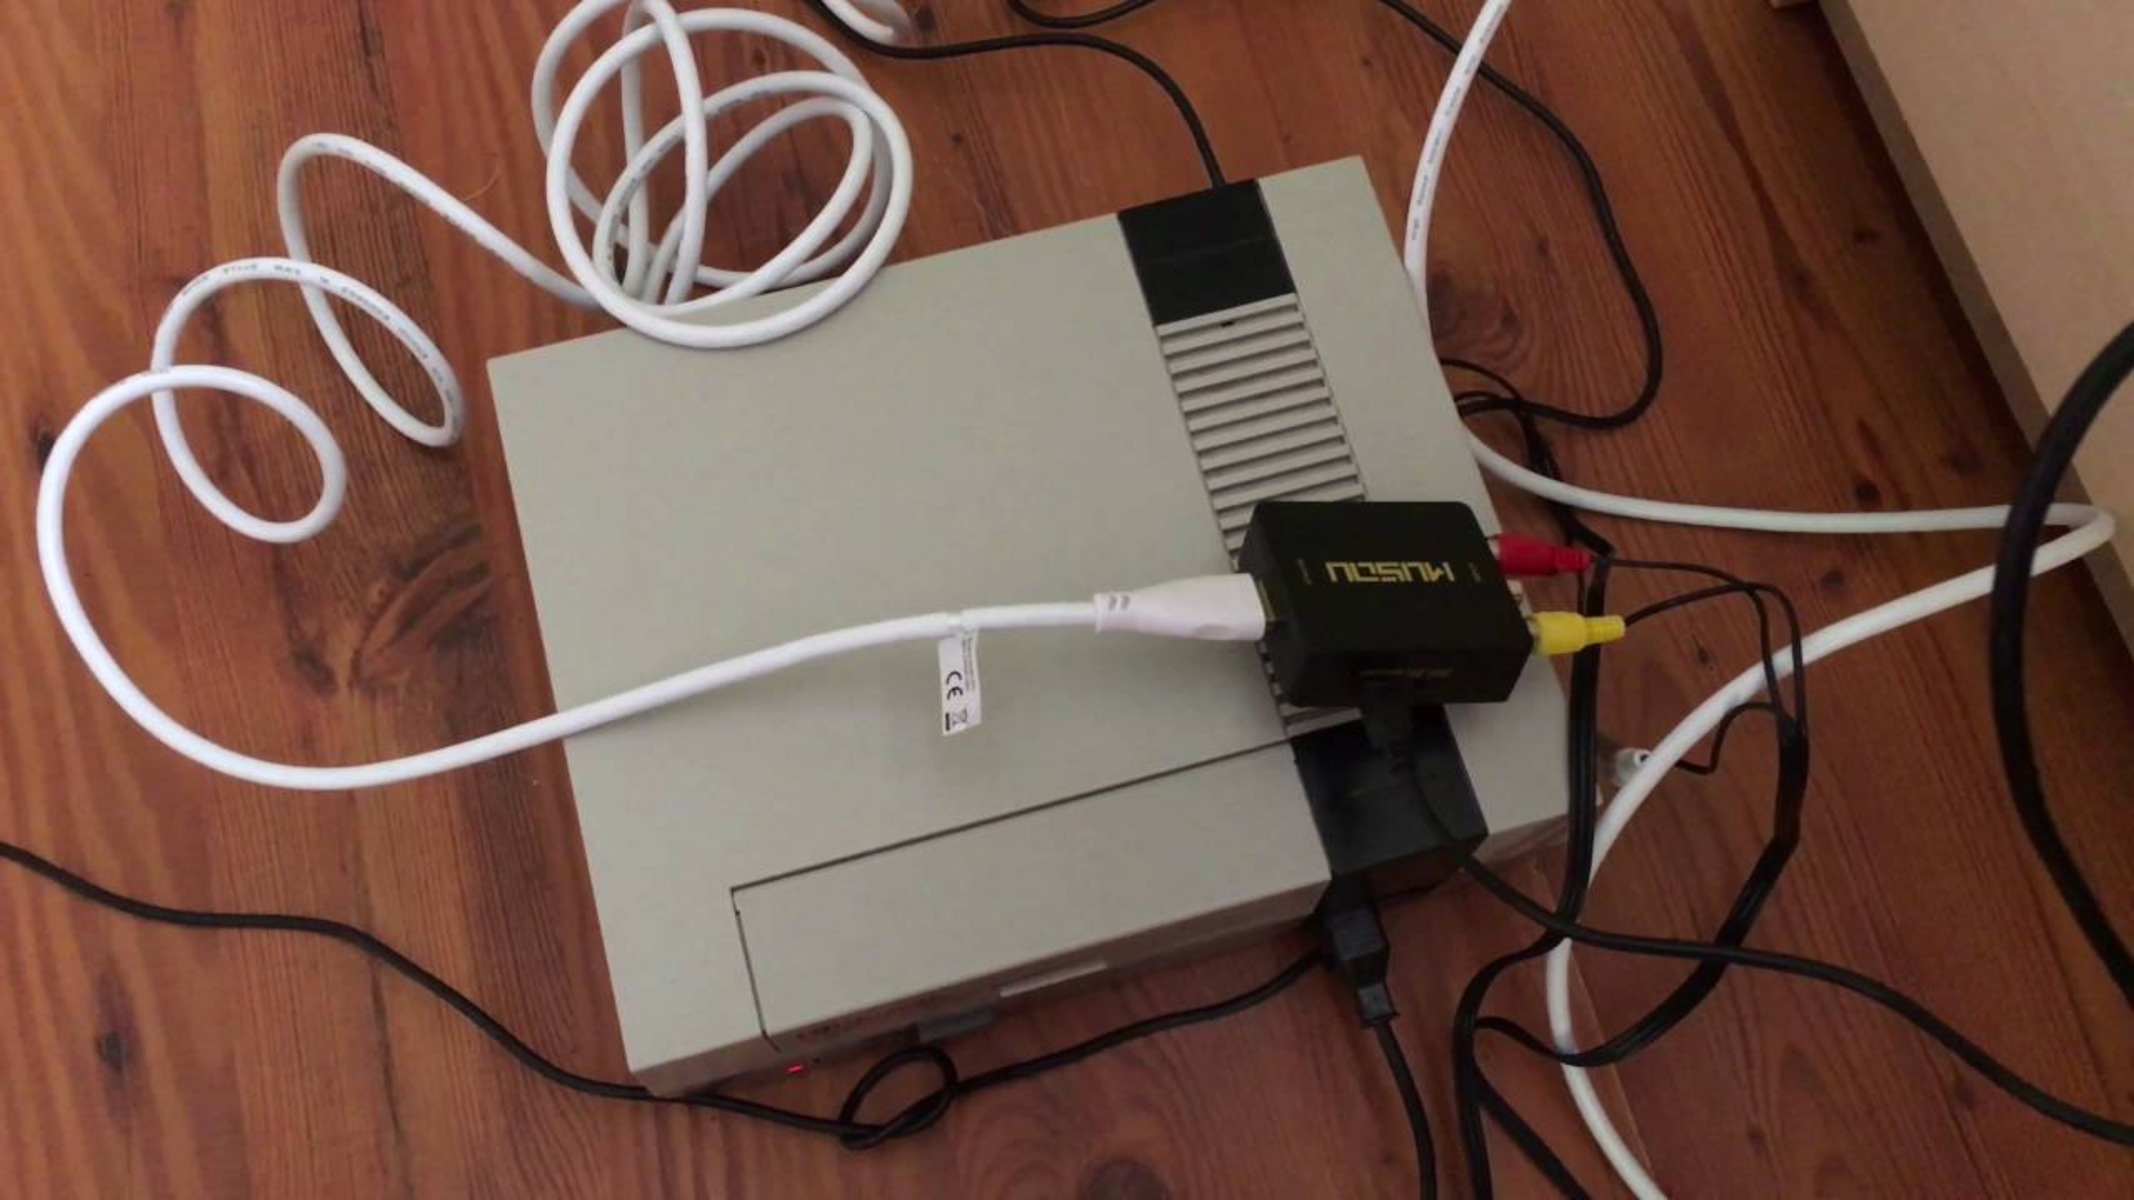
1. Locate the AV Ports: Look for the AV ports on your NES console. These are typically labeled as “AV OUT” and are located at the back of the console.
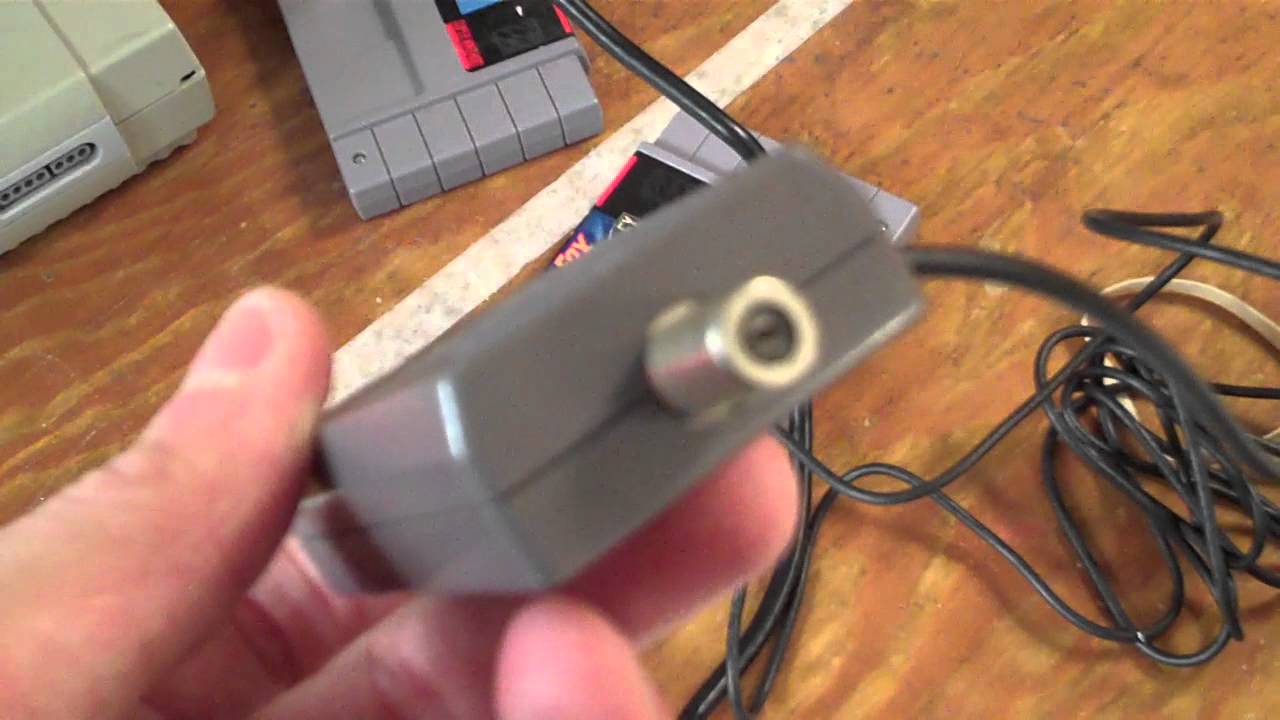
2. Connect the AV Cable: Take one end of the AV cable and plug it into the AV OUT port on your NES console. The AV cable consists of three connectors: one yellow for video, and two red and white for audio.
3. Connect to the TV: Find the AV input ports on your LED TV. These ports are usually color-coded with yellow for video and red and white for audio. Plug the corresponding connectors from the other end of the AV cable into the matching AV input ports on your TV.
4. Power on the Console: Connect the power adapter to your NES console and then plug it into a power outlet. Power on the console to ensure it is working correctly.
5. Choose the Input Channel: On your LED TV, use the remote or the TV’s control panel to select the input channel that corresponds to the AV input you connected your NES console to. It may be labeled as “AV,” “Video,” or “Game.”
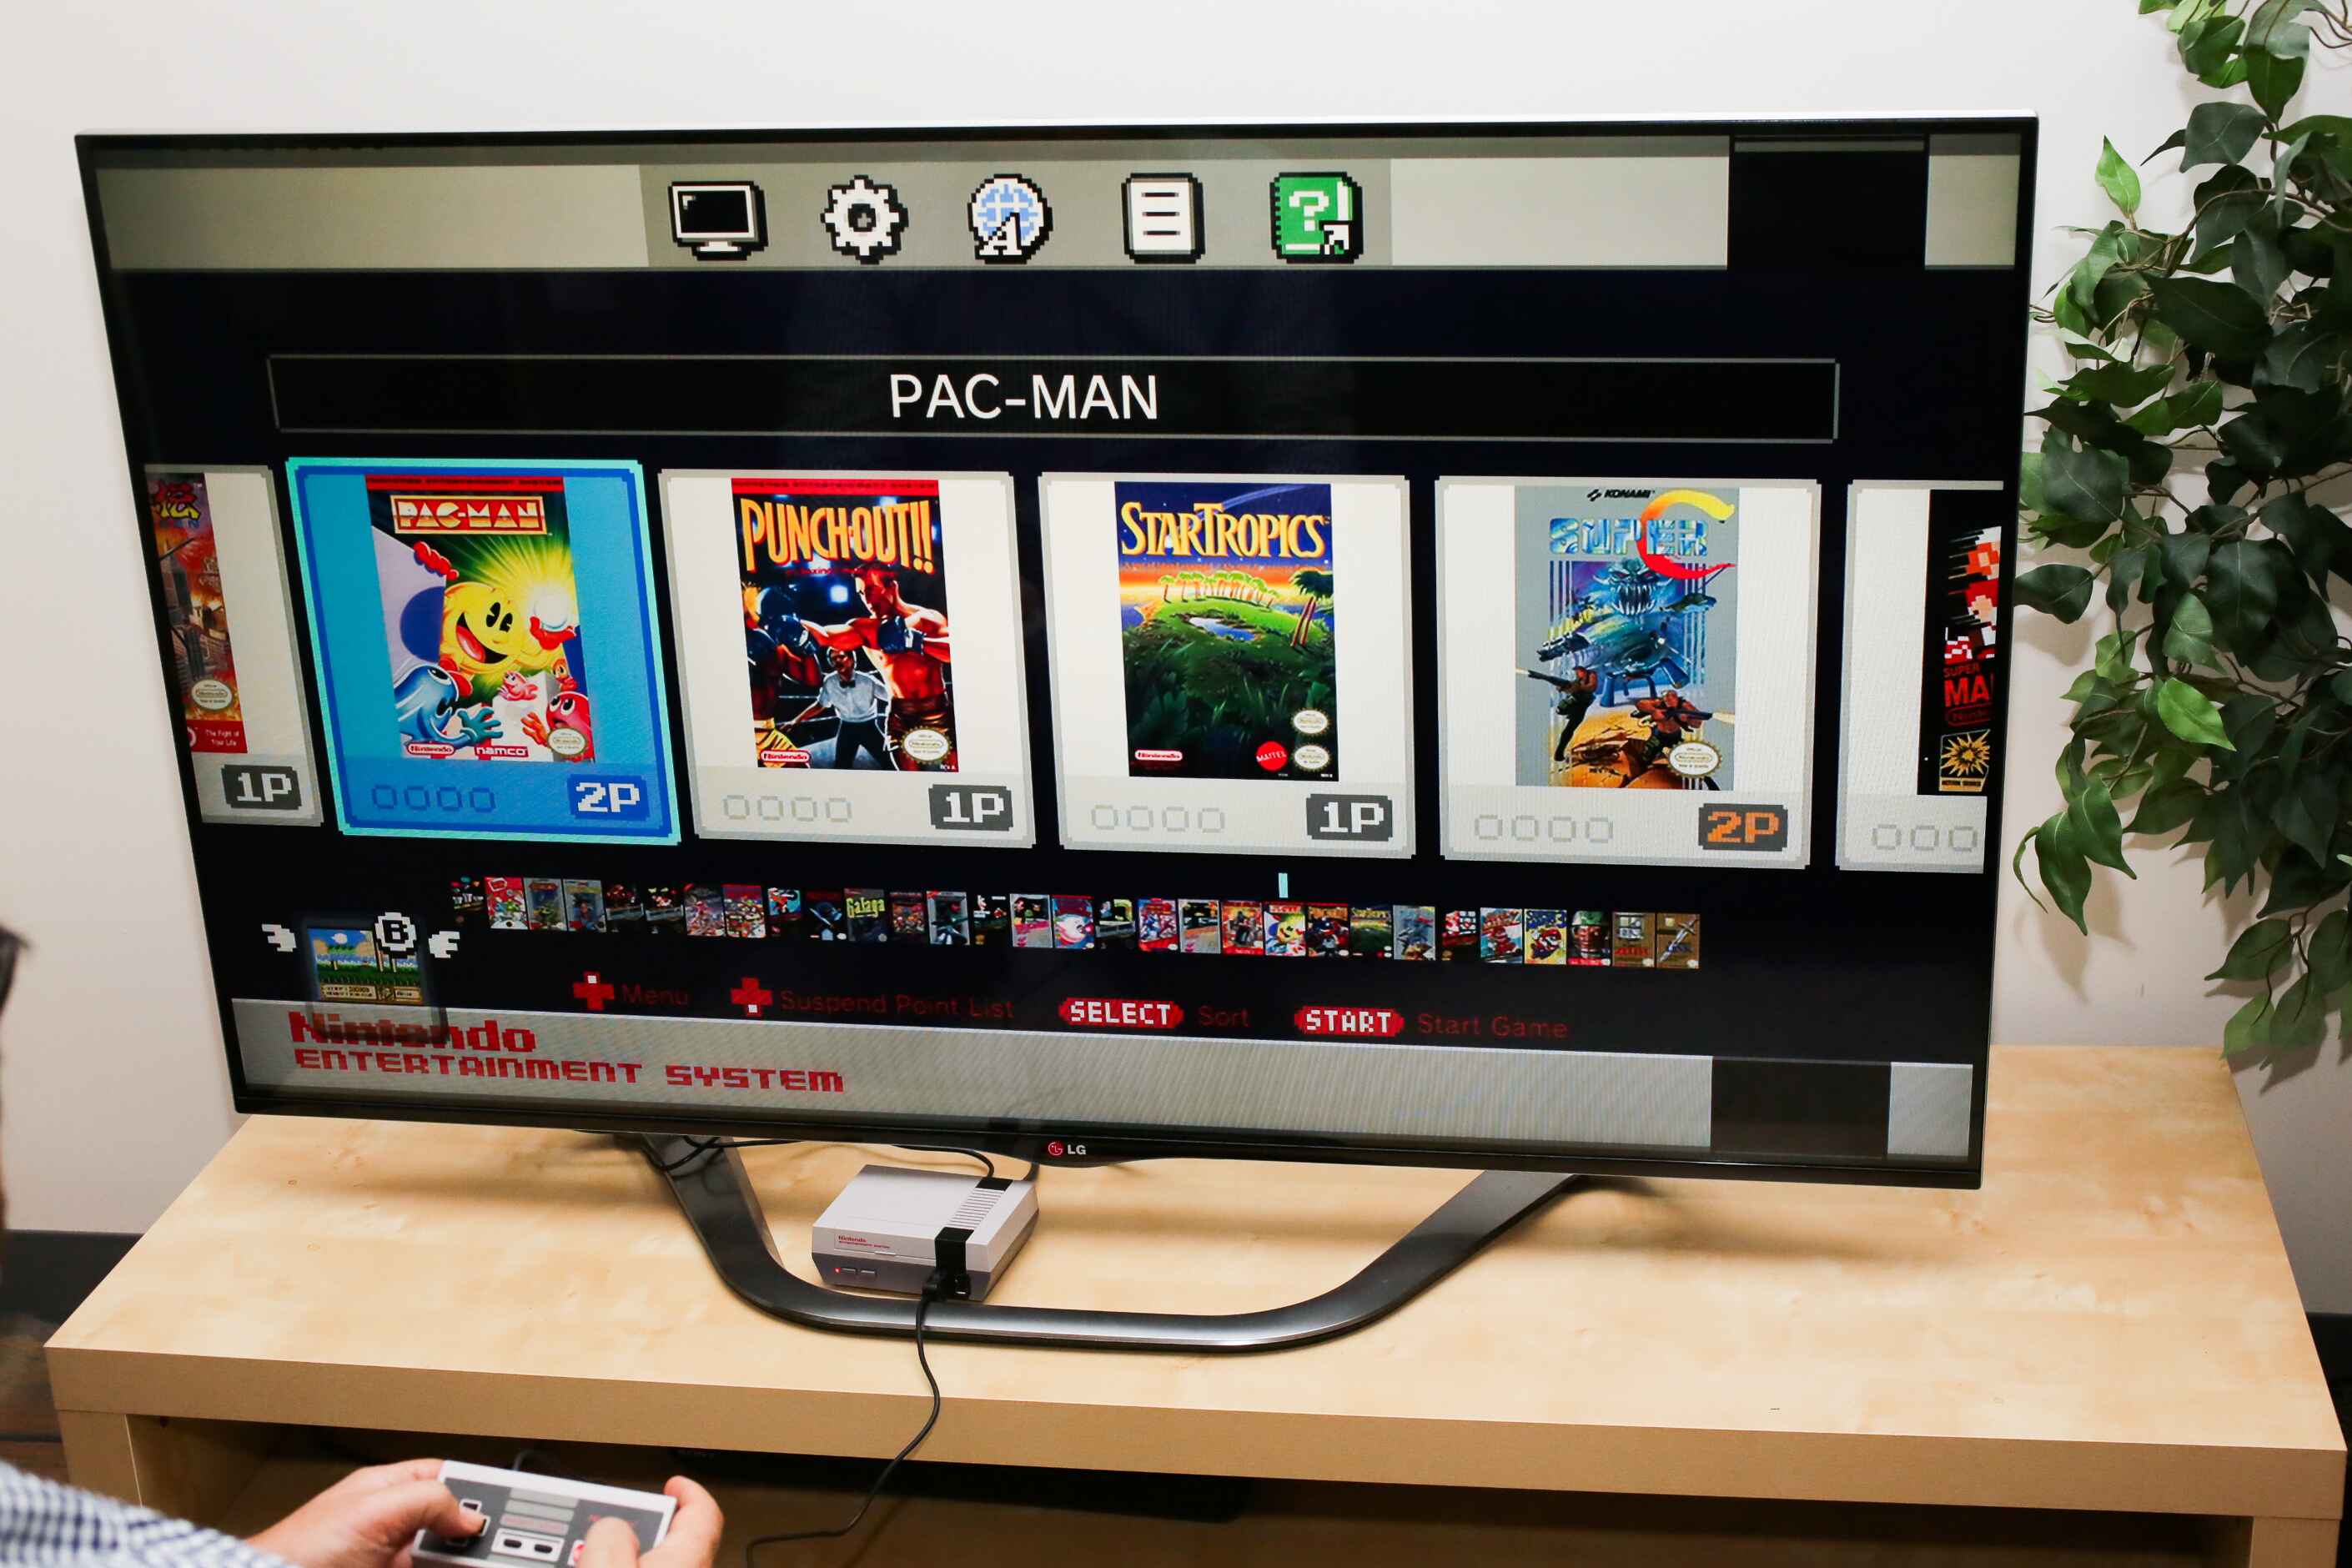
6. Test the Connection: Insert a compatible NES game cartridge into the console and power it on. You should see the game’s graphics and hear the audio on your LED TV. If not, double-check the connections and TV settings.
Congratulations! You have successfully connected your NES console to your LED TV. You are now ready to relive the nostalgia and enjoy your favorite NES games on the big screen. If you plan to use NES controllers, it’s time to move on to the next step: connecting the controllers to your console.
Step 3: Connect the NES Controller(s)
To fully enjoy multiplayer games or experience the authentic feel of playing with NES controllers, it’s time to connect your controllers to the NES console. Follow these steps to connect the controllers:
1. Locate the Controller Ports: Locate the controller ports on the front of the NES console. These ports are rectangular in shape and are labeled as “Controller 1” and “Controller 2.”
2. Insert the Controller Connector: Take one end of the NES controller connector and align it with the port labeled “Controller 1” or “Controller 2.” Insert it firmly into the port until it clicks into place. Repeat this step for additional controllers.
3. Secure the Controllers: Once the controllers are connected, make sure they are securely plugged in and do not come loose during gameplay. This will ensure uninterrupted gaming sessions.
4. Test the Controllers: Power on your NES console and navigate to a game that supports multiple players. Press the buttons on each connected controller to ensure they are responsive. If any controller is unresponsive, double-check the connection and try reinserting it.
Now that your NES controllers are successfully connected to the console, gather your friends or family for some multiplayer fun or enjoy playing solo with the authentic feel of the NES controller. If you encounter any issues with the controllers, refer to the troubleshooting section or consult the NES console manual.
In the next step, we will guide you through adjusting the settings on your LED TV to optimize your gaming experience.
Step 4: Adjust TV Settings
After connecting your NES console and controllers, it’s time to fine-tune the settings on your LED TV to optimize your gaming experience. Follow these steps to adjust the TV settings:
1. Picture Settings: Access the picture settings menu on your LED TV. Adjust the brightness, contrast, and sharpness settings to your preference. Experiment with these settings to achieve the best visual quality for NES games.
2. Game Mode: Enable the gaming mode on your TV if available. This mode reduces input lag and enhances responsiveness, resulting in a more enjoyable gaming experience. Refer to your TV’s user manual or consult the manufacturer’s website for instructions on enabling game mode.
3. Aspect Ratio: NES games were designed for older square-shaped CRT TVs with a 4:3 aspect ratio. If your LED TV has different aspect ratio options, select “4:3” or “original” to maintain the intended visual proportions of the games.
4. Audio Settings: Adjust the audio settings on your TV to your liking. Ensure that the volume is set at a comfortable level and that audio is coming through both the TV speakers and the NES console.
5. Disable Image Enhancements: Disable any image enhancement features, such as motion smoothing or noise reduction, as they may interfere with the retro look and feel of the NES games.
6. Save Settings: Once you have adjusted the TV settings to your liking, save the changes and exit the settings menu.
By fine-tuning the TV settings, you can enhance the visuals and audio of your NES games, recreating the nostalgic experience of playing on a CRT TV.
In the next step, we will discuss testing and troubleshooting to ensure everything is working as expected and address any potential issues that may arise.
Step 5: Test and Troubleshoot
After connecting your NES console, controllers, and adjusting the TV settings, it’s important to test the setup and troubleshoot any potential issues that may arise. Here are some steps to follow:
1. Test Connectivity: Power on your NES console and select a game. Ensure that the game loads properly on your LED TV, with both video and audio functioning as expected. Test the controllers to ensure they are responsive and controlling the gameplay effectively.
2. Check for Display Issues: Keep an eye out for any display issues, such as flickering, distorted graphics, or black screens. If you encounter any of these issues, double-check all the connections and make sure the cables are securely plugged in. Occasionally, cleaning the game cartridge contacts with rubbing alcohol and a cotton swab can also help resolve display issues.
3. Address Audio Problems: If you experience audio problems, such as static or no sound at all, inspect the audio connection between your NES console and the LED TV. Ensure that the audio cables are correctly connected to the corresponding ports and not loose.
4. Controller Responsiveness: If you find that the controllers are unresponsive or not functioning correctly, try cleaning the controller connectors with a clean cloth or gently blowing into them to remove any dust or debris. Also, make sure the controller cables are not damaged.
5. Input Lag: Pay attention to the input lag, which refers to the delay between pressing a button on the controller and the corresponding action on the screen. If you notice significant input lag, check if your TV has a game mode and enable it if necessary. Additionally, disabling any unnecessary picture processing features on the TV may help reduce input lag.
6. Seek Support: If you have tried troubleshooting on your own and are still experiencing issues, consult the user manual for your NES console or LED TV for further guidance. You can also reach out to the respective manufacturer’s customer support for assistance.
Remember, patience and perseverance are key when troubleshooting. With some effort and troubleshooting, you will be able to overcome any potential issues and enjoy a seamless gaming experience on your NES console connected to your LED TV.
Now that you have successfully completed the testing and troubleshooting phase, you are ready to embark on a journey filled with nostalgia and relive the joy of playing classic NES games on your modern LED TV!
Conclusion
Congratulations on successfully connecting your retro NES console to your modern LED TV! By following the steps outlined in this guide, you have unlocked a world of nostalgia and brought the classic NES gaming experience back to life.
Throughout this guide, we covered the essential steps to connect your NES console to your LED TV, including checking TV compatibility, connecting the console and controllers, adjusting TV settings, and testing for any potential issues. By following these steps, you have ensured a smooth and enjoyable gaming experience on your LED TV.
Remember to gather all the necessary equipment, including the NES console, game cartridges, LED TV, HDMI cable, power adapter, and NES controllers. Check the compatibility of your LED TV, connect the console and controllers correctly, and make the necessary adjustments to the TV settings for optimal visual and audio quality.
If you encounter any difficulties along the way, make sure to troubleshoot by checking connections, cleaning connectors, and consulting the user manuals or customer support for your NES console and LED TV.
Now, with your NES console connected to your LED TV, you can relive the magic of iconic games like Super Mario Bros, The Legend of Zelda, and Donkey Kong, all from the comfort of your modern living room.
So, grab your NES controller, select a game, and immerse yourself in the timeless gaming experience that the NES console offers. Enjoy the nostalgia, have fun exploring classic games, and create new memories with friends and family.
Thank you for choosing this guide as your resource for connecting your retro NES console to your LED TV. Happy gaming!