Introduction
Welcome to this comprehensive guide on how to connect your Netgear WiFi Extender. If you’re struggling with weak WiFi signals or dead zones in your home or office, a WiFi extender can be a game-changer. Netgear WiFi extenders are known for their excellent performance, easy setup process, and wide compatibility with various routers and network environments.
In this guide, we will walk you through the step-by-step process of setting up and connecting your Netgear WiFi extender to your existing WiFi network. Whether you’re a beginner or an experienced user, you’ll find all the information you need to optimize your WiFi coverage and enjoy a seamless browsing and streaming experience.
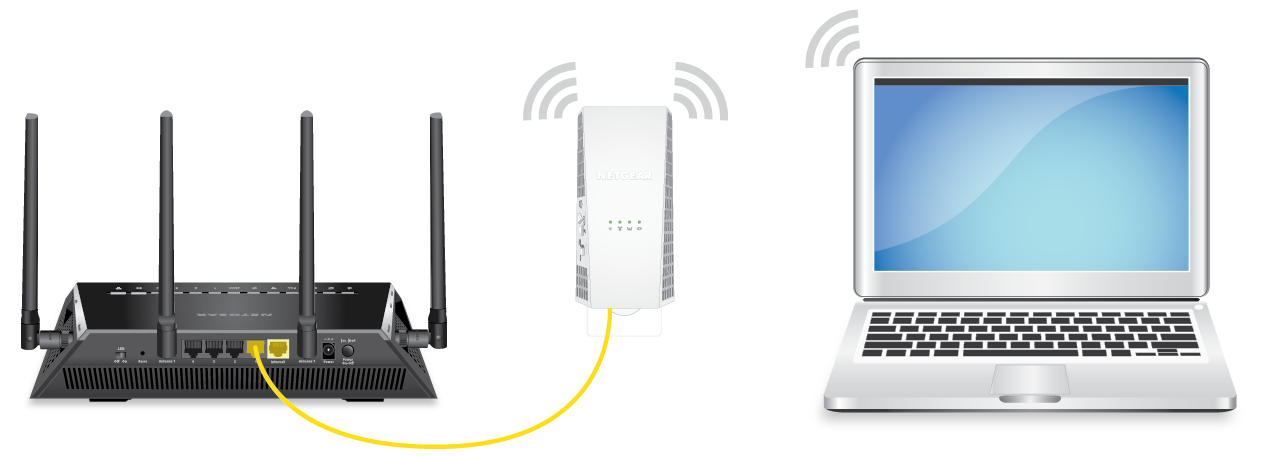
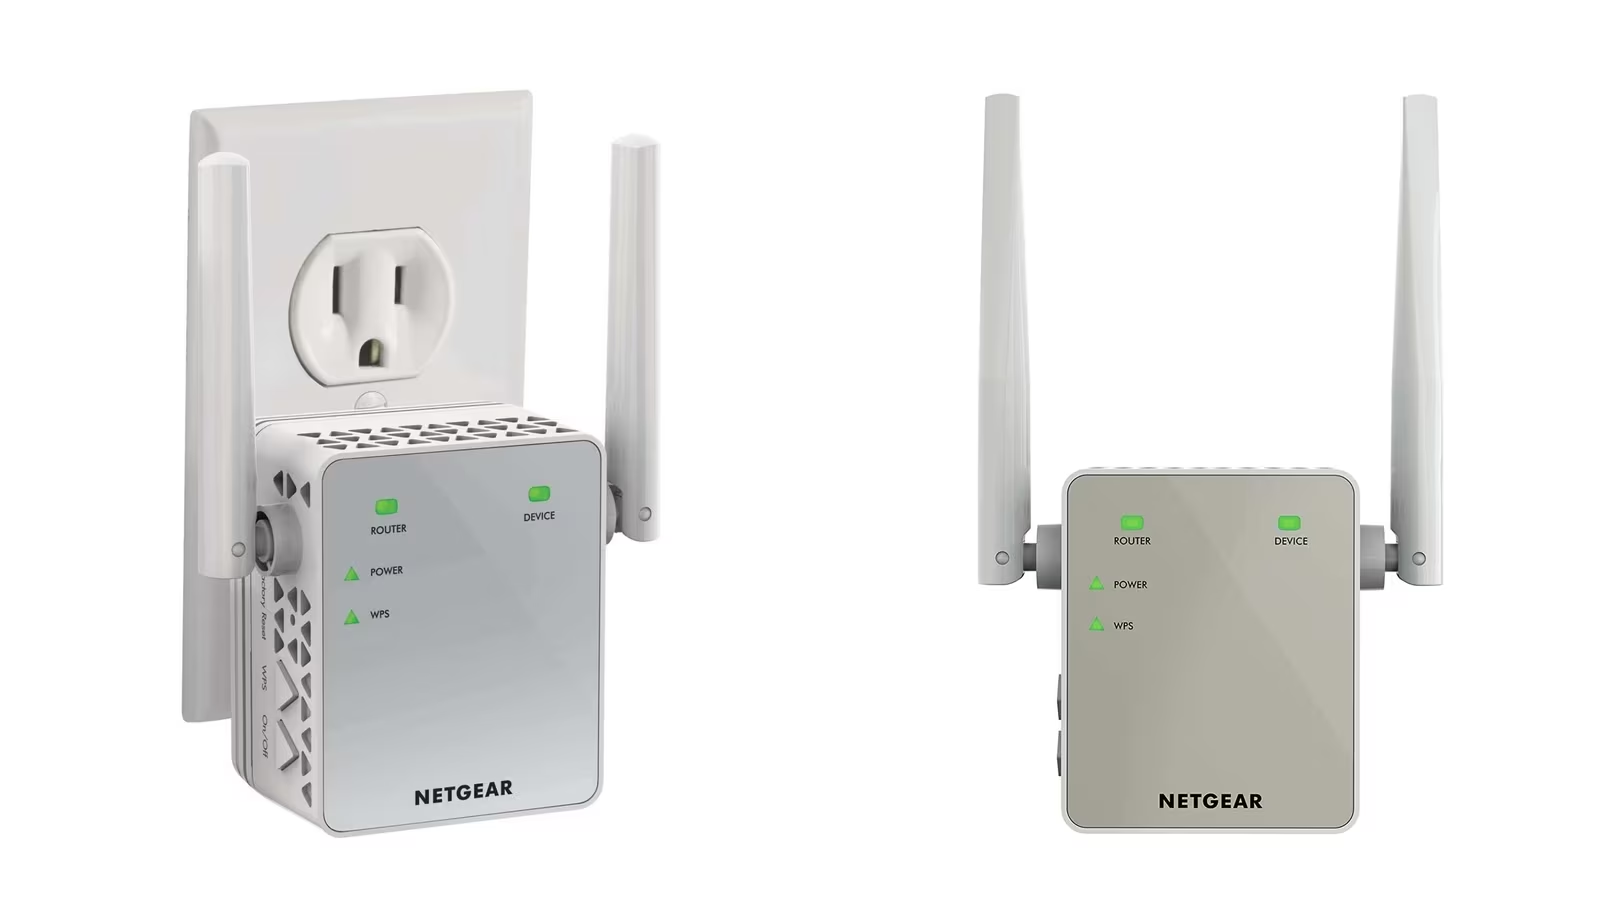
Before we dive into the setup process, it’s important to understand how WiFi extenders work. A WiFi extender, also known as a WiFi booster or range extender, amplifies and extends the signal from your router to reach areas with weak signal or no coverage. It acts as a bridge between your router and devices, ensuring a strong and stable connection throughout your home or office.
Netgear WiFi extenders come in different models with varying features, so it’s crucial to choose the right one for your specific needs. Whether you need to extend the range of your 2.4GHz or 5GHz network, or require additional Ethernet ports for wired connections, Netgear has a wide range of options to meet your requirements.
Now, let’s get started with the setup process. But before we jump in, make sure you have the following items ready:
Requirements:
- A Netgear WiFi extender
- A computer or mobile device
- Your existing WiFi network name (SSID) and password
- An available power outlet near your WiFi router
With these requirements in place, you’re ready to embark on the journey of extending your WiFi coverage. Follow the steps outlined in the subsequent sections to set up and connect your Netgear WiFi extender seamlessly.
Let’s get started!
Step 1: Prepare for Setup
Before diving into the setup process of your Netgear WiFi extender, it’s important to ensure you have everything you need and create an optimal environment for a smooth installation.
Here’s what you need to do to prepare for the setup:
1. Find the Right Location:
Start by identifying the best location for your WiFi extender. Ideally, it should be placed halfway between your existing WiFi router and the area where you’re experiencing weak signals. This ensures that the extender can receive a strong signal from the router and effectively extend it to cover the desired area.
Keep in mind that obstructions like walls, furniture, and other electronic devices can interfere with WiFi signal strength. Therefore, it’s best to choose an unobstructed location for optimal performance.
2. Check the Router Compatibility:
Ensure that your Netgear WiFi extender is compatible with your router. Most Netgear extenders are designed to work with any standard WiFi router, but it’s always a good idea to double-check the compatibility list on the Netgear website or consult the user manual.
3. Gather the Necessary Information:
Make sure you have the following information handy before starting the setup process:
- Your existing WiFi network name (SSID)
- The WiFi network password (if applicable)
- The type of security protocol your network uses (e.g., WEP, WPA, WPA2)
Having this information readily available will speed up the setup process and ensure a successful connection.
4. Ensure Power Availability:
Make sure you have an available power outlet near your WiFi router and the location where you plan to install the extender. The extender needs to be powered on to establish a connection and extend the WiFi signals.
Once you have completed these preparatory steps, you’re ready to move on to the next step: connecting your Netgear WiFi extender to your computer or mobile device.
Step 2: Connect the Extender to Your Computer
In order to set up your Netgear WiFi extender, you need to establish a connection between the extender and your computer or mobile device. This will allow you to access the extender’s settings and configure it according to your network requirements.
Follow these steps to connect the extender to your computer:
1. Power on the Extender:
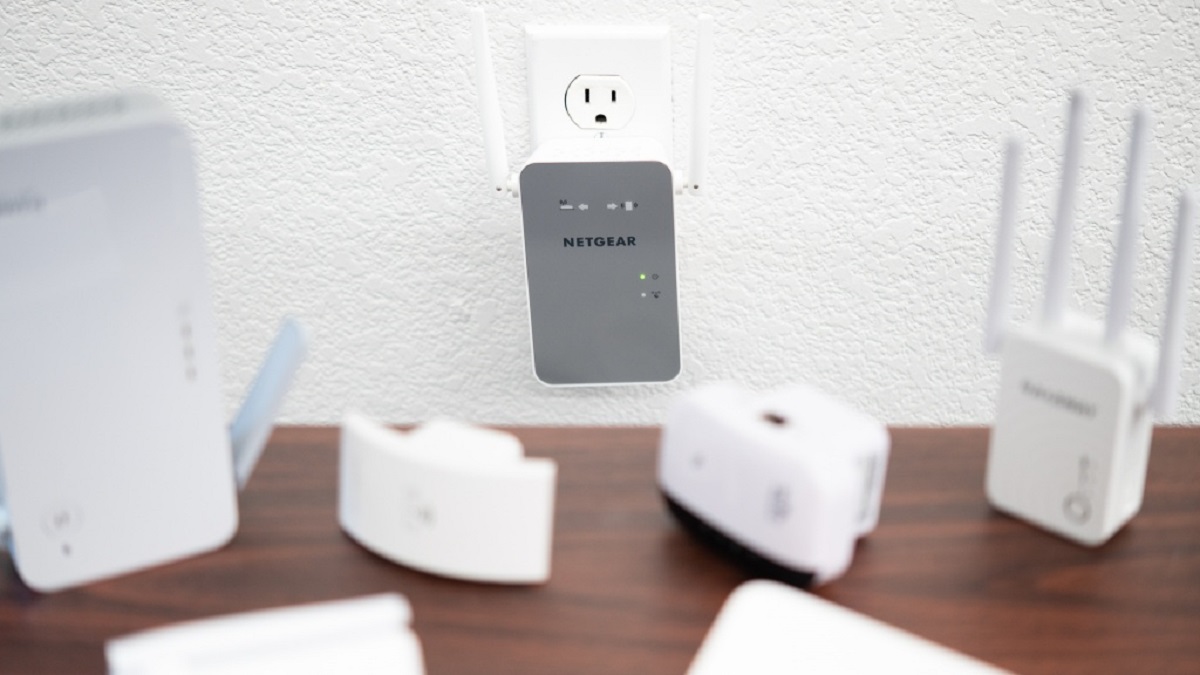
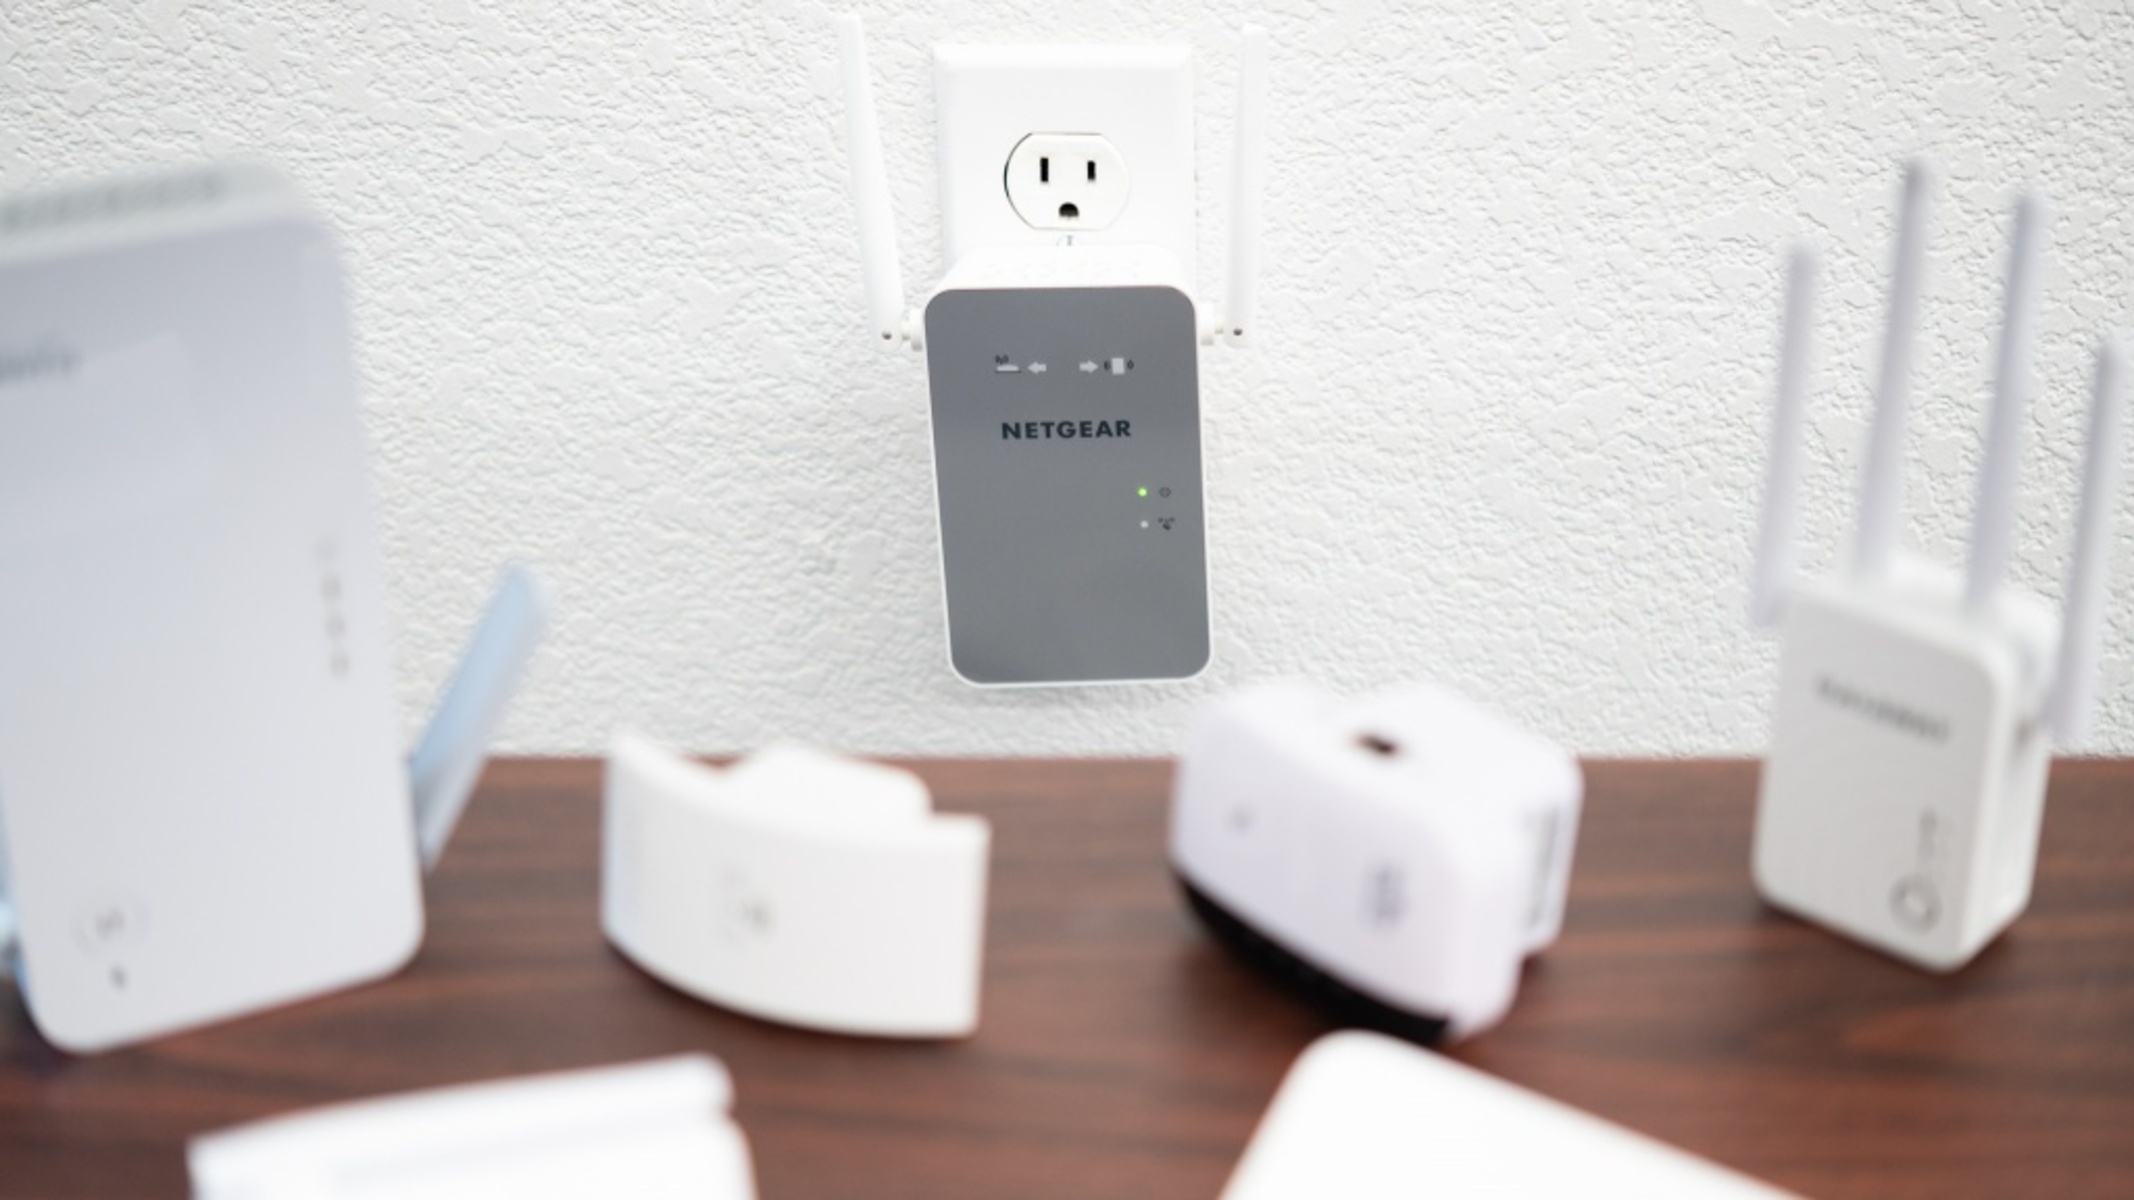
Plug the Netgear WiFi extender into a power outlet near your computer or device. Ensure that the power LED lights up, indicating that the extender is receiving power.
2. Connect to the Extender’s Network:
On your computer or device, open the WiFi settings menu and locate the available networks. Look for a network name similar to “NETGEAR_EXT” or “NETGEAR_EXT5G” (depending on the extender model and band). Select this network to connect to it.
Note: If you’re unable to find the network, try refreshing the available networks list or move closer to the extender.
3. Establish the Connection:
Once you have connected to the extender’s network, open a web browser and type “www.mywifiext.net” in the address bar. Hit Enter to access the Netgear extender’s setup page.
4. Create an Account (If Applicable):
If prompted, create a new account to log in to the extender’s settings page. Follow the on-screen instructions to provide the necessary details and set up a username and password for accessing the extender’s settings in the future.
5. Complete the Connection:
Once you’re logged in to the extender’s settings page, you have successfully connected your computer or device to the Netgear WiFi extender. Now, you can proceed to configure the extender’s settings and connect it to your existing WiFi network.
By establishing this connection, you have prepared the groundwork for the setup process. In the next step, we will guide you through accessing the extender’s settings page to configure it correctly.
Step 3: Access the Extender’s Settings Page
Once you have successfully connected your computer or mobile device to the Netgear WiFi extender, it’s time to access the extender’s settings page. This will allow you to configure and customize the extender according to your specific network requirements.
Follow these steps to access the extender’s settings page:
1. Open a Web Browser:
On your computer or device, open a web browser of your choice. Ensure that you have a stable internet connection.
2. Enter the Default IP Address:
In the web browser’s address bar, type the default IP address of the extender. The most common default IP address for Netgear extenders is “192.168.1.250,” but it may vary depending on the extender model. Press Enter to proceed.
3. Log in to the Settings Page:
On the login page, enter the username and password for the extender. If you haven’t created an account yet, use the default login credentials provided in the extender’s documentation. For security reasons, it’s recommended to change the default login details after accessing the settings page.
4. Access the Extender’s Dashboard:
After logging in, you will be directed to the extender’s settings dashboard. This is where you can configure various settings, including network setup, security options, and advanced features.
5. Familiarize Yourself with the Settings:
Take some time to explore the different settings and options available on the extender’s dashboard. Familiarize yourself with the layout and navigation to make it easier to configure the extender to your liking.
By gaining access to the extender’s settings page, you have unlocked the ability to customize and optimize your WiFi extender. In the next step, we will guide you through the process of connecting the extender to your existing WiFi network, so you can enjoy extended coverage throughout your home or office.
Step 4: Connect the Extender to Your Existing Wi-Fi Network
Now that you have accessed the settings page of your Netgear WiFi extender, it’s time to connect the extender to your existing Wi-Fi network. By doing so, you’ll be able to extend the range and coverage of your network, eliminating dead zones and weak signals.
Follow these steps to connect the extender to your existing Wi-Fi network:
1. Select the Network Setup Option:
In the extender’s settings page, navigate to the “Network Setup” or “Wireless Setup” section. This is where you will find options related to connecting the extender to your Wi-Fi network.
2. Scan for Available Networks:
Click on the “Scan” or “Refresh” button to scan for available Wi-Fi networks. This will generate a list of networks in range of the extender.
3. Choose Your Wi-Fi Network:
From the list of available networks, find and select your existing Wi-Fi network. You may need to enter the password for your Wi-Fi network if it’s secured.
4. Configure Network Settings:
Once you have selected your Wi-Fi network, you may have the option to customize network settings. You can choose to keep the same network name (SSID) and password or modify them if desired. It’s recommended to use the same network name and password to maintain a seamless experience for connected devices.
5. Apply the Changes:
After configuring the network settings, click on the “Apply” or “Save” button to save the changes and apply them to the extender.
6. Wait for Connection Confirmation:
The extender will now establish a connection with your Wi-Fi network. This may take a few moments. Once the connection is established, you will receive a confirmation message or indicator on the extender’s settings page.
Congratulations! You have successfully connected your Netgear WiFi extender to your existing Wi-Fi network. In the next step, we will guide you through placing the extender in an ideal location for optimal coverage.
Step 5: Place the Extender in an Ideal Location
Now that you have successfully connected your Netgear WiFi extender to your existing Wi-Fi network, it’s essential to place the extender in an ideal location for optimal coverage and performance. The placement of your extender plays a crucial role in extending the Wi-Fi signals and eliminating any dead zones in your home or office.
Follow these guidelines to determine the ideal location for your extender:
1. Consider Signal Strength:
Observe the signal strength of your existing Wi-Fi network using your computer or device. Walk around your home or office and identify areas with weak signals or dead zones. These are the areas where you should focus on placing the extender.
2. Maintain Line of Sight:
Aim for a clear line of sight between the extender and your existing Wi-Fi router. Avoid obstructions such as walls, furniture, and electronic appliances, as they can weaken the Wi-Fi signals. If possible, place the extender in a location that has a direct line of sight to the router.
3. Test Different Locations:
Experiment with different locations for the extender. Plug it into a power outlet and test the signal strength in the areas you identified earlier. Monitor the signal strength on your computer or device and choose the location that provides the strongest and most consistent signal throughout your desired coverage area.
4. Optimize Height and Position:
Consider the height and position of the extender. In general, placing the extender at a higher elevation, such as on a bookshelf or mounted on a wall, can improve signal propagation. Additionally, make sure the extender is positioned centrally within the desired coverage area to ensure equal signal distribution.
5. Test and Fine-Tune:
After placing the extender in your chosen location, test the signal strength in different areas of your home or office. Make any necessary adjustments by relocating the extender or reorienting its position to achieve the best coverage and performance.
By placing the extender in an ideal location, you can ensure maximum coverage and eliminate Wi-Fi dead zones. In the next step, we will guide you through connecting your devices to the extended Wi-Fi network, allowing you to enjoy seamless internet connectivity throughout your home or office.
Step 6: Connect Your Devices to the Extended Wi-Fi Network
Now that you have set up and placed your Netgear WiFi extender in an ideal location, it’s time to connect your devices to the extended Wi-Fi network. By connecting your devices to the extender, you’ll be able to enjoy seamless internet connectivity, improved signal strength, and extended coverage throughout your home or office.
Follow these steps to connect your devices to the extended Wi-Fi network:
1. Locate Wi-Fi Networks:
On your computer, smartphone, or any other device you wish to connect to the extended network, open the Wi-Fi settings menu. Look for the list of available Wi-Fi networks and select the one that corresponds to the network name (SSID) of your extended Wi-Fi network. The extender network name typically ends with “_EXT” or similar.
2. Enter Wi-Fi Network Password:
If prompted, enter the password for your extended Wi-Fi network. This will be the same password you used for your existing Wi-Fi network. Make sure to enter it correctly to establish a secure and successful connection.
3. Establish Connection:
Once you’ve entered the Wi-Fi network password, your device will attempt to establish a connection to the extended network. It may take a few seconds for the connection to be established, so be patient.
4. Verify Connection:
Once connected, verify that your device is now connected to the extended Wi-Fi network. You can do this by checking the Wi-Fi icon on your device or performing a speed test to ensure you’re receiving the expected performance and coverage.
5. Repeat for Other Devices:
Repeat these steps for each device you want to connect to the extended Wi-Fi network. This includes smartphones, tablets, computers, smart TVs, gaming consoles, and any other device that utilizes Wi-Fi connectivity.
Congratulations! You have successfully connected your devices to the extended Wi-Fi network through your Netgear WiFi extender. Now you can enjoy a seamless browsing, streaming, and gaming experience throughout your home or office without the hassle of weak signals or dead zones.
Keep in mind that if you add or remove devices from your network in the future, you’ll need to connect them to the extended Wi-Fi network as well.
With your devices successfully connected, you have completed the setup process for your Netgear WiFi extender. Enjoy the benefits of extended Wi-Fi coverage and improved signal strength in all areas of your home or office!
Conclusion
Congratulations on successfully setting up and connecting your Netgear WiFi extender! By following the steps outlined in this guide, you have significantly improved your Wi-Fi coverage, eliminated dead zones, and enhanced the overall performance of your network.
We began by introducing the concept of WiFi extenders and the benefits they provide in extending the range of your existing Wi-Fi network. We then walked you through the step-by-step setup process, starting with preparing for the setup, connecting the extender to your computer, accessing the extender’s settings page, connecting it to your existing Wi-Fi network, placing it in an ideal location, and finally connecting your devices to the extended Wi-Fi network.
Throughout this guide, we emphasized the importance of finding the right location for your WiFi extender, considering factors such as signal strength, line of sight, and optimal positioning. We also highlighted the need to gather necessary information, maintain power availability, and access the settings page to configure and customize your extender based on your specific network requirements.
By following these steps, you have extended the reach of your Wi-Fi network, ensuring a strong and stable connection throughout your home or office. Whether you’re working, streaming, gaming, or simply browsing the internet, you can now enjoy seamless connectivity without interruptions or slow speeds.
Remember to periodically check and update the firmware of your Netgear WiFi extender to ensure you have the latest features and security enhancements. Additionally, if you encounter any issues or need further assistance, consult the user manual or reach out to Netgear’s customer support for guidance.
We hope this guide has been informative and helpful in setting up and connecting your Netgear WiFi extender. Enjoy the extended Wi-Fi coverage and take full advantage of a truly connected experience!


