Introduction
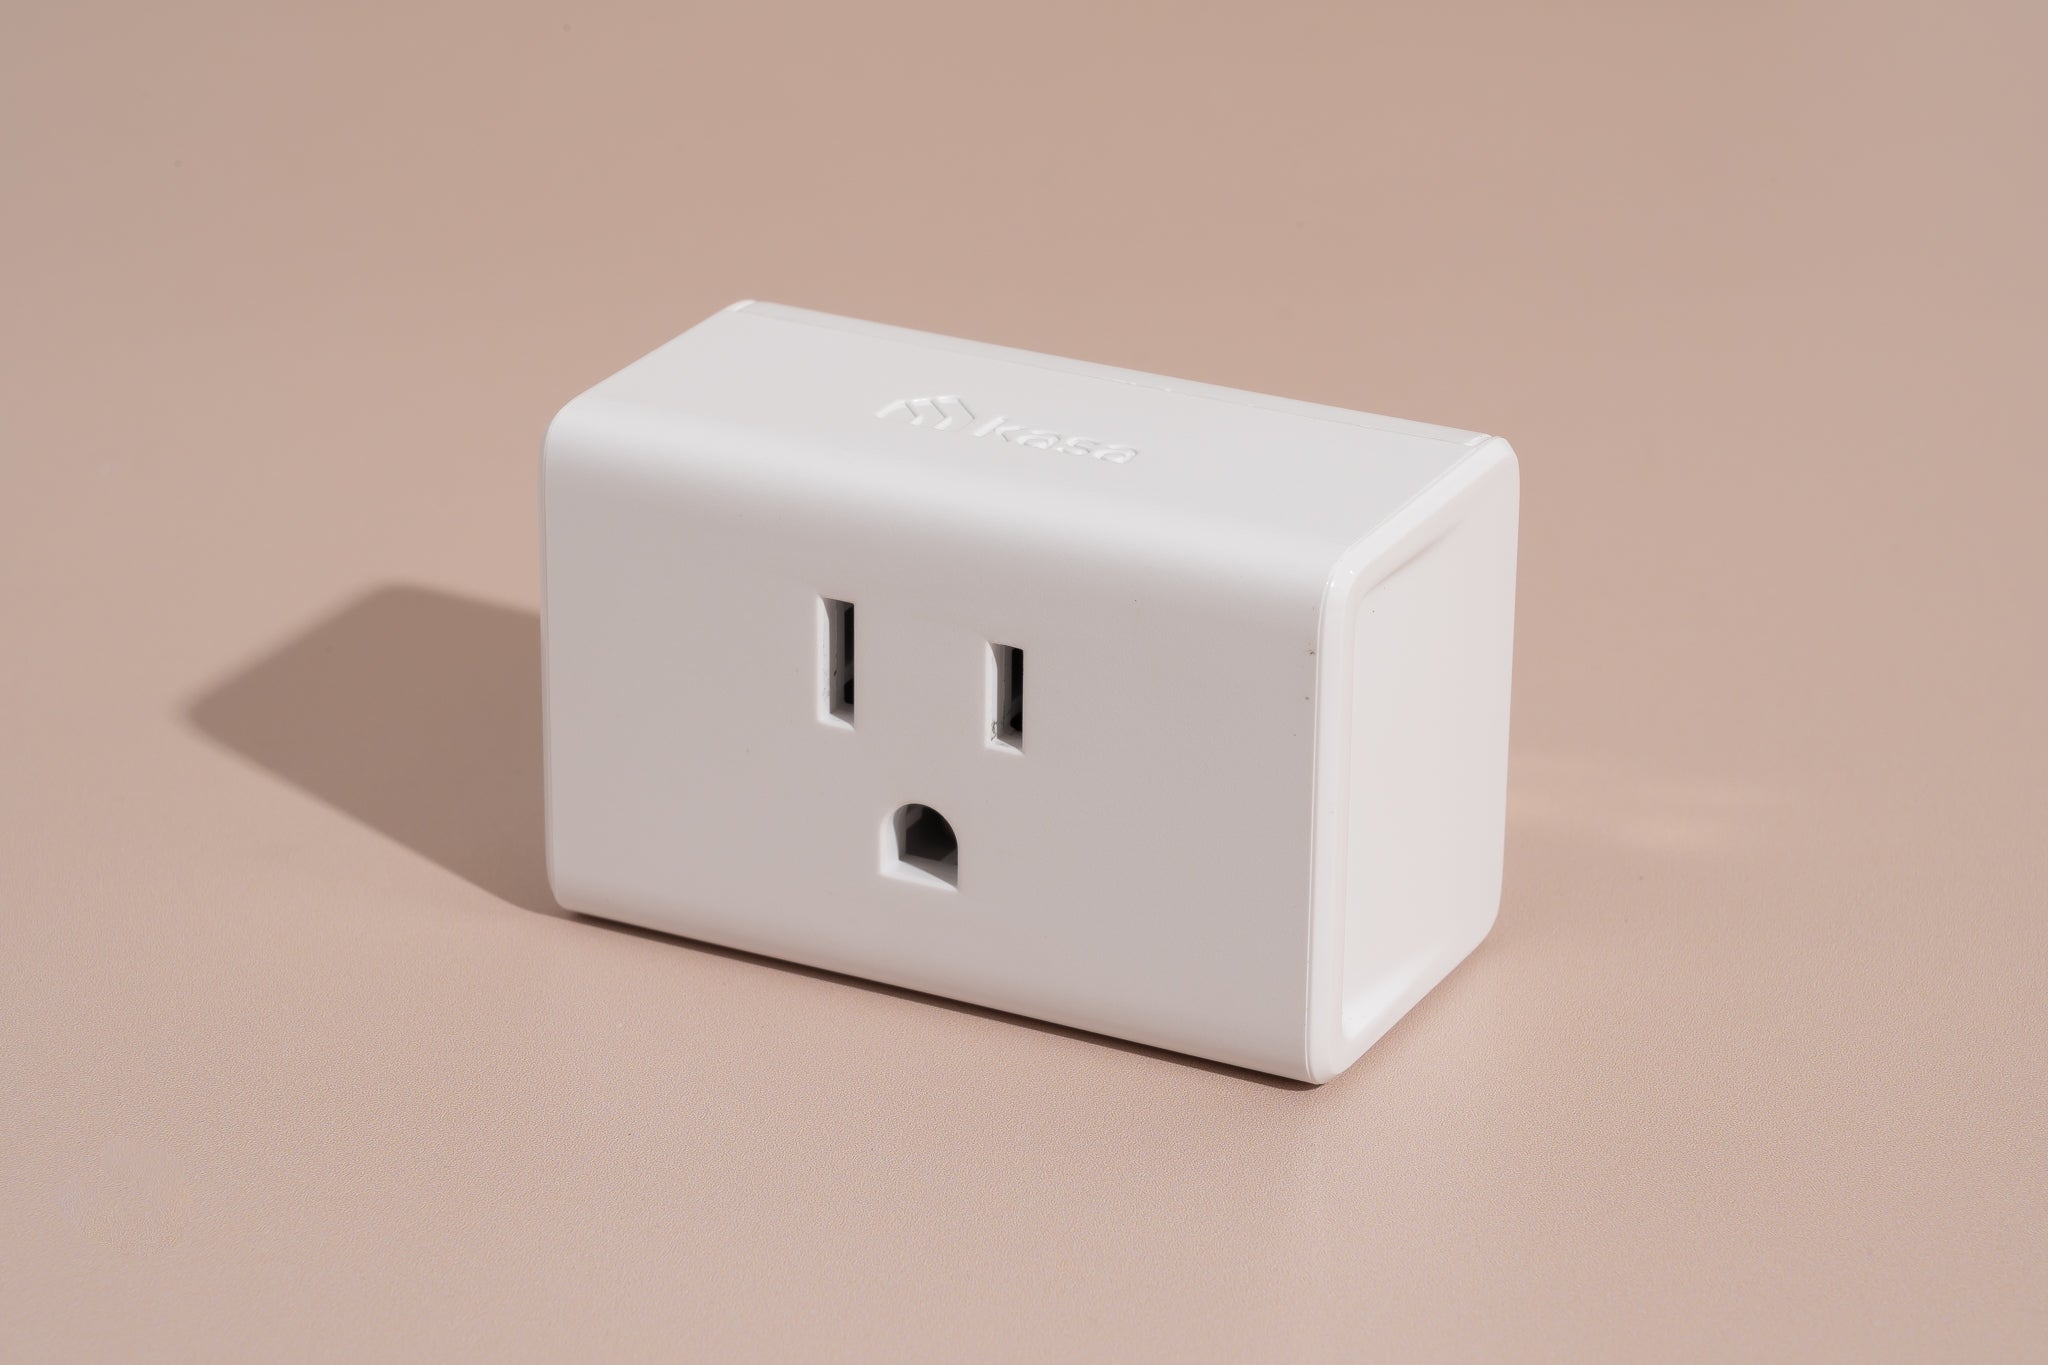
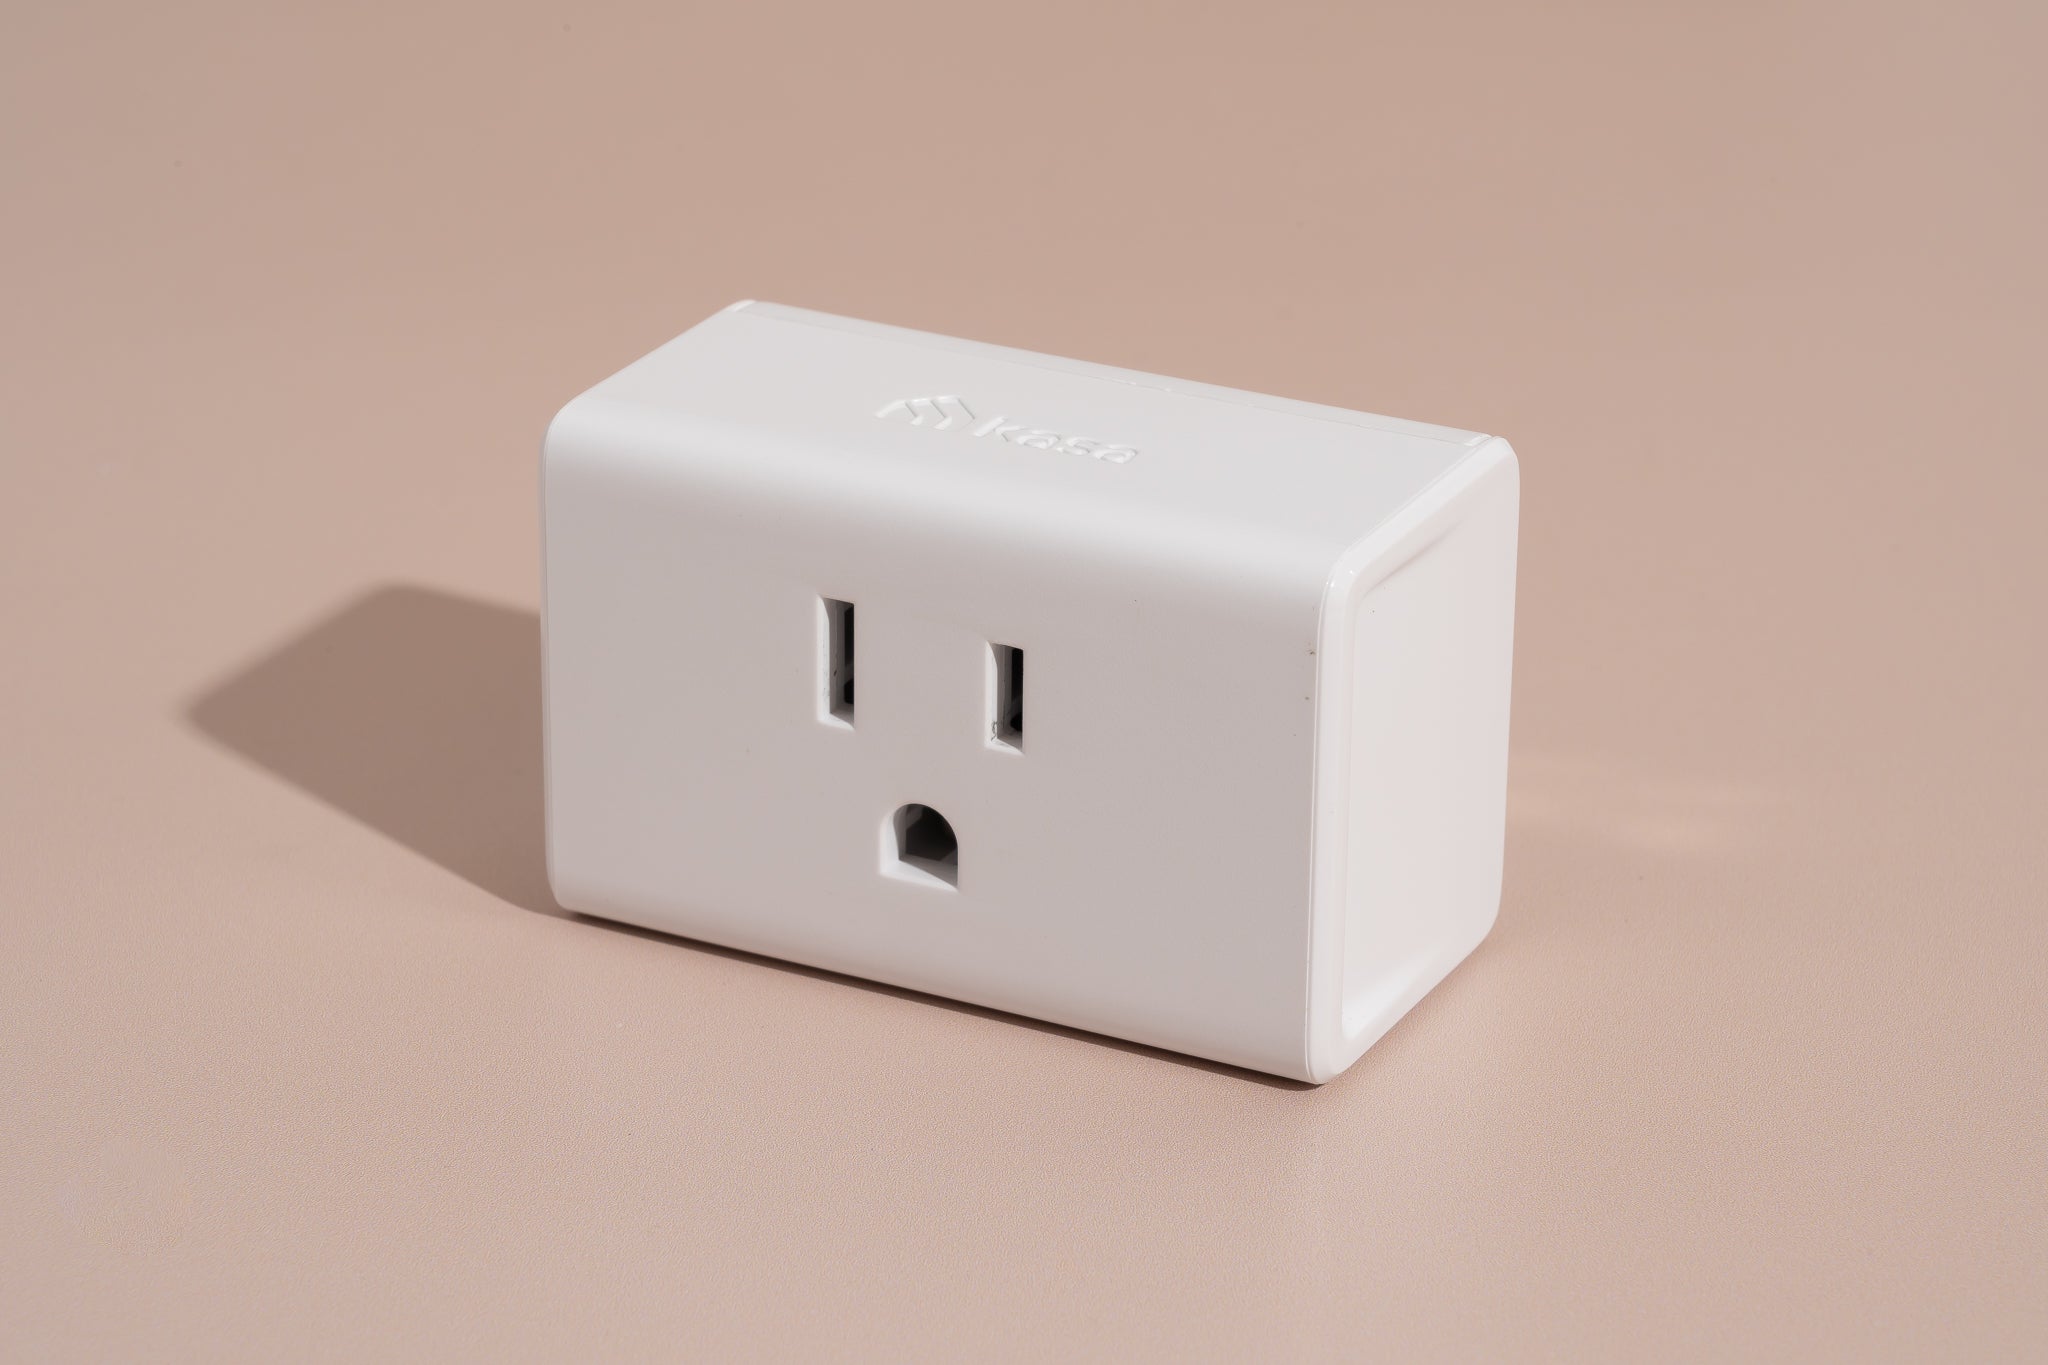
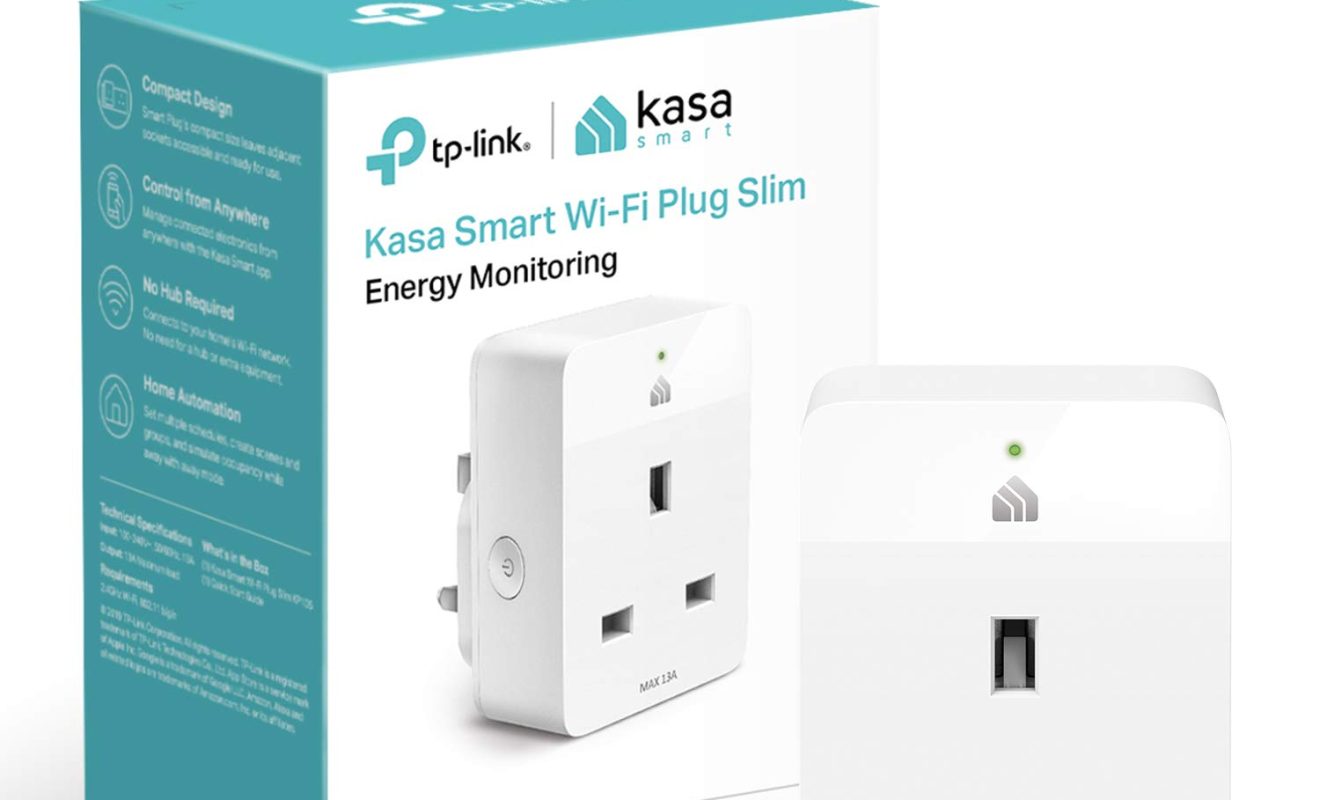
Connecting your Kasa Smart Plug to a new Wi-Fi network can seem daunting, but with the right steps, it’s a straightforward process. Whether you’ve moved to a new home or upgraded your internet service, it’s essential to update your smart devices to ensure seamless connectivity and control. With the Kasa Smart app and a few simple instructions, you’ll have your smart plug connected to your new Wi-Fi network in no time.
In this guide, we’ll walk you through the steps needed to connect your Kasa Smart Plug to a new Wi-Fi network. We’ll cover the initial preparations, including resetting the smart plug, as well as the essential steps to connect it to a power source and download the Kasa Smart app. With a registered Kasa account, you’ll be able to add your smart plug to the app and follow the straightforward on-screen instructions to complete the connection to your new Wi-Fi network.
By following this guide, you’ll be able to seamlessly integrate your Kasa Smart Plug into your home network, ensuring that you can control your connected devices remotely and enjoy the benefits of a connected home.
Step 1: Prepare your Kasa Smart Plug
Before you begin the process of connecting your Kasa Smart Plug to a new Wi-Fi network, it’s essential to make some initial preparations to ensure a smooth setup:
- Gather necessary information: Before starting the setup process, make sure you have your new Wi-Fi network’s name and password on hand. You’ll need these details to connect your smart plug successfully.
- Locate your smart plug: Find a suitable location for your smart plug within the range of your Wi-Fi network. Avoid placing it too far from your Wi-Fi router, as this could result in a weak or unstable connection.
- Ensure a stable power source: Make sure the outlet you plan to use for your smart plug is functioning correctly and can provide a stable power source. Check that there are no loose or damaged electrical connections in the outlet.
By taking these simple preparatory steps, you’ll have everything you need to kick-start the process of connecting your Kasa Smart Plug to your new Wi-Fi network.
Step 2: Reset the smart plug
Before you can connect your Kasa Smart Plug to a new Wi-Fi network, you’ll need to reset it to its factory settings. Follow these steps to reset your smart plug:
- Locate the reset button: Look for a small button or pinhole on the smart plug. This is usually labeled “Reset” or represented by a circular arrow icon.
- Press and hold the reset button: Using a paperclip or a similar tool, press and hold the reset button on the smart plug. Keep it pressed for about 5 to 10 seconds.
- Observe the LED indicator: While continuing to hold the reset button, the smart plug’s LED indicator will start flashing rapidly. This indicates that the reset process is in progress.
- Release the reset button: After the LED indicator stops flashing and remains solid, release the reset button. This indicates that the smart plug has been successfully reset.
By resetting your smart plug, you are erasing any existing network information and returning it to its default state. This is a necessary step to ensure a clean setup and enable the smart plug to connect to your new Wi-Fi network.
Step 3: Connect the smart plug to a power source
Now that you’ve reset your Kasa Smart Plug, it’s time to connect it to a power source. Follow these steps:
- Find an accessible outlet: Locate an available power outlet near the device you wish to connect to your smart plug.
- Plug in your smart plug: Insert the smart plug into the power outlet. Ensure that it fits securely.
- Ensure power supply: Check if the smart plug’s LED indicator lights up, indicating that it is receiving power.
- Position the smart plug: Properly position the smart plug for optimal functionality. Make sure it’s easily accessible and not obstructed by any objects.
With the smart plug connected to a power source, you’re one step closer to connecting it to your new Wi-Fi network. The next step involves downloading and opening the Kasa Smart app on your smartphone or tablet.
Step 4: Download and open the Kasa Smart app
In order to connect and control your Kasa Smart Plug, you’ll need to download and open the Kasa Smart app. Follow these steps to get started:
- Go to your app store: Open the app store on your smartphone or tablet. If you’re using an iOS device, go to the Apple App Store. For Android users, navigate to the Google Play Store.
- Search for the Kasa Smart app: In the app store’s search bar, type “Kasa Smart” and press enter. Look for the official Kasa Smart app developed by TP-Link, and tap on it to open the app’s page.
- Download the app: On the Kasa Smart app page, tap the “Download” or “Install” button to begin downloading the app onto your device.
- Open the app: Once the app is successfully downloaded and installed, locate the Kasa Smart app icon on your device’s home screen or app drawer. Tap on the icon to open the app.
Once you’ve opened the Kasa Smart app, you’ll be one step closer to connecting your Kasa Smart Plug to your new Wi-Fi network. In the next step, we’ll guide you through creating a Kasa account or logging in to your existing account.
Step 5: Create a Kasa account or log in
In order to proceed with connecting your Kasa Smart Plug to your new Wi-Fi network, you’ll need to create a Kasa account or log in if you already have one. Follow these steps to create an account or log in:
- Create a Kasa account: If you don’t have a Kasa account yet, tap on the “Sign Up” or “Create Account” button on the app’s login screen. Fill in the required information, including your email address and a secure password. Follow the prompts to complete the account creation process.
- Log in to your Kasa account: If you already have a Kasa account, simply enter your email address and password in the respective fields on the app’s login screen. Tap the “Log In” button to proceed.
A Kasa account allows you to manage your smart devices, including the Kasa Smart Plug, from anywhere using the Kasa Smart app. It also enables you to access advanced features and receive software updates.
Now that you have a Kasa account or have logged in to an existing account, you’re ready to add your Kasa Smart Plug to the app and proceed to the next steps of connecting it to your new Wi-Fi network.
Step 6: Tap on the ‘+’ icon to add a new device
With the Kasa Smart app open and your account logged in, it’s time to add your Kasa Smart Plug as a new device. Follow these steps:
- Open the device menu: Look for the menu icon, usually represented by three lines or dots, located in the top-left or top-right corner of the Kasa Smart app. Tap on it to open the app’s menu.
- Select “Add a Device”: In the app’s menu, you’ll find various options. Look for “Add a Device” or a similar option and tap on it. This will start the process of adding a new device to the app.
- Tap on the ‘+’ icon: On the “Add a Device” screen, you should see a ‘+’ icon at the top-right corner or in the center of the screen. Tap on it to begin scanning for new devices.
The Kasa Smart app will now start searching for nearby devices that can be added. Make sure your Kasa Smart Plug is in pairing mode and within range of your smartphone or tablet. The app will detect the smart plug and display it as a available device.
In the next step, we’ll guide you through selecting the specific model of your Kasa Smart Plug from the list of available devices.
Step 7: Select the smart plug model from the list
After tapping on the ‘+’ icon to add a new device in the Kasa Smart app, you’ll need to select the specific model of your Kasa Smart Plug from the list of available devices. Follow these steps:
- Review the list of devices: The app will display a list of compatible devices that it has detected. Look for your specific model of Kasa Smart Plug in the list.
- Select your smart plug model: Once you’ve identified your model, tap on its name in the list to select it. This will prompt the app to start the setup process for your specific device.
It’s important to choose the correct model of your Kasa Smart Plug to ensure a smooth setup process. If you’re uncertain about the model, refer to the packaging or documentation that came with the device.
With your smart plug model selected, you’re now ready to proceed with the next steps, which involve following the on-screen instructions to establish a connection between your Kasa Smart Plug and your new Wi-Fi network.
Step 8: Follow the on-screen instructions to connect the smart plug to your new Wi-Fi
Now that you have selected the model of your Kasa Smart Plug in the Kasa Smart app, it’s time to follow the on-screen instructions to establish a connection between the smart plug and your new Wi-Fi network. Here’s how to do it:
- Read the instructions: The Kasa Smart app will provide step-by-step instructions on how to connect your smart plug to your Wi-Fi network. Carefully read and understand each instruction before proceeding.
- Enter Wi-Fi network details: As prompted by the app, enter the name (SSID) and password of your new Wi-Fi network. Make sure to accurately input the information to ensure a successful connection.
- Wait for the connection: Once you have entered the Wi-Fi network details, the app will attempt to connect the smart plug to your new network. Be patient and wait for the app to finalize the connection process.
- Confirm connection success: Once the connection is established, the app will notify you of the successful connection between your smart plug and new Wi-Fi network.
Following these on-screen instructions is crucial to ensure a proper connection between your Kasa Smart Plug and your new Wi-Fi network. Adhering to the provided steps will help minimize any issues and ensure a seamless setup process.
In the final step, we’ll guide you on confirming the Wi-Fi connection and setting a name for your smart plug.
Step 9: Confirm the Wi-Fi connection and set a name for the smart plug
After following the on-screen instructions to connect your Kasa Smart Plug to your new Wi-Fi network, it’s time to confirm the connection and set a name for your smart plug. Here’s what you need to do:
- Confirm Wi-Fi connection: The Kasa Smart app will display a confirmation message indicating that the smart plug has successfully connected to your new Wi-Fi network. Take a moment to ensure that the connection status is “Successful” or similar.
- Set a name: To easily identify and control your smart plug, it’s recommended to set a name for it. The app will provide an option to assign a custom name or choose from predefined options. Select a name that best represents the device it is connected to, such as “Living Room Lamp” or “Bedroom Fan”.
- Save the settings: Once you have confirmed the Wi-Fi connection and set a name for your smart plug, save the settings in the Kasa Smart app. This will ensure that the connection and device name are retained for future use.
By confirming the Wi-Fi connection and setting a name for your smart plug, you’ve completed the setup process. You can now start enjoying the convenience and control of remotely managing your devices connected to the Kasa Smart Plug.
Congratulations! Your Kasa Smart Plug is now successfully connected to your new Wi-Fi network, and you can control it using the Kasa Smart app or voice commands if your smart plug supports voice integration.
Conclusion
Connecting your Kasa Smart Plug to a new Wi-Fi network is a process that requires some initial preparations and a few simple steps. By following this guide, you can easily complete the setup and enjoy the convenience of controlling your devices remotely.
Throughout the process, we covered various steps, including preparing your smart plug, resetting it to factory settings, connecting it to a power source, downloading and opening the Kasa Smart app, creating a Kasa account or logging in, adding the smart plug as a new device, selecting the correct model, following on-screen instructions to connect it to your new Wi-Fi, and finally confirming the connection and setting a name for the smart plug.
Remember to gather necessary information, ensure a stable power source, and find a suitable location for your smart plug. Additionally, make sure to reset the device before connecting it to a new Wi-Fi network to eliminate any existing network information.
With your Kasa Smart Plug successfully connected to your new Wi-Fi network, you can now enjoy the convenience of controlling your devices remotely, scheduling on/off times, and setting up automation routines. It’s truly a step towards creating a smarter and more connected home.
Thank you for following this guide, and we hope it has been helpful in connecting your Kasa Smart Plug to your new Wi-Fi network. Enjoy the benefits of a connected home and the convenience it brings!


