Introduction
Connecting your iPhone to a PVO projector opens up a world of possibilities for sharing photos, videos, presentations, and more on a big screen. Whether you’re preparing for a business meeting, presenting in a classroom setting, or enjoying a movie night with friends, the ability to connect your iPhone to a projector can significantly enhance your multimedia experience.
However, before you can connect your iPhone to a PVO projector, it’s important to ensure compatibility and have the necessary equipment on hand. Different iPhone models may have varying connectivity options, so it’s crucial to check the compatibility requirements of both your iPhone and the PVO projector. Once you’ve confirmed compatibility, you can proceed with the connection process.
In this guide, we will walk you through the steps to connect your iPhone to a PVO projector, both through a wired and wireless connection. Whether you have an iPhone 12, an older model like the iPhone 7, or any other iPhone version, we’ve got you covered!
So, let’s dive in and explore the different methods of connecting your iPhone to a PVO projector, ensuring that you can showcase your content with ease and make the most of your multimedia capabilities.
Step 1: Check compatibility between iPhone and PVO projector
Before attempting to connect your iPhone to a PVO projector, it’s crucial to ensure that they are compatible with each other. This step will help you avoid any potential issues or frustrations during the connection process.
The first thing you need to do is check the connectivity options available on your iPhone. Different iPhone models support different connection types, such as Lightning or USB-C. Refer to your iPhone’s user manual or the Apple website to determine the precise connectivity options for your specific model.
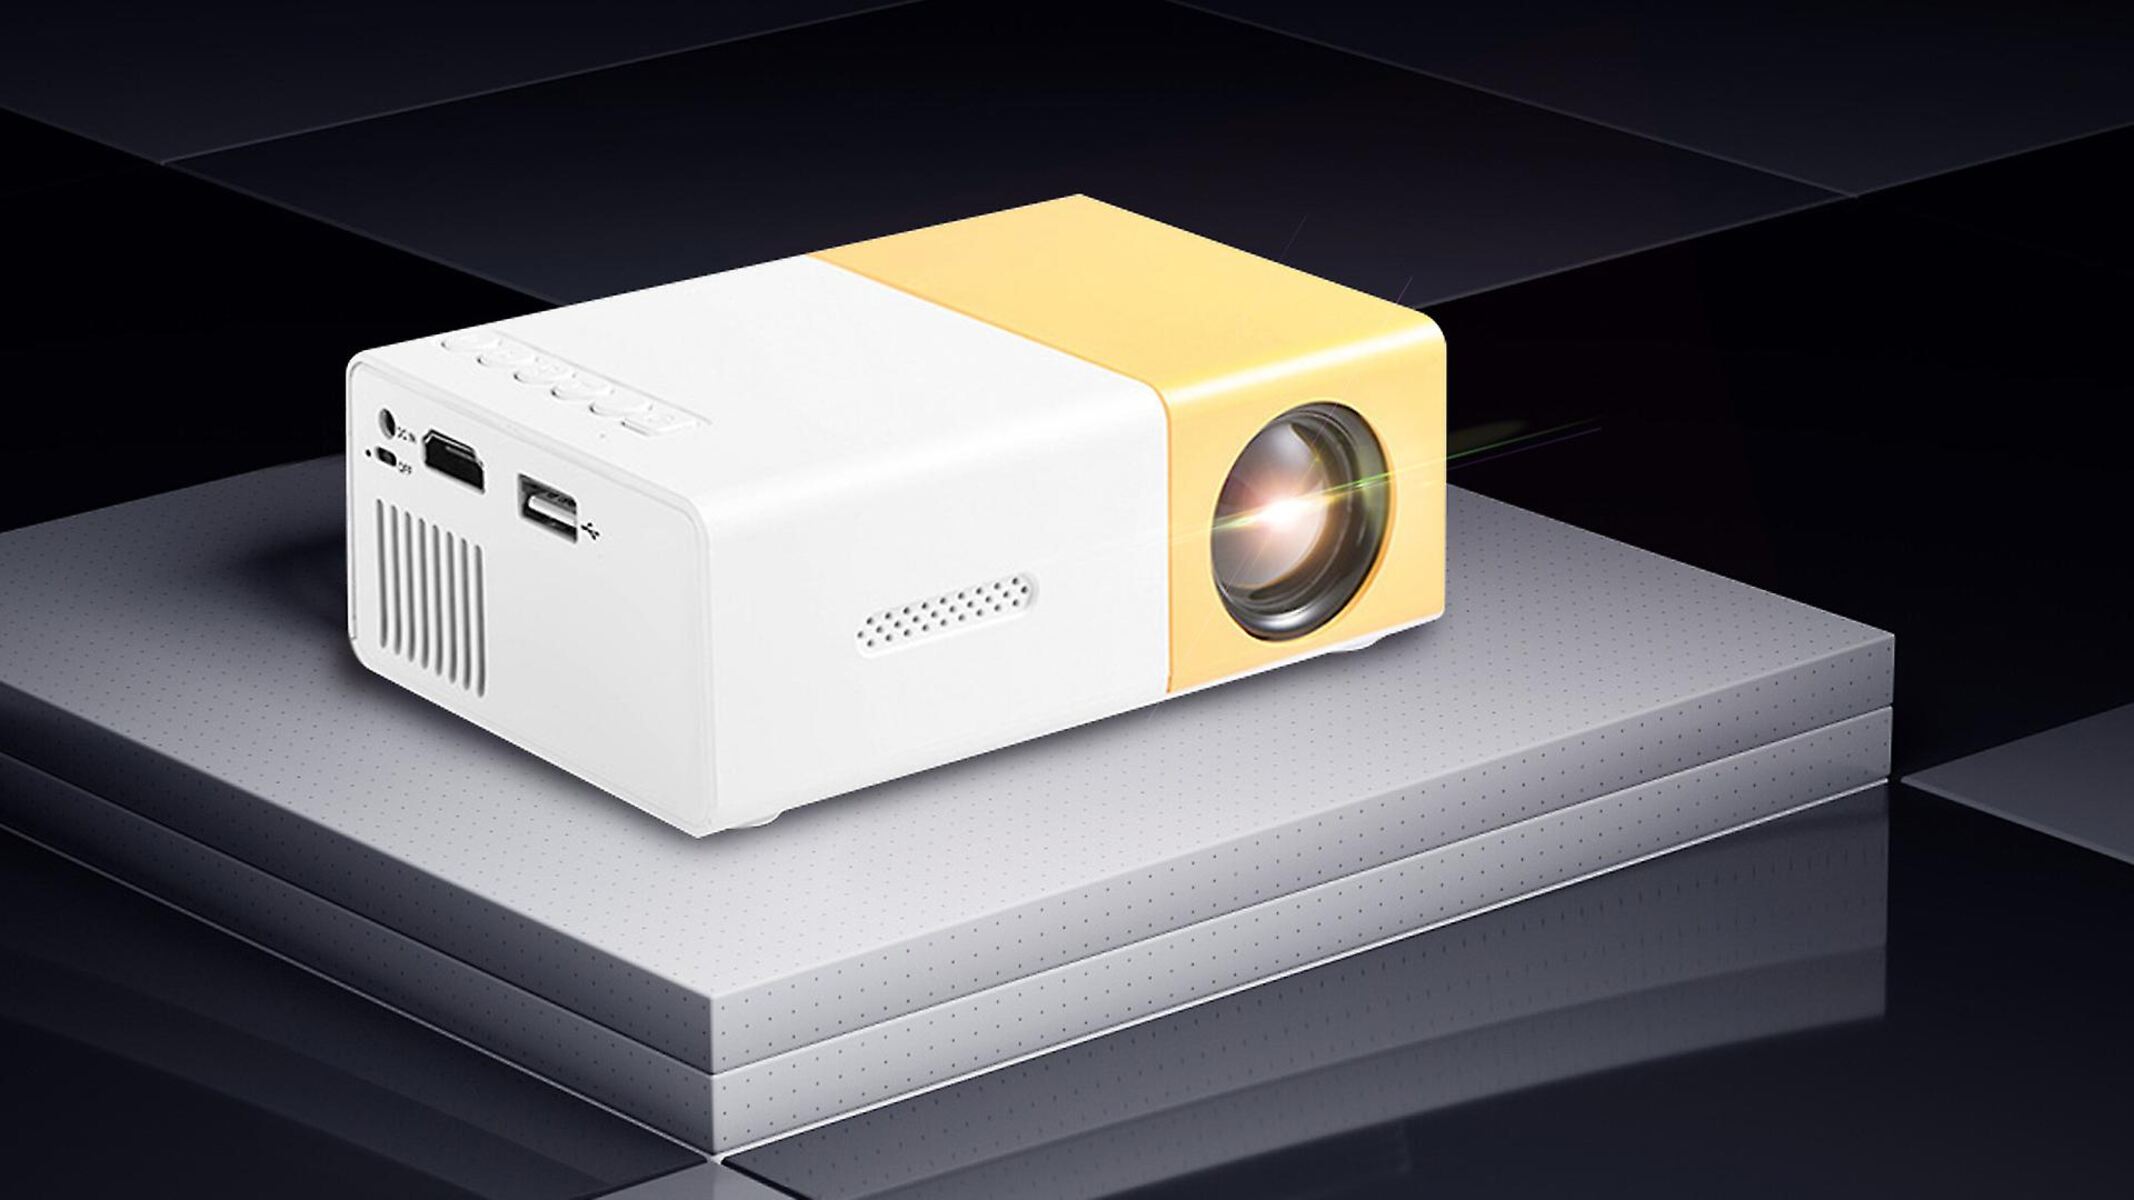
Next, verify the input options available on the PVO projector. Most PVO projectors offer various input ports, including HDMI, VGA, and USB. Check the user manual or specifications of your PVO projector to identify the compatible input options.
Once you’ve identified the connectivity options on both your iPhone and the PVO projector, check if any additional adapters or cables are required. For example, if your iPhone has a Lightning connector and the PVO projector only supports HDMI input, you’ll need a Lightning-to-HDMI adapter to establish the connection.
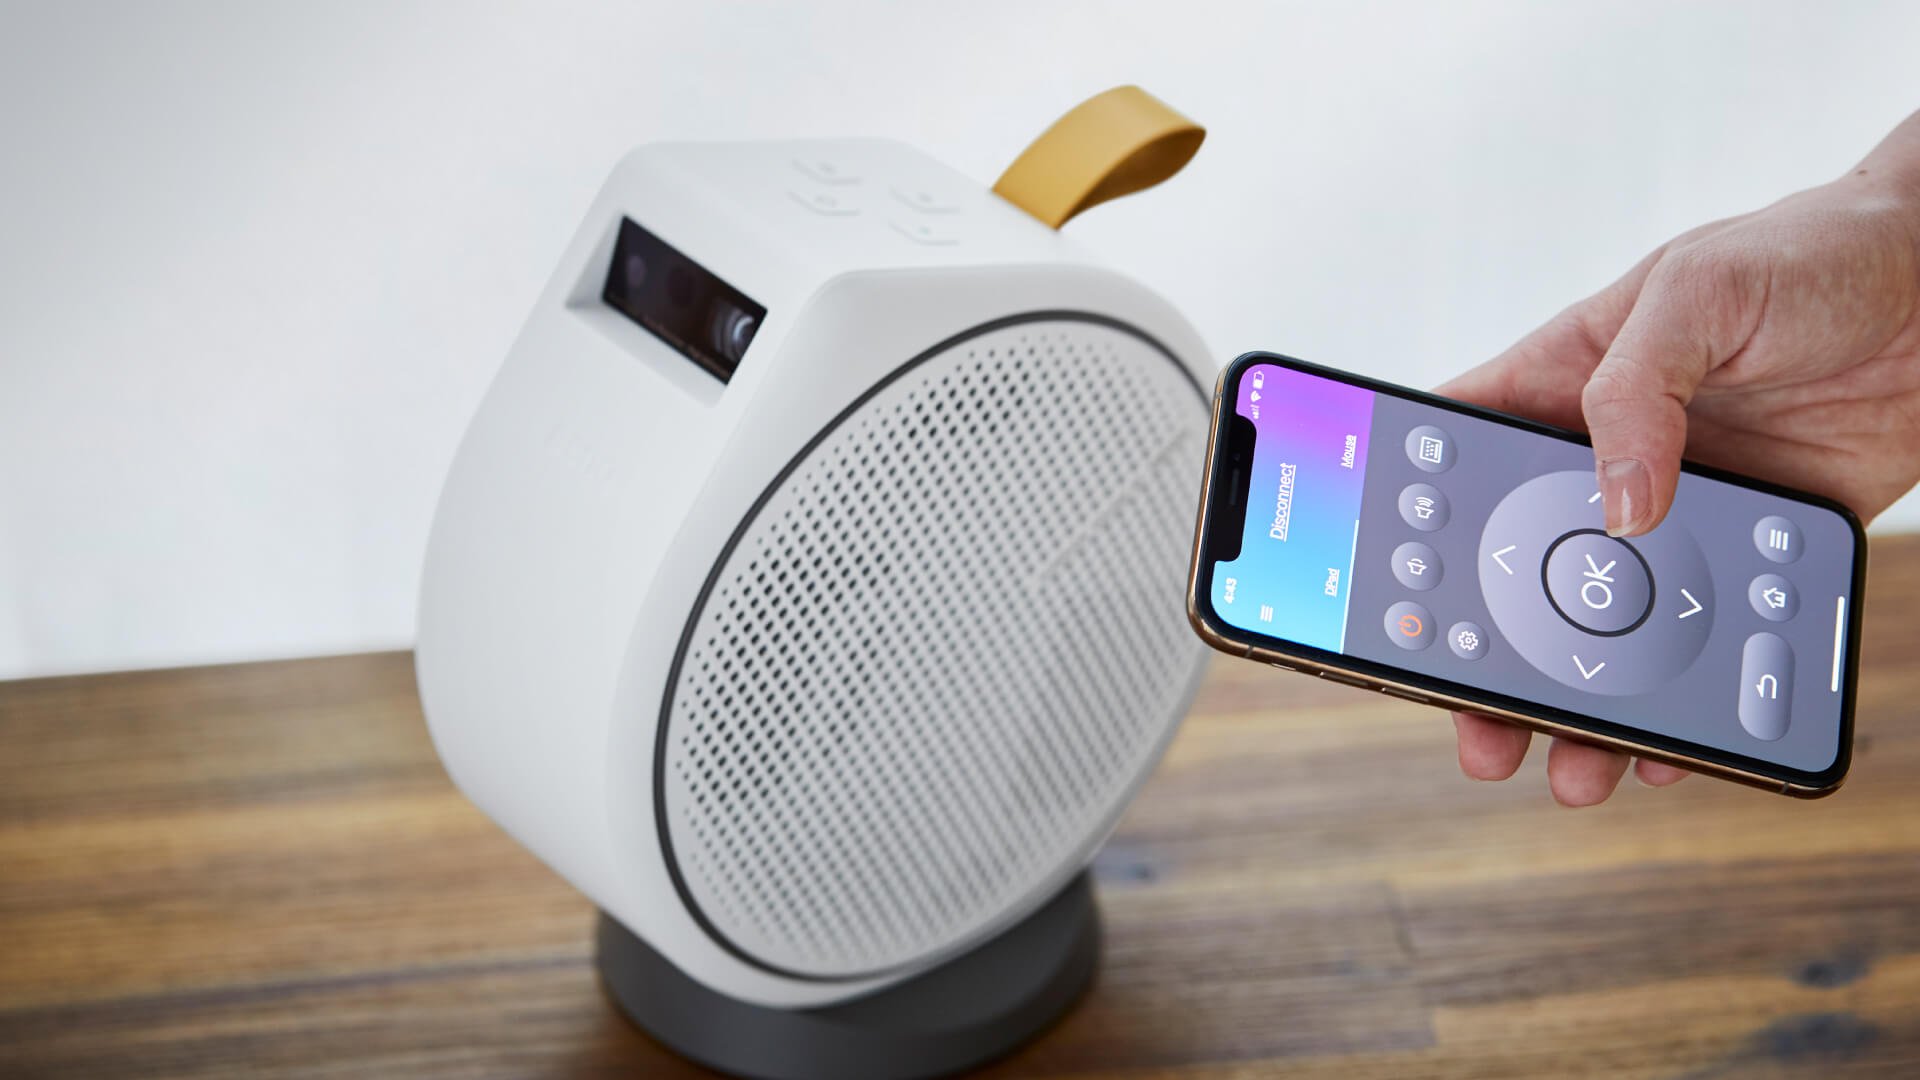
It’s essential to note that some PVO projectors support wireless connectivity through technologies like AirPlay or Miracast. This means you can connect your iPhone to the PVO projector wirelessly, eliminating the need for cables or adapters. However, wireless connectivity capabilities vary between projector models, so confirm if your PVO projector supports such features.
By taking the time to check the compatibility between your iPhone and the PVO projector, you’ll ensure a smooth and successful connection. Now that you have verified compatibility, let’s move on to gathering the necessary equipment and accessories for connecting your iPhone to the PVO projector.
Step 2: Gather necessary equipment and accessories
Once you have confirmed the compatibility between your iPhone and the PVO projector, it’s time to gather the necessary equipment and accessories for the connection process. Having everything ready beforehand will streamline the setup and ensure a hassle-free experience.
Here is a list of the essential equipment and accessories you’ll need:
-
iPhone: Ensure your iPhone is fully charged or connected to a power source to prevent any interruptions during the connection process.
-
PVO Projector: Make sure the PVO projector is in good working condition and properly connected to a power source.
-
Connection cables: Depending on the compatibility between your iPhone and the projector, you may need different cables such as a Lightning-to-HDMI or USB-C-to-HDMI cable. Ensure you have the appropriate cables on hand.
-
Adapters: If the PVO projector has input ports that are not directly compatible with your iPhone, you may need adapters such as a Lightning-to-HDMI or USB-C-to-HDMI adapter. Confirm the necessary adapters based on the connections required.
-
HDMI or VGA cable: If you’re using a wired connection, ensure you have the appropriate cable (HDMI or VGA) to connect from the PVO projector to the projector’s input port.
-
Wireless connectivity: If your PVO projector supports wireless connectivity, such as AirPlay or Miracast, make sure your iPhone and projector are on the same Wi-Fi network.
By gathering all the necessary equipment and accessories ahead of time, you’ll be well-prepared to proceed with the connection process smoothly. Now that you have everything you need, let’s move on to setting up the PVO projector in the next step.
Step 3: Set up the PVO projector
Before you can connect your iPhone to the PVO projector, it’s crucial to properly set up the projector itself. This step ensures optimal performance and prepares the projector to receive the input from your iPhone.
Here are the steps to set up the PVO projector:
-
Find a suitable location: Choose a location for the projector where it can project onto a clear, flat surface. Make sure there is enough space for the projected image to be visible and unobstructed.
-
Power on the projector: Connect the PVO projector to a power source and turn it on. Allow the projector a few moments to warm up and initialize.
-
Adjust the projection settings: Depending on your preferences and the environment, you may need to adjust the projection settings on the PVO projector. This includes settings like brightness, contrast, aspect ratio, and keystone correction. Refer to the projector’s user manual for guidance on adjusting the settings according to your requirements.
-
Focus the image: Use the focus wheel or focus buttons on the projector to sharpen the projected image. Adjust the focus until the content appears clear and crisp on the screen or surface.
-
Position the projector: Position the PVO projector at the desired distance from the projection screen or surface. Adjust the projector’s angle or height if needed to align the projected image properly.
-
Test the projection: Connect the projector to a video source (like a DVD player or laptop) and play a test video or image. Ensure that the projected image is centered, well-aligned, and free from any distortions.
Once you have properly set up the PVO projector, tested the projection, and ensured that the image quality is satisfactory, you’re ready to proceed with connecting your iPhone to the projector. In the next steps, we’ll cover both wired and wireless connection methods, so you can choose the one that suits your needs.
Step 4: Connect the iPhone to the PVO projector using a wired connection
If you prefer a reliable and direct connection between your iPhone and the PVO projector, using a wired connection is the way to go. This method ensures stable transmission of audio and video signals, providing you with a seamless multimedia experience.
Follow these steps to connect your iPhone to the PVO projector using a wired connection:
-
Connect one end of the appropriate cable (such as Lightning-to-HDMI or USB-C-to-HDMI) to the corresponding port on your iPhone.
-
Connect the other end of the cable to the HDMI input port (or VGA port, if applicable) on the PVO projector.
-
Power on the PVO projector and switch its input source to the connected HDMI (or VGA) input.
-
Unlock your iPhone and navigate to the Home screen.
-
You should see the mirrored content from your iPhone displayed on the PVO projector. If not, adjust the input source settings on the projector or check your cable connections.
-
Once the connection is established, you can now play videos, showcase presentations, or share photos directly from your iPhone. The content will be projected onto the screen or surface connected to the PVO projector.
Note that the specific steps and cable requirements may vary depending on your iPhone model and the PVO projector. Make sure to follow the instructions provided with your projector and refer to your iPhone’s user manual if necessary.
Using a wired connection ensures a stable and reliable connection between your iPhone and the PVO projector, making it a preferred choice for situations where a consistent and high-quality multimedia display is required. However, if you prefer a wireless connection, continue reading to learn how to connect your iPhone to the PVO projector without the need for cables.
Step 5: Connect the iPhone to the PVO projector using a wireless connection
If you prefer a cable-free and convenient way to connect your iPhone to the PVO projector, utilizing a wireless connection is the way to go. This method allows you to mirror your iPhone’s screen onto the projector wirelessly, providing flexibility and freedom of movement.
Follow these steps to connect your iPhone to the PVO projector using a wireless connection:
-
Ensure that your iPhone and the PVO projector are both connected to the same Wi-Fi network.
-
On your iPhone, swipe down from the top-right corner to access the Control Center.
-
Tap on the “Screen Mirroring” or “AirPlay” option (the name may vary depending on your iPhone model and iOS version).
-
A list of available devices will appear. Select the PVO projector from the list.
-
Enter the AirPlay password if prompted (usually found in the projector’s settings).
-
Once the connection is established, your iPhone’s screen will be mirrored on the PVO projector. You can now navigate through your iPhone’s apps, play videos, display presentations, and more.
Wireless connectivity options like AirPlay or Miracast provide you with the freedom to move around and interact with your iPhone while your content is being displayed on the big screen. It’s a convenient option for presentations, slideshows, or even just sharing videos and photos with friends and family.
Note that the availability and functionality of wireless connectivity options may vary depending on your iPhone model and the features supported by the PVO projector. Make sure your projector supports wireless connectivity and follow any additional instructions provided in the projector’s user manual.
Now that you know how to connect your iPhone to the PVO projector using both wired and wireless methods, you have the freedom to choose the option that best suits your needs and preferences. In the next step, we will explore how to adjust the settings on your iPhone and the PVO projector for optimal display quality.
Step 6: Adjust settings on the iPhone and PVO projector for optimal display
After connecting your iPhone to the PVO projector, it’s important to adjust the settings on both devices to ensure the best possible display quality. By making the necessary adjustments, you can enhance the clarity, brightness, and overall viewing experience of the projected content.
Follow these steps to adjust the settings on the iPhone and the PVO projector:
-
On your iPhone, go to “Settings” and navigate to “Display & Brightness.”
-
Adjust the brightness level to a comfortable setting that suits the environment. Increase or decrease the brightness as needed to optimize the visibility of the content.
-
You may also want to enable the “Auto-Brightness” feature, allowing your iPhone to automatically adjust its brightness based on the ambient lighting conditions.
-
On the PVO projector, locate the settings menu or remote control.
-
Adjust the projector’s brightness, contrast, and other visual settings according to your preferences. These settings may vary depending on the make and model of your PVO projector.
-
If the projected image appears distorted or skewed, use the keystone correction feature (if available) to fine-tune the image and make it rectangular and properly aligned.
-
Experiment with the aspect ratio settings on both the iPhone and the PVO projector to ensure that the content is displayed in the correct proportions.
By adjusting the settings on both the iPhone and the PVO projector, you can achieve optimal display quality and ensure that your content looks its best on the big screen. Take the time to fine-tune the settings to match your preferences and the viewing conditions.
Keep in mind that the specific settings and adjustment options may vary depending on your iPhone model and the features supported by the PVO projector. Refer to the user manuals of both devices for detailed instructions on adjusting the settings.
Now that you have optimized the display settings, you’re ready to enjoy your content on the big screen with the best possible visual experience. In case you encounter any connection issues or have trouble with the setup, we’ll cover some troubleshooting tips in the next step.
Step 7: Troubleshooting common connection issues
While connecting your iPhone to a PVO projector is generally a straightforward process, you may encounter some common connection issues along the way. Here are a few troubleshooting tips to help you overcome these issues:
-
Check the cable connections: If you are using a wired connection, ensure that the cables are securely connected to both your iPhone and the PVO projector. Sometimes, loose or faulty connections can cause issues with the transmission of audio and video signals.
-
Restart both devices: Occasionally, a simple restart can resolve connection issues. Turn off both your iPhone and the PVO projector, then power them back on after a few seconds. This can help refresh the connection and resolve any software glitches.
-
Verify Wi-Fi network: If you are using a wireless connection, ensure that both your iPhone and the PVO projector are connected to the same Wi-Fi network. Inconsistent network connections can cause problems with screen mirroring and wireless communication.
-
Update software: Ensure that your iPhone’s operating system and the PVO projector’s firmware are up to date. Updating to the latest software versions can address compatibility issues and improve overall stability.
-
Disable VPN or personal hotspot: If you are using a virtual private network (VPN) or have enabled a personal hotspot on your iPhone, try turning them off. Sometimes, these settings can interfere with the connectivity between your iPhone and the PVO projector.
-
Check AirPlay settings: If you are using AirPlay for wireless connectivity, ensure that AirPlay is enabled on your iPhone’s settings and that the PVO projector is visible in the list of available devices. If not, restart the AirPlay feature and check if that resolves the issue.
-
Try a different cable or adapter: If you are experiencing issues with a wired connection, try using a different cable or adapter to rule out any problems with the existing ones. Sometimes, faulty cables or adapters can cause connection problems.
If you have tried all the troubleshooting tips above and are still unable to establish a connection between your iPhone and the PVO projector, it may be helpful to consult the respective user manuals or contact the manufacturer’s support for further assistance. They will be able to provide specific guidance based on your devices.
By troubleshooting common connection issues, you can overcome hurdles and ensure a successful connection between your iPhone and the PVO projector. Now, you’re all set to enjoy your favorite media and presentations on the big screen!
Conclusion
Connecting your iPhone to a PVO projector opens up a world of possibilities for sharing and enjoying multimedia content on a larger scale. By following the step-by-step guide we have provided, you can seamlessly connect your iPhone to a PVO projector using either a wired or wireless connection.
Throughout the process, it’s important to check the compatibility between your iPhone and the PVO projector, gather the necessary equipment and accessories, and set up the projector correctly. Adjusting the settings on both devices ensures optimal display quality, and troubleshooting common connection issues can help overcome any obstacles that may arise.
Whether you’re delivering a presentation, enjoying a movie night, or sharing photos with friends and family, connecting your iPhone to a PVO projector enhances the visual experience and makes it more immersive. The versatility and convenience that wireless connectivity offers allow you to move freely while still showcasing your content on the big screen.
Remember to refer to the user manuals and guidelines provided by the manufacturers for specific instructions related to your iPhone model and PVO projector. Additionally, stay updated with the latest software versions to ensure compatibility and stability.
Now that you have the knowledge and tools to connect your iPhone to a PVO projector, go ahead and explore the possibilities. Enjoy the enhanced multimedia experience and make the most of your iPhone’s capabilities on the big screen!


