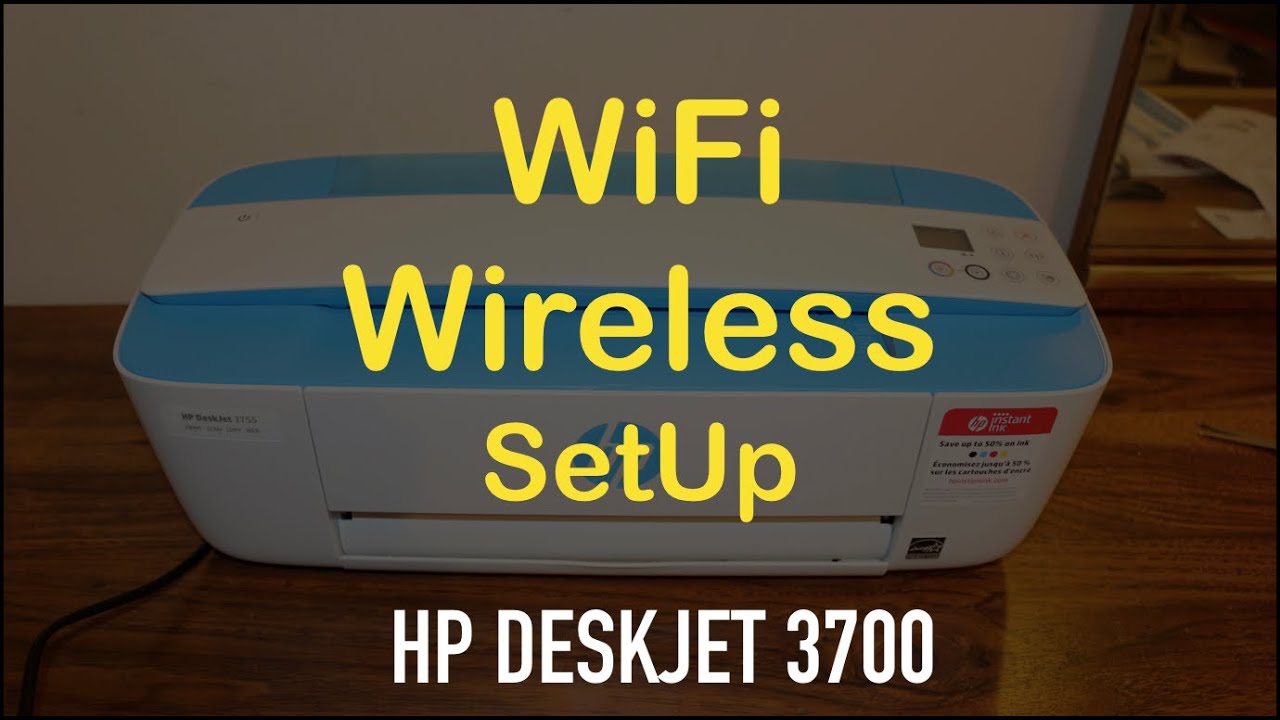
Introduction
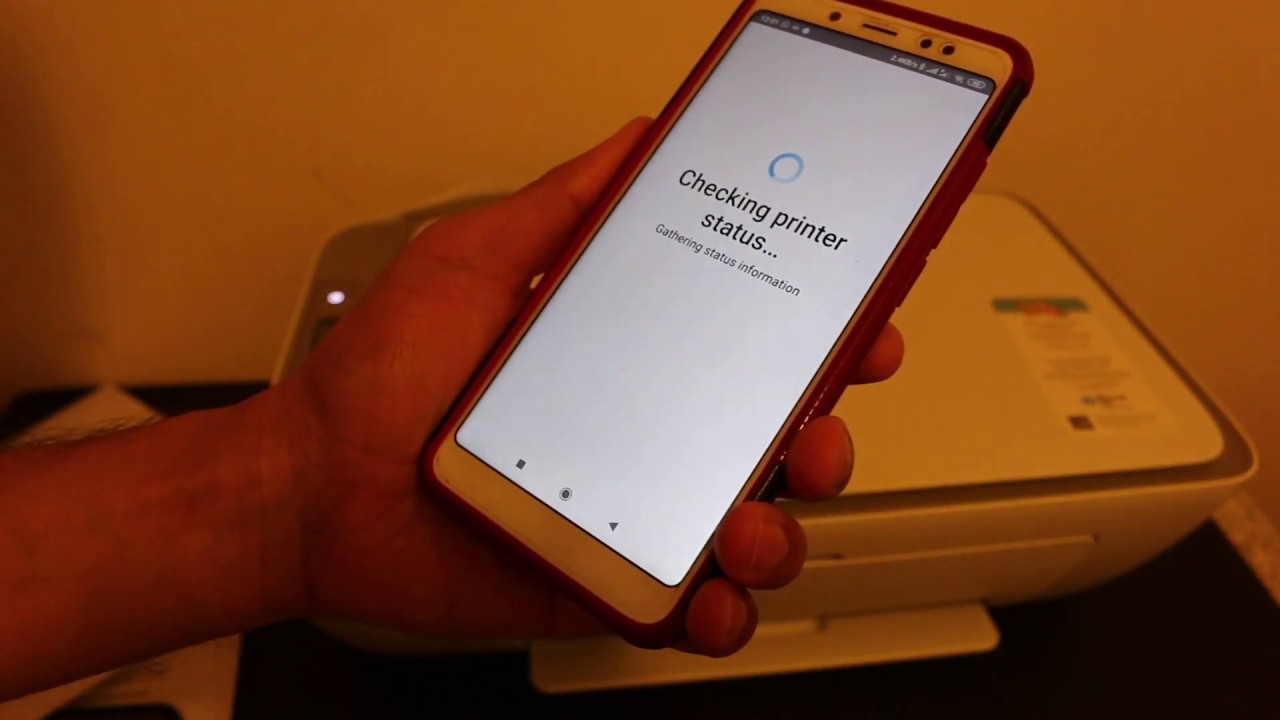
Welcome to the world of wireless printing with the HP Deskjet 2700! If you’re tired of dealing with tangled cords and limited printing locations, connecting your printer to Wi-Fi is the perfect solution. With the ability to wirelessly print from any device on the same network, you can say goodbye to the inconvenience of USB cables.
The HP Deskjet 2700 is a versatile printer that offers an array of features and functionalities. Whether you need to print documents, photos, or even labels, this printer has got you covered. With its user-friendly interface and seamless connection options, you can easily set it up to connect to your Wi-Fi network and start printing in no time.
In this guide, we will walk you through the step-by-step process of connecting your HP Deskjet 2700 to your Wi-Fi network. We will cover two different methods: the WPS method and the manual method. Whichever method you prefer, we’ve got you covered with detailed instructions to ensure a successful connection.
So, if you’re ready to experience the convenience and freedom of wireless printing, grab your HP Deskjet 2700 and let’s get started on connecting it to Wi-Fi!
Before diving into the steps, make sure you have your Wi-Fi network name (SSID) and password handy. You will need this information during the setup process. If you’re not sure where to find this information, don’t worry! We’ll guide you through the process.
Step 1: Prepare your HP Deskjet 2700 for the Wi-Fi connection
Before we can connect your HP Deskjet 2700 to your Wi-Fi network, we need to ensure that the printer is ready for the setup process. Follow these steps to prepare your printer:
- First, power on your HP Deskjet 2700 by plugging it into a power outlet.
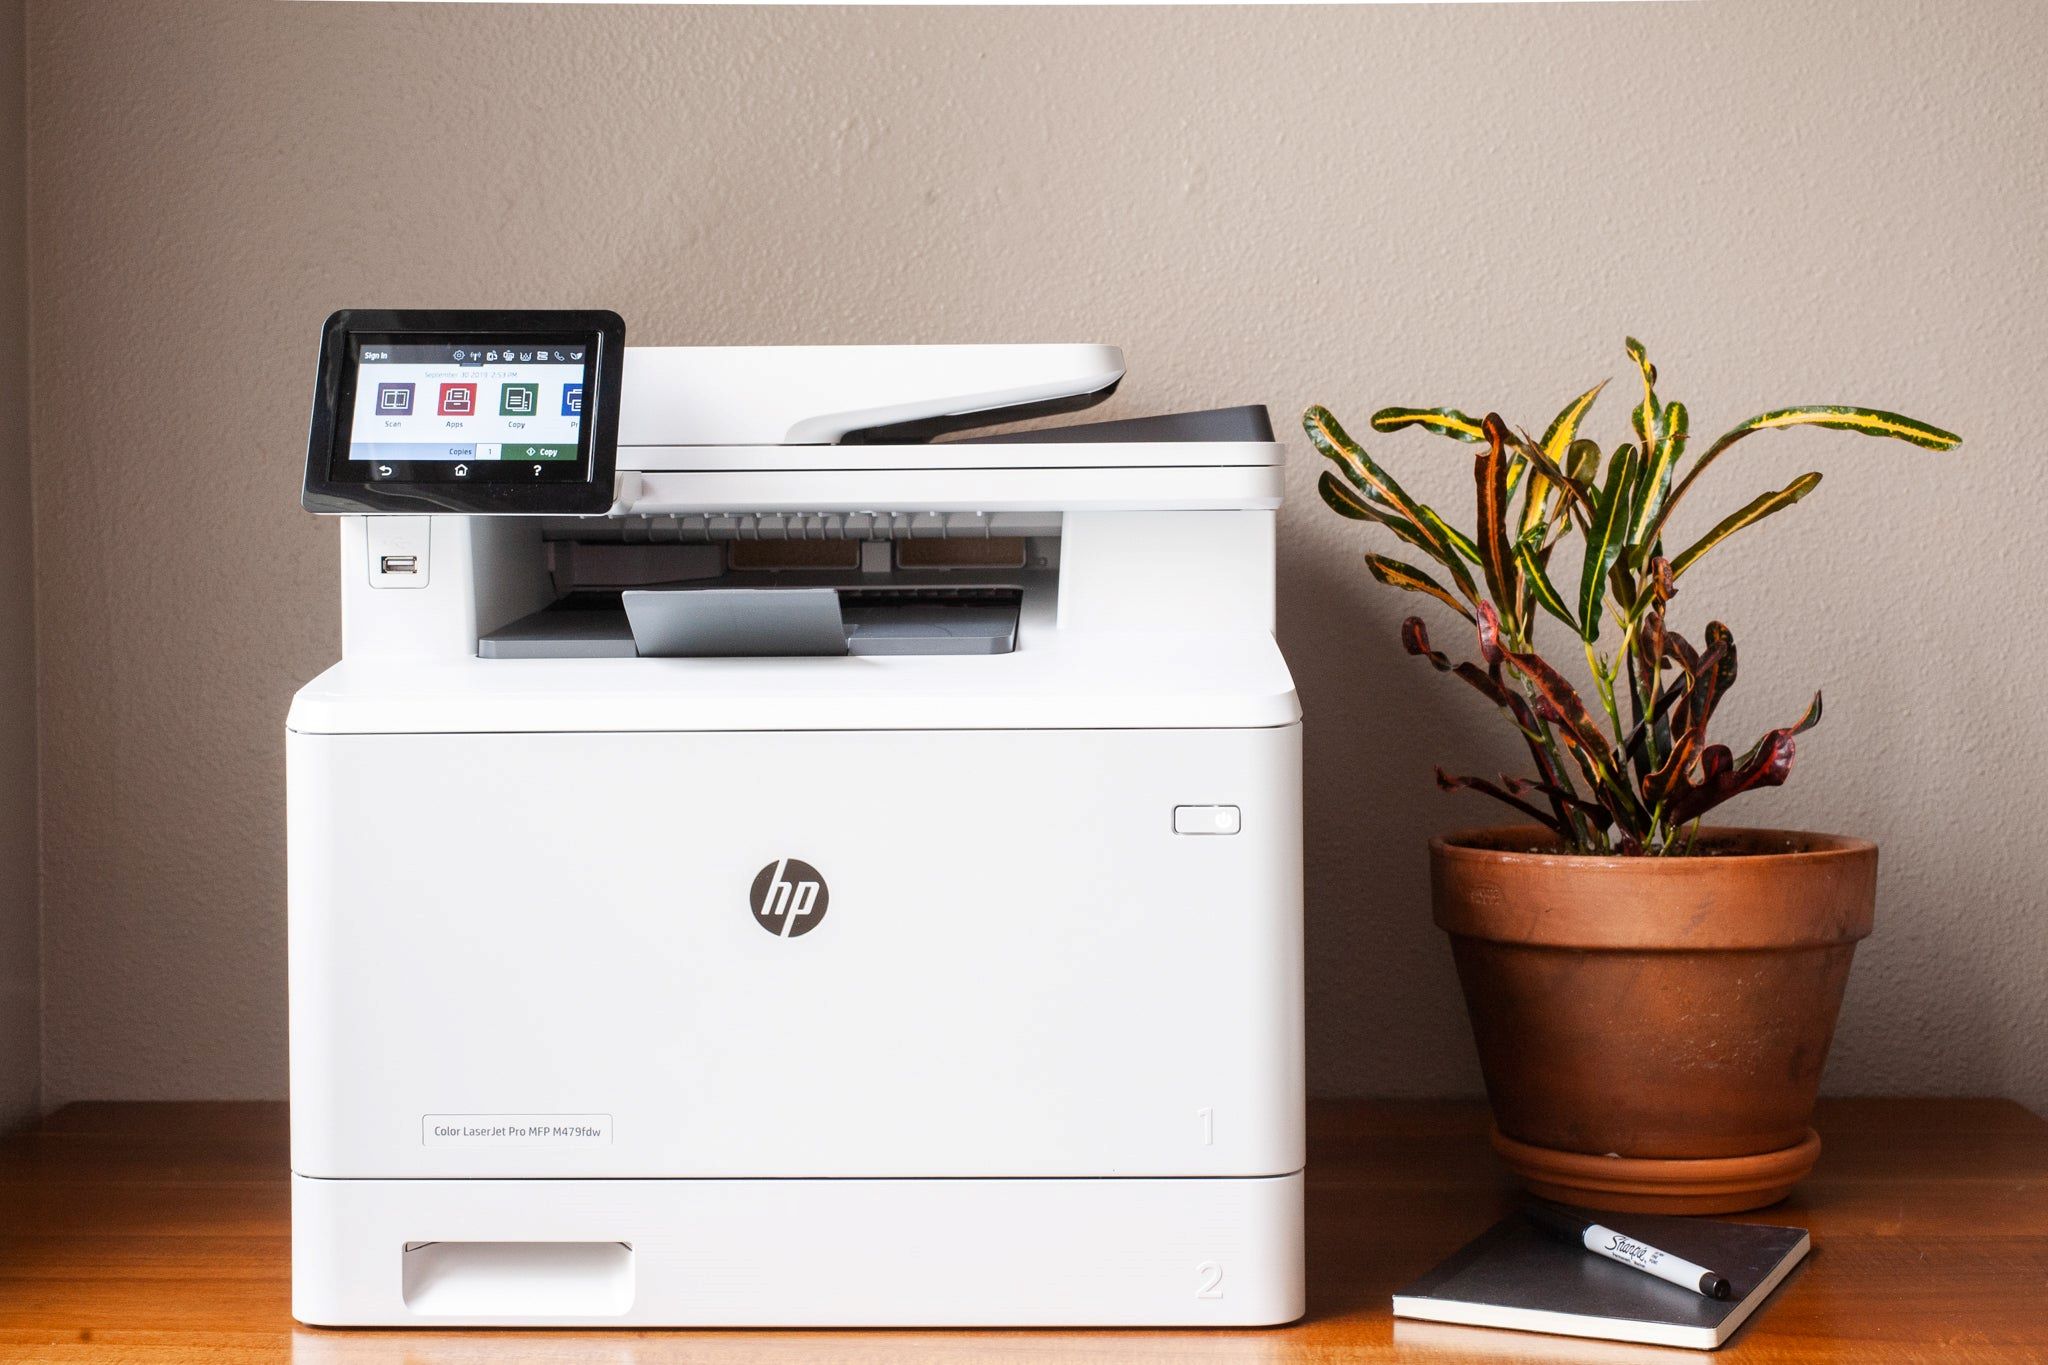
- Next, locate the control panel on the printer. It is usually located on the front or top of the printer.
- Once you have located the control panel, press the power button to turn on the printer.
- Wait for the printer to finish its warm-up process. This may take a few seconds.
- If the printer displays any error messages or issues during the warm-up process, consult the printer’s manual for troubleshooting steps.
- Ensure that there is paper loaded in the paper tray.
- Check the ink or toner levels in your printer and replace or refill them if necessary.
- Make sure that the printer is in a suitable location where it can receive a strong Wi-Fi signal.
Once you have completed these steps, your HP Deskjet 2700 will be ready for the Wi-Fi connection process. Now let’s move on to the next step and connect your printer to your Wi-Fi network.
Step 2: Connect the HP Deskjet 2700 to your Wi-Fi network using WPS method
If your Wi-Fi router supports the WPS (Wi-Fi Protected Setup) method, you can easily connect your HP Deskjet 2700 to your Wi-Fi network using this convenient and secure method. Follow the steps below:
- Ensure that your Wi-Fi router is turned on and within range of your HP Deskjet 2700.
- Locate the WPS button on your Wi-Fi router. It is usually labeled with “WPS” or identified by an icon.
- On your HP Deskjet 2700, navigate to the control panel and press the Wireless button.
- Once the Wireless menu is displayed on the printer’s screen, press the WPS button.
- Within a few seconds, the printer will establish a connection with your Wi-Fi network.
- The printer’s control panel will display a confirmation message once the connection is successful.
- Now, you can start printing wirelessly from any device connected to the same Wi-Fi network.
- If the connection fails, check the WPS button on your Wi-Fi router and try again. If the issue persists, you may need to use the manual method to connect your printer to the Wi-Fi network.
Connecting your HP Deskjet 2700 to your Wi-Fi network using the WPS method is quick and hassle-free. It eliminates the need for entering lengthy Wi-Fi passwords and ensures a secure connection. Once the setup is complete, you can enjoy the convenience of wireless printing from your device. Let’s now move on to the next step: connecting your printer to the Wi-Fi network manually.
Step 3: Connect the HP Deskjet 2700 to your Wi-Fi network manually
If your Wi-Fi router does not support the WPS method or if the connection was unsuccessful using the WPS method, you can still connect your HP Deskjet 2700 to your Wi-Fi network manually. Follow the steps below:
- Make sure your Wi-Fi router is turned on and within range of your HP Deskjet 2700.
- On the printer’s control panel, navigate to the Wireless menu.
- Select the option to “Setup” or “Network Setup” depending on your printer’s menu options.
- Choose the option to “Wireless Setup Wizard” or “Wi-Fi Setup” to initiate the manual connection process.
- Your printer will start searching for available Wi-Fi networks. Wait for the list of networks to appear on the screen.
- Using the navigation keys, select your Wi-Fi network from the list.
- If your Wi-Fi network is password protected, enter your Wi-Fi password using the printer’s control panel.
- After entering the password, press the OK or Enter button to confirm.
- Wait for the printer to establish a connection with your Wi-Fi network. This may take a few moments.
- Once the connection is successful, the printer will display a confirmation message on its control panel.
- Now, your HP Deskjet 2700 is connected to your Wi-Fi network, and you can begin wireless printing.
Manually connecting your HP Deskjet 2700 to your Wi-Fi network may require a few more steps than the WPS method, but it ensures the printer is successfully connected to your network. Once the connection is established, you can enjoy the convenience of wireless printing from any device on the same Wi-Fi network.
Now that your printer is connected, let’s move on to the next step: testing the Wi-Fi connection on your HP Deskjet 2700.
Step 4: Test the Wi-Fi connection on your HP Deskjet 2700
After connecting your HP Deskjet 2700 to your Wi-Fi network, it’s important to ensure that the connection is working properly before you start printing. Here’s how you can test the Wi-Fi connection:
- Make sure that your printer is powered on and connected to the Wi-Fi network you just set up.
- On your computer or mobile device, ensure that you are connected to the same Wi-Fi network as your HP Deskjet 2700.
- Open a document or photo that you want to print.
- Select the “Print” option from the software or app you’re using.
- Choose your HP Deskjet 2700 as the selected printer.
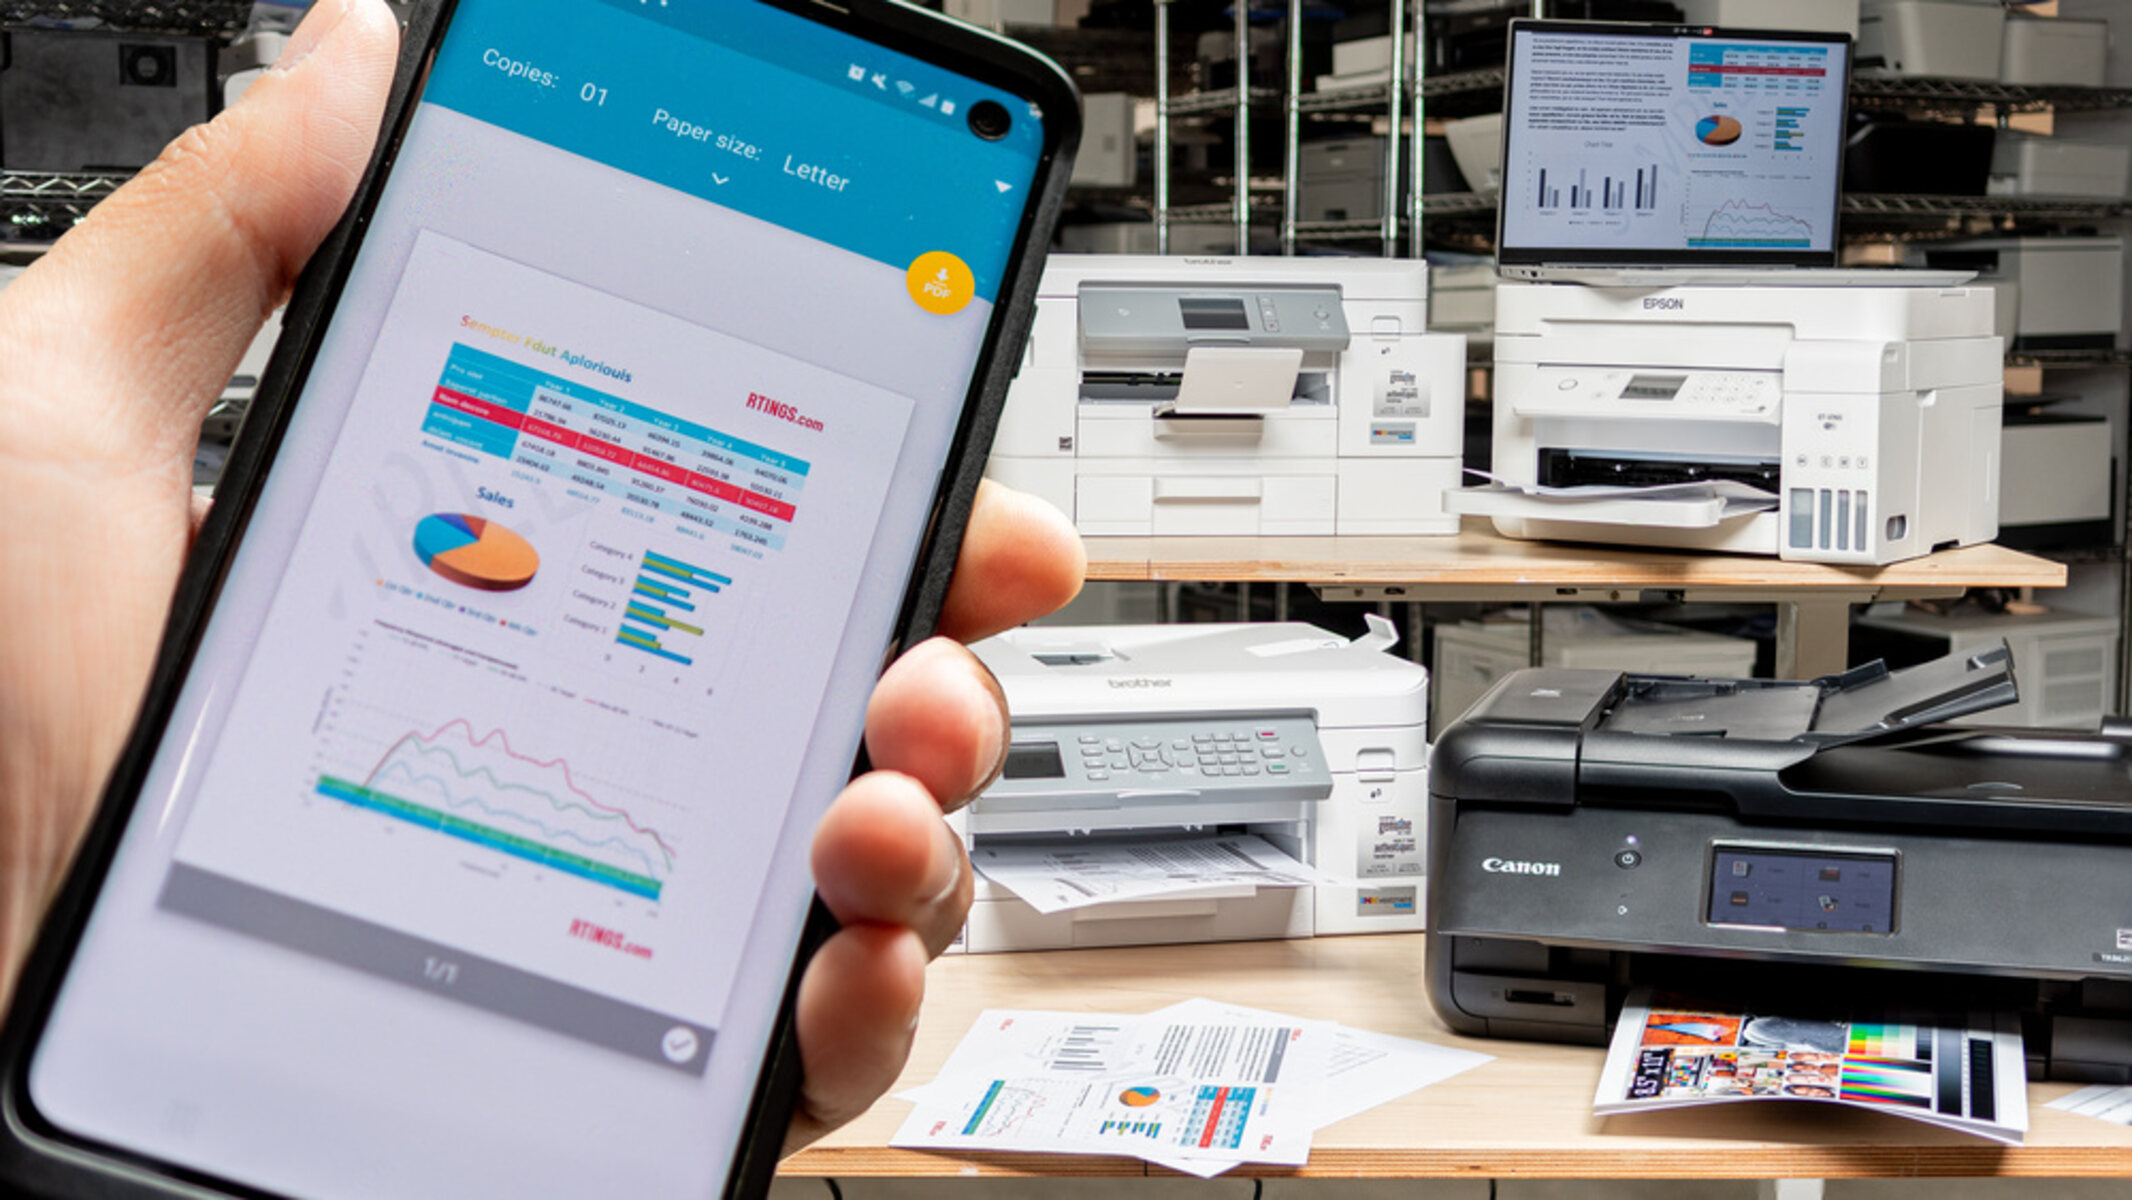
- Adjust the print settings, such as paper size and print quality, according to your preferences.
- Click or tap the “Print” button to start printing.
- Wait for your HP Deskjet 2700 to receive the print job and produce the printed output.
- Check the printed document or photo to ensure that it matches your expectations in terms of quality and formatting.
If the printout is as desired, congratulations! Your HP Deskjet 2700 is successfully connected to your Wi-Fi network, and you can now enjoy wireless printing convenience. However, if there are any issues with the printout or if it doesn’t match your expectations, you may need to troubleshoot the connection or adjust the printer settings accordingly.
You can also use other features of your HP Deskjet 2700, such as scanning or copying, to ensure that the Wi-Fi connection is working for all functionalities of the printer. Simply follow the instructions in the printer’s manual to use these features.
With a successful Wi-Fi connection and the ability to print wirelessly, you can now enjoy the flexibility and convenience of printing from any device on your Wi-Fi network. Whether it’s important documents for work, family photos, or school assignments, your HP Deskjet 2700 is ready to assist you in achieving your printing needs.
Conclusion
Congratulations! You have successfully connected your HP Deskjet 2700 to your Wi-Fi network. Now, you can take full advantage of the wireless printing capabilities and enjoy the convenience it brings to your daily printing tasks.
We covered two methods to connect your printer: the WPS method and the manual method. The WPS method allows for a quick setup with the press of a button, while the manual method provides a more traditional way of connecting using the printer’s control panel. By following the step-by-step instructions provided for each method, you should have experienced a smooth connection process.
Remember, before starting the connection process, ensure that your printer is prepared by following the preliminary steps listed in ‘Step 1’. This will ensure a seamless setup process, minimizing any potential issues during the connection.
After successfully connecting your HP Deskjet 2700 to your Wi-Fi network, don’t forget to test the connection, as described in ‘Step 4’. This will help you verify that the printer is working as intended and that you can print wirelessly from your devices.
By eliminating the need for USB cables and offering the freedom to print from any device on the same Wi-Fi network, your HP Deskjet 2700 brings convenience and flexibility to your printing experience. From important documents to cherished memories captured in photos, your printer is ready to assist you with all your printing needs effortlessly.
If you encounter any issues during the setup or face ongoing connectivity problems, refer to the printer’s manual for troubleshooting instructions or reach out to the HP support team for further assistance.
Enjoy your wireless printing experience with the HP Deskjet 2700!


