Introduction
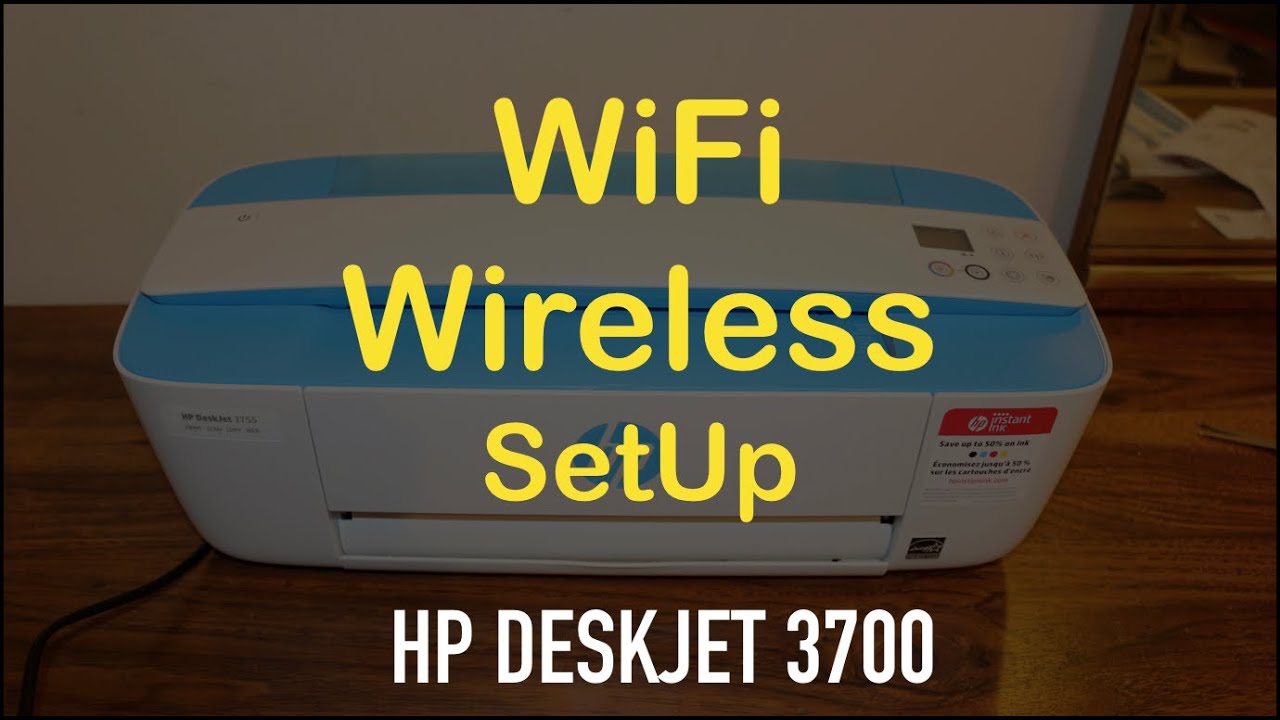
Welcome to the world of wireless printing! Connecting your HP Deskjet 3700 printer to Wi-Fi allows you to print from any device in your network without the hassle of cables. Whether you want to print documents from your laptop, photos from your smartphone, or important files from your tablet, a wireless connection provides the convenience and flexibility you need.
In this guide, we will walk you through the step-by-step process of connecting your HP Deskjet 3700 printer to Wi-Fi. But before we dive into the technical details, let’s take a moment to ensure you have everything you need for a seamless setup.
Firstly, make sure you have the following materials within reach:
- HP Deskjet 3700 printer
- Power supply and cord
- USB cable (for initial setup)
- Plain white paper
- Ink cartridges (black and color)
- A computer or mobile device connected to your Wi-Fi network
Having all these materials ready before you begin will save you time and make the setup process much smoother.
Now that you have everything you need, let’s move on to the next step: connecting the power supply.
Step 1: Gather the necessary materials
Before you begin the process of connecting your HP Deskjet 3700 printer to Wi-Fi, it’s important to ensure that you have all the necessary materials at hand. This will help you avoid any interruptions or delays during the setup process.
Here’s a checklist of the materials you’ll need:
- HP Deskjet 3700 printer: This compact and stylish printer will serve as your printing companion. Make sure it is readily accessible and powered off before starting.
- Power supply and cord: Locate the power supply that came with your printer. It usually consists of a power brick and a detachable cord. Ensure that you have both components available.
- USB cable: Although we will be connecting the printer wirelessly, it’s important to have a USB cable for the initial setup. This cable will be used to establish the Wi-Fi connection and configure the printer settings.
- Plain white paper: Prepare a stack of standard letter-sized paper. This will be used to test the printer and ensure that it is functioning correctly after the setup.
- Ink cartridges: Check if you have both the black and color ink cartridges required for the printer. If you need to purchase new cartridges, refer to the printer’s documentation for the specific cartridge models compatible with the HP Deskjet 3700.
- A computer or mobile device: Ensure that you have a computer or mobile device connected to the same Wi-Fi network you want to connect your printer to. This will be used to configure the printer settings and manage print jobs.
Once you have gathered all these materials, you are ready to get started with the setup process. Having everything prepared will make the process smoother and reduce the chances of running into any unexpected issues.
Now that you have all the necessary materials, let’s move on to the next step: connecting the power supply to your HP Deskjet 3700 printer.
Step 2: Connect the power supply
Now that you have gathered all the necessary materials, it’s time to connect the power supply to your HP Deskjet 3700 printer.
Follow these steps to connect the power supply:
- Locate the power brick that came with your printer. It usually has the HP logo printed on it.
- Attach one end of the detachable power cord to the power brick and plug the other end into a power outlet. Ensure that the outlet is easily accessible and its switch is turned on.
- Next, find the DC power input port on the back of your printer. It is typically marked with a power icon.
- Connect the power cable from the power brick to the DC power input port of your printer. Make sure it is securely inserted.
- Once the power supply is connected, you can now turn on your printer. Look for the power switch, usually located on the side or back of the printer, and flip it to the “On” position.
After turning on the printer, it will go through a short initialization process. You may hear some noise or see the printer’s lights flashing. This is normal and indicates that the printer is preparing for operation.
Once the initialization process is complete, your HP Deskjet 3700 printer is ready to be set up for wireless printing. In the next step, we will guide you on how to load paper into the printer.
Step 3: Load paper into the printer
Now that your HP Deskjet 3700 printer is powered on, it’s time to load paper into the paper input tray. This will ensure that you have enough paper for printing your documents and photos.
Follow these steps to load paper into the printer:
- Locate the paper input tray at the front of your printer. It is usually a fold-down door or a tray that slides out.
- Make sure to adjust the paper width guides according to the size of the paper you’ll be using. The guides should be snug against the edges of the paper, preventing it from sliding.
- Take a stack of plain white paper and tap it gently on a flat surface to align the edges. This ensures that the paper is properly stacked and doesn’t jam inside the printer.
- Insert the stack of paper into the paper input tray. Be cautious not to overload it. Adjust the paper width guides again, if necessary, to firmly hold the paper in place.
- Push the paper input tray back into the printer until it clicks into position. Make sure it is securely closed.
Now that the paper is loaded, your HP Deskjet 3700 printer is ready to print your documents. However, we still need to install the ink cartridges before we can start printing. Proceed to the next step to learn how to install the ink cartridges.
Step 4: Install ink cartridges
Before you can start printing with your HP Deskjet 3700 printer, you need to install the ink cartridges. These cartridges contain the ink necessary for creating high-quality prints.
Follow these steps to install the ink cartridges:
- Open the ink cartridge access door of your printer. This door is usually located at the front or top of the printer.
- Wait for the ink cartridge carriage to move into the access area. If it doesn’t move automatically, gently push it to the side.
- Remove the new ink cartridge from its packaging. Be cautious not to touch the copper contacts or the ink nozzles.
- Hold the ink cartridge with the copper contacts facing towards the printer and insert it into the corresponding color-coded slot. The color of the cartridge and the label on the slot should match.
- Push the ink cartridge firmly into the slot until it clicks into place. Ensure that it is securely installed.
- Repeat the previous steps for the other ink cartridge, if applicable.
- Close the ink cartridge access door of your printer. It should latch closed without any resistance.
Once the ink cartridges are properly installed, your HP Deskjet 3700 printer is ready to produce stunning prints. In the next step, we will guide you on how to turn on the printer and ensure that the wireless feature is enabled.
Step 5: Turn on the printer
After installing the ink cartridges, the next step is to turn on your HP Deskjet 3700 printer. This will activate the printer and prepare it for the wireless setup process.
Here’s how to turn on the printer:
- Locate the power button on your printer. It is usually located on the front or top panel.
- Press the power button to turn on the printer. You may need to hold it for a few seconds until the printer powers up.
- After turning on, the printer will go through a brief initialization process. You may hear some noise, and the lights on the printer may flash momentarily. This is normal and indicates that the printer is preparing for operation.
- Once the initialization process is complete, your HP Deskjet 3700 printer is now ready to be connected to your Wi-Fi network.
With the printer powered on, you are one step closer to enjoying the benefits of wireless printing. In the next step, we will guide you on how to make sure the wireless feature is enabled on your printer.
Step 6: Make sure the wireless feature is enabled
Before you can connect your HP Deskjet 3700 printer to your Wi-Fi network, it is essential to confirm that the wireless feature is enabled on the printer. By enabling the wireless feature, you allow your printer to communicate with other devices on your network wirelessly.
Here’s how to check if the wireless feature is enabled on your printer:
- On the printer’s control panel, look for the wireless icon. It usually resembles a series of curved lines or a signal icon.
- If the wireless icon is illuminated or if you see a blinking light, it indicates that the wireless feature is already enabled. You can proceed to the next step.
- If the wireless icon is not illuminated or if the light is off, you need to enable the wireless feature. To do this, navigate to the printer’s settings menu using the control panel buttons.
- Search for the wireless settings or network setup options in the printer’s settings menu. Once you locate it, access the options and look for the wireless feature or wireless connectivity.
- Enable the wireless feature by selecting the appropriate option and following the prompts on the screen. Depending on the printer model, you may need to choose your network name (SSID) and enter the Wi-Fi password during this process.
- Once you have enabled the wireless feature, the wireless icon on the control panel should light up or stop blinking. This confirms that the wireless feature is now active and ready to connect to your Wi-Fi network.
Ensuring that the wireless feature is enabled on your HP Deskjet 3700 printer is crucial for establishing a successful connection with your Wi-Fi network. In the next step, we will guide you on how to connect the printer to your Wi-Fi network.
Step 7: Connect the printer to your Wi-Fi network
Now that the wireless feature is enabled on your HP Deskjet 3700 printer, it’s time to connect it to your Wi-Fi network. By establishing a wireless connection, you will be able to print from any device connected to the same network, without the need for any physical cables.
Follow these steps to connect your printer to your Wi-Fi network:
- On your computer or mobile device, ensure that you are connected to the Wi-Fi network you want to connect your printer to. This step is essential since your printer will need to join the same network.
- On the printer’s control panel, navigate to the network or wireless settings menu. This can usually be accessed through the settings or setup options on the control panel.
- Select the Wi-Fi setup or wireless setup option in the menu and search for available networks.
- Choose your Wi-Fi network from the list of available networks. If your network is not displayed, you may need to manually enter your network name (SSID).
- If prompted, enter your Wi-Fi password to connect your printer to the network. Make sure to enter the password correctly to avoid any connection issues.
- Once you have entered the correct password, wait for your printer to establish a connection with the Wi-Fi network. This process may take a few moments.
- After the connection is established, your printer will display a confirmation message on the control panel, indicating a successful Wi-Fi connection. You may also see the wireless icon on the control panel lit up or steady.
With the printer successfully connected to your Wi-Fi network, you are now ready to install the printer software on your computer. In the next step, we will guide you on how to complete this installation process.
Step 8: Install the printer software on your computer
Now that your HP Deskjet 3700 printer is connected to your Wi-Fi network, it’s time to install the necessary printer software on your computer. This software will allow your computer to communicate with the printer and send print jobs wirelessly.
Follow these steps to install the printer software on your computer:
- Insert the installation CD that came with your printer into your computer’s CD/DVD drive. If your computer doesn’t have a CD/DVD drive, you can download the software from the official HP support website.
- Once the CD is inserted, an installation wizard should automatically open. If it doesn’t, navigate to your CD/DVD drive and manually launch the setup file.
- Follow the prompts in the installation wizard to begin the software installation process. You may be asked to select your printer model, choose the installation type (full or custom), and accept the terms and conditions.
- During the installation, the wizard will detect your printer’s connection type. Choose the wireless option, as your printer is already connected to the Wi-Fi network.
- If prompted, enter your Wi-Fi network password to allow the computer to connect to the printer wirelessly.
- Follow the remaining steps in the installation wizard to complete the software installation on your computer.
- Once the installation is complete, you may be prompted to restart your computer. If so, go ahead and restart to apply the changes.
After restarting your computer, the printer software should be successfully installed and ready to use. You can now start sending print jobs wirelessly to your HP Deskjet 3700 printer.
In the next step, we will guide you on how to test the connection and ensure that everything is functioning correctly.
Step 9: Test the connection
Now that you have installed the printer software on your computer and completed the setup process, it’s time to test the connection between your computer and the HP Deskjet 3700 printer. Testing the connection will ensure that everything is functioning correctly and that you can successfully send print jobs wirelessly.
Follow these steps to test the connection:
- Make sure that both your computer and the printer are powered on and connected to the same Wi-Fi network.
- Open a document or photo on your computer that you want to print.
- Select the “Print” option from the application’s menu. This will open the print settings dialog box.
- In the print settings dialog box, choose your HP Deskjet 3700 printer from the list of available printers. If you do not see your printer listed, make sure it is powered on and connected to the Wi-Fi network properly.
- Configure any additional print settings, such as the number of copies, paper size, or print quality, according to your preferences.
- Click the “Print” button to send the print job to your HP Deskjet 3700 printer.
- Monitor the printer for any activity. You should hear the printer initializing and eventually see the document or photo being printed.
- Once the print job is completed, check the printed output for accuracy and quality. Ensure that the text is clear, and the colors are vibrant.
If the print job is successful and the output meets your expectations, congratulations! Your HP Deskjet 3700 printer is now fully connected and ready to use wirelessly. You can continue to print documents and photos from your computer or other devices on the same Wi-Fi network.
If you encounter any issues during the testing phase, make sure to check the printer’s connection, restart your devices, or consult the printer’s documentation for troubleshooting steps. It’s important to ensure a stable and reliable connection for optimal printing experience.
Conclusion
Congratulations! You have successfully connected your HP Deskjet 3700 printer to your Wi-Fi network. By following the step-by-step instructions in this guide, you have unlocked the convenience of printing wirelessly from any device in your network.
Throughout the setup process, you gathered the necessary materials, connected the power supply, loaded paper into the printer, installed ink cartridges, turned on the printer, enabled the wireless feature, connected the printer to your Wi-Fi network, installed the printer software on your computer, and finally, tested the connection.
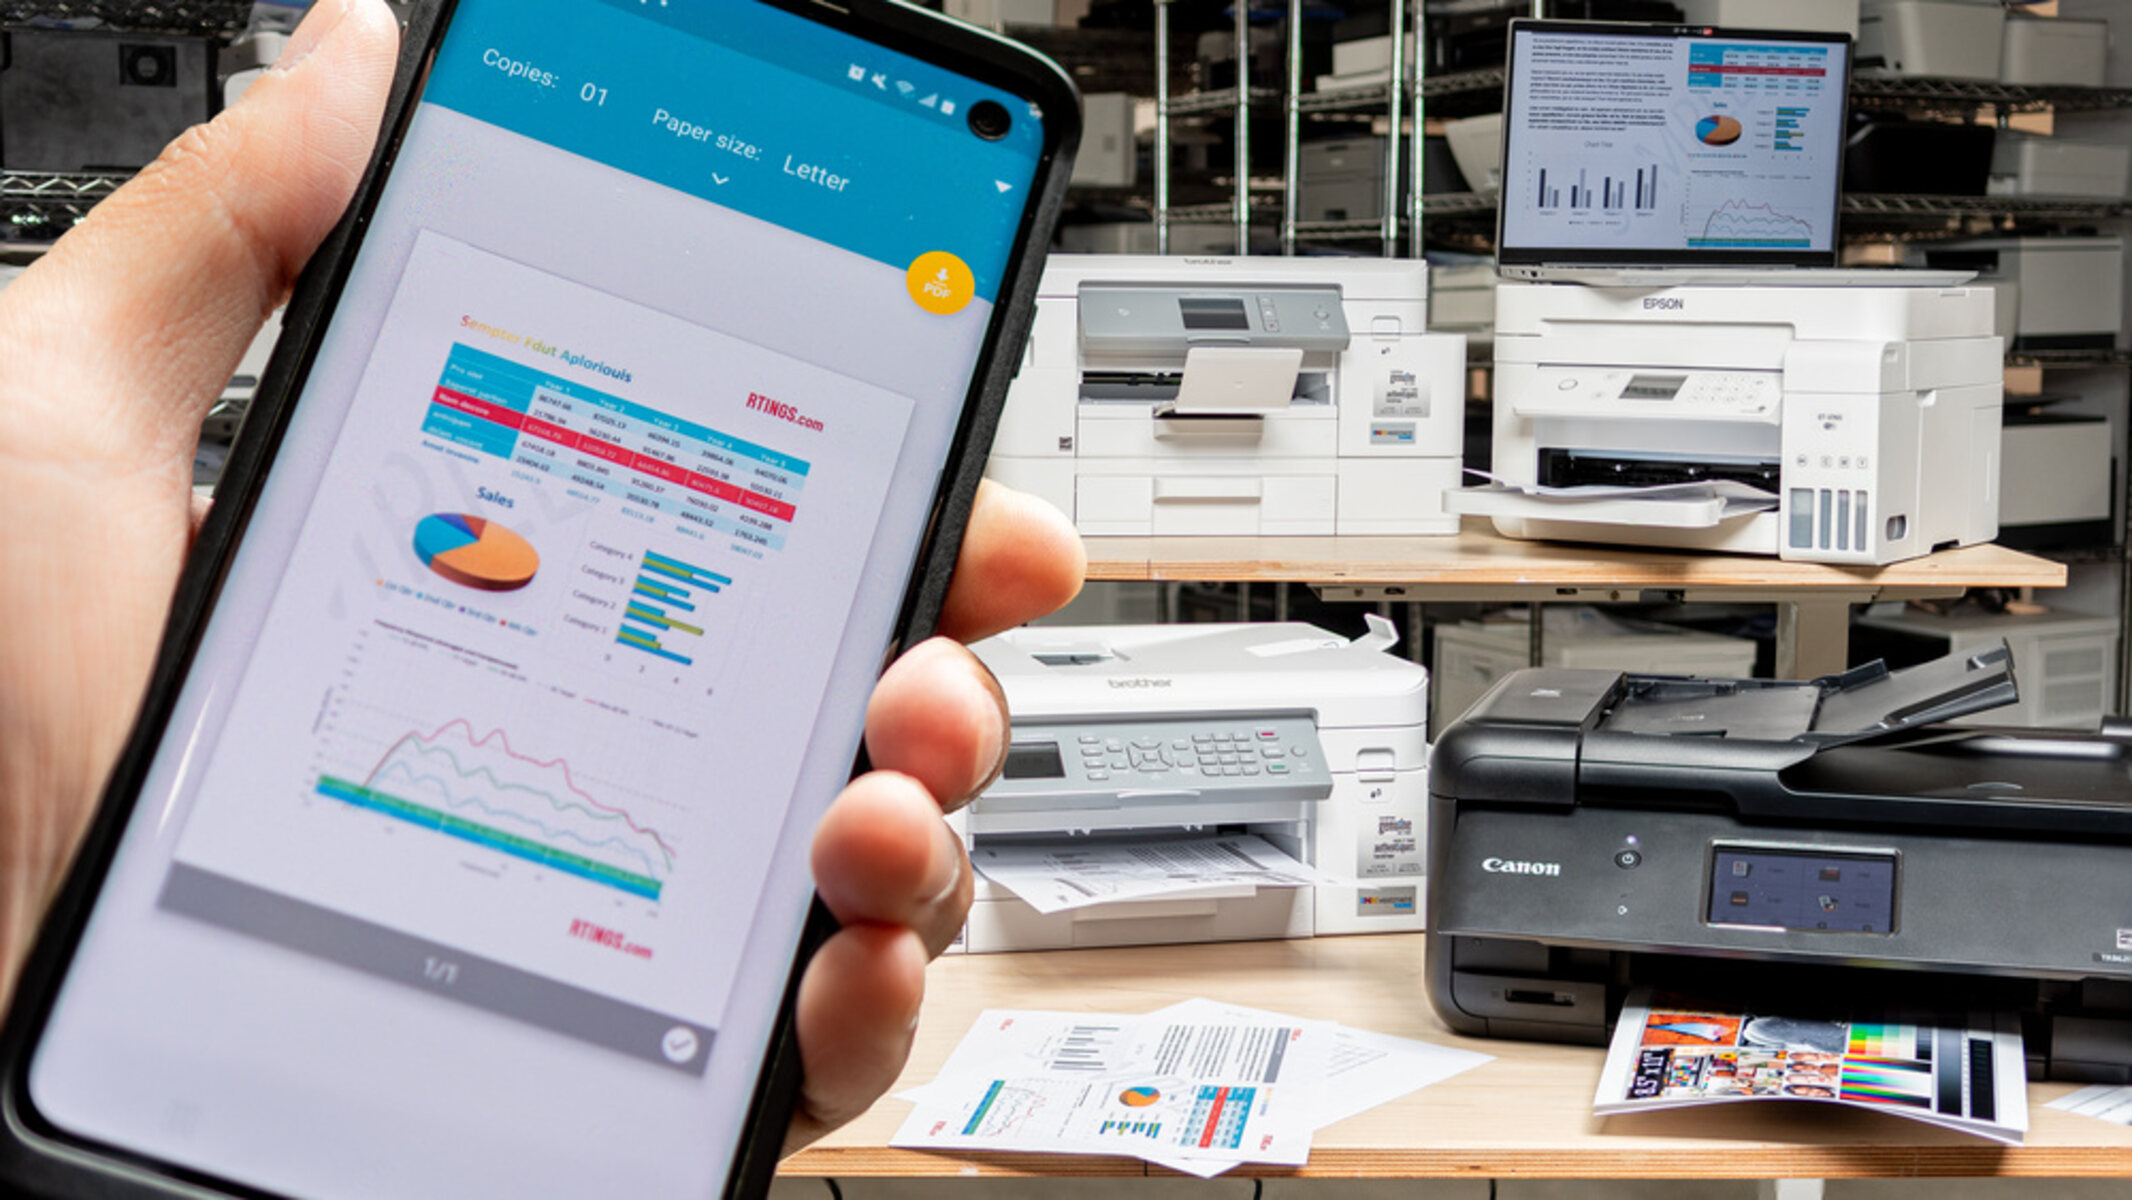
Now, you can enjoy the benefits of wireless printing, whether it’s printing documents from your laptop, capturing precious memories with your smartphone and printing them on the spot, or effortlessly managing print jobs from your tablet. The possibilities are endless!
Remember to keep your printer and computer connected to the same Wi-Fi network to maintain a seamless printing experience. Additionally, periodically check for software updates for your printer to ensure optimal performance and access to the latest features.
If you encounter any difficulties along the way, refer to the printer’s documentation or reach out to HP’s support for assistance. They will be able to provide you with further guidance and troubleshooting tips.
Thank you for following this guide, and happy wireless printing with your HP Deskjet 3700!


