Introduction
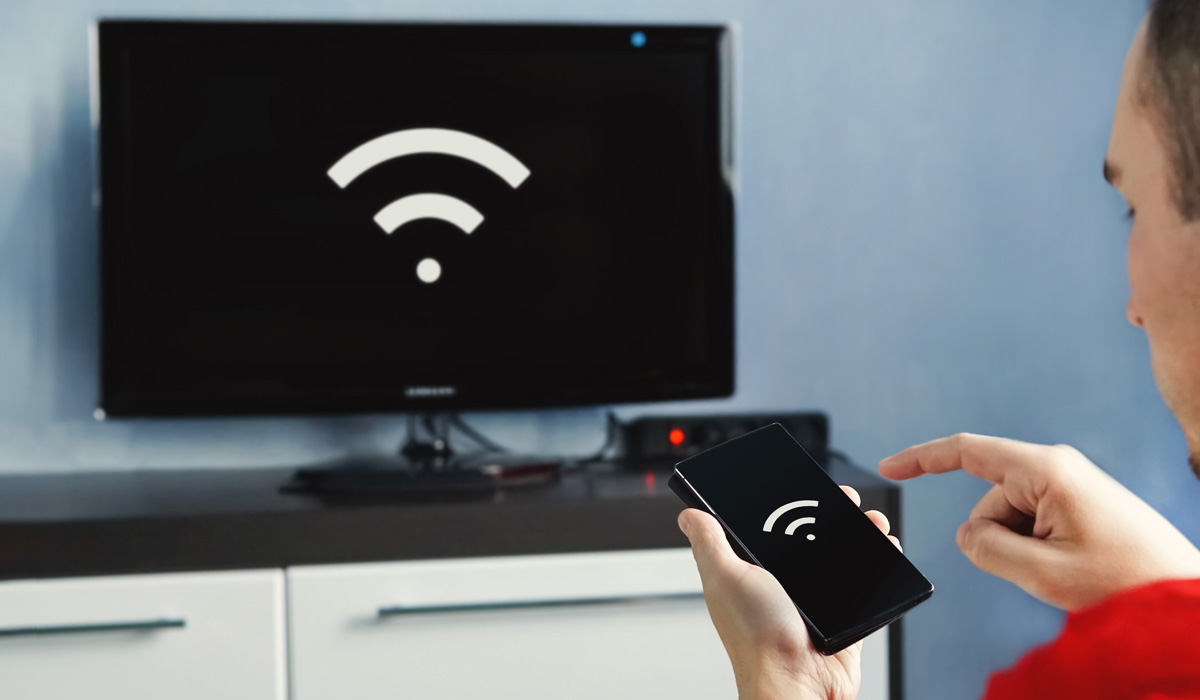
Are you looking to connect your Samsung Smart TV to a hotspot? Whether you’re traveling or your home Wi-Fi is down, connecting your TV to a hotspot can provide a temporary solution for streaming your favorite shows and movies. By following a few simple steps, you can easily connect your Samsung Smart TV to a hotspot and start enjoying your entertainment without interruption.
Connecting your TV to a hotspot allows you to leverage the internet connection from your mobile device and use it as a Wi-Fi source for your Samsung Smart TV. This can be particularly useful when you’re on the go or have limited access to a stable Wi-Fi network. You can use your smartphone or tablet’s mobile hotspot feature to create a local network and connect your TV to it wirelessly.
In this guide, we will walk you through the process of connecting your Samsung Smart TV to a hotspot. Whether you’re using an Android or iOS device as your hotspot, the steps will be similar. So, grab your remote control and let’s get started on setting up your Samsung Smart TV with a hotspot.
Step 1: Set up your hotspot on your mobile device
The first step to connect your Samsung Smart TV to a hotspot is to set up a hotspot on your mobile device. This will create a Wi-Fi network that your TV can connect to. Here’s how you can set up a hotspot on both Android and iOS devices:
For Android devices:
- Go to the “Settings” menu on your Android device.
- Select the “Network & internet” option.
- Tap on “Hotspot & tethering.”
- Toggle on the “Mobile Hotspot” switch to enable it.
- Customize your hotspot settings by tapping on “Mobile Hotspot” or “Hotspot name” options. You can set a name for your hotspot and choose a password.
- Save the settings and turn on the mobile hotspot.
For iOS devices:
- Go to the “Settings” app on your iOS device.
- Select the “Personal Hotspot” option.
- Toggle on the “Personal Hotspot” switch to enable it.
- Customize your hotspot settings by tapping on “Wi-Fi Password.” You can set a password for your hotspot.
- Save the settings and turn on the personal hotspot.
After setting up the hotspot on your mobile device, make sure that it is actively broadcasting the Wi-Fi network. This will allow your Samsung Smart TV to detect and connect to the hotspot network. Keep your mobile device nearby as you proceed to the next step.
Step 2: Connect your Samsung Smart TV to the hotspot
Now that you have set up the hotspot on your mobile device, it’s time to connect your Samsung Smart TV to the hotspot network. Follow these steps to establish the connection:
- Grab your Samsung Smart TV remote control and press the “Menu” button.
- Navigate to the “Network” or “Settings” section using the arrow keys on your remote.
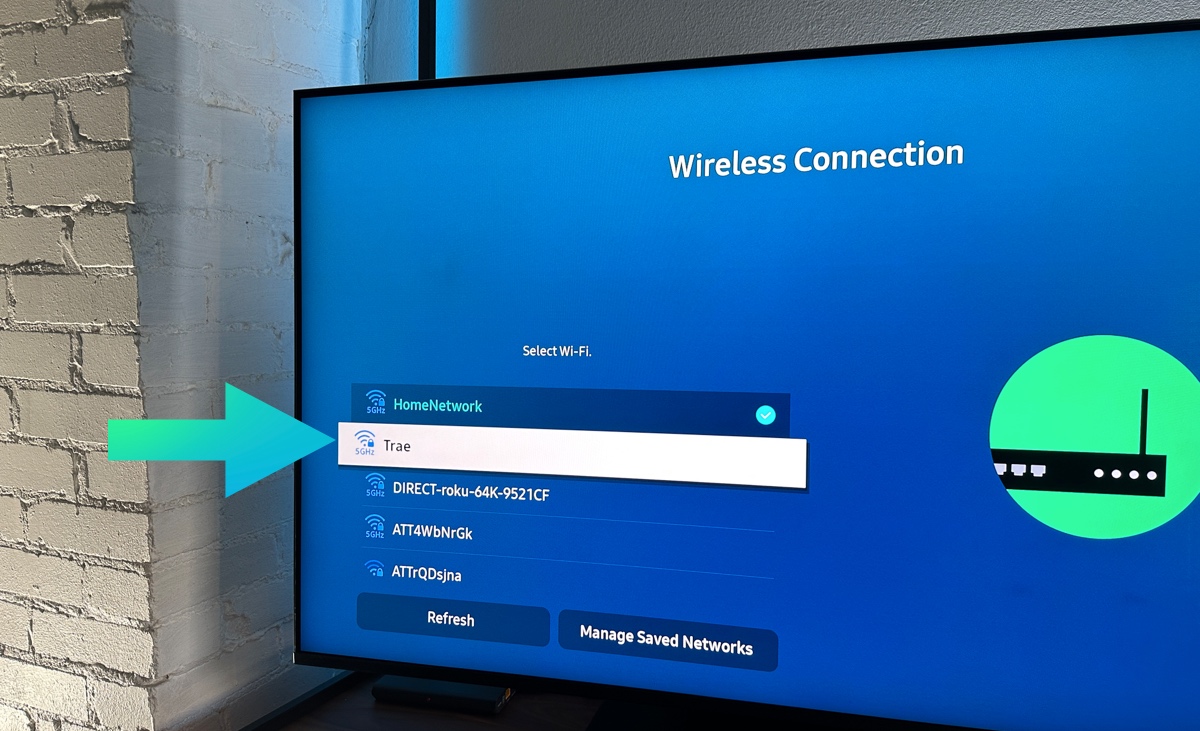
- Look for the “Wireless Network” or “Wi-Fi” option and select it.
- Your TV will display a list of available Wi-Fi networks. Locate and choose the hotspot network that corresponds to your mobile device’s hotspot name.
- If prompted, enter the password for your mobile hotspot. This is the password you set up during the hotspot configuration on your mobile device.
- Wait for your Samsung Smart TV to establish a connection with the hotspot network. This may take a few moments.
- Once connected, your TV will display a confirmation message or an icon indicating a successful connection to the hotspot network.
Congratulations! You have now successfully connected your Samsung Smart TV to the hotspot. Your TV will now be able to access the internet through the mobile device’s hotspot network. Next, we will move on to configuring the network settings on your Samsung Smart TV to optimize the connection.
Step 3: Configure the network settings on your Samsung Smart TV
After connecting your Samsung Smart TV to the hotspot, it’s important to configure the network settings on your TV to ensure a stable and reliable connection. Follow these steps to optimize your network settings:
- On your Samsung Smart TV remote control, press the “Menu” button.
- Navigate to the “Network” or “Settings” section.
- Select the “Network Settings” option.
- Choose the “Wireless” or “Wi-Fi” option.
- If available, select the “Advanced Settings” or “Advanced” option for further configuration.
- Depending on your TV model, you may see options such as “IP Settings” or “DNS Settings.” Choose these options one by one to make necessary adjustments.
- For IP Settings, select “Automatic” or “DHCP” to let your TV obtain IP address automatically.
- For DNS Settings, select “Automatic” or “Set automatically” to let your TV obtain DNS information automatically.
- Save the settings and exit the menu.
By configuring the network settings on your Samsung Smart TV, you are ensuring that your TV is properly connected to the hotspot network and receiving the necessary network information. This will enhance the performance and stability of your streaming experience.
Step 4: Enjoy streaming on your Samsung Smart TV using your hotspot
Now that you have successfully connected your Samsung Smart TV to the hotspot and configured the network settings, you are ready to start streaming your favorite content. Here’s how you can enjoy seamless streaming on your Samsung Smart TV using your hotspot:
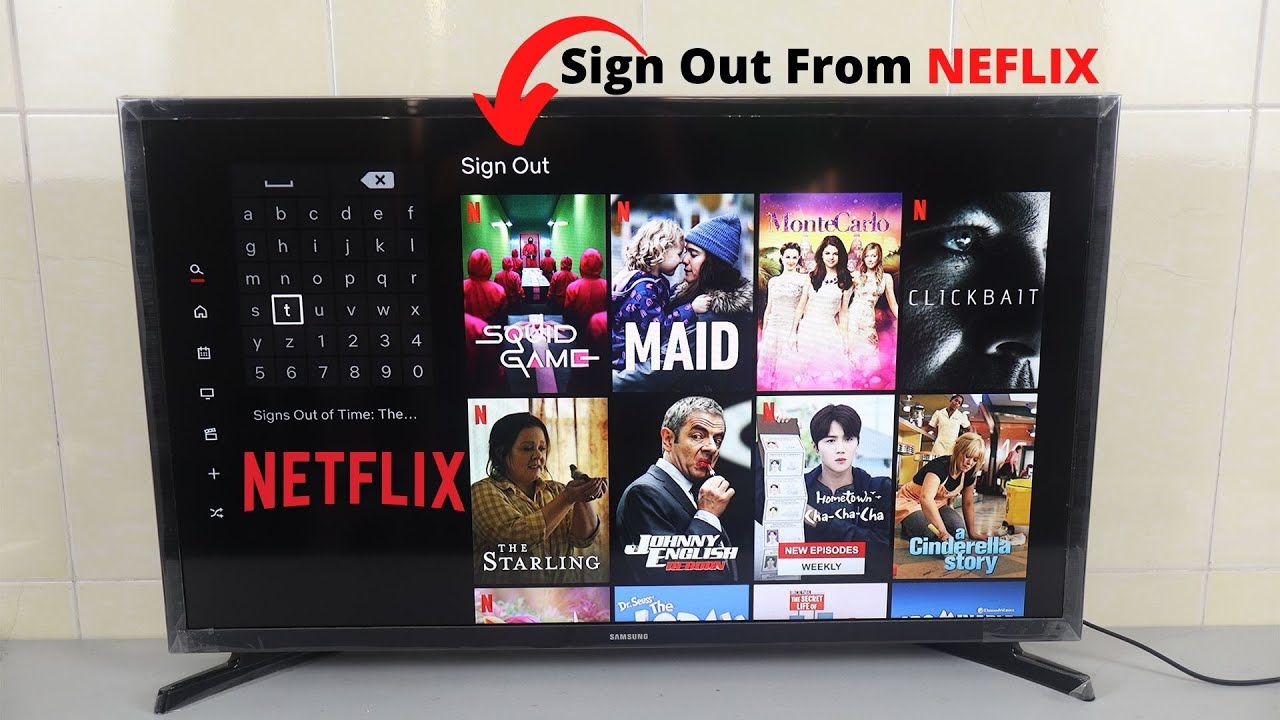
- On your Samsung Smart TV remote control, press the “Smart Hub” button.
- Navigate to the desired streaming app, such as Netflix, Hulu, or Prime Video, using the arrow keys.
- Select the app to open it.
- If you already have an account for the streaming service, sign in using your credentials. If not, create a new account following the instructions provided.
- Browse through the available content, choose a movie or TV show, and select it to start streaming.
- Sit back, relax, and enjoy your favorite shows and movies on the big screen of your Samsung Smart TV.
Streaming on your Samsung Smart TV using your hotspot allows you to enjoy a wide range of entertainment options, even when you don’t have access to a stable Wi-Fi network. However, keep in mind that streaming content can consume a significant amount of data, so monitor your data usage to avoid any unexpected charges or exceeding your data plan limits.
Remember to disable the hotspot on your mobile device when you no longer need it to conserve battery life and prevent unnecessary data usage. You can always connect your Samsung Smart TV to a different Wi-Fi network or hotspot in the future when needed.
Conclusion
In conclusion, connecting your Samsung Smart TV to a hotspot can be a convenient solution when you need to stream content without a traditional Wi-Fi connection. By following the simple steps outlined in this guide, you can easily set up your mobile device as a hotspot, connect your TV to the hotspot network, configure the network settings, and start enjoying your favorite shows and movies on the big screen.
Setting up a hotspot on your mobile device allows you to leverage your cellular data connection and create a local Wi-Fi network for your TV to connect to. This is especially useful when you’re on the go, traveling, or experiencing issues with your home Wi-Fi network. However, it’s important to keep in mind that streaming content can consume a significant amount of data, so monitor your data usage to avoid any additional charges or exceeding your data plan limits.
By configuring the network settings on your Samsung Smart TV, you ensure a stable and reliable connection to the hotspot network. This optimization allows for a smooth streaming experience without interruptions or buffering. Remember to disable the hotspot when you’re finished using it to conserve battery life and prevent unnecessary data usage.
So, whether you’re on vacation, at a friend’s house, or dealing with temporary Wi-Fi issues, connecting your Samsung Smart TV to a hotspot can keep you entertained. Enjoy streaming your favorite content and make the most of your Samsung Smart TV’s capabilities, even without a traditional Wi-Fi network.