Introduction
Welcome to this guide on how to connect your Google Nest device to a new Wi-Fi network. Whether you’ve recently changed your internet service provider or moved to a new location, it’s important to know how to update your Nest devices with the new network information. Fortunately, the process is straightforward and can be completed in just a few simple steps.
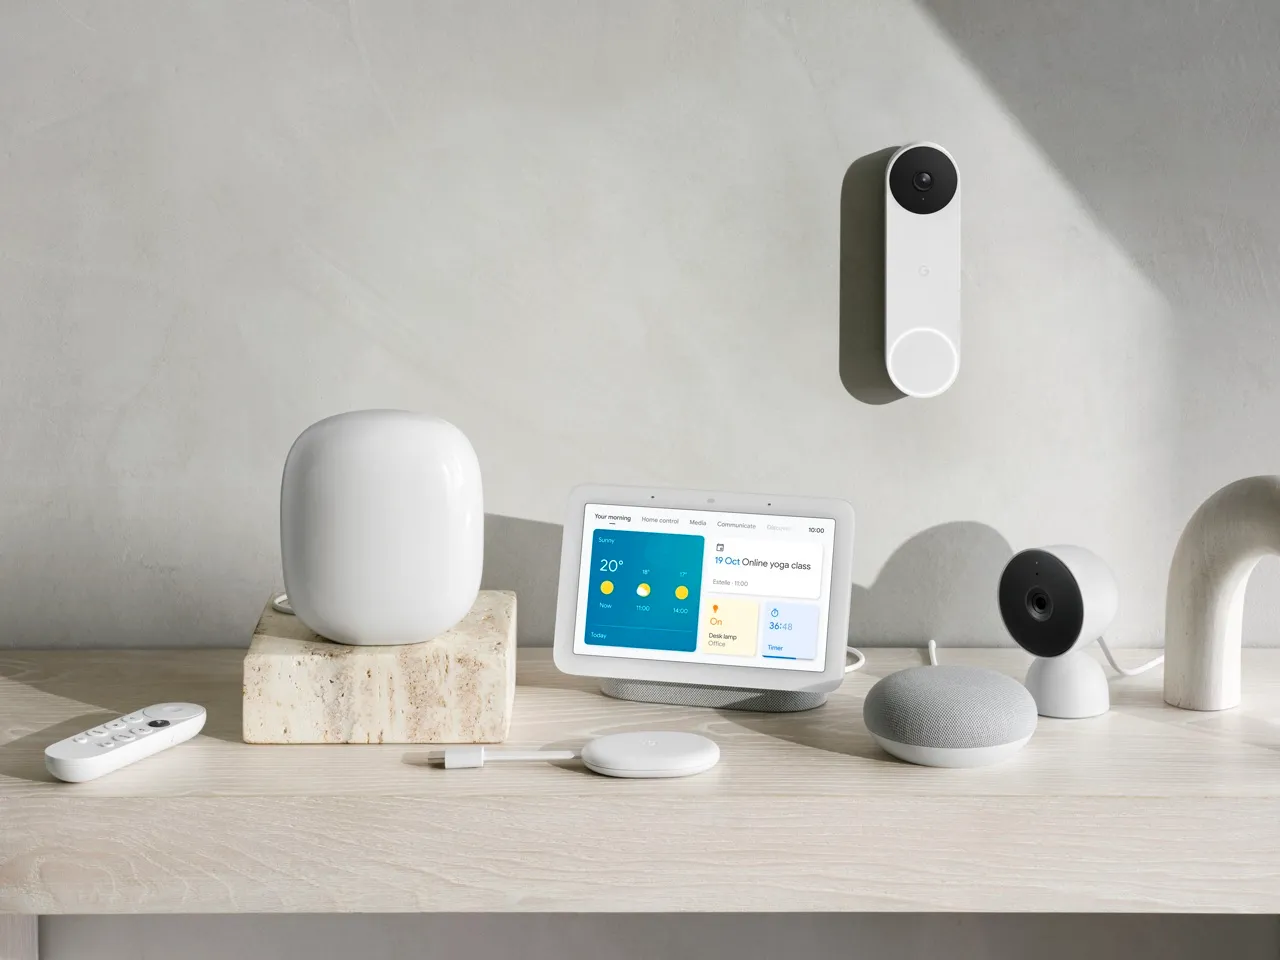
Your Google Nest device, whether it’s a Nest thermostat, Nest Hello doorbell, or Nest Cam, relies on a stable internet connection to function properly. By connecting it to your new Wi-Fi network, you can continue enjoying the convenience and smart features that Nest devices offer. Let’s dive into the steps to get your Google Nest connected to the new Wi-Fi network.
Before we begin, make sure you have the necessary information at hand. You’ll need the Wi-Fi network name (SSID) and password for the new network. These details are typically provided by your internet service provider or can be found on the Wi-Fi router itself.
Additionally, for this process, you’ll need to have the Google Home app installed on your mobile device. If you haven’t already done so, head to the App Store or Google Play Store and download the Google Home app. This app is essential for managing and setting up your Google Nest devices.
Now that you’re prepared with the necessary information and have the Google Home app ready to go, let’s move on to the next step: preparing for setup.
Step 1: Prepare for Setup
Before you begin connecting your Google Nest device to a new Wi-Fi network, it’s important to ensure you have a smooth setup process. By following these preparation steps, you can avoid any potential issues and make the setup seamless.
1. Locate your Google Nest device: Find your Nest thermostat, Nest Hello doorbell, or Nest Cam and ensure it’s easily accessible for the setup process. If it’s mounted on a wall or placed in a specific location, make sure it’s not obstructed and is within reach.
2. Connect your mobile device to the new Wi-Fi network: Open the settings on your mobile device and navigate to the Wi-Fi section. Connect to the new Wi-Fi network by selecting it from the available network list and entering the password if prompted. This will ensure that your mobile device is on the same network as your Google Nest device during setup.
3. Keep your Wi-Fi password handy: Make sure you have the password for the new Wi-Fi network readily available. You’ll need this information to connect your Google Nest device to the network.
4. Place your Google Nest device in setup mode: Depending on your specific Nest device, you may need to activate setup mode. For example, on a Nest thermostat, press the ring and choose Settings > Reset > Restart > Confirm. On a Nest Hello doorbell, press and hold the button on the front until the light ring starts spinning. Consult the user manual for your specific device if you’re unsure how to put it into setup mode.
5. Open the Google Home app: Launch the Google Home app on your mobile device. If you haven’t logged in or set up the app, follow the prompts to get started. Ensure that your mobile device is connected to the new Wi-Fi network before proceeding.
By completing these preparation steps, you’re ready to move on to the next step and connect your Google Nest device to the new Wi-Fi network. It’s important to have everything in place before proceeding to ensure a smooth and hassle-free setup process.
Step 2: Connect to New WiFi Network
Now that you’ve prepared for setup, it’s time to connect your Google Nest device to the new Wi-Fi network. Follow these steps to ensure a successful connection:
1. Open the Google Home app: Launch the Google Home app on your mobile device. Make sure you’re logged in and that your mobile device is connected to the new Wi-Fi network.
2. Tap on the “+” icon: Look for the “+” icon in the top left corner of the Google Home app and tap on it. This will initiate the setup process for a new device.
3. Set up a new device: From the list of options, choose “Set up device” and then select “New device” to add your Google Nest device.
4. Follow the on-screen instructions: The Google Home app will guide you through the setup process step by step. It will search for available devices on your network. Once your Google Nest device is detected, select it from the list.
5. Connect to the new Wi-Fi network: The app will prompt you to enter the network name (SSID) and password for the new Wi-Fi network. Make sure to enter the correct information. Review the information before proceeding to ensure accuracy.
6. Wait for the connection: The Google Home app will establish a connection between your Google Nest device and the new Wi-Fi network. It may take a few moments for the connection to be established. Be patient and avoid interrupting the process.
7. Confirm the connection: Once the connection is established, the Google Home app will notify you that your Google Nest device is now connected to the new Wi-Fi network. Tap on “Next” to proceed.
By following these steps, you will successfully connect your Google Nest device to the new Wi-Fi network. Ensure that you enter the correct network information to avoid any connection issues. Once the connection is established, you can move on to the next step and complete the setup process.
Step 3: Set Up Google Nest with the Google Home App
After connecting your Google Nest device to the new Wi-Fi network, the next step is to set it up using the Google Home app. The app will guide you through the process of configuring and customizing your device settings. Here’s what you need to do:
1. Access the device settings: In the Google Home app, locate the device you just connected to the new Wi-Fi network. Tap on it to access its settings.
2. Customize device settings: The Google Home app provides various customization options for your Google Nest device. This includes setting the device name, adjusting temperature thresholds for a Nest thermostat, enabling or disabling specific features, and more.
3. Set up room assignments: Assigning your Google Nest device to specific rooms can help with organizing and controlling them through voice commands or the Google Home app. Use the app to assign rooms to your device for easier management.
4. Explore additional features and services: The Google Home app also allows you to explore and activate additional features and services that are compatible with your Google Nest device. This may include connecting to smart home devices, setting up routines, or integrating with other apps and services.
5. Review and save settings: Once you’ve made the necessary adjustments and customized your device settings, review them to ensure everything is as desired. Tap on “Save” or “Finish” to save your settings and complete the setup process.
The Google Home app provides a user-friendly interface that makes it easy to set up and manage your Google Nest devices. Take your time to explore the available options and configure your device to suit your preferences and needs.
Once you’ve completed the setup process, you can start enjoying the benefits of your connected Google Nest device. Control your thermostat remotely, receive alerts from your Nest Hello doorbell, or monitor your home with the Nest Cam. The possibilities are endless!
That concludes the setup process for your Google Nest device using the Google Home app. However, before wrapping up, it’s essential to test the connection and familiarize yourself with some troubleshooting tips.
Step 4: Test Connection and Troubleshooting Tips
After setting up your Google Nest device and connecting it to the new Wi-Fi network, it’s important to test the connection to ensure everything is working as expected. Here are some steps to help you test the connection and troubleshoot any potential issues:
1. Check the device status: Open the Google Home app and navigate to the device settings for your Google Nest device. Take a look at the device status to ensure it’s connected to the new Wi-Fi network and is online.
2. Test device functionality: Depending on the type of Google Nest device you have, perform a test to ensure it’s functioning correctly. For example, adjust the temperature on your Nest thermostat, ring the Nest Hello doorbell, or view the live feed from your Nest Cam.
3. Check network strength: If you notice any connectivity issues or performance problems, check the Wi-Fi signal strength in the area where your Google Nest device is located. Ensure that it’s within range of the Wi-Fi router and isn’t obstructed by any physical barriers.
4. Restart and reset: If you continue to experience issues, try restarting your Google Nest device and the Wi-Fi router. You can also perform a factory reset on your Google Nest device and go through the setup process again. Consult the device user manual for instructions on how to restart or reset your specific device.
5. Contact support if necessary: If you’ve followed the troubleshooting steps and are still experiencing difficulties, reach out to Google Nest support or consult the online support documentation. They can provide further assistance and guide you through the resolution process.
By testing the connection and troubleshooting any potential issues, you can ensure that your Google Nest device is working reliably and taking full advantage of the new Wi-Fi network.
Remember, keeping your Google Nest device connected to a stable Wi-Fi network is crucial for optimal performance and accessing its smart features. Regularly check for software updates for both the Google Home app and your Google Nest device to ensure you have the latest features and security enhancements.
With the connection tested and any issues resolved, you can now enjoy the convenience and benefits that come with owning a Google Nest device.
Conclusion
Connecting your Google Nest device to a new Wi-Fi network may seem like a daunting task, but with the help of the Google Home app and following the steps outlined in this guide, it can be done smoothly. By ensuring you have the necessary information, preparing for setup, and following the connection and setup process, you’ll have your Google Nest device up and running on the new Wi-Fi network in no time.
Remember to take advantage of the customization options available in the Google Home app to personalize your device settings and explore additional features and services. This will allow you to fully maximize the capabilities of your Google Nest device.
If you encounter any difficulties or experience connectivity issues, don’t hesitate to consult the troubleshooting tips mentioned in this guide. Restarting your device, checking network strength, and reaching out to support can help resolve any issues that may arise during the setup process.
Now that you’ve successfully connected your Google Nest device to the new Wi-Fi network and completed the setup, you’re ready to enjoy the convenience and smart features it offers. Whether it’s adjusting your thermostat, monitoring your home’s security, or integrating with other smart home devices, your Google Nest device will enhance your daily life.
Lastly, stay informed about software updates and new features released by Google Nest. Keeping your device and the Google Home app up to date ensures you’re benefiting from the latest advancements and improvements.
Thank you for following this guide on how to connect your Google Nest device to a new Wi-Fi network. We hope you found this information helpful, and we wish you a seamless and enjoyable experience with your Google Nest device!


