Introduction
Welcome to our guide on how to connect an Ethernet cable to your Xbox One! If you’re tired of dealing with lag or intermittent internet connectivity issues while gaming, connecting your Xbox One directly to your router with an Ethernet cable can improve your online gaming experience. While using Wi-Fi is convenient, Ethernet cables offer a more reliable and stable connection, reducing latency and ensuring a smooth gaming session.
In this article, we will walk you through the step-by-step process of connecting an Ethernet cable to your Xbox One. Whether you’re a seasoned gamer or new to the Xbox One, this guide will help you establish a direct wired connection for optimal performance.
Before we begin, please ensure that you have the necessary equipment ready. You’ll need an Ethernet cable, an Xbox One console, and access to your internet router or modem. With these items in hand, let’s dive into the process of setting up your wired connection.
Step 1: Gather the necessary equipment
Before you start connecting your Ethernet cable to your Xbox One, it’s essential to have all the necessary equipment on hand. Here’s what you’ll need:
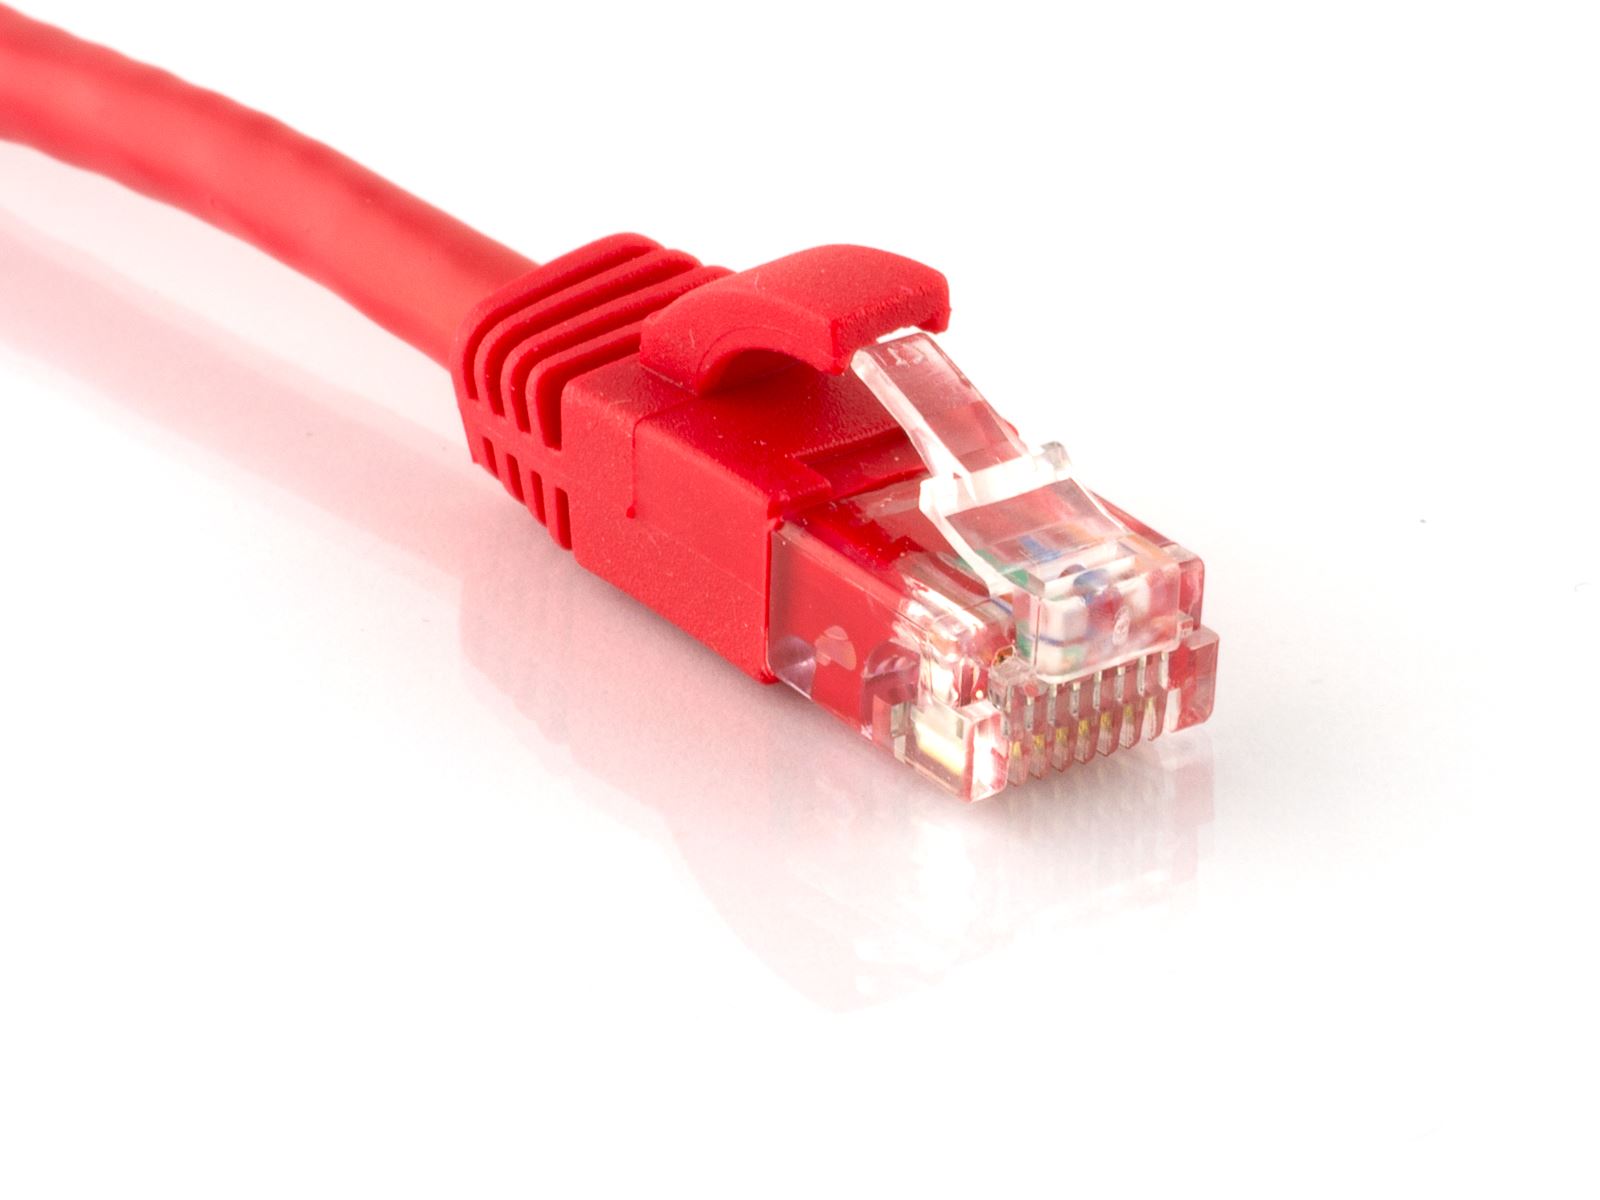
- Ethernet cable: Choose a high-quality Ethernet cable that meets the required standards. Cat5e or Cat6 cables are recommended for optimal performance.
- Xbox One console: Make sure your Xbox One console is powered on and ready for setup.
- Internet router/modem: Ensure that you have access to your internet router or modem where you’ll be connecting the other end of the Ethernet cable.
It’s crucial to use a reliable and high-speed Ethernet cable to achieve the best gaming experience. Poor quality or damaged cables can result in slower download speeds or connection instability.
Once you have gathered all the necessary equipment, you’re ready to move on to the next step: locating the Ethernet port on your Xbox One.
Step 2: Locate the Ethernet port on your Xbox One
Now that you have the required equipment, the next step is to locate the Ethernet port on your Xbox One console. The Ethernet port is where you will connect one end of your Ethernet cable to establish a wired connection.
The Ethernet port on the Xbox One is typically located at the back of the console. It may be marked with an icon that resembles three stacked horizontal lines or “LAN.” Take a moment to visually inspect the back of your Xbox One to locate the Ethernet port.
It’s worth noting that different Xbox One models, such as the Xbox One S or Xbox One X, may have slight variations in port placement. However, the Ethernet port should still be situated at the rear of the console.
If you are having trouble locating the Ethernet port on your Xbox One, consult the user manual or visit the official Xbox support website for more specific instructions based on your console model.
Once you have identified the Ethernet port on your Xbox One, you are now ready to proceed with the next step: preparing the Ethernet cable for connection.
Step 3: Prepare the Ethernet cable
Before connecting the Ethernet cable to your Xbox One, it’s important to prepare the cable for a secure and stable connection. Follow these steps to properly prepare the Ethernet cable:
- Inspect the cable: Check the Ethernet cable for any visible damage, such as frayed or bent connectors or exposed wires. If you notice any issues, it’s recommended to use a different cable to ensure a reliable connection.
- Untangle the cable: Ethernet cables can sometimes become tangled or twisted, which can hinder the connection. Take a moment to untangle the cable, ensuring a smooth and straight cable path.
- Remove any dust or debris: Sometimes, dust or debris can accumulate on the connectors of the Ethernet cable, affecting the connection quality. Gently wipe the connectors using a clean cloth or compressed air to remove any dirt or debris.
By performing these simple preparation steps, you can ensure that your Ethernet cable is in optimal condition and ready for a seamless connection.
With the Ethernet cable prepared, you can now move on to the next step: connecting the Ethernet cable to your Xbox One.
Step 4: Connect the Ethernet cable to your Xbox One
With the Ethernet cable prepared, it’s time to connect it to your Xbox One console. Follow these steps to establish a wired connection:
- Locate the Ethernet port: As mentioned earlier, locate the Ethernet port on the back of your Xbox One console. It is usually marked with an icon resembling three stacked horizontal lines or “LAN.”
- Align the connectors: Take one end of the Ethernet cable and align the connectors with the Ethernet port on the Xbox One. The connectors have a distinctive shape that will fit into the port.
- Insert the cable: Insert the Ethernet cable firmly into the Ethernet port on the Xbox One, ensuring a secure connection. You should hear a click or feel a slight resistance when the cable is correctly inserted.
- Secure the cable: Once the cable is inserted, make sure it is properly secured. You can gently tug on the cable to ensure it is firmly attached without any loose connections.
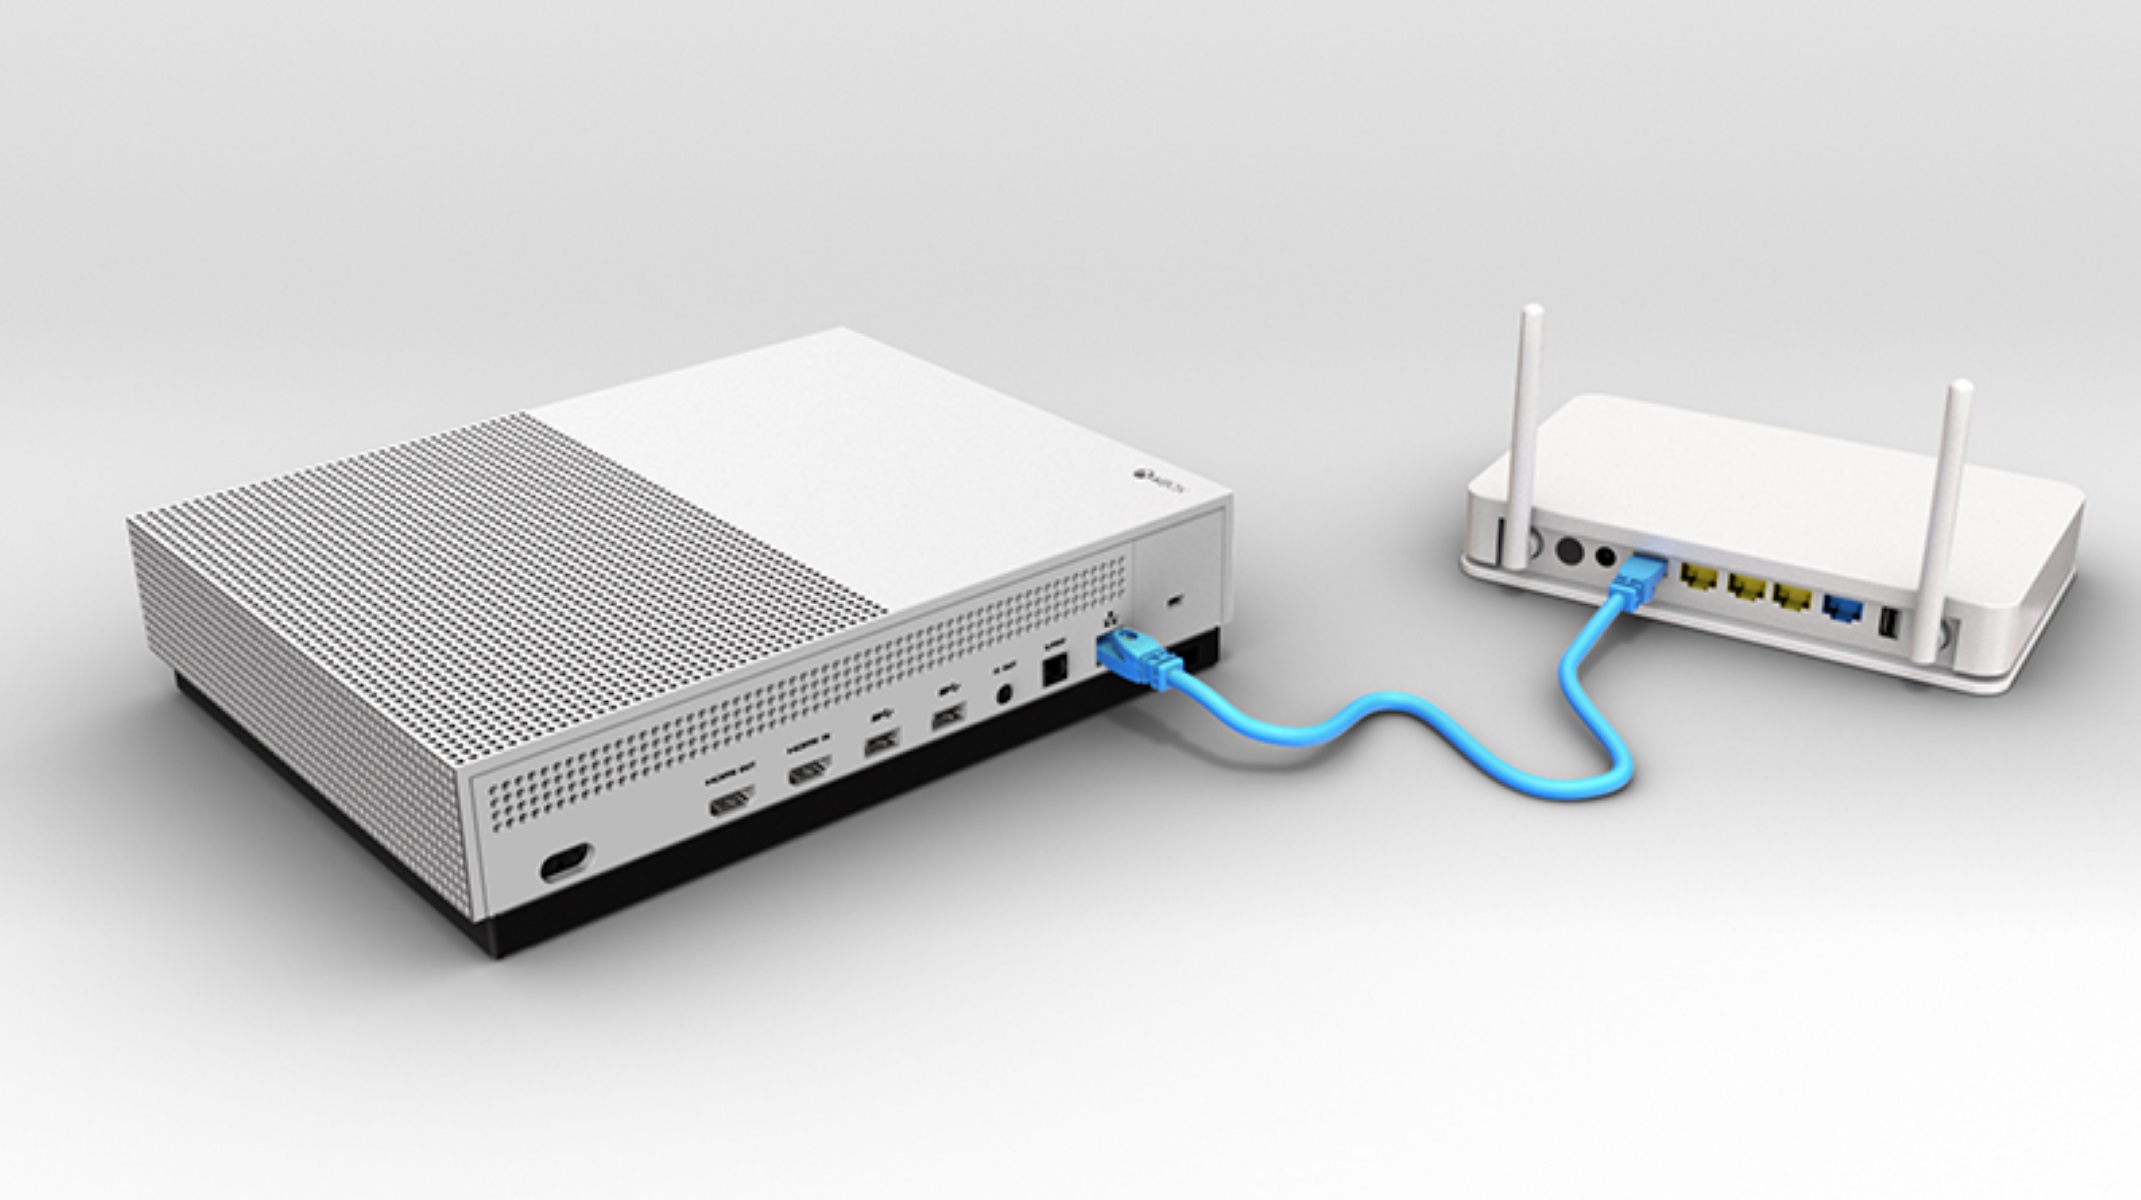
By following these steps, you have successfully connected the Ethernet cable to your Xbox One console. Now, let’s move on to the next step: connecting the other end of the Ethernet cable to your internet router or modem.
Step 5: Connect the other end of the Ethernet cable
Now that you have connected one end of the Ethernet cable to your Xbox One console, it’s time to connect the other end to your internet router or modem. Follow these steps to complete the wired connection:
- Locate the router/modem: Identify the location of your internet router or modem. It is typically placed near your computer or in a central area of your home.
- Find an available Ethernet port: Look for an available Ethernet port on your router or modem. Most routers have multiple ports labeled with numbers or icons, such as LAN1, LAN2, or “Ethernet.”
- Connect the cable: Take the other end of the Ethernet cable connected to your Xbox One and insert it into an available Ethernet port on your router or modem. Ensure a secure connection by pushing the cable in until it clicks or fits snugly into the port.
- Confirm the connection: Once connected, visually inspect the cable and ports to ensure they are securely attached. You can also gently tug on the cable to make sure it is firmly connected.
Once you have completed these steps, you have successfully connected the other end of the Ethernet cable to your internet router or modem. This establishes a direct wired connection for your Xbox One, ensuring a stable and reliable network connection.
Now, it’s time for the final step: testing the connection to ensure everything is working correctly.
Step 6: Test the connection
After connecting the Ethernet cable to your Xbox One and router or modem, it’s important to test the connection to ensure that everything is working as expected. Follow these steps to test the connection:
- Power on your Xbox One: Make sure your Xbox One console is powered on and ready for testing.
- Navigate to Network Settings: On your Xbox One, go to the Home screen and press the Xbox button on your controller. Scroll right to the “System” tab and select “Settings.” From there, navigate to “Network” and then “Network Settings.”
- Check the connection status: In the Network Settings menu, check the connection status. It should indicate that you are connected via a wired Ethernet connection. If the status shows “Wired,” then your connection is successful.
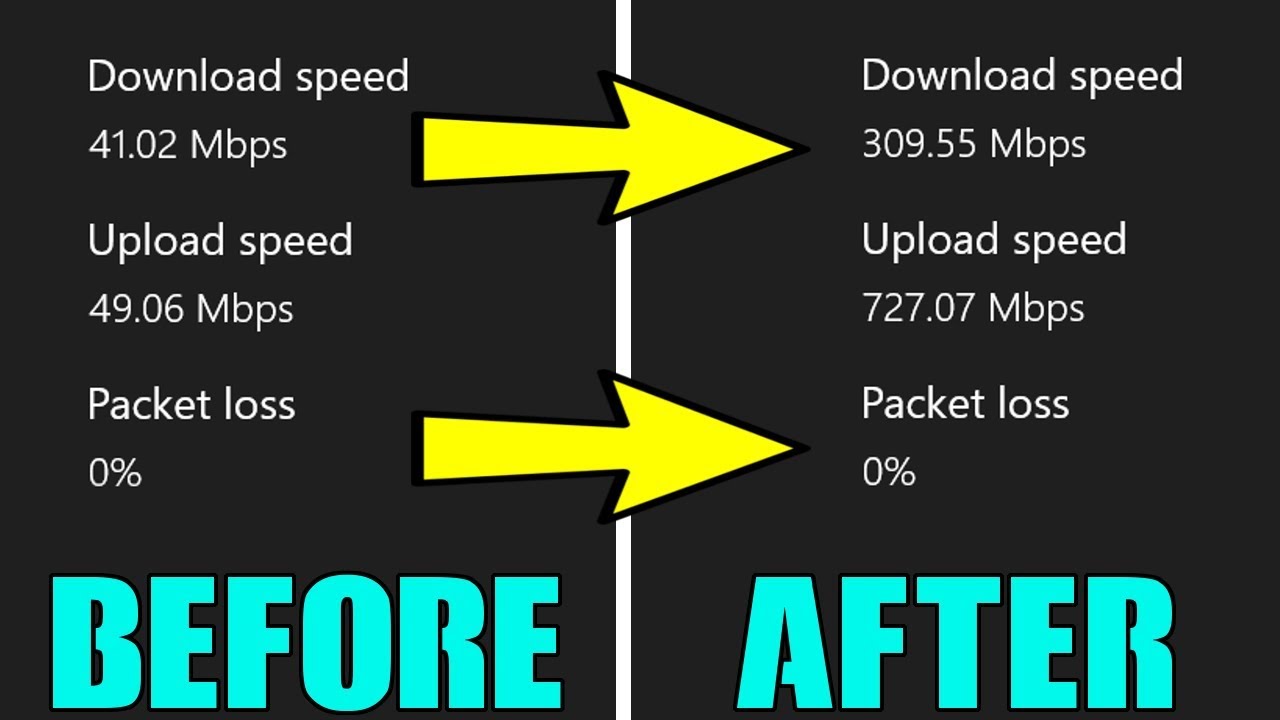
- Test the network connection: After confirming the wired connection, select the “Test network connection” option. This will perform a network test to verify the connectivity and network speeds.
- Review the results: Once the network test completes, review the results. Ensure that the network is connected and that the test shows satisfactory network speeds and latency levels.
If the test shows a successful connection and satisfactory network performance, then congratulations! You have successfully connected your Xbox One to the internet using an Ethernet cable. Enjoy your gaming experience with improved stability and reduced latency.
If the network test fails or you encounter any issues, double-check the connections of the Ethernet cable, restart your Xbox One, and try the test again. If problems persist, consider consulting the Xbox support website or contacting your internet service provider for further assistance.
With the connection successfully tested, you are now ready to immerse yourself in the world of online gaming on your Xbox One!
Conclusion
Connecting an Ethernet cable to your Xbox One can significantly enhance your gaming experience by providing a stable and reliable network connection. By following the step-by-step guide in this article, you have successfully established a wired connection between your Xbox One console and your internet router or modem.
Starting with gathering the necessary equipment, such as an Ethernet cable, Xbox One console, and router, you proceeded to locate the Ethernet port on your console and prepare the cable for connection. Through careful alignment and insertion, you connected one end of the Ethernet cable to the Xbox One and the other end to the router or modem.
After making the physical connections, you tested the network connection through the Xbox One’s network settings. Confirming a successful wired connection, you ran a network test to verify the stability and speed of the network. It’s essential to review the results to ensure optimal performance.
With a properly connected Ethernet cable, you can now enjoy uninterrupted and lag-free online gaming sessions on your Xbox One. The wired connection offers a reliable and stable network experience compared to wireless connections.
If you encounter any issues with the connection or need further assistance, don’t hesitate to consult the Xbox support website or reach out to your internet service provider for guidance.
Now that you’ve completed the process, it’s time to grab your controller and immerse yourself in the world of gaming with confidence, knowing that you have a strong and reliable wired connection for your Xbox One!