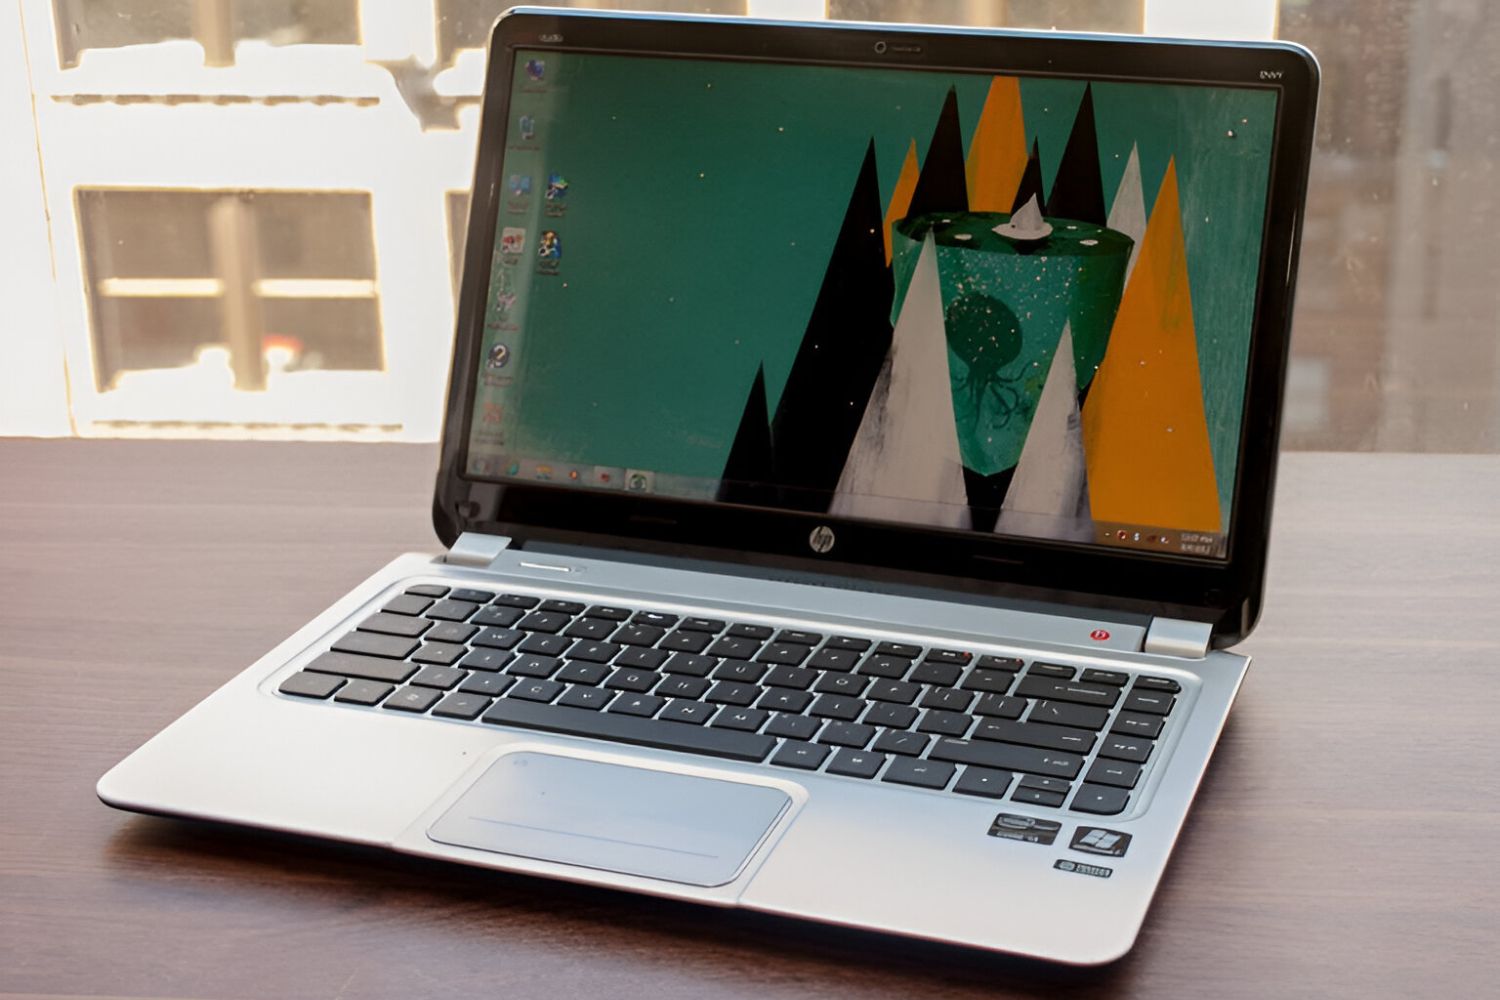
Introduction
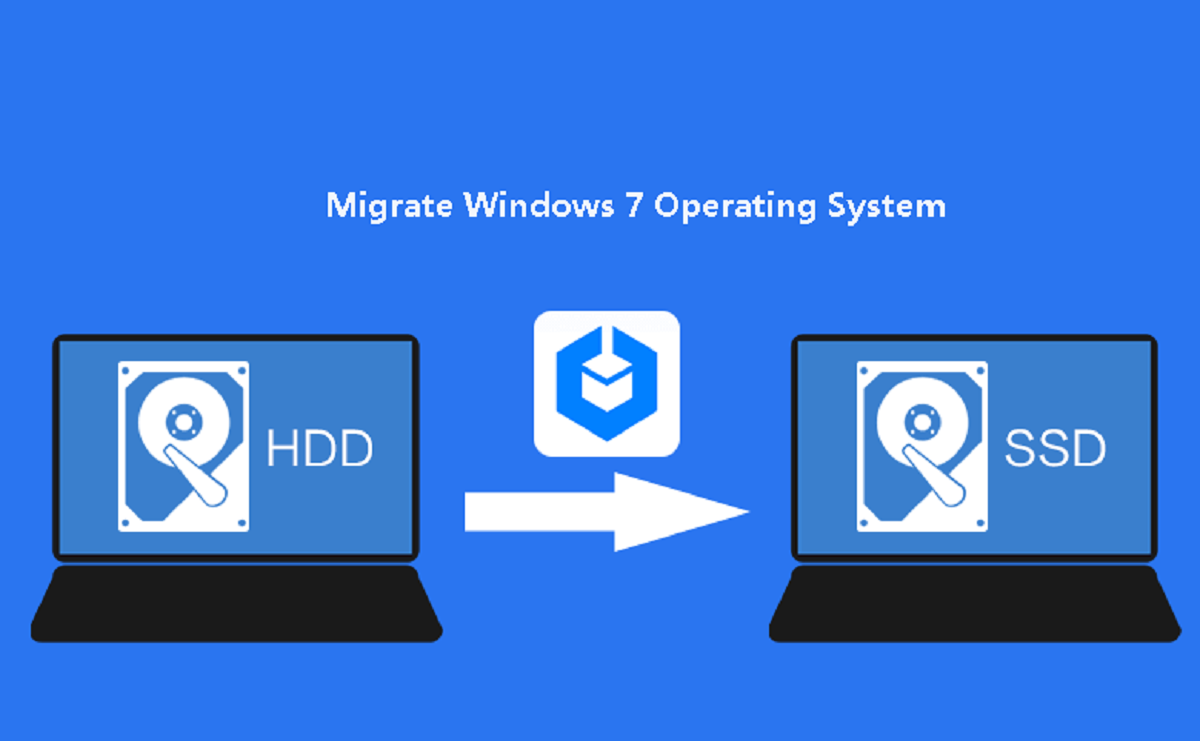
Backing up your data is essential to ensure the safety and security of your important files. By connecting an internal hard disk drive (HDD) to a bootable HDD on an HP laptop, you can easily create a reliable backup solution. This allows you to save and protect your valuable data in the event of a system failure or data loss.
In this step-by-step guide, we will walk you through the process of connecting an internal HDD to a bootable HDD on your HP laptop. Whether you want to back up your personal documents, photos, or important business files, following these steps will help you set up a robust backup system.
Please note that this guide is specifically designed for HP laptops and may vary slightly for other laptops or computer brands. Before proceeding, ensure that you have the necessary materials and a basic understanding of computer hardware.
By the end of this guide, you’ll have a clear understanding of how to connect an internal HDD to a bootable HDD on your HP laptop, allowing you to create a secure backup solution for your data. Let’s get started!
Step 1: Check Compatibility and Gather Materials
Before connecting an internal HDD to a bootable HDD on your HP laptop, you need to ensure that they are compatible with each other. Here are the materials you will need:
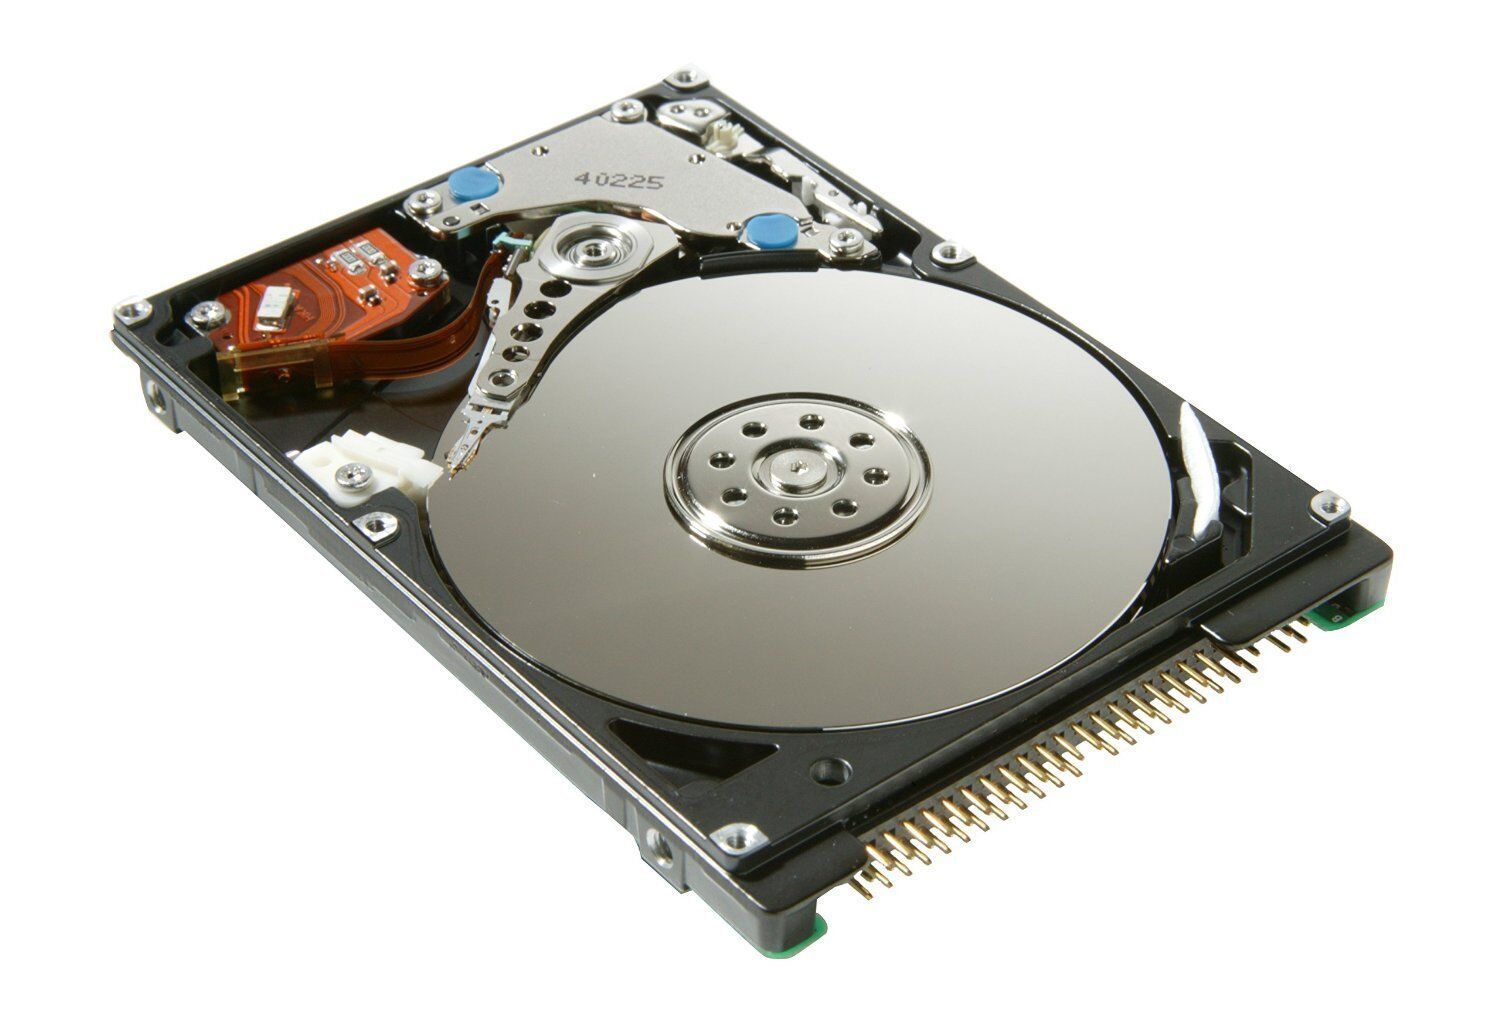
- Internal HDD: Check the specifications of your HP laptop to determine the type of internal HDD it supports. Common options include SATA, IDE, or M.2 drives.
- Bootable HDD: This is the secondary HDD that will serve as the backup destination. Ensure that it has sufficient storage capacity to accommodate your data.
- Screwdriver: Depending on your laptop model, you may need a small screwdriver to remove the cover and access the internal components.
- SATA or IDE Cable: If you are connecting an internal HDD via SATA or IDE interfaces, ensure you have the necessary cable. M.2 drives, on the other hand, usually do not require a separate cable.
- External HDD Enclosure (optional): If you plan to use the internal HDD as an external drive for backup purposes, an enclosure can provide additional protection and facilitate easy connection via USB.
- Backup Software: Choose a reliable backup software to automate the backup process and ensure the safety of your data. There are many options available, such as Acronis True Image, EaseUS Todo Backup, or Macrium Reflect.
Once you have gathered all the required materials, you can proceed to the next step of connecting the internal HDD to your HP laptop.
Step 2: Prepare the Internal Hard Disk Drive
Before connecting the internal hard disk drive (HDD) to your HP laptop, you need to prepare it for installation. Follow these steps:
- Power off your laptop: Shut down your laptop and unplug it from the power source. This ensures your safety and prevents any damage to the HDD or laptop components.
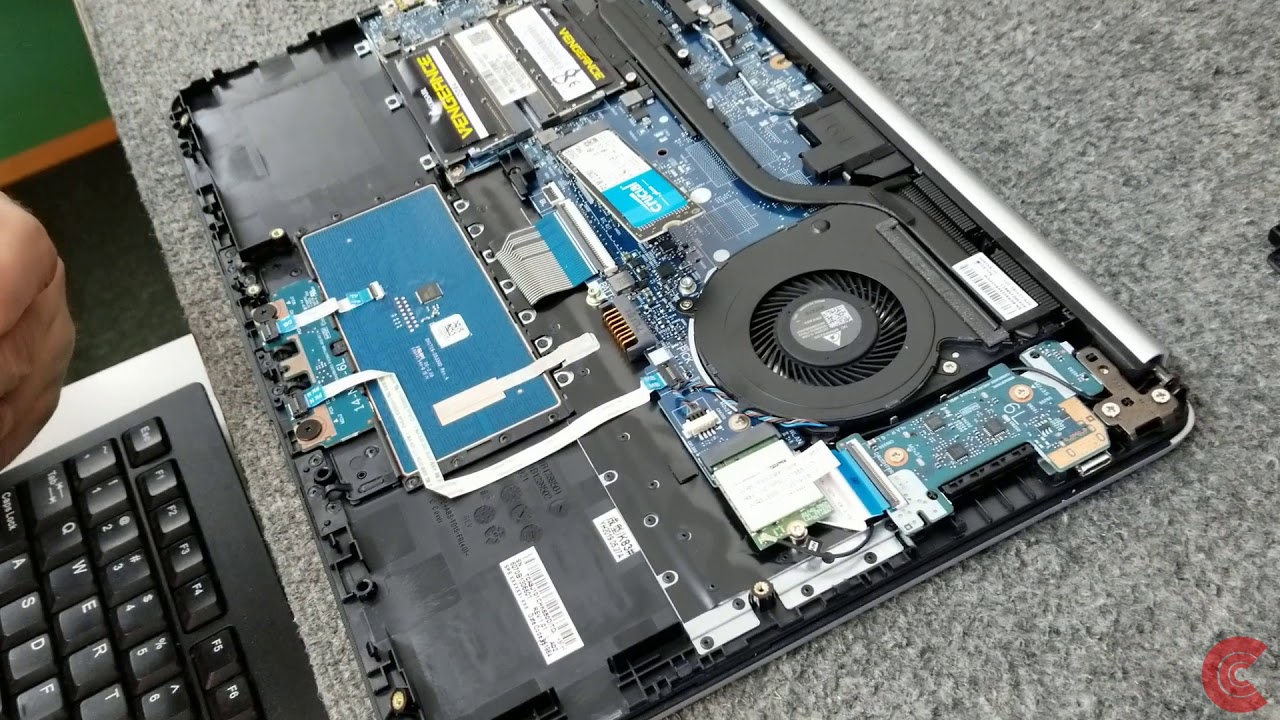
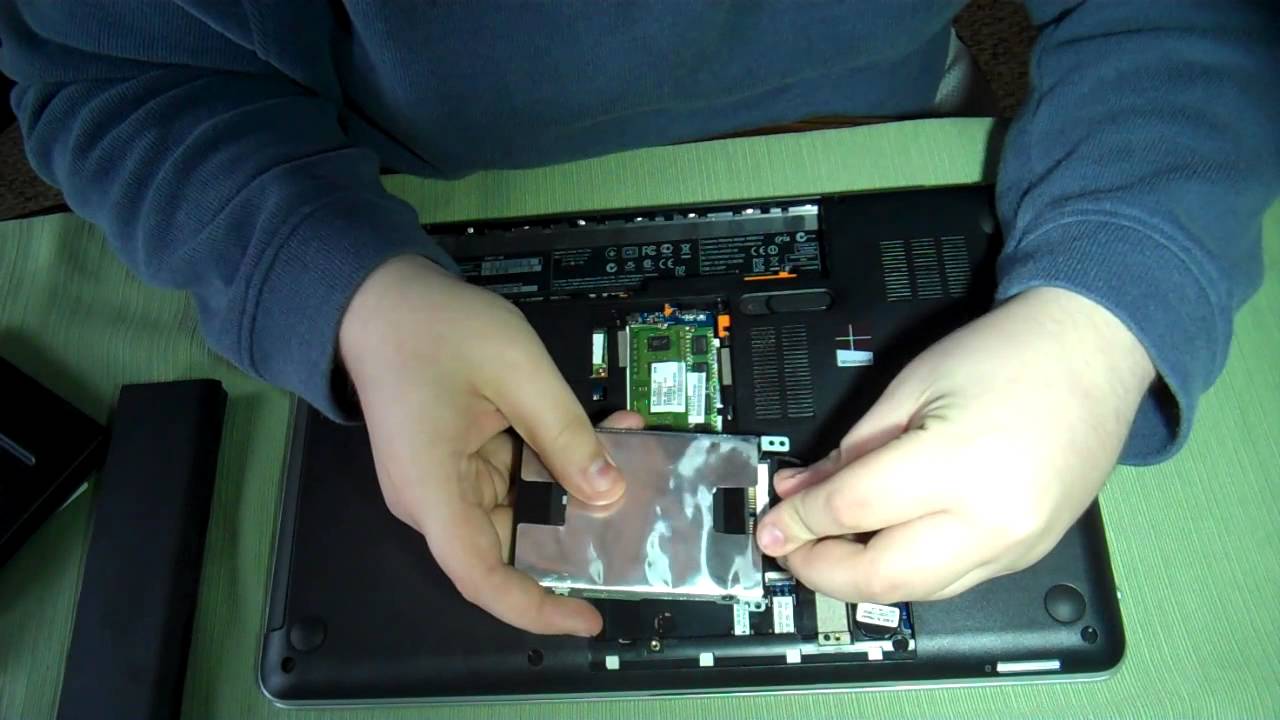
- Remove the laptop’s cover: Use a screwdriver to remove the screws securing the laptop’s cover. Carefully lift off the cover to expose the internal components. Refer to your laptop’s user manual for specific instructions on how to remove the cover.
- Identify the HDD bay or slot: Locate the HDD bay or slot inside the laptop where the internal HDD will be installed. It is usually positioned near the battery or on the side of the laptop, but the exact location may vary depending on the model.
- Prepare the HDD: If you are replacing an existing HDD, disconnect the cables and remove it from the laptop. If the HDD bay or slot is empty, skip this step. Take the new internal HDD and align it properly with the connectors in the bay.
- Secure the HDD: Once aligned, carefully slide the internal HDD into the bay or slot. Make sure it fits snugly and securely in place.
- Connect the necessary cables: Depending on the type of internal HDD and laptop model, you may need to connect SATA or IDE cables to the HDD and motherboard. Follow the instructions in the user manual to ensure the proper connection. If using an external enclosure, connect the HDD to the enclosure using the provided cables.
- Replace the laptop’s cover: After making the necessary connections, reattach the laptop’s cover and secure it with the screws. Ensure that everything is tightly secured to avoid any loose connections.
With the internal HDD properly prepared, you can now proceed to the next step of connecting it to your HP laptop.
Step 3: Connect the Internal Hard Disk Drive to the Laptop
Now that you have prepared the internal hard disk drive (HDD), it’s time to connect it to your HP laptop. Follow these steps:
- Power on your laptop: Plug in your laptop and power it on. Wait for it to boot up and reach the desktop or login screen.
- Open the Disk Management utility: Press the Windows key + R on your keyboard to open the Run dialog box. Type “diskmgmt.msc” and hit Enter. This will launch the Disk Management utility.
- Initialize the new HDD: In the Disk Management window, you should see the newly connected HDD listed as unallocated. Right-click on it and select “Initialize Disk”. Choose the appropriate disk initialization option (MBR or GPT) and click “OK” to proceed.
- Create a partition: Right-click on the unallocated space and select “New Simple Volume”. Follow the on-screen instructions to create a new partition and assign a drive letter to it. Make sure to allocate the desired amount of disk space for the backup partition.
- Format the partition: Right-click on the newly created partition and select “Format”. Choose the desired file system (NTFS is recommended for Windows) and assign a volume label. Click “OK” to begin the formatting process.
- Assign a drive letter: Once the formatting is complete, right-click on the partition and select “Change Drive Letter and Paths”. Assign a drive letter to the partition and click “OK”.
- Verify the connection: Return to the Disk Management window and ensure that the newly connected HDD is listed as a healthy and active partition with the assigned drive letter. This confirms a successful connection.
- Test the HDD: Open File Explorer and navigate to the newly assigned drive letter. Create a test folder or copy some files to verify that the HDD is functioning properly and accessible.
Congratulations! You have successfully connected the internal HDD to your HP laptop. In the next step, we will set up the bootable HDD for backup purposes.
Step 4: Set up the Bootable Hard Disk Drive for Backup
With the internal hard disk drive (HDD) connected to your HP laptop, it’s time to configure the bootable HDD for backup purposes. Follow these steps:
- Connect the bootable HDD: If not already connected, plug in the bootable HDD to an available USB port on your laptop. Ensure that it is recognized and detected by your operating system.
- Install backup software: Download and install your preferred backup software on your laptop. Launch the software and familiarize yourself with its interface and features.
- Select the backup destination: In the backup software, navigate to the settings or preferences section. Choose the option to set the bootable HDD as the backup destination. Select the appropriate drive letter assigned to the bootable HDD.
- Choose the backup type: Depending on your requirements, select the desired backup type. Options may include full backup, incremental backup, or scheduled backup. Decide on the frequency and timing of the backups that suit your needs.
- Customize backup settings: Explore the backup software’s options to customize backup settings according to your preferences. These may include compression level, encryption, file exclusions, or specific folders to be backed up.
- Test the backup process: Before running your first backup, perform a test by backing up a small set of files or folders. Verify that the backup process completes successfully and the data is stored on the bootable HDD.
- Monitor backup progress: Once the backup process starts, keep an eye on the backup software to ensure that it progresses smoothly and without any errors. Monitor the backup logs to identify any issues or warnings that may require attention.
- Perform regular backups: Set up a regular backup schedule to automatically back up your data at specified intervals. This helps ensure that your files are consistently backed up and protected.
By setting up the bootable HDD for backup and configuring the backup software, you have established a reliable backup solution for your HP laptop. In the final step, we will discuss additional considerations and conclude the guide.
Step 5: Configure Backup Settings
Configuring the backup settings is a crucial step to ensure that your data is protected and backed up effectively. Follow these steps to configure the backup settings:
- Open the backup software: Launch the backup software on your HP laptop.
- Select the source files/folders: Choose the files and folders you want to include in the backup. This can be your documents, photos, music, videos, or any other important data.
- Choose the backup location: Select the bootable hard disk drive (HDD) as the backup destination. Ensure that the correct drive is selected and that there is sufficient storage space available.
- Set the backup schedule: Decide how frequently you want the backup to run. You can choose from options like daily, weekly, or monthly backups. Set a specific time for the backup to occur, preferably during periods of low system usage.
- Select backup type: Choose the type of backup you want to perform, such as full backup or incremental backup. A full backup copies all the selected files/folders every time, while an incremental backup only copies changes made since the last backup.
- Enable encryption (optional): If you have sensitive data that you want to protect, enable encryption for your backups. This adds an extra layer of security and ensures that your data can only be accessed with the correct decryption key.
- Set retention policy: Determine how long you want to keep your backups. Set a retention policy that suits your needs and the available storage capacity on your bootable HDD. Regularly review and manage old backups to optimize storage usage.
- Review other settings: Explore additional settings offered by the backup software. This may include options like email notifications, versioning, exclusion rules, or bandwidth control. Configure these settings as per your requirements.
- Save and start the backup: Once you have configured all the backup settings, save the changes and start the backup process. Ensure that your laptop remains powered on during the backup to avoid interruption.
By configuring the backup settings properly, you can ensure a smooth and efficient backup process, protecting your valuable data from loss or damage.
Conclusion
Congratulations! You have successfully learned how to connect an internal hard disk drive (HDD) to a bootable HDD on your HP laptop for backup purposes. By following the step-by-step guide outlined in this article, you have created a robust backup solution to protect your important files and data.
Throughout this process, you checked compatibility, gathered the necessary materials, prepared the internal HDD, connected it to the laptop, set up the bootable HDD for backup, and configured the backup settings. These steps ensure that your data is securely stored and readily accessible for recovery when needed.
Remember, regular backups are crucial to safeguard your files against unexpected hardware failures, system crashes, or accidental data loss. Schedule and perform backups at regular intervals to ensure that all your important data is protected.
Additionally, it is essential to regularly monitor and review your backup system’s performance. Keep an eye on backup logs, verify the integrity of your backups, and periodically test the restoration process to ensure everything is functioning as intended.
By taking these steps to connect an internal HDD to a bootable HDD on your HP laptop, you have embraced a proactive approach to data protection and backup. You can now enjoy peace of mind knowing that your valuable information is safe and can be easily recovered if the need arises.
Remember to stay informed about the latest backup software updates and best practices to maintain an effective and reliable backup system. With the right setup and regular maintenance, you can ensure the safety and security of your data for years to come.