Introduction
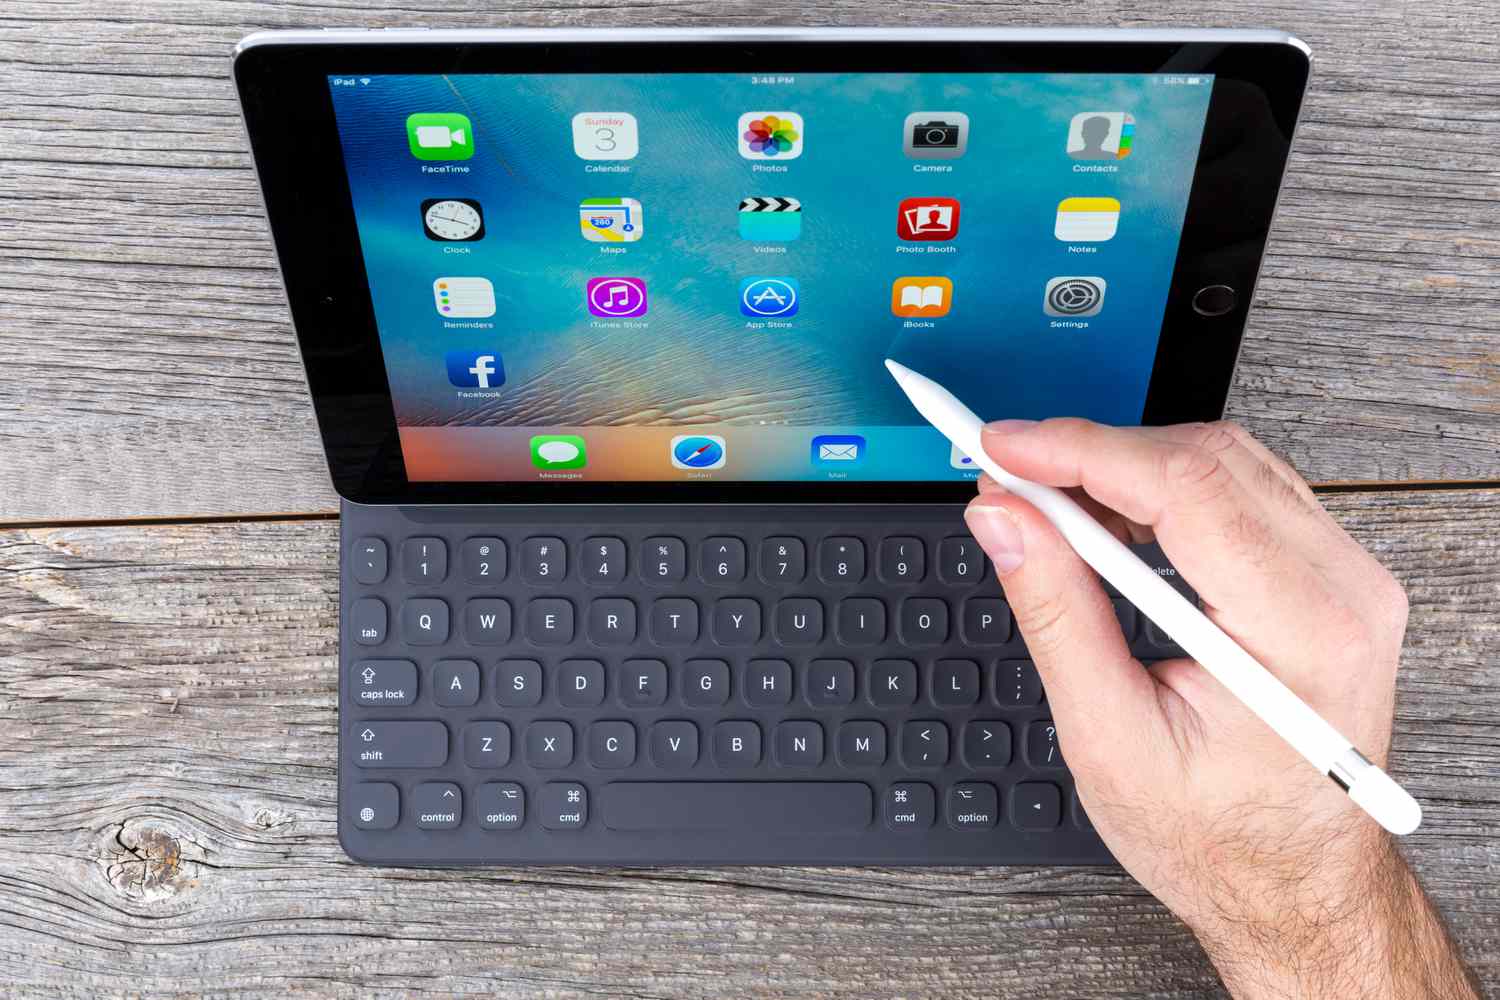
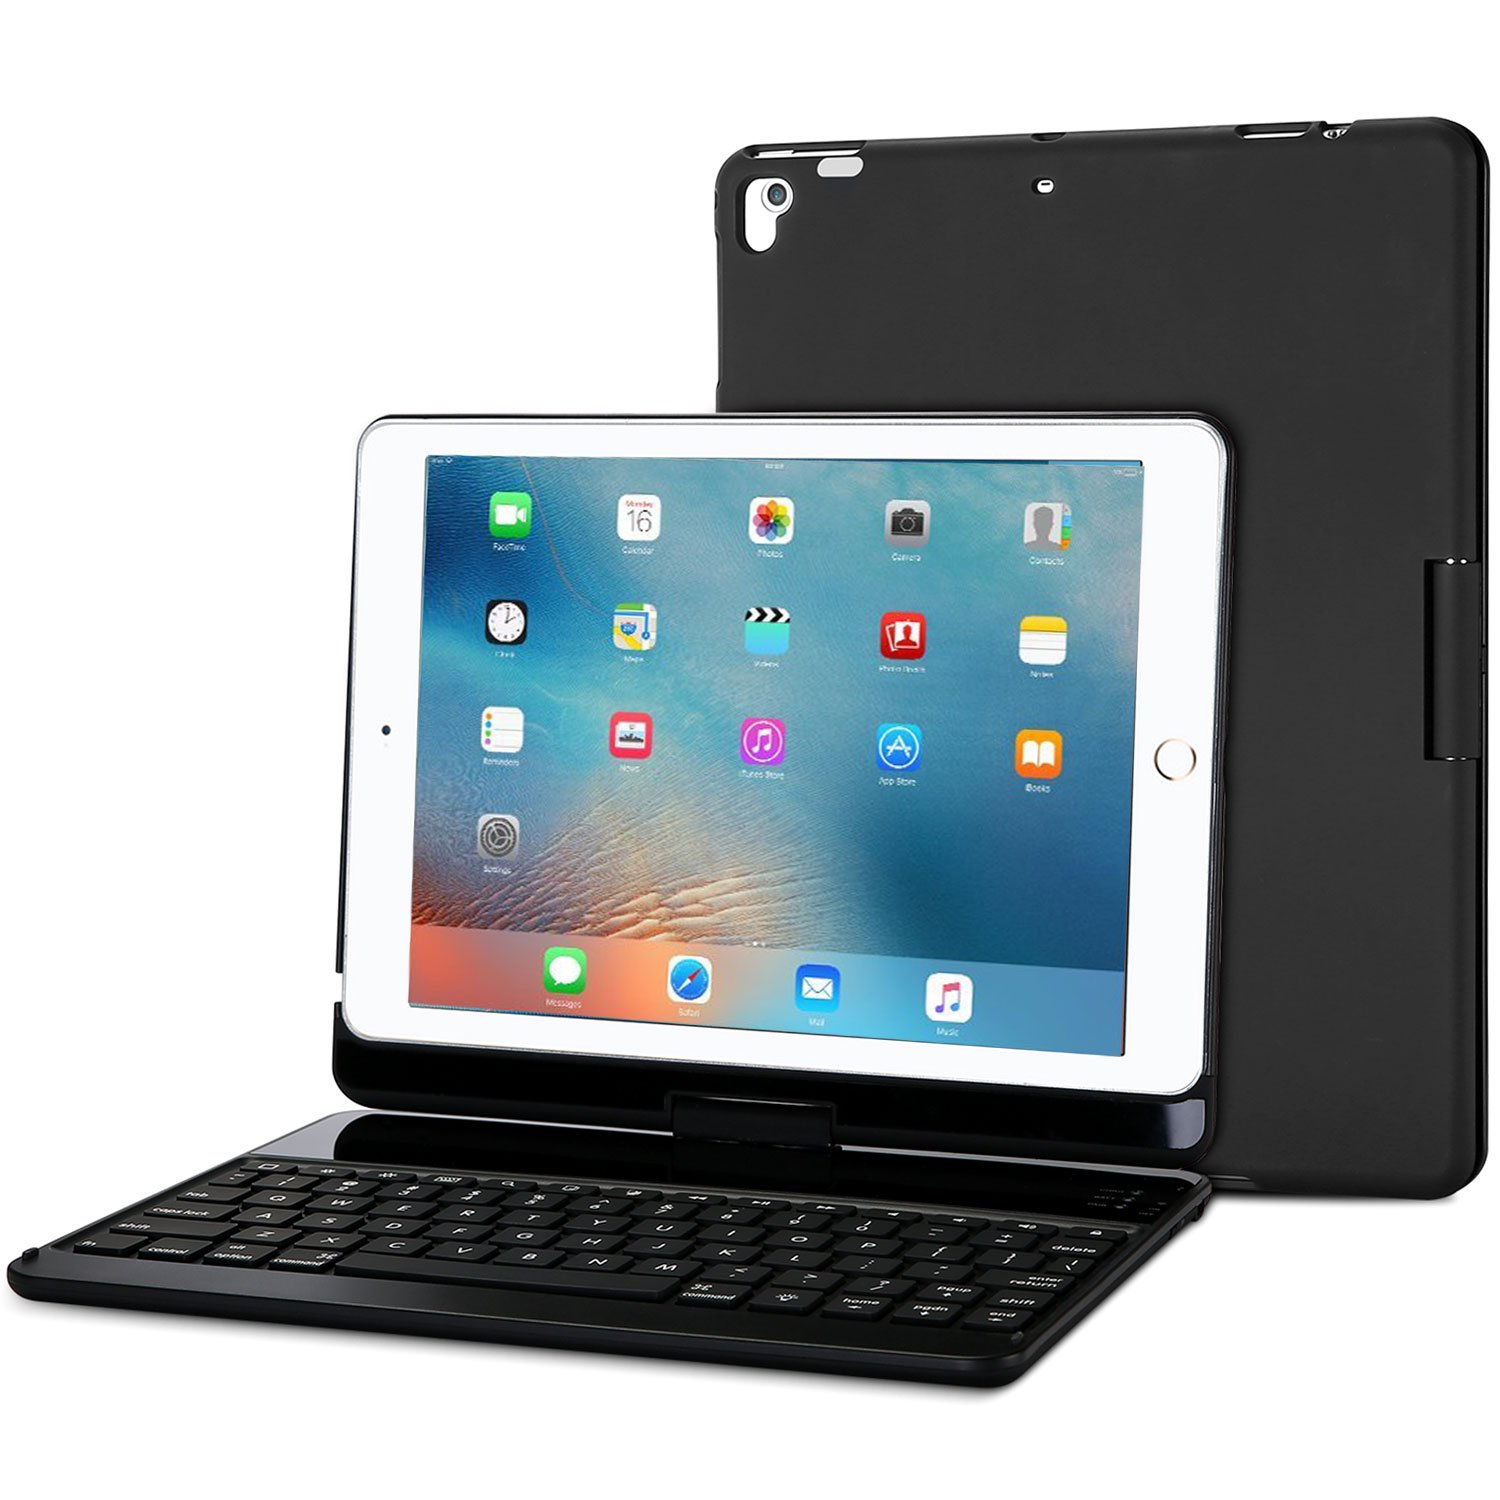
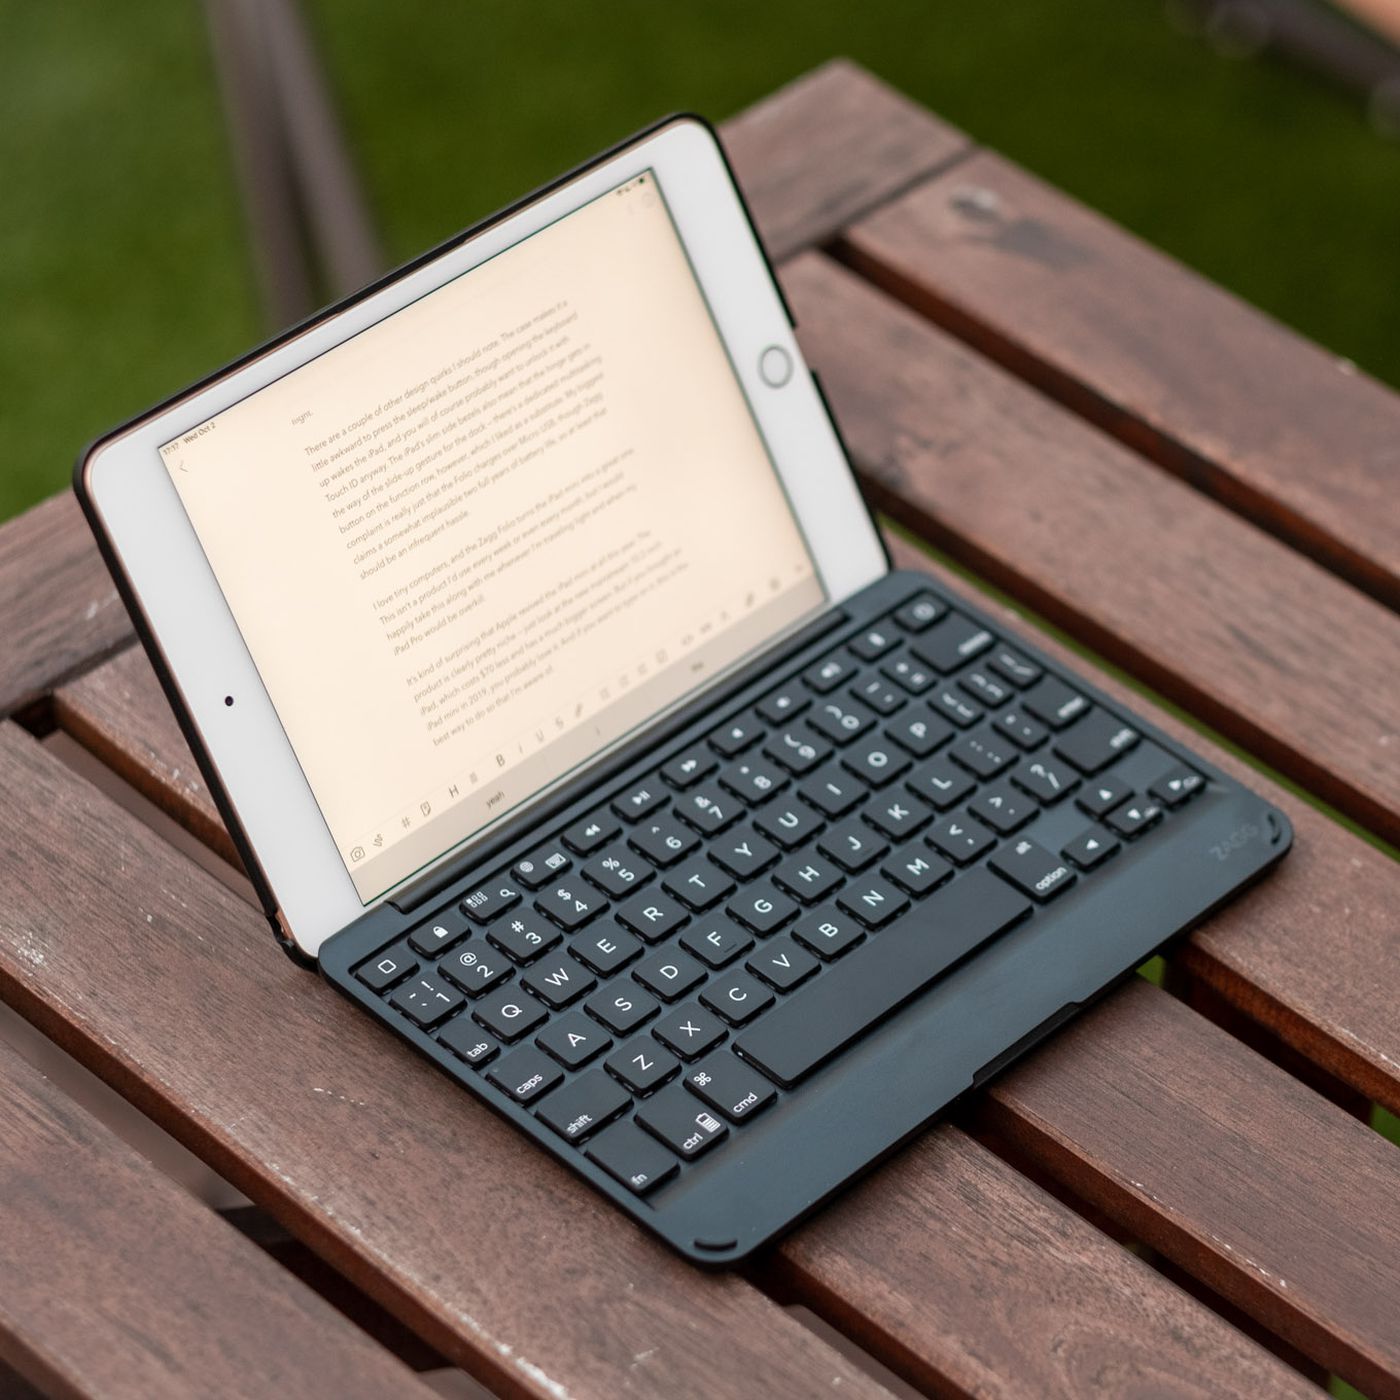
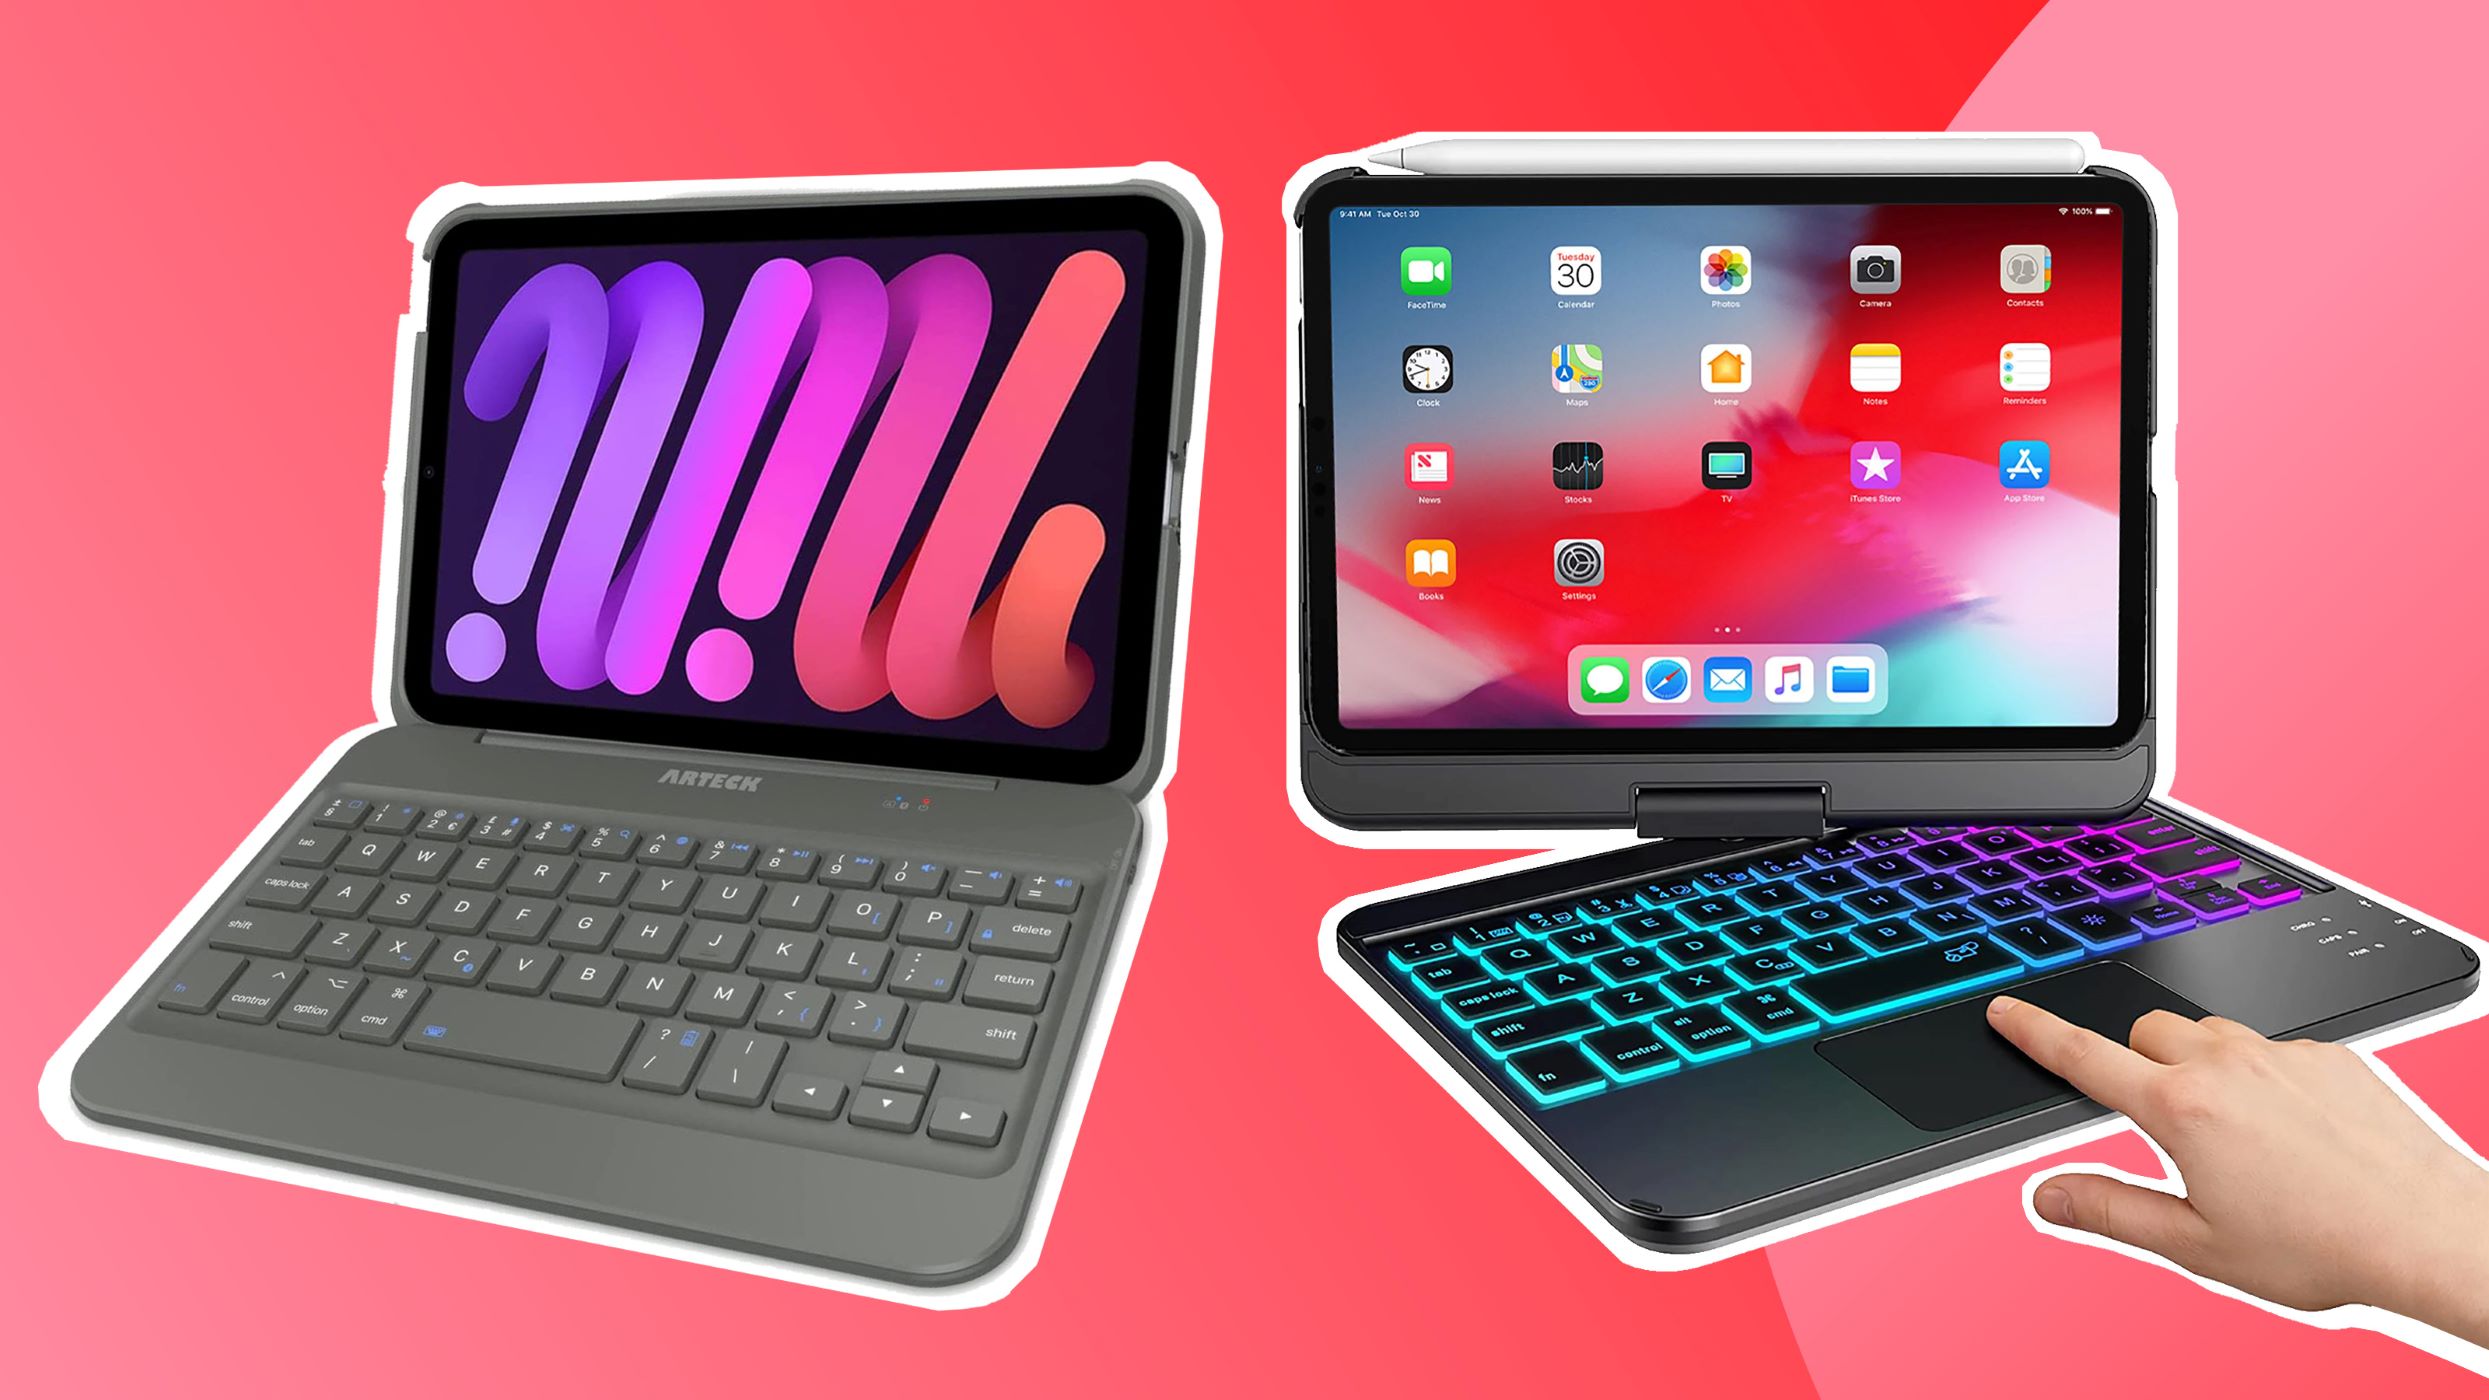
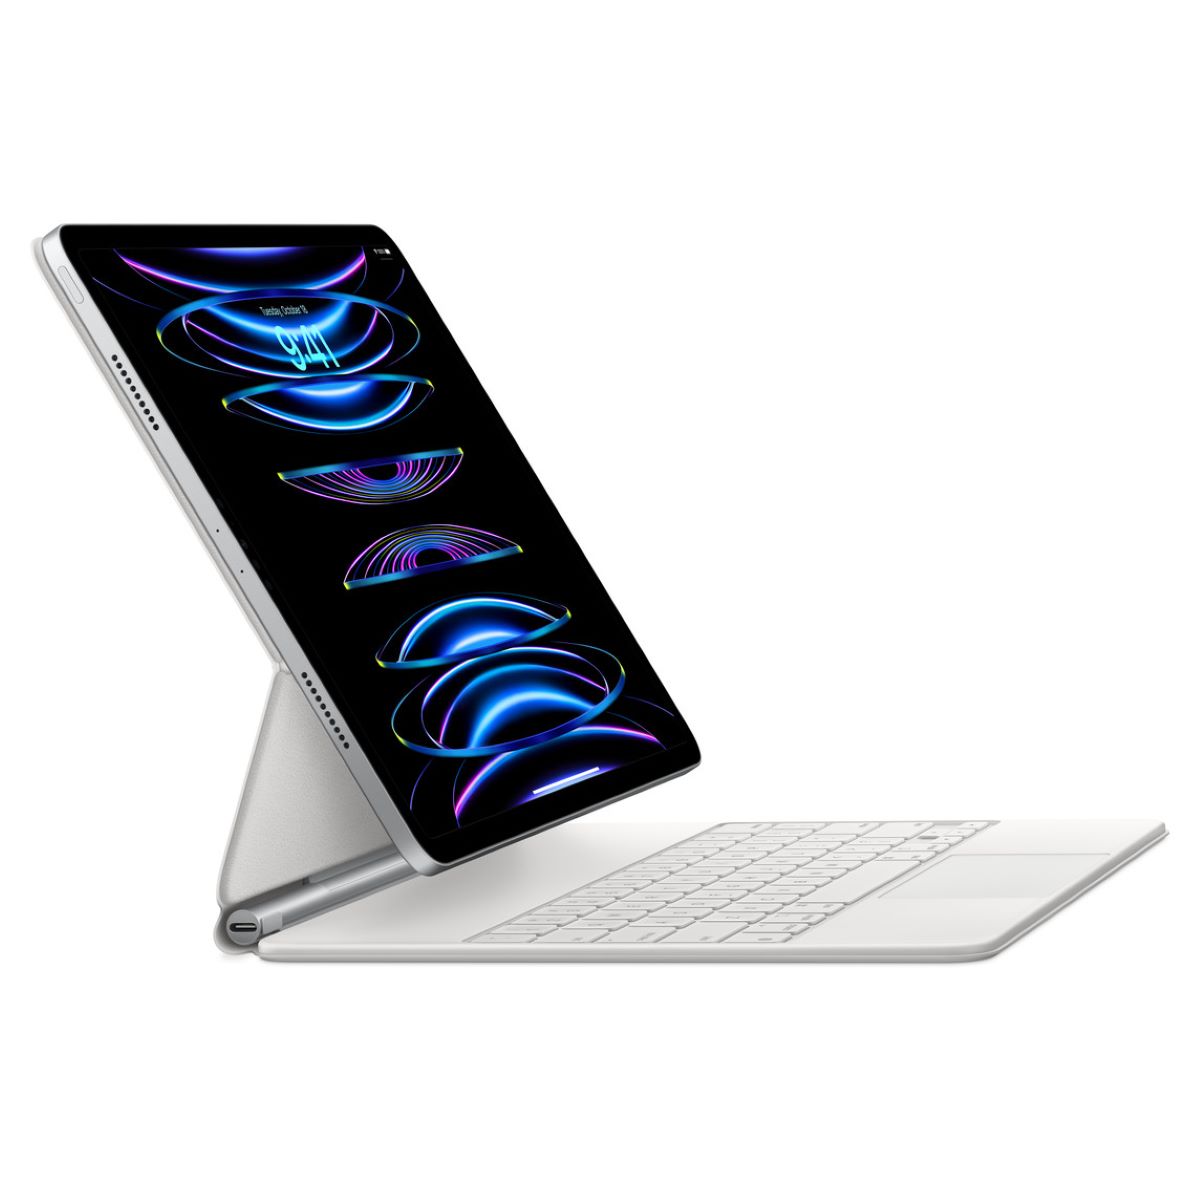
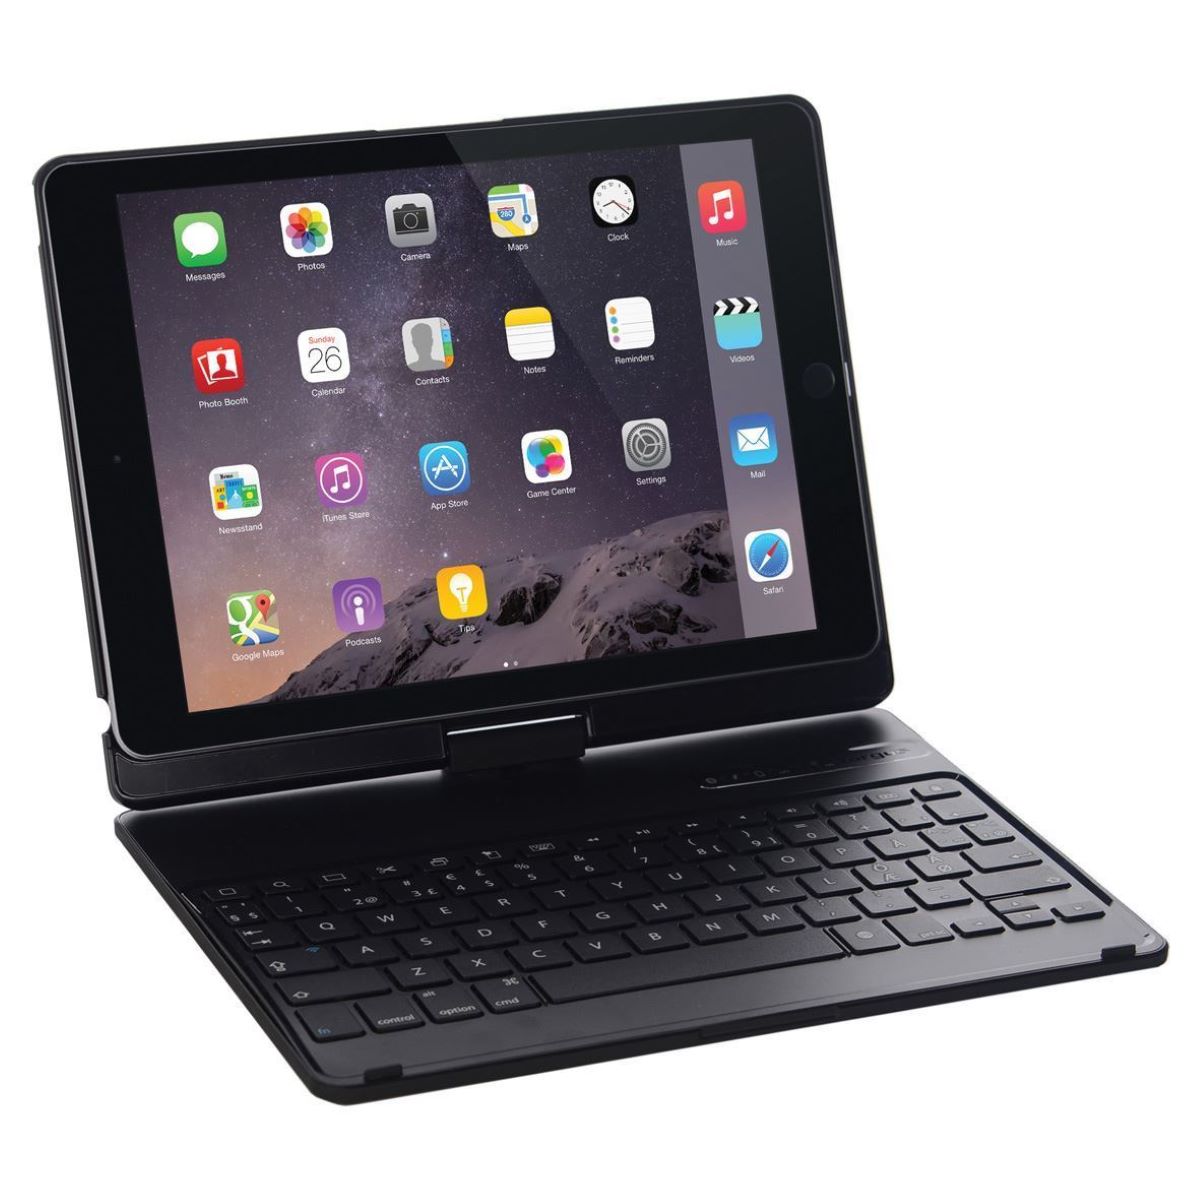
Welcome to our guide on how to connect a wireless keyboard to your iPad! If you are tired of typing on the touchscreen or want a more efficient way to work and write on your iPad, a wireless keyboard can be a great solution. With a wireless keyboard, you can enjoy the convenience of a physical keyboard while retaining the flexibility and mobility of your iPad.
In this article, we will walk you through the step-by-step process of connecting a wireless keyboard to your iPad. Whether you have a Bluetooth-enabled keyboard or a keyboard equipped with a USB receiver, we will cover all the necessary instructions to get you up and running in no time.
The process of connecting a wireless keyboard to your iPad may seem daunting at first, especially if you haven’t done it before. However, rest assured that it is a relatively straightforward process that can be completed in just a few minutes. By following the steps outlined in this guide, you’ll be able to enjoy the convenience and efficiency of typing on a physical keyboard, making productivity on your iPad a breeze.
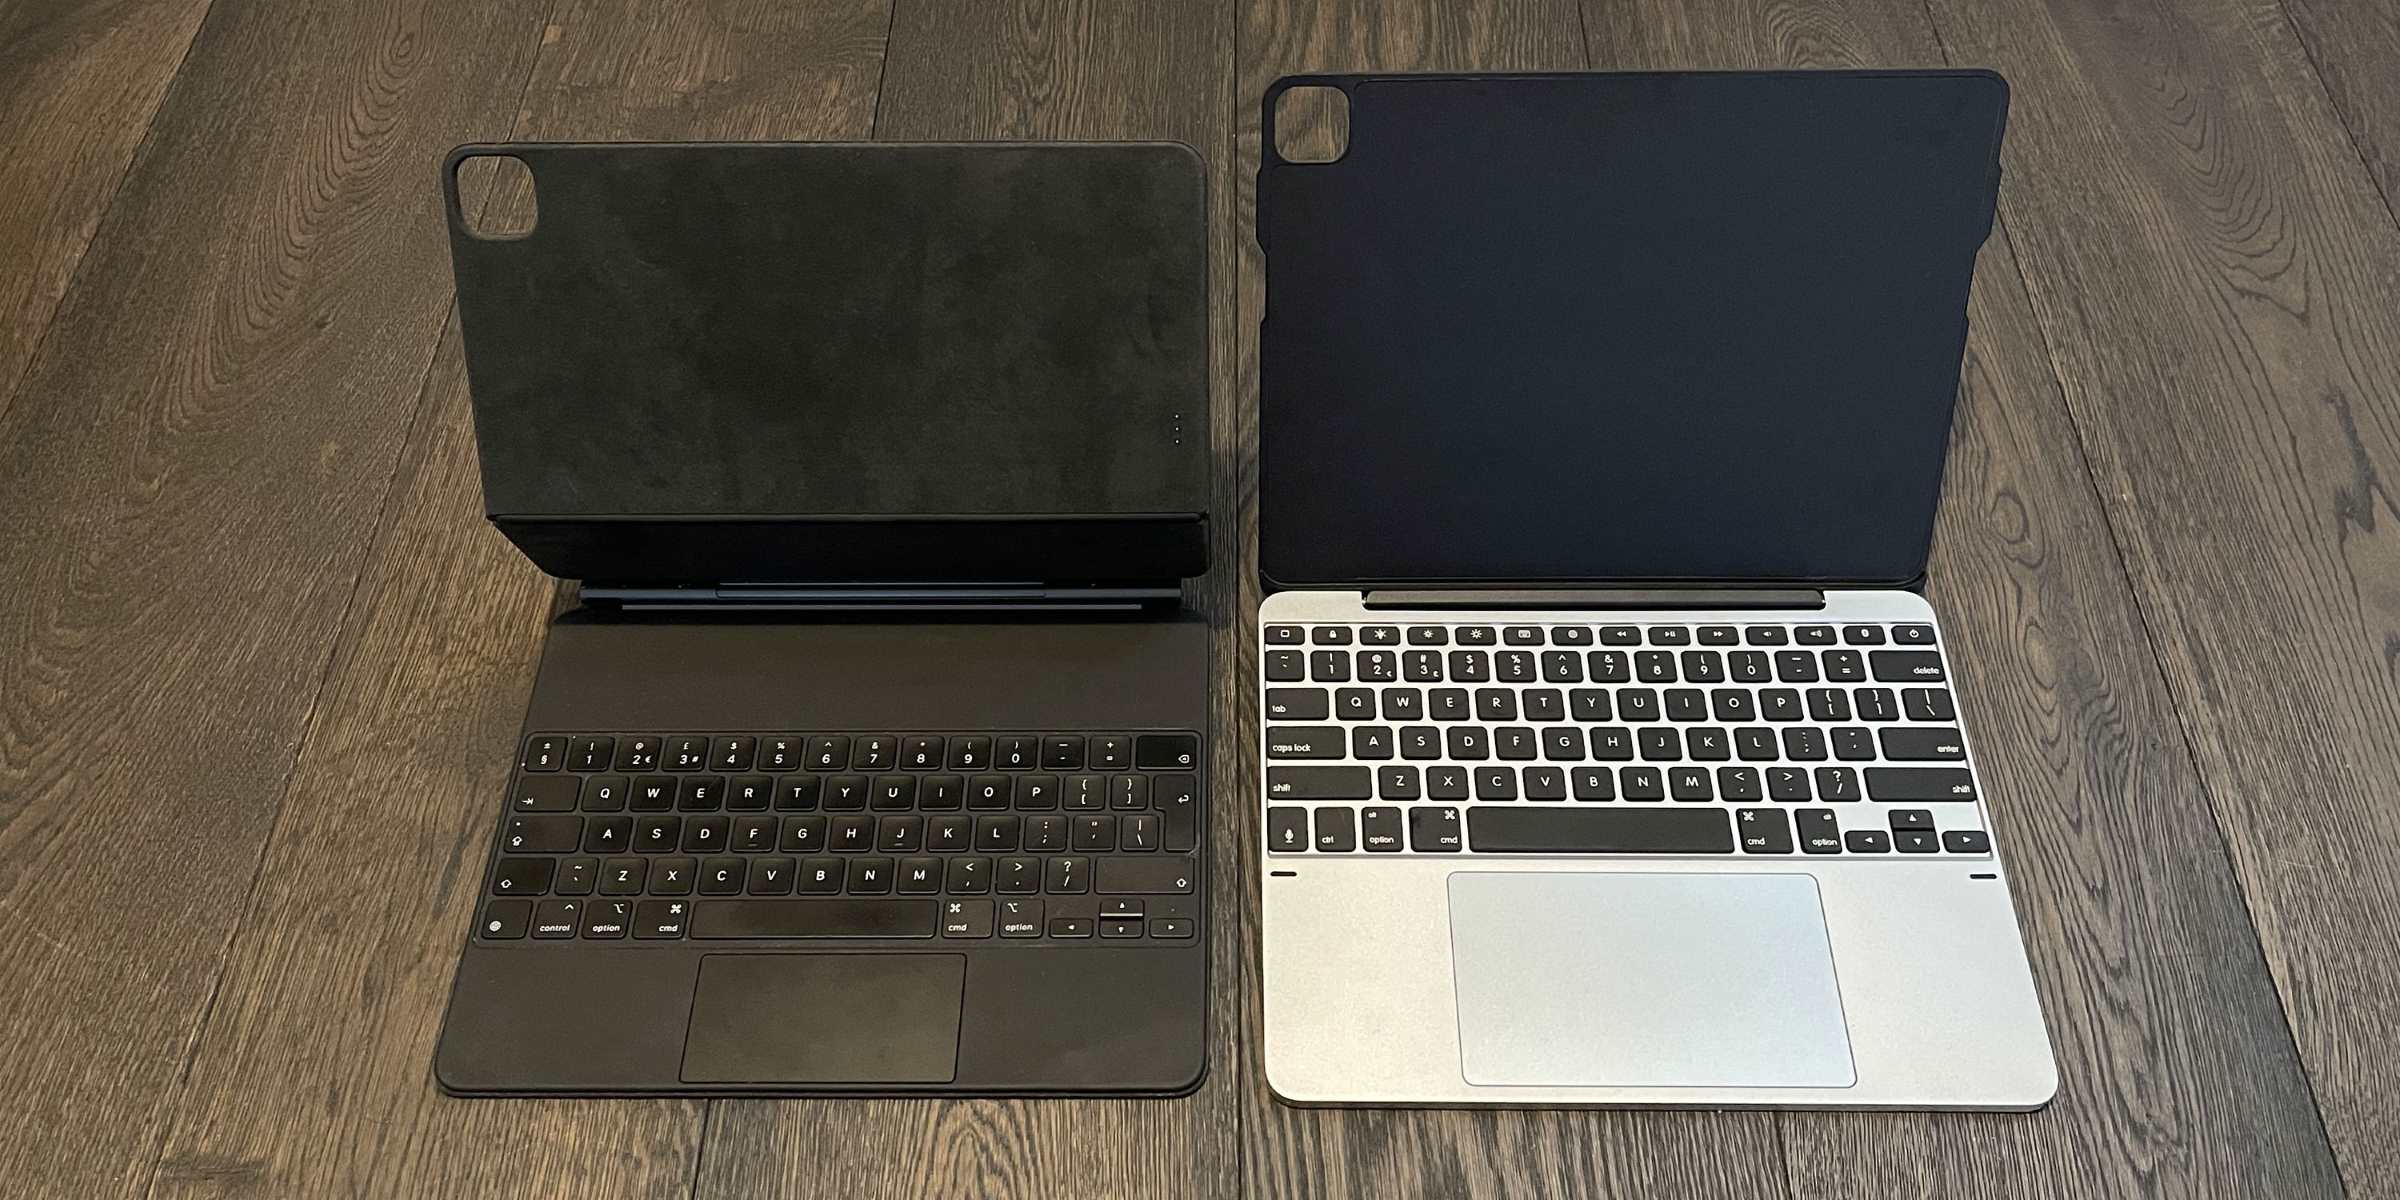
Before we dive into the step-by-step instructions, it’s important to ensure that your wireless keyboard is compatible with the iPad. Most wireless keyboards on the market today are designed to work with various devices, including iPads. However, it’s always a good idea to check the compatibility of your specific keyboard model with the iPad to avoid any potential issues later on.
Now that you have a basic understanding of what this guide entails, let’s move on to Step 1: Checking compatibility between your wireless keyboard and iPad.
Step 1: Check compatibility
Before you begin the process of connecting your wireless keyboard to your iPad, it’s essential to ensure that the keyboard is compatible with the iPad model you have. Most wireless keyboards are designed to work with multiple devices, including iPads, but it’s always best to double-check to avoid any compatibility issues.
To check the compatibility of your wireless keyboard with your iPad, you can follow these steps:
- Identify the model of your wireless keyboard. This information can usually be found on the packaging or on the underside of the keyboard.
- Visit the manufacturer’s website and look for the product page or support section related to your wireless keyboard.
- On the product page or support section, locate the compatibility information. This should indicate whether the keyboard is compatible with iPads and list the specific models that it supports.
If your wireless keyboard is listed as compatible with your iPad model, you can proceed with the connection process confident that the keyboard will work seamlessly. If your keyboard is not listed as compatible, it’s advisable to consider purchasing a keyboard that is designed specifically for use with iPads to ensure optimal performance.
It’s important to note that compatibility may also depend on the operating system version of your iPad. Some older keyboards may only work with specific iOS versions, while newer keyboards may have broader compatibility. Again, refer to the manufacturer’s website for detailed information on compatibility with different iPad models and iOS versions.
Now that you have verified the compatibility of your wireless keyboard with your iPad, you can move on to the next step: powering on the keyboard.
Step 2: Power on the keyboard
Before you can connect your wireless keyboard to your iPad, you need to ensure that the keyboard is powered on and ready for pairing. The power on/off switch or button is typically located on the side or bottom of the keyboard. Follow these steps to power on your wireless keyboard:
- Locate the power switch or button on your wireless keyboard.
- Depending on the keyboard model, you may need to slide the power switch to the “on” position or press and hold the power button for a few seconds.
- Look for an indicator light on the keyboard that confirms it is powered on. This light may flash briefly or remain steady to indicate that the keyboard is ready for pairing.
Once you have powered on your wireless keyboard, it’s time to move on to the next step: enabling Bluetooth on your iPad.
Note: If your wireless keyboard uses batteries for power, make sure they are installed correctly and have sufficient charge. Refer to the manufacturer’s instructions for battery installation and replacement.
Step 3: Enable Bluetooth on iPad
In order to establish a connection between your wireless keyboard and your iPad, you need to enable Bluetooth on your iPad. Bluetooth is the wireless technology that allows devices to communicate and connect with each other. Here’s how you can enable Bluetooth on your iPad:
- Go to the home screen of your iPad by pressing the home button or swiping up if you have a newer model with Face ID.
- Tap on the “Settings” app, which is represented by a gear icon.
- In the settings menu, scroll down and look for “Bluetooth”. Tap on “Bluetooth” to enter the Bluetooth settings.
- On the Bluetooth settings page, you will see a switch at the top. Ensure that the switch is turned on by sliding it to the right. If the switch is already turned on, you can proceed to the next step.
Enabling Bluetooth on your iPad allows it to discover and connect with nearby Bluetooth devices, including your wireless keyboard. Once you have enabled Bluetooth, you are ready to put your keyboard in pairing mode, which we will cover in the next step.
Note: If you have previously paired your wireless keyboard with your iPad, make sure to unpair it before attempting to connect it again. This can be done by going to the Bluetooth settings page, locating the keyboard in the list of devices, and selecting “Forget This Device”.
Step 4: Put the keyboard in pairing mode
Putting your wireless keyboard in pairing mode allows it to be discovered by your iPad and establishes a connection between the two devices. The process of entering pairing mode may vary depending on the keyboard model, so it’s essential to refer to the manufacturer’s instructions specific to your keyboard. However, here are some general steps to help you put your keyboard in pairing mode:
- Refer to the manufacturer’s instructions to identify the specific key combination or button on the keyboard that activates pairing mode. This is typically indicated by a Bluetooth icon or a specific label on the key.
- Once you have identified the key or button, press and hold it until you see an indicator light flashing or blinking. This is an indication that the keyboard is in pairing mode and ready to be discovered.
- Keep your wireless keyboard in pairing mode while you proceed to the next step of locating and connecting the keyboard on your iPad.
Remember that the steps involved in activating pairing mode may differ based on the keyboard model, so it’s important to consult the manufacturer’s instructions for precise details.
Now that your keyboard is in pairing mode, it’s time to move on to the next step: locating and connecting the keyboard on your iPad.
Step 5: Locate and connect the keyboard on iPad
Now that your wireless keyboard is in pairing mode, it’s time to locate and connect it on your iPad. Follow these simple steps to establish the connection:
- On your iPad, navigate to the Bluetooth settings page by going to the “Settings” app and tapping on “Bluetooth”.
- Under the “Devices” section, your iPad will start scanning for nearby Bluetooth devices. Wait for the list of available devices to populate.
- Look for your wireless keyboard in the list of available devices. It may appear as the model number or a name assigned to the keyboard by the manufacturer.
- Tap on the name of your keyboard to initiate the connection process.
- Your iPad will attempt to establish a connection with the wireless keyboard. This may take a few seconds.
- If prompted, enter a pairing code on your wireless keyboard using the iPad’s on-screen keyboard. Some keyboards may not require a pairing code.
- Once the connection is established, you will see a notification on your iPad indicating that the keyboard is connected.
Congratulations! You have successfully located and connected your wireless keyboard to your iPad. Now, it’s time to test the keyboard connection to ensure everything is working correctly.
Note: If you are unable to locate your wireless keyboard or establish a connection, make sure the keyboard is in pairing mode, and try restarting both your iPad and the keyboard. It’s also worth checking the batteries on your keyboard or the USB connection if applicable.
Step 6: Test the keyboard connection
After successfully connecting your wireless keyboard to your iPad, it’s important to test the keyboard connection to ensure that everything is functioning as expected. This step will help you verify that the keyboard input is recognized by your iPad. Here’s how you can test the keyboard connection:
- Open any app or document on your iPad where you can input text, such as Notes or Pages.
- Tap on a text field to bring up the virtual keyboard on your iPad’s screen.
- Start typing on your wireless keyboard. You should see the characters appearing on the screen as you type.
- Test different keys, including function keys, modifiers, and special characters, to ensure that all keys are working correctly.
- Try performing common keyboard shortcuts on your wireless keyboard, such as copy and paste, to confirm that they are recognized by your iPad.
- If everything is working properly, you can confidently use your wireless keyboard to type and navigate on your iPad.
If you encounter any issues during the testing phase, make sure the Bluetooth connection between your keyboard and iPad is stable. You can try repositioning the devices or removing any potential sources of interference. It’s also a good idea to ensure that your keyboard’s firmware is up to date by checking the manufacturer’s website.
Remember, the wireless keyboard should enhance your productivity and provide a comfortable typing experience on your iPad. If you are experiencing persistent issues, you may need to troubleshoot further or contact the manufacturer’s customer support for assistance.
With the successful test of the keyboard connection, you have completed the process of connecting a wireless keyboard to your iPad. Enjoy the convenience and efficiency of typing on a physical keyboard while using your iPad at its full potential.
Conclusion
Connecting a wireless keyboard to your iPad can greatly enhance your productivity and typing experience. With just a few simple steps, you can enjoy the convenience of a physical keyboard while retaining the portability and flexibility of your iPad. Throughout this guide, we have covered the necessary steps to connect your wireless keyboard to your iPad.
Starting with checking the compatibility of your keyboard with your iPad model, followed by powering on the keyboard and enabling Bluetooth on your iPad, you were able to put the keyboard in pairing mode and establish a connection. Finally, by testing the keyboard connection, you ensured that everything is working smoothly.
Remember to always refer to the manufacturer’s instructions specific to your wireless keyboard model, as the steps and requirements may vary. If you encounter any issues during the process, troubleshooting steps such as restarting both devices and checking for firmware updates can often resolve the problem.
Now that you have successfully connected your wireless keyboard to your iPad, you can enjoy the benefits of faster and more efficient typing, whether you are working on documents, responding to emails, or simply browsing the web. Make the most out of your iPad and boost your productivity with the convenience of a wireless keyboard.
We hope this guide has been helpful in assisting you with connecting your wireless keyboard to your iPad. Happy typing!


