Introduction
Welcome to our guide on how to clear the cache on your Samsung tablet! Over time, your tablet’s cache can accumulate a lot of unnecessary data, which can slow down your device and take up valuable storage space. Clearing the cache is a simple yet effective way to optimize the performance of your tablet and ensure a smoother user experience.
When you use apps on your tablet, they store temporary files and data in the cache. This cache helps to speed up the app’s loading time and improve overall performance. However, over time, this cache can become outdated or corrupted, which can cause issues such as app crashes, freezing, or slow response times.
In this guide, we will walk you through three different methods to clear the cache on your Samsung tablet. The first method allows you to clear the cache for individual applications, while the second method enables you to clear the cache for all apps at once. Finally, we will explain how to clear the system cache partition, which can help resolve more persistent issues on your tablet.
Before we dive into the methods, it’s important to note that clearing the cache will not delete any personal data, such as photos, videos, or documents. It will only remove temporary files and data that are no longer needed. You don’t have to worry about losing any important information during the process.
Now that you understand the importance of clearing the cache, let’s explore how to do it step by step. Whether you’re experiencing performance issues or simply want to free up some space on your tablet, our guide will help you refresh your device and enjoy a faster, more efficient tablet experience.
Method 1: Clear Cache for Individual Applications
If you’re experiencing issues with a specific app on your Samsung tablet, clearing the cache for that app can often resolve the problem. Here’s how you can do it:
- Start by navigating to the Settings app on your tablet. You can find it in the app drawer or by swiping down from the top of the screen and tapping the gear icon.
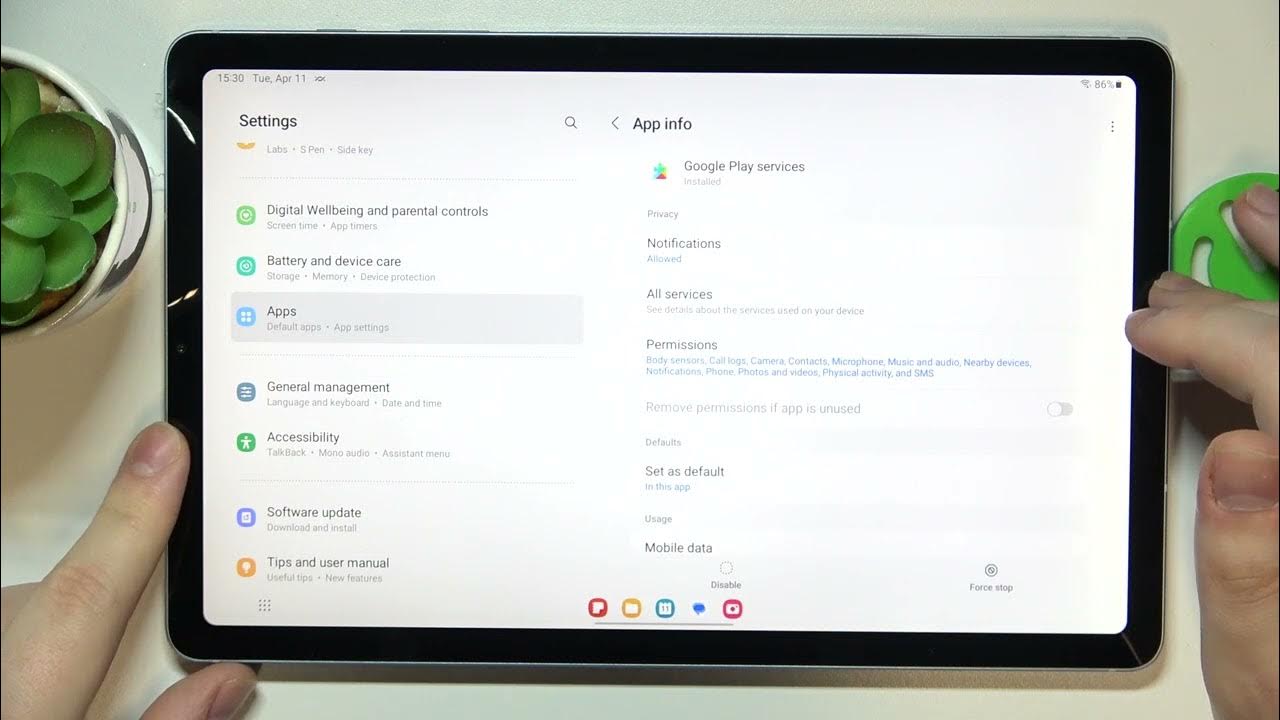
- Scroll down and tap on “Apps” or “Applications.” This will open a list of all the apps installed on your tablet.
- Select the app for which you want to clear the cache. You can either scroll through the list or use the search bar at the top of the screen to find the app quickly.
- Once you’re on the app’s info page, you’ll see various options. Tap on “Storage.”
- On the Storage screen, you’ll see two main sections: Clear Storage and Clear Cache. Tap on “Clear Cache.”
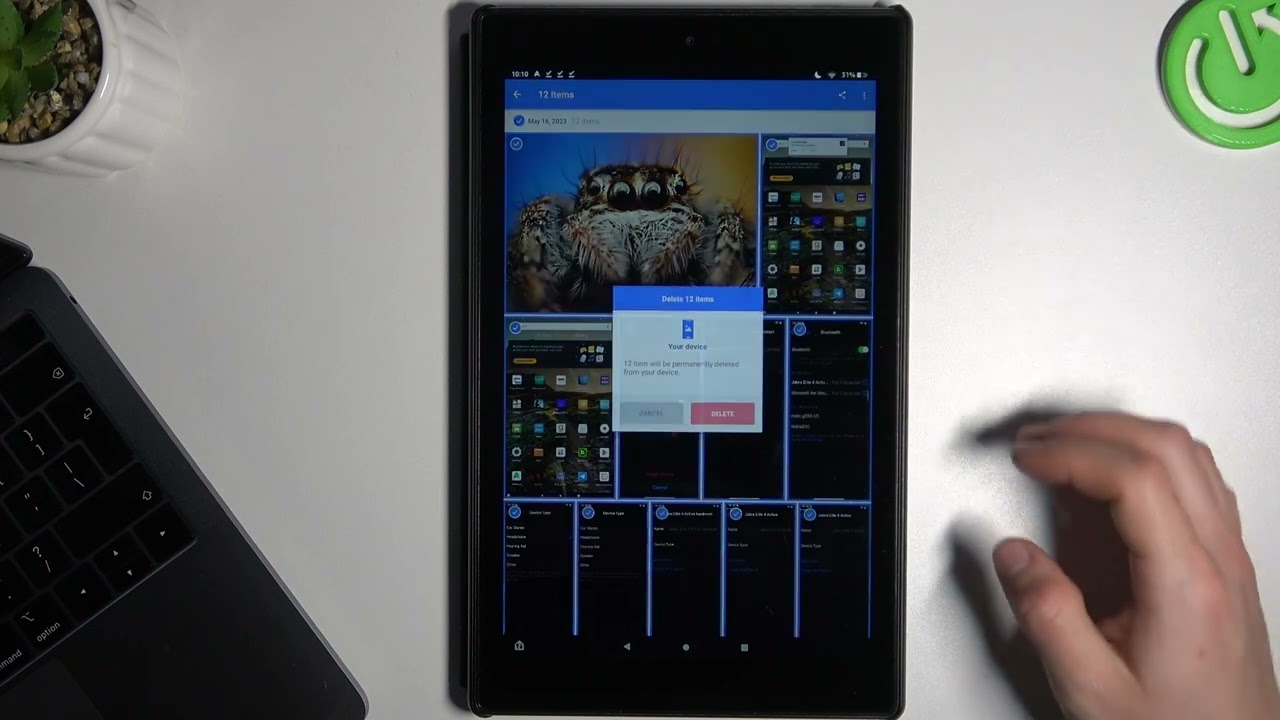
- A confirmation dialog will appear asking if you want to delete the app’s cache. Tap “OK” to proceed.
- The cache for the selected app will be cleared, and you will see a confirmation message.
- Repeat this process for any other apps that you wish to clear the cache for.
By clearing the cache for individual apps, you can resolve issues like app crashes, freezing, or slow performance. This process can also be beneficial for apps that are taking up a significant amount of storage space due to excessive cache data.
Keep in mind that clearing the cache for an app will remove temporary files and data associated with it. However, it won’t delete any personal data, such as login credentials or settings. If you’re unsure about clearing the cache for a specific app, you can always check the developer’s documentation or contact their support for further guidance.
Now that you know how to clear the cache for individual applications, let’s move on to the next method, where you can clear the cache for all apps on your Samsung tablet at once.
Method 2: Clear Cache for All Apps at Once
If you want to clear the cache for all the apps on your Samsung tablet simultaneously, you can use the built-in “Storage” option in the Settings app. Here’s how:
- Open the Settings app on your tablet by tapping on the gear icon in the app drawer or swiping down from the top of the screen and selecting the gear icon.
- Scroll down and tap on “Device Care” or “Device Maintenance.” The name may vary depending on your tablet model or Android version.
- In the Device Care or Device Maintenance screen, you’ll see an overview of your tablet’s performance. Tap on the “Storage” option.
- On the Storage screen, you’ll see the amount of used and available space on your tablet’s internal storage. Below that, you’ll find the “Temporary files” section.
- Tap on “Temporary files” to open the cache cleaning options.
- A list of different types of temporary files will appear. To clear the cache for all apps, select the “Cached data” option.
- A confirmation dialog will appear, informing you that clearing cached data will delete temporary files and improve device performance. Tap on “OK” to proceed.
- The cache for all apps on your tablet will be cleared, and you’ll see a confirmation message.
Clearing the cache for all apps at once can help free up a significant amount of storage space and improve the overall performance of your tablet. It’s a convenient method, especially if you have multiple apps with accumulated cache data.
After clearing the cache, you may notice that some apps take a little longer to open initially, as they rebuild their cache. However, this is a temporary effect and should not cause any significant issues.
Now that you know how to clear the cache for all apps on your tablet at once, let’s move on to the next method, which involves clearing the system cache partition to resolve system-related issues.
Method 3: Clear System Cache Partition
If you’re experiencing persistent issues with your Samsung tablet, such as frequent app crashes or sluggish performance, clearing the system cache partition can often help. This method clears the cache for the entire operating system, rather than individual apps. Here’s how to do it:
- Turn off your tablet completely by pressing and holding the power button for a few seconds. Then, select “Power off” or “Restart” from the options that appear.
- Once the tablet is turned off, press and hold the Volume Up button and the Power button simultaneously.
- Continue holding both buttons until the Samsung logo appears on the screen. Then, release the Power button while still holding the Volume Up button.
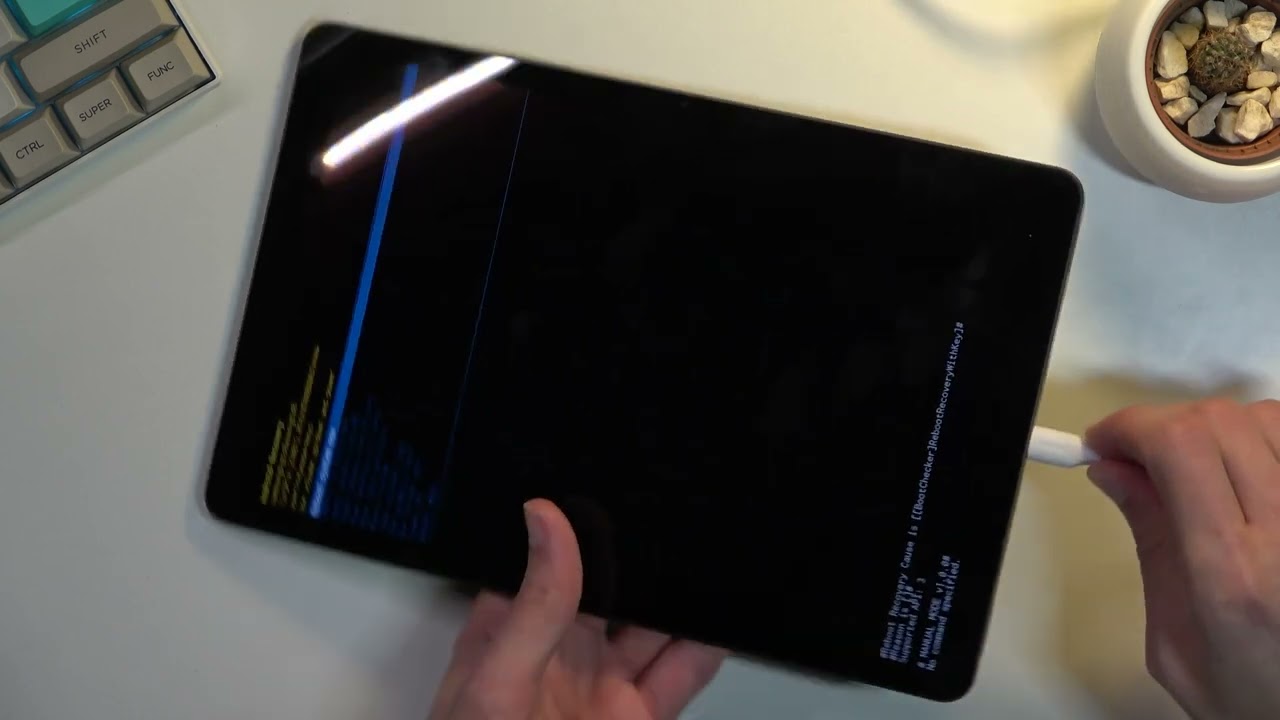
- You’ll enter the Android Recovery mode, which displays a menu with various options.
- Use the Volume Down button to navigate to the “Wipe cache partition” option.
- Press the Power button to select the option.
- A confirmation message will appear, asking if you want to proceed with wiping the cache partition. Use the Volume buttons to highlight “Yes,” then press the Power button to confirm.
- The tablet will clear the system cache partition, which may take a few moments. Once completed, you’ll return to the Android Recovery mode menu.
- Use the Volume buttons to navigate to the “Reboot system now” option.
- Press the Power button to restart your tablet.
Clearing the system cache partition can help resolve various system-related issues, as it removes temporary files and data that may be causing conflicts or performance slowdowns. It’s a safe process that won’t delete any personal data or installed applications.
After clearing the system cache partition, you may notice a slight improvement in the overall performance of your tablet. However, if you’re still facing issues, it’s recommended to reach out to Samsung Support or consult with a professional technician for further assistance.
Now that you know how to clear the system cache partition, you’re equipped with powerful troubleshooting knowledge. Let’s wrap up this guide and summarize what we’ve covered so far.
Conclusion
Congratulations! You’ve learned how to clear the cache on your Samsung tablet using three different methods. Clearing the cache can significantly improve your tablet’s performance by removing temporary files and data that can cause sluggishness, app crashes, or storage issues.
In the first method, you learned how to clear the cache for individual applications. This allows you to target specific apps that may be causing problems or taking up excessive storage space. By following the step-by-step instructions, you can easily clear the cache for any app on your Samsung tablet.
The second method taught you how to clear the cache for all apps at once. This is a convenient option if you want to free up a significant amount of storage space quickly. By using the Storage option in the Settings app, you can remove cached data from all your apps in just a few taps.
Finally, in the third method, you learned how to clear the system cache partition. This method is useful for resolving persistent system-related issues that may be affecting your tablet’s performance. By following the steps to enter Android Recovery mode, you can wipe the system cache partition and experience a refreshed tablet environment.
Remember that clearing the cache will not delete any personal data or installed apps. It only removes temporary files that are no longer needed. If you’re unsure about clearing the cache for a specific app or facing more complex issues, it’s always a good idea to consult the app developer’s documentation or reach out to Samsung Support for further assistance.
Now that you’re armed with the knowledge to clear the cache on your Samsung tablet, you can enjoy a faster, more efficient tablet experience. Regularly clearing the cache can help maintain optimal performance and ensure that your tablet runs smoothly for years to come.
Thank you for reading our guide, and we hope it has been helpful to you. If you have any questions or need further assistance, feel free to reach out. Happy cache clearing!