Why should you clear the cache on your Samsung tablet?
When using your Samsung tablet, you may notice that over time, it starts to slow down or experience performance issues. One of the common culprits behind these problems is the cache. The cache is a temporary storage area where data from websites and applications are stored to help them load faster. Although the cache can improve your browsing experience, it can also accumulate unnecessary files and data that can weigh down your tablet’s performance.
Clearing the cache on your Samsung tablet can offer several benefits. Firstly, it can free up valuable storage space on your device. As you use different apps and browse various websites, the cache gradually accumulates temporary files, images, and other data. Clearing the cache removes these unnecessary files, allowing you to reclaim storage space for other important files and applications.
Another advantage of clearing the cache is improved app performance. Over time, cached data from apps can become outdated or corrupted, causing them to run slower or even crash. By clearing the app cache, you force the app to refresh its data and start anew, which can significantly boost its performance and responsiveness.
Clearing the cache can also resolve issues related to website browsing. Sometimes, when visiting websites, you may encounter loading problems, broken images, or other display issues. These issues can often be resolved by clearing the cache, as it removes any stored data that may be causing conflicts or inconsistencies with the website’s current version.
Lastly, clearing the cache can enhance your privacy and security. Some websites and apps store sensitive information, such as login credentials or personal data, in the cache. If you share your tablet with others or are concerned about your privacy, clearing the cache regularly ensures that this sensitive information is removed, reducing the risk of it falling into the wrong hands.
In summary, clearing the cache on your Samsung tablet offers several benefits. It frees up storage space, improves app performance, resolves website browsing issues, and enhances privacy and security. By incorporating cache clearing as a regular maintenance practice, you can ensure that your Samsung tablet continues to run smoothly and efficiently.
How to clear the cache on a Samsung tablet?
If you’ve decided to clear the cache on your Samsung tablet to optimize its performance, you’ll be glad to know that the process is relatively simple. There are two primary methods you can use: clearing the app cache and clearing the system cache. Let’s explore both methods in detail:
Method 1: Clearing the app cache
1. Open the “Settings” app on your Samsung tablet.
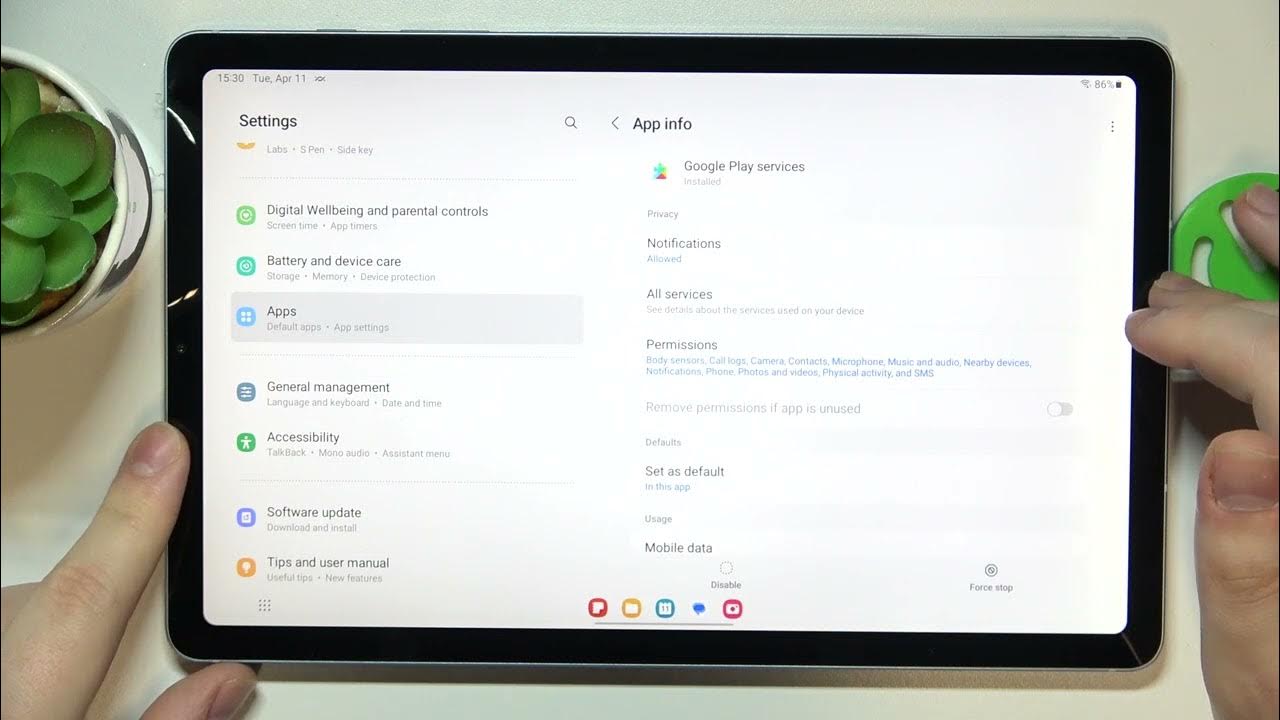
2. Scroll down and tap on “Apps” or “Applications”.
3. You should see a list of all the installed applications on your tablet. Tap on the app for which you want to clear the cache.
4. Once you’re on the app’s details page, tap on the “Storage” or “Storage & cache” option.
5. You will see the “Clear cache” button. Tap on it to clear the app’s cache.
6. Repeat these steps for other apps you wish to clear the cache for.
Method 2: Clearing the system cache
1. Turn off your Samsung tablet.
2. Press and hold the “Volume Up” button and the “Power” button simultaneously until the device vibrates and the Samsung logo appears.
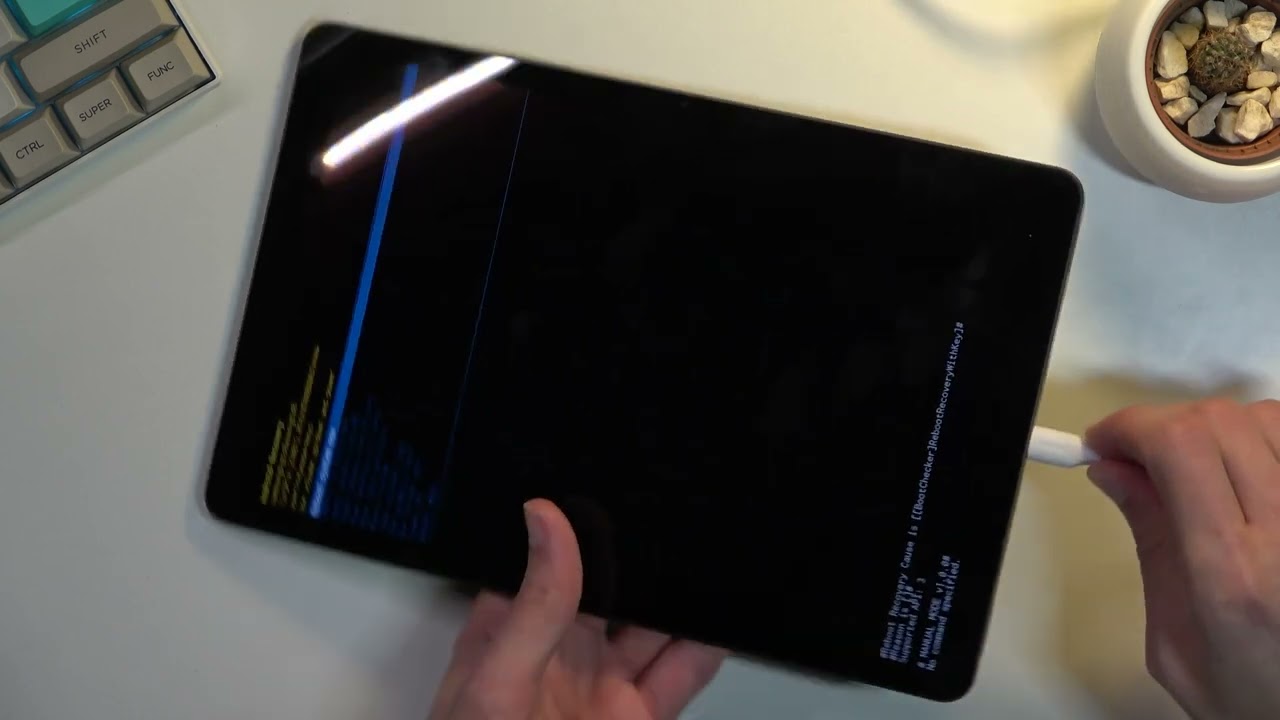
3. Release both buttons and you will enter the “Android Recovery” mode.
4. Use the volume buttons to navigate to the “Wipe cache partition” option and select it using the “Power” button.
5. Confirm your selection by highlighting “Yes” and pressing the “Power” button.
6. Once the cache is cleared, the “Reboot system now” option will be highlighted. Press the “Power” button to reboot your tablet.
It’s important to note that clearing the system cache will not delete any personal data or settings on your Samsung tablet. It only removes temporary files and cache data that may be affecting the device’s performance.
By following these step-by-step guides, you can easily clear the cache on your Samsung tablet. Remember to periodically repeat this process to ensure optimal performance and free up storage space on your device.
Method 1: Clearing the app cache
Clearing the app cache on your Samsung tablet can help resolve issues related to individual applications and improve their overall performance. Here is a step-by-step guide on how to clear the app cache:
- Open the “Settings” app: Locate and open the “Settings” app on your Samsung tablet. It is usually represented by a gear icon and can be found on your home screen or in the app drawer.
- Access the list of installed apps: Scroll down within the “Settings” menu and look for the “Apps” or “Applications” option. Tap on it to access the list of all the installed applications on your tablet.
- Select the app you want to clear the cache for: From the list of installed apps, find the specific app for which you want to clear the cache. Tap on the app’s name to proceed.
- Open the storage settings: Once you’re on the app’s details page, look for the “Storage” or “Storage & cache” option. Tap on it to access the storage settings for the selected app.
- Clear the app cache: Within the storage settings, you will find a “Clear cache” button. Tap on it to initiate the cache clearing process for the app. Depending on the app’s size and the amount of data stored in the cache, the process might take a few seconds to complete.
- Repeat for other apps (if needed): If you want to clear the cache for other apps on your Samsung tablet, simply go back to the list of installed apps and repeat the steps for each app you wish to clear the cache for.
By following these steps, you can effectively clear the app cache on your Samsung tablet. This process helps remove unnecessary data and temporary files that may be causing performance issues or glitches within specific applications. Clearing the app cache allows the app to start fresh and can lead to improved performance and responsiveness.
It’s important to note that clearing the app cache will not delete any personal data associated with the app, such as login credentials or saved preferences. It only removes temporary files and data that are stored in the cache.
Regularly clearing the cache for specific apps can be an effective way to maintain the smooth operation of your Samsung tablet and ensure optimal performance for your favorite applications.
Method 2: Clearing the system cache
Clearing the system cache on your Samsung tablet can help resolve issues related to the device’s overall performance and stability. It is a more comprehensive process that clears the cache for the entire system. Follow these steps to clear the system cache on your Samsung tablet:
- Turn off your Samsung tablet: Press and hold the power button on your tablet until a menu appears. Tap on the “Power Off” or “Shutdown” option to turn off your device completely.
- Enter the Android Recovery mode: Once your tablet is powered off, press and hold the “Volume Up” button and the “Power” button simultaneously. Continue holding both buttons until the device vibrates and the Samsung logo appears.
- Navigate to the cache clearing option: You will now enter the “Android Recovery” mode. Use the volume buttons to navigate through the menu options until you find the “Wipe cache partition” option. This option is used to clear the system cache on your tablet.
- Select and confirm cache clearing: Once you have highlighted the “Wipe cache partition” option, press the power button to select it. You will be prompted to confirm your selection. Use the volume buttons to navigate to the “Yes” option and press the power button to confirm and initiate the cache clearing process.
- Wait for the cache to be cleared: The cache clearing process may take a few minutes to complete. You may see a progress bar on your screen indicating the status of the cache clearing process.
- Reboot your tablet: Once the cache has been cleared, the “Reboot system now” option will be highlighted on the screen. Use the volume buttons to navigate to this option and press the power button to restart your tablet.
After rebooting, your Samsung tablet will start with a cleared system cache. This process helps remove temporary files and data that may be causing performance issues or conflicts within the system. Clearing the system cache can improve overall system responsiveness and resolve certain software-related issues.
It’s important to note that clearing the system cache will not delete any personal data or settings on your Samsung tablet. It only removes temporary files and cache data that may be affecting the device’s performance.
By regularly clearing the system cache on your Samsung tablet, you can help maintain its performance and ensure a smoother user experience. Consider performing this process periodically, especially if you notice any performance issues or glitches on your device.
Step-by-step guide to clearing the app cache on a Samsung tablet
If you are experiencing issues with individual applications or want to free up storage space on your Samsung tablet, clearing the app cache can be a simple and effective solution. Follow these steps to clear the app cache on your Samsung tablet:
- Open the “Settings” app: Locate the “Settings” app on your Samsung tablet. You can typically find it on your home screen or in the app drawer. Tap on it to open the settings menu.
- Access the list of installed apps: Scroll down within the settings menu and look for the “Apps” or “Applications” option. Tap on it to view the list of installed applications on your tablet.
- Select the app you want to clear the cache for: From the list of applications, find the specific app for which you want to clear the cache. Tap on the app’s name to proceed.
- Open the app details: Once you’re on the app’s details page, look for the “Storage” or “Storage & cache” option. Tap on it to access the storage settings for the selected app.
- Clear the app cache: Within the storage settings, you will find a “Clear cache” button. Tap on it to initiate the cache clearing process for the app. Depending on the app’s size and the amount of data stored in the cache, the process may take a few seconds.
- Confirm cache clearing (if prompted): In some cases, you may be prompted to confirm the cache clearing action. If prompted, carefully read the message and tap on “OK” or “Clear” to proceed with clearing the app cache.
- Repeat for other apps (if needed): If you want to clear the cache for other apps on your Samsung tablet, simply go back to the list of installed apps and repeat the steps for each app you wish to clear the cache for.
By following these step-by-step instructions, you can easily clear the app cache on your Samsung tablet. Clearing the app cache helps remove temporary files and data that may be causing performance issues or glitches within specific applications. It allows the app to start fresh and can lead to improved performance and responsiveness.
Regularly clearing the cache for specific apps can help maintain the smooth operation of your Samsung tablet and ensure optimal performance for your favorite applications.
Step-by-step guide to clearing the system cache on a Samsung tablet
Clearing the system cache on your Samsung tablet can help resolve various performance issues and ensure the smooth operation of your device. Follow these step-by-step instructions to clear the system cache on your Samsung tablet:
- Turn off your Samsung tablet: Press and hold the power button on your tablet until a menu appears. Tap on the “Power Off” or “Shutdown” option to turn off your device completely.
- Enter the Android Recovery mode: To enter the Android Recovery mode, press and hold the “Volume Up” button and the “Power” button simultaneously. Keep holding them until you feel a vibration and see the Samsung logo on the screen.
- Navigate to the cache clearing option: Using the volume buttons, navigate through the menu options until you find the “Wipe cache partition” option. This option is used to clear the system cache on your tablet.
- Select and confirm cache clearing: Once you have highlighted the “Wipe cache partition” option, press the power button to select it. A confirmation message will appear. Use the volume buttons to navigate to the “Yes” option and press the power button to confirm and initiate the cache clearing process.
- Wait for the cache to be cleared: The cache clearing process may take a few minutes to complete. You will see a progress bar on the screen indicating the status of the cache clearing process.
- Reboot your tablet: Once the cache has been cleared, the “Reboot system now” option will be highlighted on the screen. Use the volume buttons to navigate to this option and press the power button to restart your tablet.
After your Samsung tablet reboots, it will start with a cleared system cache. This process removes temporary files and data that may be causing performance issues or conflicts within the system. Clearing the system cache can help improve overall system responsiveness and resolve certain software-related issues.
Remember that clearing the system cache will not delete any personal data or settings on your Samsung tablet. It only removes temporary files and cache data.
Performing this clearing process periodically, especially when you notice any performance issues or glitches on your device, can help maintain optimal performance and ensure a smoother user experience on your Samsung tablet.
Benefits of clearing the cache on your Samsung tablet
Clearing the cache on your Samsung tablet offers several benefits that can help improve the performance and functionality of your device. Let’s explore some of the key advantages of clearing the cache:
1. Free up storage space
As you use different apps and browse various websites on your Samsung tablet, the cache gradually accumulates temporary files, images, and other data. Clearing the cache helps free up valuable storage space on your device, allowing you to have more room for important files and applications.
2. Improve app performance
Over time, cached data from apps can become outdated or corrupted, which can slow down the app’s performance or lead to crashes. By clearing the app cache, you force the app to refresh its data and start anew. This can significantly boost the app’s performance and responsiveness, allowing you to enjoy smooth and efficient usage.
3. Resolve website browsing issues
Clearing the cache can help resolve issues related to website browsing. Sometimes, when you visit websites, you may encounter loading problems, broken images, or other display issues. These issues can often be resolved by clearing the cache because it removes any stored data that may be causing conflicts or inconsistencies with the website’s current version.
4. Enhance privacy and security
Some websites and apps store sensitive information, such as login credentials or personal data, in the cache. If you share your tablet with others or are concerned about your privacy, clearing the cache regularly ensures that this sensitive information is removed. This reduces the risk of it falling into the wrong hands and enhances your privacy and security.
5. Optimize overall device performance
By regularly clearing the cache on your Samsung tablet, you can optimize its overall performance. Clearing the cache removes unnecessary files and data that may be slowing down your device. It helps speed up app launches, reduces lag, and ensures smoother multitasking, providing you with a seamless and enjoyable user experience.
With these benefits in mind, incorporating cache clearing as a regular maintenance practice can help ensure that your Samsung tablet operates at its best. By freeing up storage space, improving app performance, resolving browsing issues, enhancing privacy and security, and optimizing overall device performance, clearing the cache can significantly enhance your tablet’s functionality and longevity.
Recap and final thoughts
Clearing the cache on your Samsung tablet is a simple but effective way to optimize its performance and address various issues that may arise over time. By following the step-by-step guides provided in this article, you can easily clear both the app cache and the system cache on your tablet.
We discussed the benefits of clearing the cache, such as freeing up storage space, improving app performance, resolving website browsing issues, and enhancing privacy and security. Clearing the cache on a regular basis can help maintain the smooth operation of your Samsung tablet and ensure optimal performance for your favorite applications.
Remember that clearing the app cache allows individual apps to start fresh and can lead to improved performance and responsiveness. On the other hand, clearing the system cache clears temporary files and data that may be causing performance issues or conflicts within the system itself.
Make cache clearing a part of your regular maintenance routine for your Samsung tablet. Consider performing this process periodically, especially if you notice any performance issues, lag, or glitches on your device.
With its benefits of freeing up storage space, boosting app performance, enhancing browsing experiences, and improving privacy and security, clearing the cache on your Samsung tablet ensures that your device continues to operate at its best. Give it a try and enjoy a faster and more efficient tablet experience.