Introduction
Welcome to our guide on how to clean up the memory in your Samsung tablet. As you use your tablet over time, it can start to accumulate unnecessary files, apps, and data, which can lead to decreased performance and slower operation. Cleaning up the memory regularly is essential to ensure that your Samsung tablet runs smoothly and efficiently.
Samsung tablets, like any other electronic device, have limited storage capacity. As you install apps, download files, and take photos, the available storage space gradually decreases. This can result in reduced performance, slower response times, and even potential crashes or freezing. To prevent these issues and keep your tablet running smoothly, it’s important to regularly clean up the memory.
In this guide, we will walk you through a step-by-step process to help you clean up the memory on your Samsung tablet. By following these steps, you will be able to free up valuable storage space, optimize performance, and improve the overall user experience.
It’s worth mentioning that cleaning up the memory will not only benefit your tablet’s performance but also help to organize and declutter your device. You’ll have more control over what is stored on your tablet and be able to manage your apps and files more efficiently.
Whether you have a Samsung Galaxy Tab, Samsung Galaxy Tab S, or any other Samsung tablet model, the cleaning process remains relatively similar. Without further ado, let’s dive in and explore how to clean up the memory in your Samsung tablet.
Why is Cleaning Up Memory Important for Samsung Tablets?
Keeping your Samsung tablet’s memory clean and organized is vital for maintaining optimal performance and usability. Here are a few reasons why cleaning up memory is crucial:
1. Improved Performance: As you use your Samsung tablet, various temporary files, cached data, and unused apps can take up precious memory space. These files can slow down the device and affect its overall performance. Regularly cleaning up the memory will help free up space and ensure that your tablet runs smoothly and efficiently.
2. Enhanced Storage Capacity: The storage capacity of a Samsung tablet is limited. By cleaning up the memory, you can make more room for important files, apps, photos, and videos. This allows you to utilize the available storage capacity more effectively and avoid running into storage issues in the future.
3. Optimized Battery Life: Unnecessary processes, background apps, and cached data can drain your tablet’s battery faster. Cleaning up memory helps reduce the burden on the battery, prolonging its life and improving overall battery performance.
4. Prevented Data Loss: If your tablet is running out of memory, there is a higher risk of losing important files and documents. By regularly cleaning up the memory, you can safeguard your data and ensure that there is enough space to store your essential files and backups.
5. Reduced Lag and Freezing: As your tablet’s memory gets cluttered, it may become sluggish, unresponsive, or prone to freezing. Cleaning up the memory removes unnecessary files and data, helping to reduce lag and prevent freezing issues.
6. Improved User Experience: A clean and well-organized tablet makes it easier to navigate, find files, and launch apps. By regularly cleaning up the memory, you’ll have a more enjoyable and hassle-free user experience.
7. Security and Privacy: Unused apps, cached data, and temporary files can pose security risks and compromise your privacy. By cleaning up the memory, you can minimize these risks and ensure that your personal information remains secure.
Taking the time to clean up the memory on your Samsung tablet can significantly improve its performance, extend its lifespan, and enhance your overall user experience. In the following sections, we will explore step-by-step instructions on how to clean up the memory in your Samsung tablet.
Step 1: Check Available Storage
Before starting the cleaning process, it’s important to assess how much storage space is currently available on your Samsung tablet. This will give you an idea of how much memory you need to clean up and help you prioritize which areas to focus on.
To check the available storage on your Samsung tablet, follow these steps:
1. Open Settings
From the home screen or the app drawer, locate the Settings app. It is typically represented by a gear icon. Tap on it to open the Settings menu.
2. Navigate to Storage
Scroll down through the settings menu and look for the “Storage” or “Device care” option. Tap on it to access the storage settings.
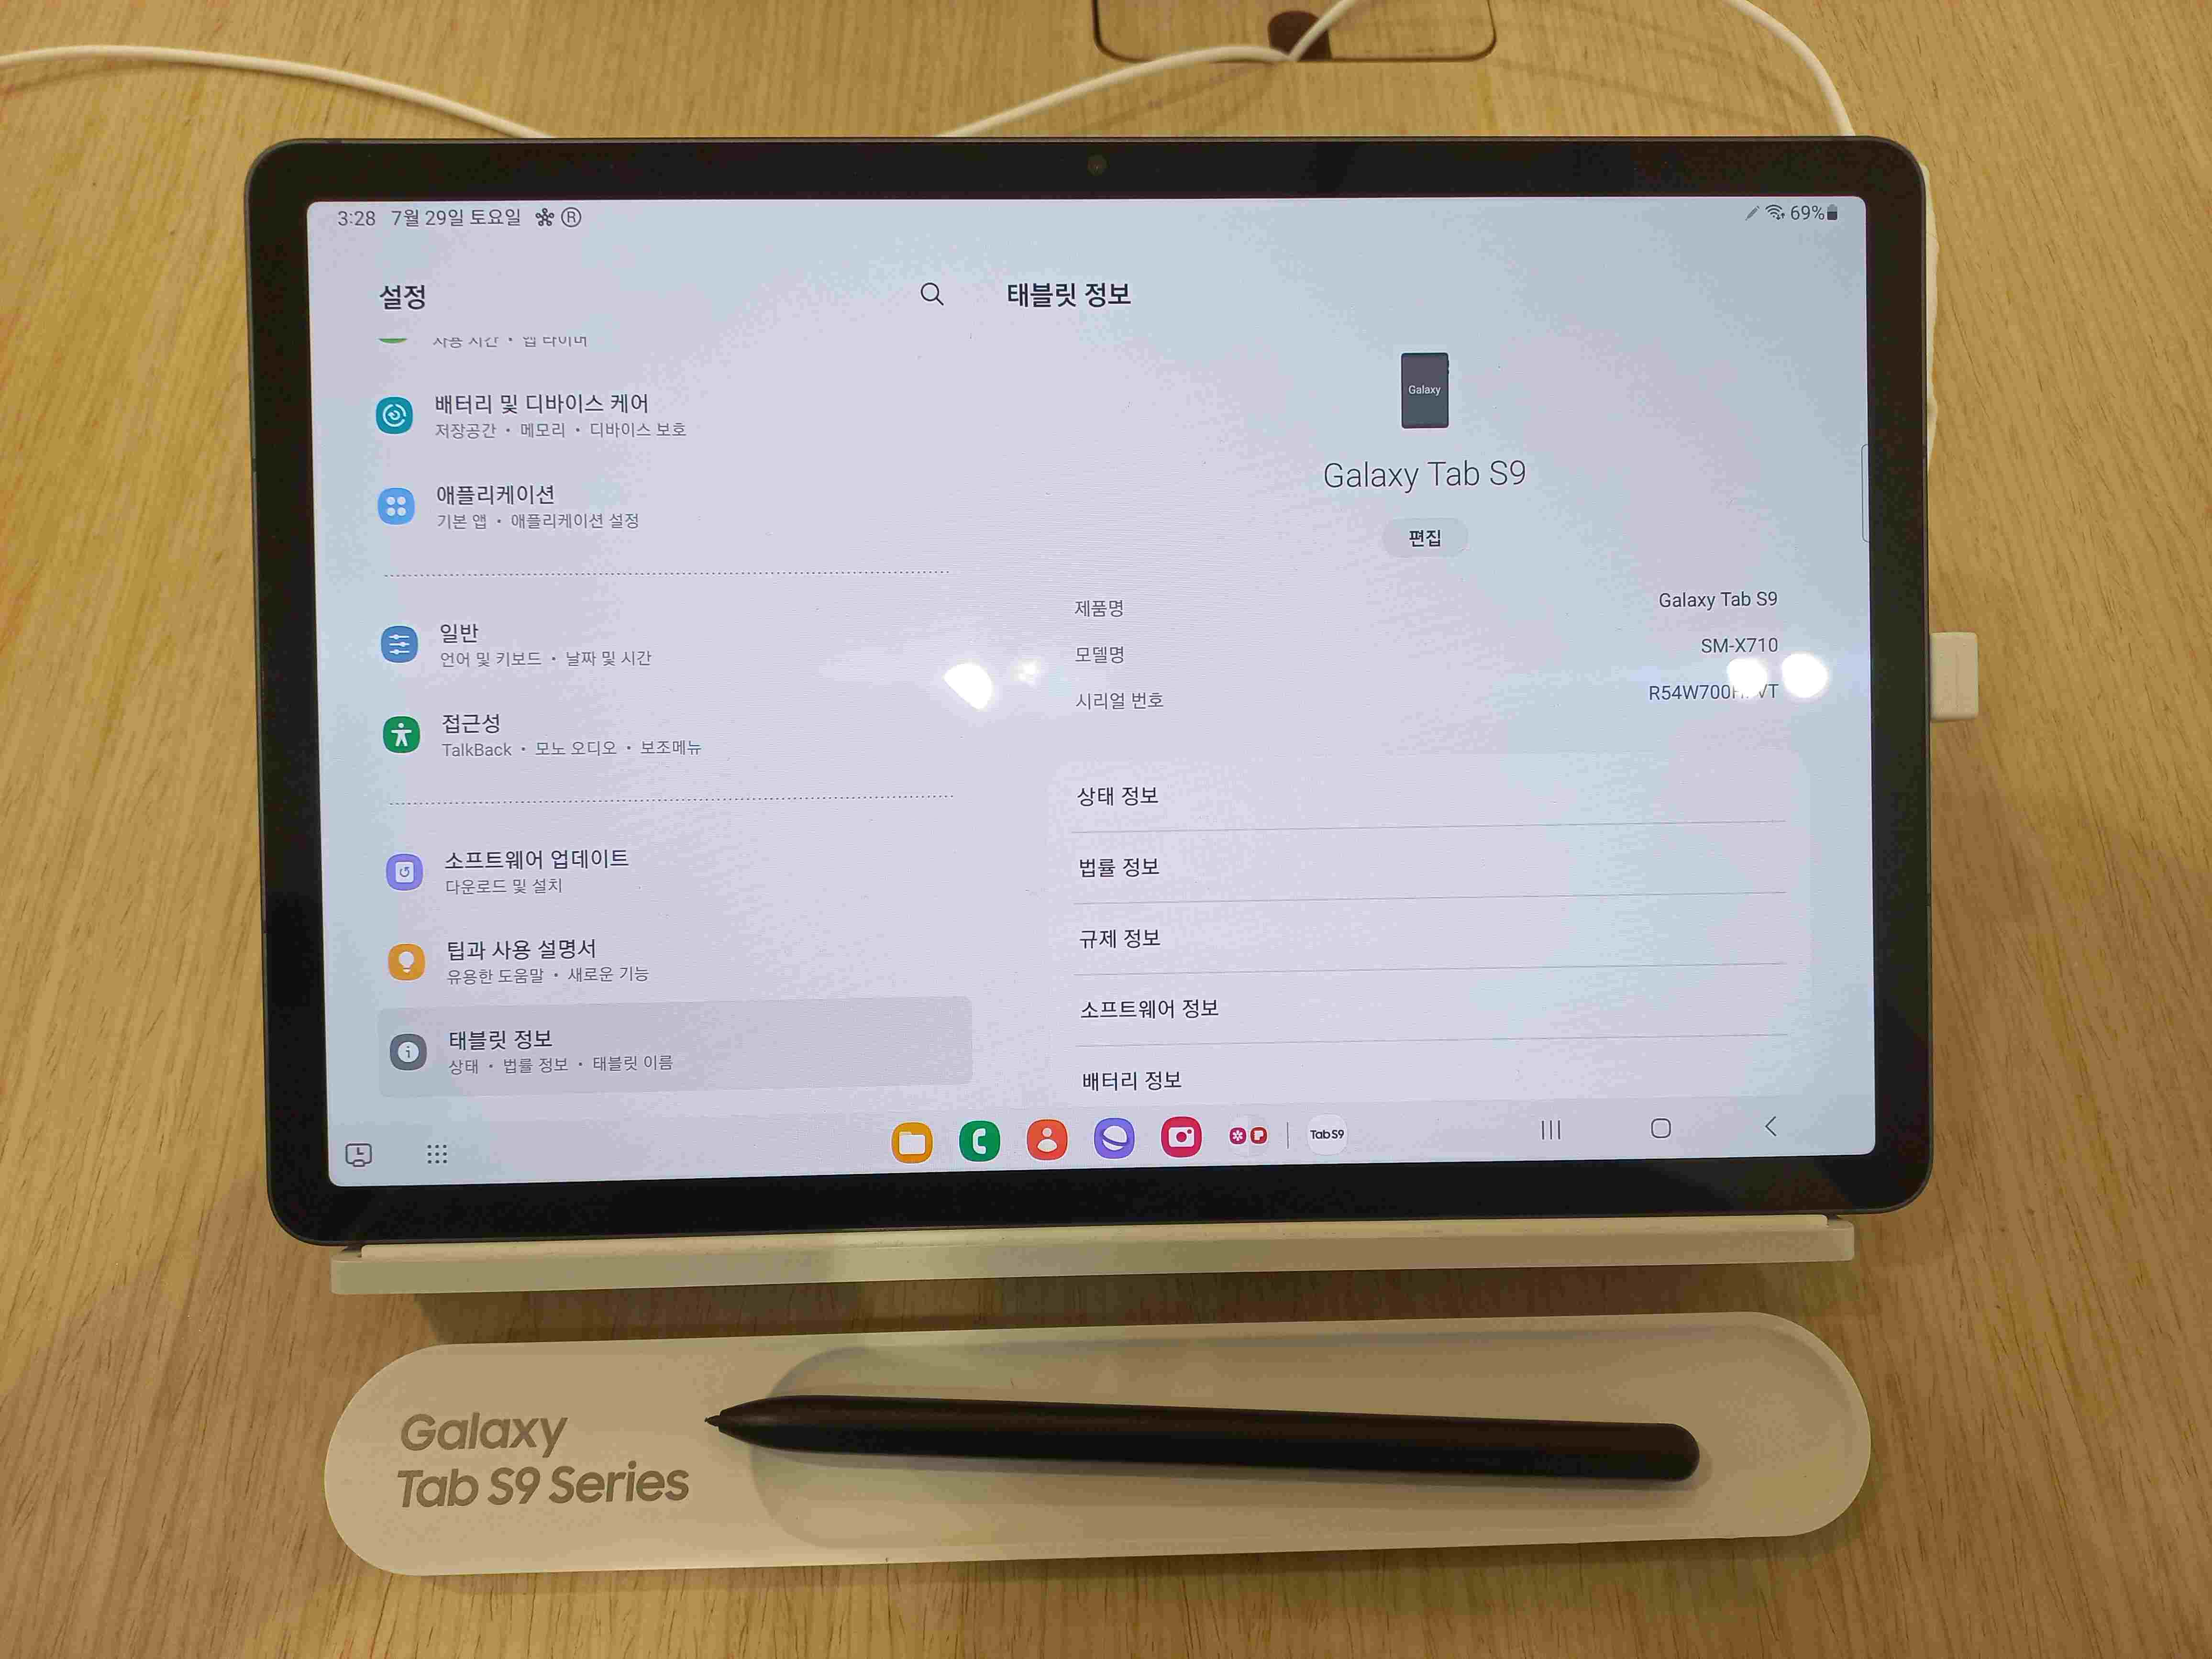
3. View Storage Information
In the storage settings menu, you will see a breakdown of the used and available storage on your tablet. This may include different categories such as apps, photos/videos, audio, downloads, cached data, and more. Take note of the total storage capacity and the amount of available space.
By checking the available storage, you can get an overview of how congested your device is and identify areas where you can make significant memory savings.
If you find that your tablet’s storage is nearly full or only has a small amount of free space, it’s crucial to proceed with the memory cleaning steps outlined in the following sections. This will help you free up space and optimize the performance of your Samsung tablet.
Now that you have checked the available storage on your Samsung tablet, it’s time to move on to the next step: clearing cache files.
Step 2: Clear Cache Files
Cache files are temporary files stored by apps on your Samsung tablet. They help speed up app loading times by storing frequently accessed data. However, over time, these cache files can accumulate and take up a significant amount of storage space. Clearing cache files can free up memory and improve the performance of your tablet.
To clear cache files on your Samsung tablet, follow these steps:
1. Open Settings
From the home screen or app drawer, locate the Settings app and tap on it to open the Settings menu.
2. Navigate to Apps
Scroll down through the settings menu and find the “Apps” or “Applications” option. Tap on it to access the list of installed apps on your tablet.
3. Select an App
From the list of apps, choose the app for which you want to clear the cache. Tap on the app’s name to open its settings.
4. Clear Cache
Inside the app’s settings, you will find various options and information about the app. Look for the “Storage” or “Storage usage” option and tap on it.
On the storage page, you will see the “Clear cache” button. Tap on it to clear the cache files for that specific app.
5. Repeat for Other Apps
Repeat the above steps for other apps that you want to clear the cache for. Focus on apps that you frequently use or ones that consume a large amount of storage space.
Clearing cache files for multiple apps can significantly free up storage space on your Samsung tablet. It’s recommended to periodically clear cache files to keep your tablet running smoothly.
Once you have cleared the cache files for the necessary apps, you can proceed to the next step: uninstalling unused apps.
Step 3: Uninstall Unused Apps
Over time, you may accumulate a collection of apps on your Samsung tablet that you no longer use or need. Uninstalling these unused apps is an effective way to free up valuable storage space and optimize the performance of your device.
To uninstall unused apps from your Samsung tablet, follow these steps:
1. Open Settings
From the home screen or app drawer, locate the Settings app and tap on it to open the Settings menu.
2. Navigate to Apps
Scroll down through the settings menu and find the “Apps” or “Applications” option. Tap on it to access the list of installed apps on your tablet.
3. Select an App to Uninstall
From the list of installed apps, choose the app that you want to uninstall. Tap on its name to open its settings.
4. Uninstall the App
Inside the app’s settings, you will find various options and information about the app. Look for the “Uninstall” or “Disable” button and tap on it.
You will be prompted to confirm the uninstallation. Tap “OK” to proceed with the uninstallation process.
5. Repeat for Other Apps
Repeat the above steps for other unused apps that you want to uninstall from your Samsung tablet. Consider removing any apps that you no longer use or ones that occupy a significant amount of storage space.
Uninstalling unused apps will not only free up storage space but also declutter your app drawer, making it easier to find and access the apps you use frequently.
Once you have uninstalled the unnecessary apps, you can move on to the next step: deleting unnecessary files and folders.
Step 4: Delete Unnecessary Files and Folders
As you use your Samsung tablet, files, documents, and folders can accumulate over time. These files may include outdated documents, duplicate files, temporary files, and unnecessary downloads. Deleting these unnecessary files and folders can help free up significant storage space and improve the overall performance of your tablet.
To delete unnecessary files and folders from your Samsung tablet, follow these steps:
1. Open the File Manager
Locate the File Manager app on your Samsung tablet and tap on it to open it. The app may vary depending on the Samsung tablet model you have, but it is typically identified by a folder icon.
2. Navigate to the Files and Folders
Browse through the file manager to locate the files and folders that you want to delete. You may need to explore different directories or storage locations, such as Internal Storage or SD card.
3. Select Files and Folders
Long-press on a file or folder to select it. You can select multiple files or folders by tapping on each one. Look for files and folders that are no longer needed, taking up significant space, or are duplicates.
4. Delete the Selected Files and Folders
Once you have selected the files and folders you want to delete, look for the delete option. It is typically represented by a trash bin icon or a delete button. Tap on it to delete the selected files and folders.
5. Empty the Recycle Bin
Some file managers have a recycle bin or a trash folder that temporarily stores deleted files. Be sure to empty the recycle bin or permanently delete the files to free up the storage space completely.
By deleting unnecessary files and folders, you can create more storage space on your Samsung tablet, making room for important files and optimizing its performance.
Once you have deleted unnecessary files and folders, you can move on to the next step: clearing app data and app cache.
Step 5: Clear App Data and App Cache
Apps on your Samsung tablet store various types of data, including app settings, user preferences, login information, and cached data. Clearing app data and app cache can help optimize the performance of individual apps and free up additional storage space on your device.
To clear app data and app cache on your Samsung tablet, follow these steps:
1. Open Settings
Locate the Settings app on your Samsung tablet and tap on it to open the Settings menu.
2. Navigate to Apps
Scroll down through the settings menu and find the “Apps” or “Applications” option. Tap on it to access the list of installed apps on your tablet.
3. Select an App
Choose the app for which you want to clear the data and cache. Tap on the app’s name to open its settings.
4. Clear App Data and Cache
Inside the app’s settings, tap on the “Storage” or “Storage usage” option. Here, you will find options to clear both the app data and app cache.
Note: Clearing app data will remove all personal data associated with the app, including your custom settings and login information. It is recommended to proceed with caution and only clear app data if necessary.
5. Confirm the Clearing Process
You will be prompted to confirm the clearing process. Tap “OK” or “Clear” to proceed. The time it takes to clear the app data and cache may vary depending on the app and the amount of data stored.
6. Repeat for Other Apps
Repeat the above steps for other apps that you want to clear the data and cache for. Focus on apps that are consuming a significant amount of storage space or ones that you use frequently.
Clearing app data and app cache not only frees up storage space but also helps resolve app-related issues and improves their performance. However, keep in mind that clearing app data may require you to reconfigure certain app settings or log back into accounts.
Once you have cleared app data and app cache for the necessary apps, you can proceed to the next step: removing bloatware from your Samsung tablet.
Step 6: Remove Bloatware
Bloatware refers to pre-installed apps that come with your Samsung tablet but are unnecessary or rarely used. These apps take up storage space and may consume system resources, affecting the performance of your device. Removing bloatware can help free up storage space, improve performance, and declutter your app drawer.
It’s important to note that not all pre-installed apps can be uninstalled. Some system apps are essential for the proper functioning of your Samsung tablet. However, you can still disable these apps to prevent them from running in the background and using up resources.
To remove bloatware from your Samsung tablet, follow these steps:
1. Open Settings
Locate the Settings app on your Samsung tablet and tap on it to open the Settings menu.
2. Navigate to Apps
Scroll down through the settings menu and find the “Apps” or “Applications” option. Tap on it to access the list of installed apps on your tablet.
3. Select an App to Remove
From the list of installed apps, choose the app that you want to remove. Tap on its name to open its settings.
4. Remove or Disable the App
Inside the app’s settings, you will find options to remove or disable the app. If the app can be uninstalled, you will see an “Uninstall” button. Tap on it to completely remove the app from your device. If the app cannot be uninstalled, you will see a “Disable” button instead. Tap on it to disable the app.
5. Repeat for Other Bloatware Apps
Repeat the above steps for other bloatware apps that you want to remove or disable from your Samsung tablet. Be cautious when removing or disabling apps, as some system apps are necessary for the proper functioning of your device.
Removing or disabling bloatware apps can free up storage space, improve performance, and streamline your app drawer. It allows you to have better control over the apps installed on your Samsung tablet, ensuring that you only keep the ones you need and use.
Once you have removed or disabled bloatware apps, you can proceed to the next step: disabling background apps.
Step 7: Disable Background Apps
Background apps are the apps that continue to run and consume system resources even when you are not actively using them. Disabling unnecessary background apps can help improve the performance and battery life of your Samsung tablet.
To disable background apps on your Samsung tablet, follow these steps:
1. Open Settings
Locate the Settings app on your Samsung tablet and tap on it to open the Settings menu.
2. Navigate to Apps
Scroll down through the settings menu and find the “Apps” or “Applications” option. Tap on it to access the list of installed apps on your tablet.
3. Select an App to Disable Background Activity
From the list of installed apps, choose the app that you want to disable background activity for. Tap on its name to open its settings.
4. Disable Background Activity
Inside the app’s settings, you will find various options and information about the app. Look for the “Permissions” or “Background activity” option. Tap on it to access the background activity settings.
Toggle off the switch or disable the background activity for the selected app. This will prevent the app from running in the background when you are not actively using it.
5. Repeat for Other Apps
Repeat the above steps for other apps that you want to disable background activity for. Focus on apps that you rarely use or ones that consume a significant amount of system resources.
Disabling background apps can help reduce the strain on your tablet’s resources, leading to improved performance and extended battery life. However, be mindful not to disable essential system apps that are necessary for the proper functioning of your Samsung tablet.
Once you have disabled background apps, you can move on to the final step: restarting your tablet to apply the changes.
Step 8: Restart Your Tablet
After completing the previous steps to clean up the memory of your Samsung tablet, it is recommended to restart the device. Restarting your tablet helps apply the changes made and ensures that all settings and optimizations take effect.
To restart your Samsung tablet, follow these steps:
1. Press and Hold the Power Button
Locate the power button on your tablet. Press and hold the power button until a menu appears on the screen.
2. Select Restart
In the menu, you will see options such as Power Off, Restart, and other related options. Tap on the Restart option to initiate the restart process.
3. Confirm Restart
You may be prompted to confirm your decision to restart the tablet. Tap on “OK” or “Restart” to proceed.
4. Wait for the Tablet to Restart
Allow your tablet a few moments to shut down and restart. You will see the tablet’s logo or startup screen as it boots back up.
Restarting your tablet not only applies the changes you have made but also refreshes the device and ensures that it runs in an optimized state. It helps free up system resources and clears any temporary files or processes that may affect performance.
Once your tablet has restarted, you can begin using it again. You should notice improved performance and a smoother overall experience after following the cleaning steps and restarting your Samsung tablet.
With this final step complete, you have successfully cleaned up the memory of your Samsung tablet and optimized its performance.
Conclusion
Cleaning up the memory of your Samsung tablet is essential for maintaining optimal performance and usability. By following the step-by-step guide we have provided, you can free up storage space, improve battery life, and enhance the overall performance of your device.
Throughout the guide, we covered various steps to clean up the memory, including checking available storage, clearing cache files, uninstalling unused apps, deleting unnecessary files and folders, clearing app data and app cache, removing bloatware, disabling background apps, and restarting your tablet. Each step plays a crucial role in optimizing your tablet’s performance and ensuring efficient storage management.
Regularly cleaning up the memory of your Samsung tablet not only improves performance but also helps declutter your device, safeguards your data, and enhances your user experience. It allows you to have more control over what is stored on your tablet and ensures that the apps you use are running smoothly and efficiently.
Remember, cleaning up the memory is not a one-time task but something that should be done periodically to maintain optimal performance. By incorporating these steps into your tablet maintenance routine, you can enjoy a seamless, responsive, and enjoyable experience with your Samsung tablet for years to come.
We hope this guide has been helpful in assisting you with cleaning up the memory of your Samsung tablet. Now, it’s time to put these steps into action and optimize the performance of your device!