Why Cleaning Your Smartphone is Important
Our smartphones have become an essential part of our daily lives. From making calls and sending messages to browsing the internet and capturing memorable moments, we rely on our smartphones for countless tasks. However, with regular use, our smartphones tend to accumulate dirt, fingerprints, and bacteria, making them a breeding ground for germs and potentially harmful pathogens.
Keeping your smartphone clean is not just about maintaining its appearance; it is also crucial for your health and the longevity of your device. Here are a few reasons why cleaning your smartphone should be a top priority:
- Prevent the spread of germs: Our hands come into contact with various surfaces throughout the day, and we often touch our smartphones without realizing how many germs we carry. Regularly cleaning your smartphone can help minimize the spread of bacteria and viruses and reduce the risk of falling ill.
- Extend the lifespan of your device: Dust, debris, and dirt can accumulate in the charging port, earphone jack, and speakers of your smartphone, affecting their functionality. By properly cleaning these areas, you can ensure optimal performance and prevent any potential damage to your device.
- Enhance screen visibility: The screen of your smartphone is prone to smudges, fingerprints, and oils, which can impact its clarity and visibility. Regularly cleaning your smartphone screen not only improves its appearance but also enhances your overall user experience.
- Preserve camera quality: The camera lens of your smartphone can easily gather dust, resulting in blurry and distorted photos. Cleaning the lens regularly ensures that you capture clear and sharp images, preserving the quality of your memories.
These are just a few reasons why cleaning your smartphone is important. By maintaining a clean device, you can enjoy a seamless user experience, protect your health, and ensure the longevity of your investment.
What You Need to Clean Your Smartphone
Before you dive into cleaning your smartphone, it’s essential to gather the right tools to ensure safe and effective cleaning. Here are the items you will need:
- Microfiber cloth: A microfiber cloth is the perfect tool for cleaning your smartphone’s screen and removing fingerprints and smudges. It is soft, lint-free, and gentle on the delicate screen.
- Screen cleaning solution: To tackle tougher stains and dirt on your smartphone screen, a screen cleaning solution specifically designed for electronics is recommended. Avoid using harsh chemicals or alcohol-based cleaning agents, as they may damage the screen coating.
- Cotton swabs: Cotton swabs are handy for cleaning hard-to-reach areas like the charging port and earphone jack. They allow you to gently remove dust and debris without causing any harm to the delicate components of your smartphone.
- Isopropyl alcohol: Isopropyl alcohol is effective in disinfecting your smartphone. You can use it sparingly on a microfiber cloth to sanitize the surface of your device. Ensure that the alcohol concentration is no higher than 70% to prevent potential damage.
- Clean, dry cloth: A clean, dry cloth is useful for wiping down the exterior of your smartphone and removing any excess moisture after cleaning.
- Cleaning gel or putty: A cleaning gel or putty can be used to clean hard-to-reach crevices, such as the speakers and microphone. It can pick up dust and dirt particles efficiently.
These are the essential tools you need to clean your smartphone effectively. It’s important to remember that you should always follow the manufacturer’s guidelines and recommendations when it comes to cleaning your device. Additionally, make sure to power off and disconnect your smartphone from any power sources before cleaning to avoid any potential damage.
How to Clean Your Smartphone Screen
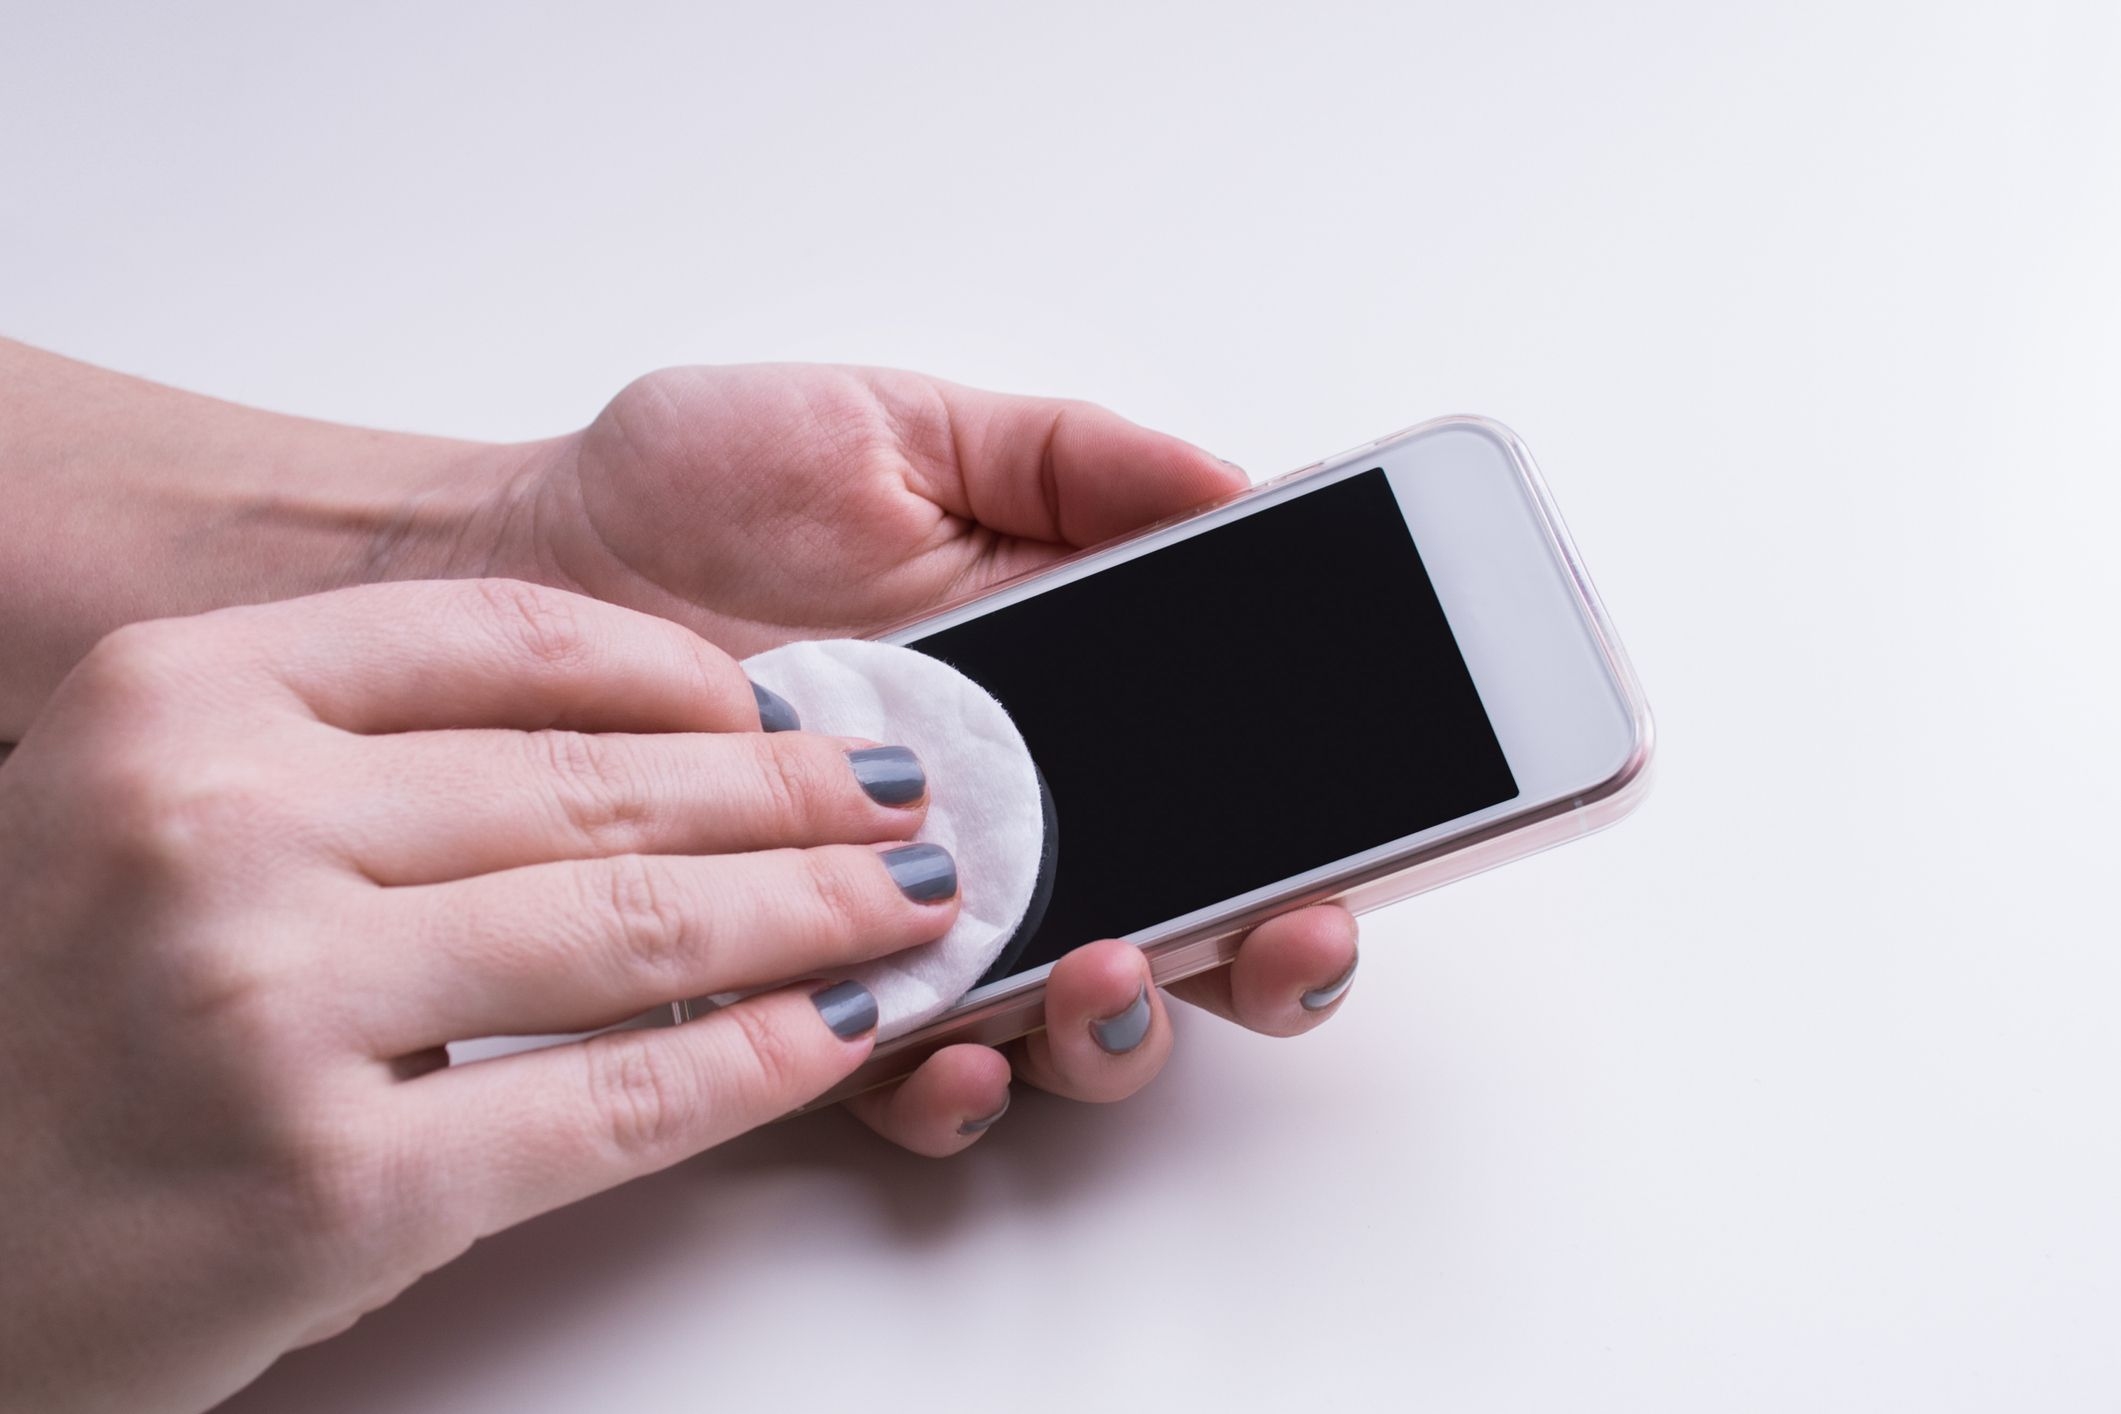
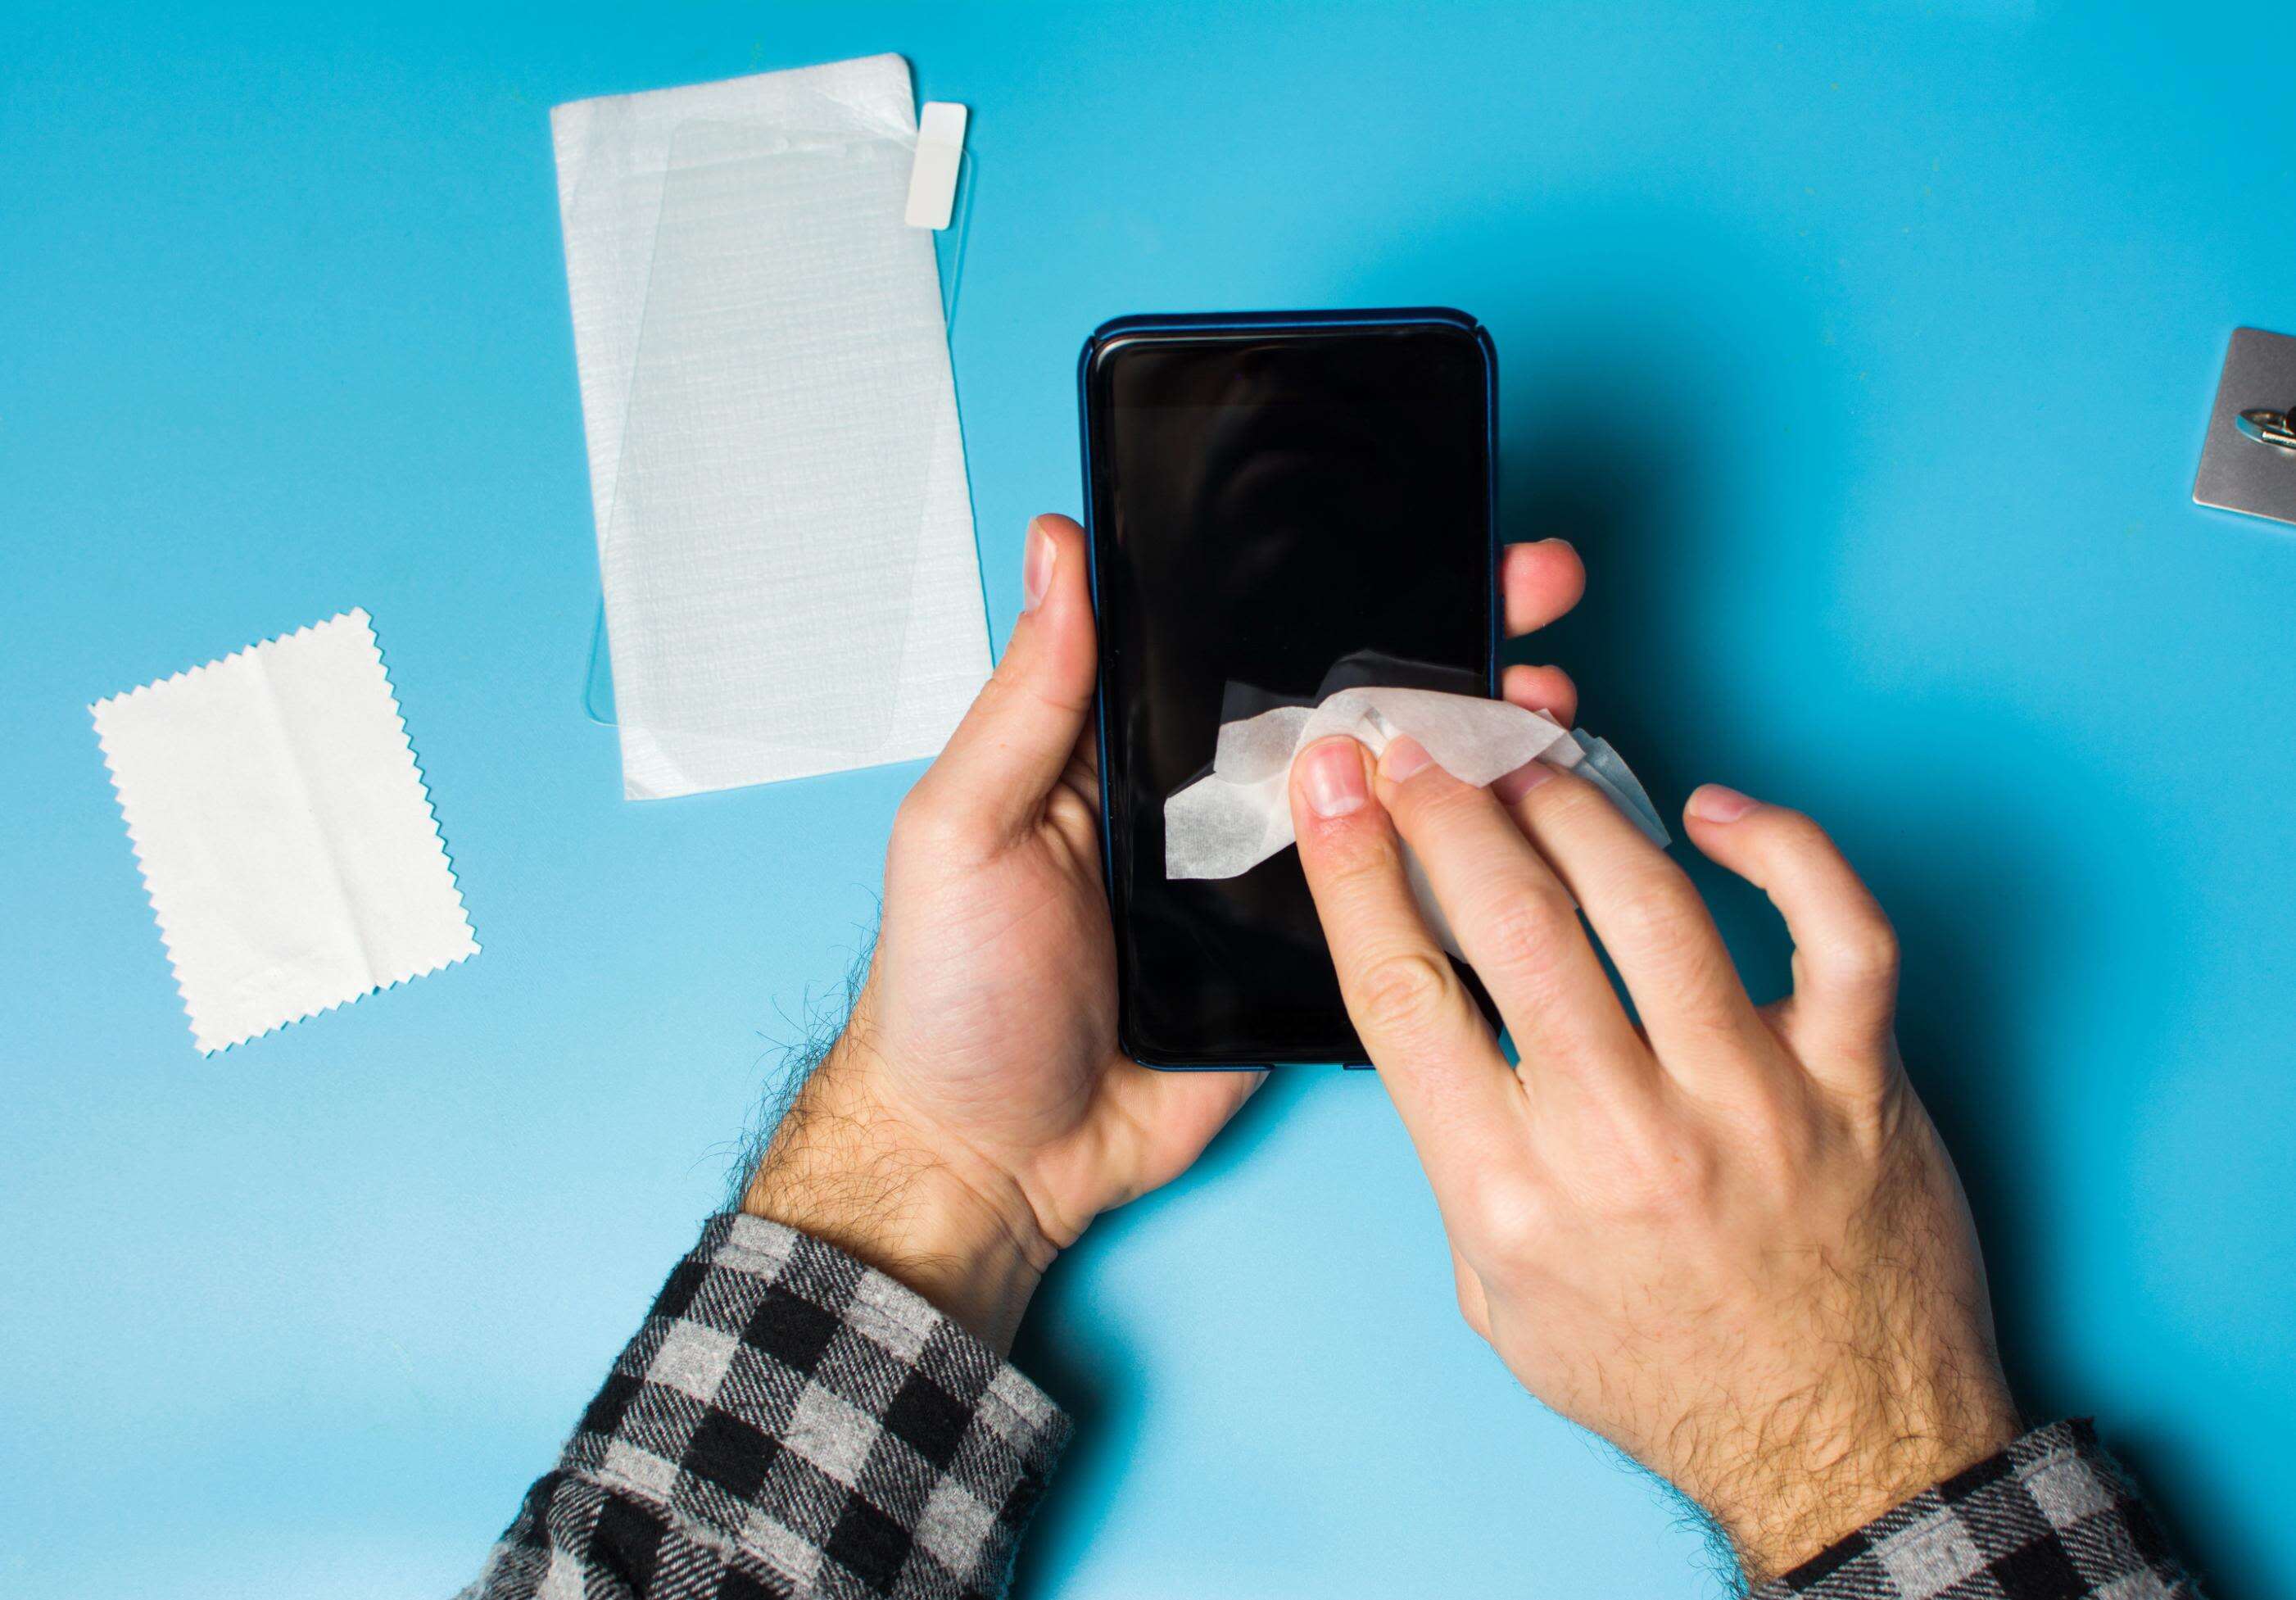
Your smartphone screen is one of the most prominent and frequently touched parts of your device, making it prone to smudges, fingerprints, and dust. Here are the steps to effectively clean your smartphone screen:
- Turn off your device: Before cleaning your smartphone screen, it’s important to turn off your device and disconnect it from any power sources to avoid any potential damage.
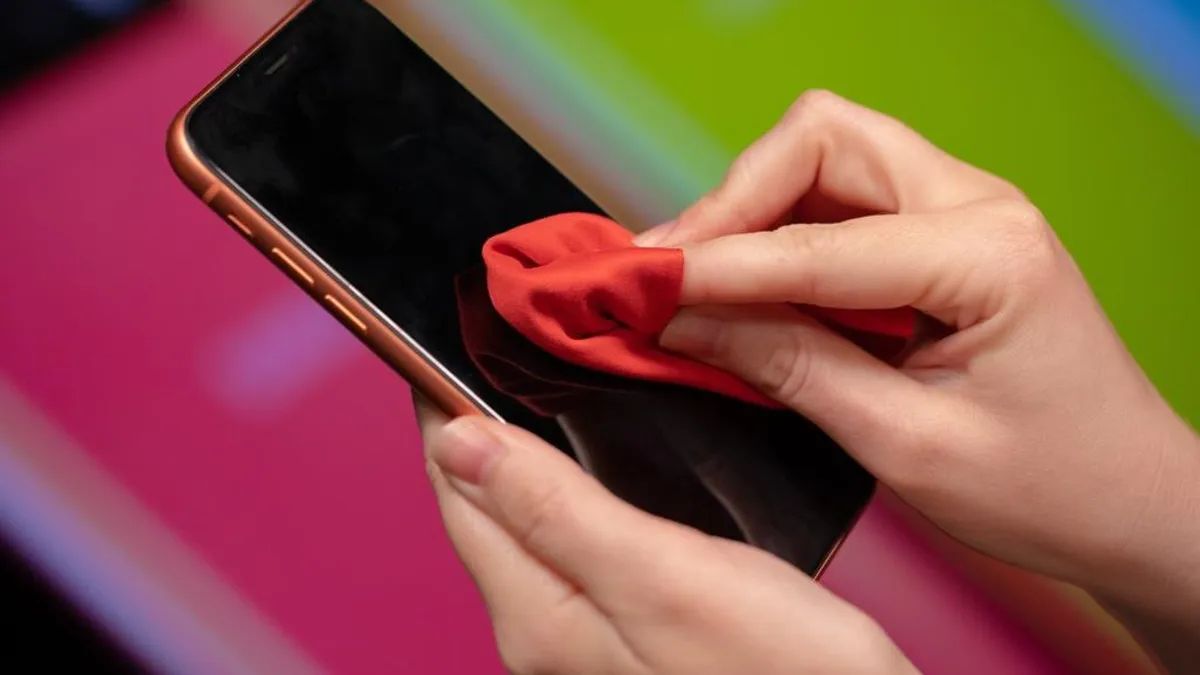
- Use a microfiber cloth: Start by using a clean microfiber cloth, preferably one designed for electronic screens. Gently wipe the screen in a circular motion to remove any loose debris and dust particles.
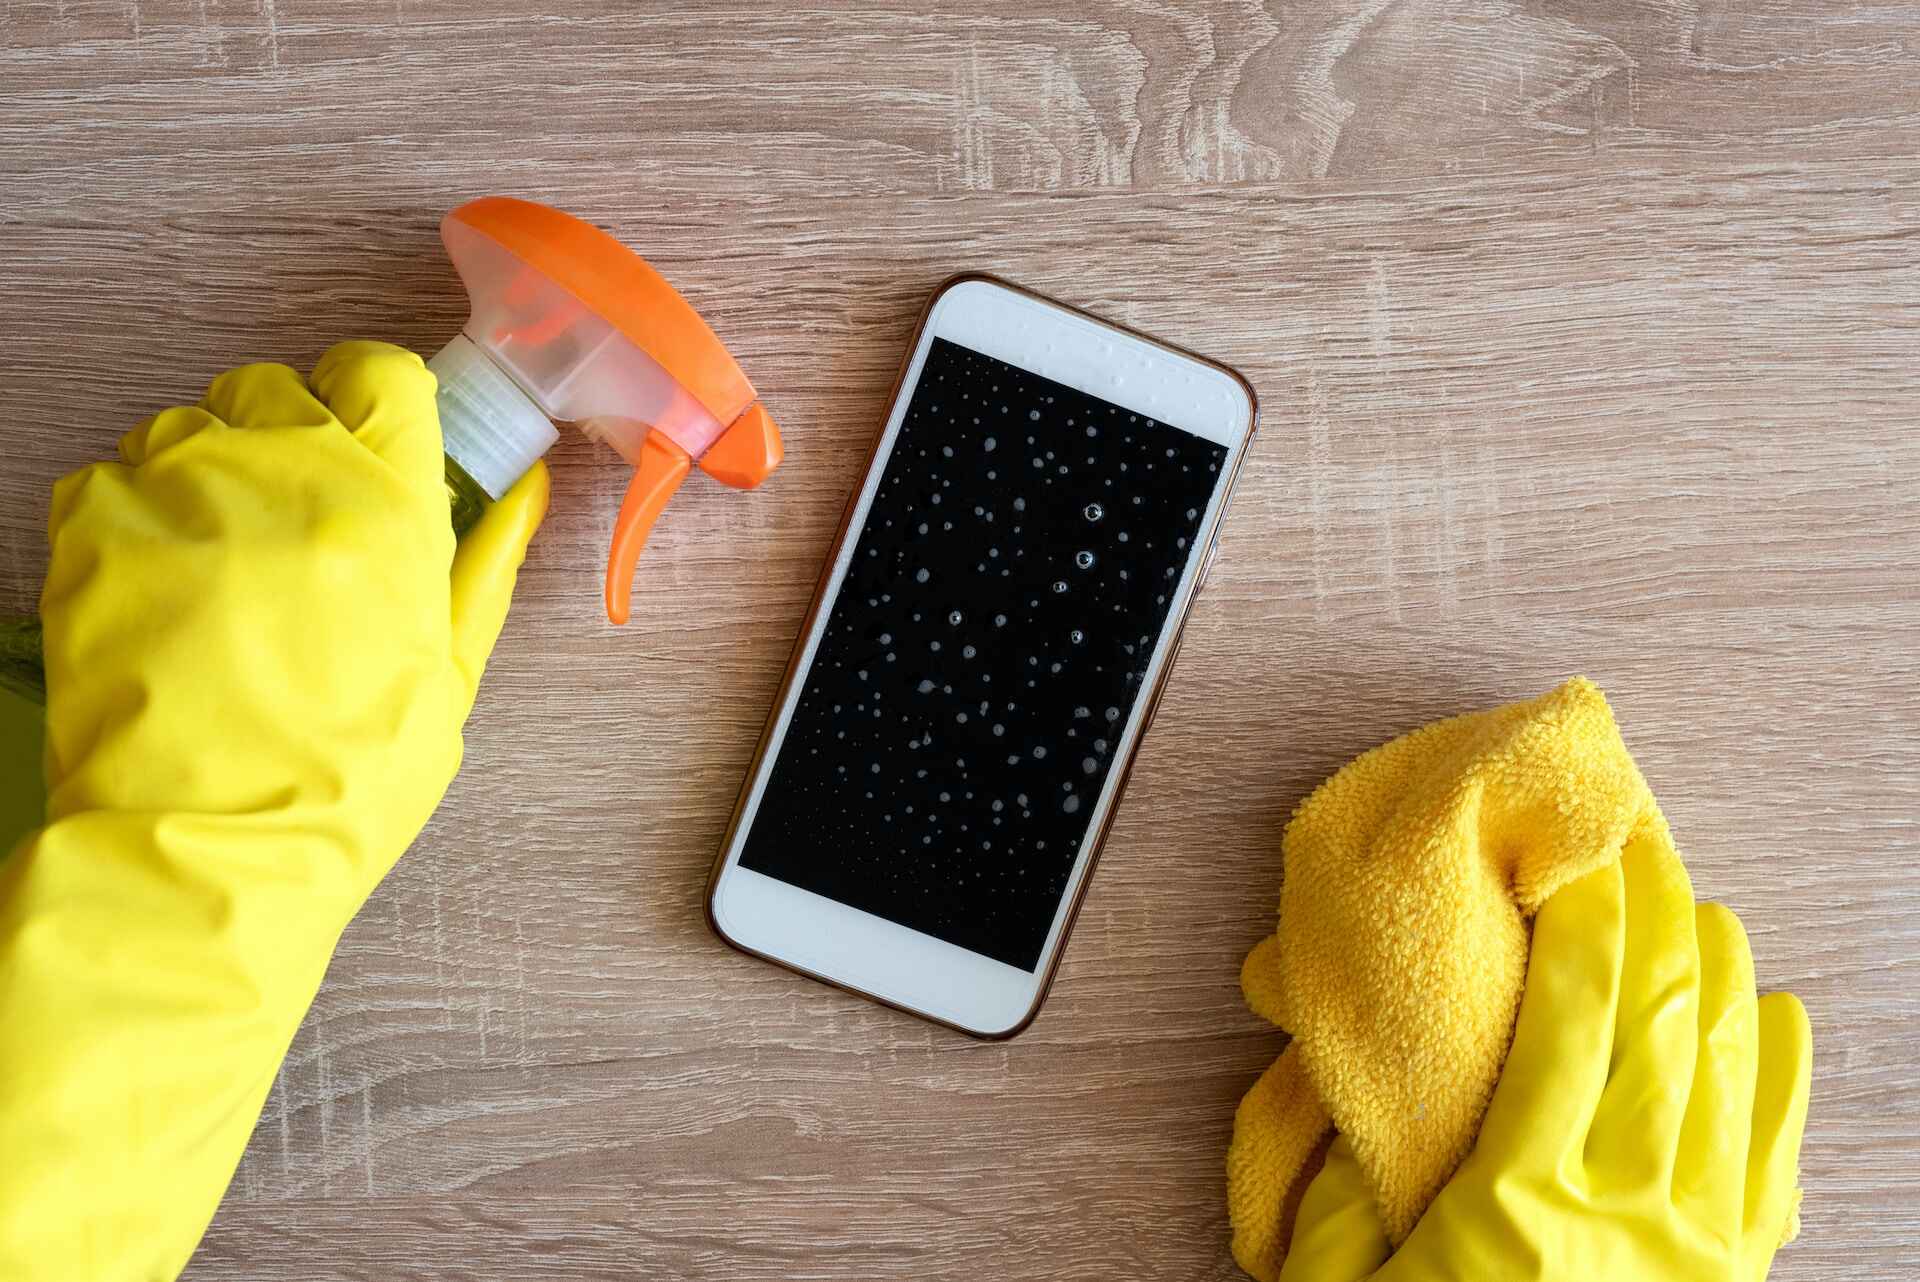
- Apply a screen cleaning solution: If there are stubborn fingerprints or smudges on your screen, lightly dampen the microfiber cloth with a small amount of screen cleaning solution. Always follow the manufacturer’s instructions and avoid spraying the solution directly onto the screen.
- Clean the screen in a gentle motion: Using the dampened microfiber cloth, wipe the screen again, this time in a gentle, circular motion. Avoid excessive pressure to prevent any potential damage to the screen or the oleophobic coating.
- Dry the screen: After cleaning, use a dry microfiber cloth to blot any excess moisture from the screen. Let the screen air dry for a few minutes before turning your device back on.
It’s important to note that certain smartphone models may have different screen coatings or requirements for cleaning. Always consult the manufacturer’s guidelines before using any cleaning solutions or methods on your device.
By regularly cleaning your smartphone screen, you can enjoy a clear and smudge-free display, enhancing your overall user experience.
How to Clean the Charging Port
The charging port of your smartphone can easily accumulate lint, dust, and debris over time, which can hinder the charging process. Here are the steps to effectively clean your smartphone’s charging port:
- Power off your device: Before cleaning the charging port, make sure your smartphone is powered off and disconnected from any power sources to avoid any potential damage.
- Inspect the charging port: Take a close look at the charging port to check for any visible debris or residue. Use a flashlight if necessary to get a better view.
- Gently remove dust and debris: To remove loose particles, use a cotton swab or a soft, dry toothbrush. Gently swipe the inside of the charging port, making sure not to apply too much pressure to avoid damaging the delicate pins.
- Blow out the charging port: If you notice stubborn debris that cannot be removed with a cotton swab, use a can of compressed air to blow out the charging port. Hold the can upright and use short bursts of air to dislodge any remaining particles.
- Reinspect and repeat if necessary: After cleaning, inspect the charging port again to ensure all debris has been removed. If you notice any remaining particles, repeat the process until the port is clean and free from obstructions.
It’s important to be extremely gentle while cleaning the charging port to avoid causing any damage. If you are unsure or uncomfortable performing the cleaning yourself, consider taking your device to a professional for assistance.
By regularly cleaning the charging port of your smartphone, you can ensure a consistent and efficient charging experience and prolong the lifespan of your device.
How to Clean the Earphone Jack
The earphone jack of your smartphone can accumulate dirt, lint, and debris over time, causing connectivity issues and affecting the audio quality. Here are the steps to effectively clean your smartphone’s earphone jack:
- Power off your device: Before cleaning the earphone jack, ensure that your smartphone is powered off and disconnected from any accessories or power sources.
- Inspect the earphone jack: Use a flashlight to examine the inside of the earphone jack for any visible debris. Check for lint, dust, or any other particles that may be obstructing the connection.
- Use a cotton swab or toothpick: Take a cotton swab or a toothpick and gently insert it into the earphone jack. Be cautious and avoid applying too much pressure to prevent damaging the delicate pins inside.
- Gently twist and remove debris: Gently twist the cotton swab or toothpick inside the earphone jack to catch and remove any dirt or lint. Slowly rotate the tool and lift it out to avoid leaving any residual debris behind.
- Blow out the earphone jack: If there are stubborn particles that cannot be removed with a cotton swab or toothpick, use a can of compressed air to blow out the earphone jack. Hold the can upright and use short bursts of air to dislodge any remaining debris.
- Reinspect and repeat if necessary: After cleaning, inspect the earphone jack again to ensure it is clean and free from obstructions. If you notice any remaining debris, repeat the process until the earphone jack is thoroughly cleaned.
It’s important to be gentle while cleaning the earphone jack to avoid causing any damage. If you are unsure or uncomfortable performing the cleaning yourself, seek assistance from a professional.
By regularly cleaning the earphone jack of your smartphone, you can maintain a clear audio connection and prevent any potential issues while using earphones or headphones.
How to Clean the Speakers
The speakers on your smartphone can collect dust, dirt, and other particles over time, affecting the sound quality. Here’s how you can clean the speakers of your smartphone:
- Power off your device: Before cleaning the speakers, make sure your smartphone is powered off to avoid any potential damage.
- Inspect the speakers: Take a close look at the speakers to check for any visible debris or buildup. Use a flashlight if needed to get a better view.
- Use a cleaning brush or soft, dry toothbrush: Take a soft, dry toothbrush or a small cleaning brush to gently brush the speakers. Make sure to brush in a gentle and circular motion to dislodge any dust or particles that may be trapped.
- Blow out the speakers: If there are stubborn particles that cannot be removed with a brush, use a can of compressed air to blow out the speakers. Hold the can upright and use short bursts of air to dislodge any remaining debris.
- Reinspect and repeat if necessary: After cleaning, inspect the speakers again to ensure all debris has been removed. If you notice any remaining particles, repeat the process until the speakers are clean and clear.
- Avoid liquid cleaning solutions: It’s important to note that you should never use liquid cleaning solutions directly on the speakers, as it can damage the internal components. Stick to dry methods or consult the manufacturer’s guidelines for specific cleaning recommendations.
Remember to be gentle while cleaning the speakers to avoid causing any damage. If you are unsure or uncomfortable performing the cleaning yourself, consider seeking professional assistance.
By regularly cleaning your smartphone’s speakers, you can ensure optimal sound quality and an enjoyable audio experience.
How to Clean the Microphone
The microphone on your smartphone is responsible for capturing your voice during calls and voice recordings. Over time, it can accumulate dust, dirt, and debris, which can affect the audio quality. Here’s a step-by-step guide on how to clean the microphone of your smartphone:
- Power off your device: Before cleaning the microphone, ensure that your smartphone is powered off to prevent any potential damage.
- Locate the microphone: The exact location of the microphone may vary depending on your smartphone model. Generally, it is located at the bottom of the device near the charging port or somewhere close to the top for front-facing microphones.
- Inspect the microphone: Use a flashlight to inspect the microphone for any visible debris or buildup. Pay close attention to any openings or tiny holes where dust and dirt can accumulate.
- Use a soft, dry toothbrush or a cleaning brush: Take a soft, dry toothbrush or a small cleaning brush and gently brush the microphone area. Ensure that you are using gentle strokes to avoid causing any damage to the delicate microphone components.
- Blow out the microphone: If there are stubborn particles that cannot be removed with a brush, use a can of compressed air to blow out the microphone. Hold the can upright and use short bursts of air to dislodge any remaining debris.
- Reinspect and repeat if necessary: After cleaning, inspect the microphone again to ensure all debris has been removed. If you notice any remaining particles, repeat the cleaning process until the microphone is clean and clear.
- Exercise caution with liquid solutions: It’s important to note that you should never use liquid cleaning solutions directly on the microphone, as it can damage the internal components. Stick to dry methods or consult the manufacturer’s guidelines for specific cleaning recommendations.
Always remember to be gentle and avoid applying excessive pressure while cleaning the microphone to prevent any damage. If you are unsure or uncomfortable performing the cleaning yourself, consider seeking professional assistance.
By regularly cleaning the microphone of your smartphone, you can ensure clear audio during calls and high-quality voice recordings.
How to Clean the Camera Lens
The camera lens of your smartphone plays a crucial role in capturing clear and sharp photos. However, it can easily accumulate dust, fingerprints, and smudges, which can impair image quality. Here’s a step-by-step guide on how to clean the camera lens of your smartphone:
- Power off your device: Before cleaning the camera lens, ensure that your smartphone is powered off to prevent any potential damage.
- Inspect the camera lens: Use a flashlight to inspect the camera lens for any visible debris, fingerprints, or smudges. Look for any particles that may be affecting the clarity of your photos.
- Use a microfiber cloth: Start by using a clean microfiber cloth to gently wipe the camera lens in a circular motion. This will remove any loose debris or dust particles on the surface.
- Apply lens cleaning solution: To tackle tougher stains, fingerprints, or smudges, you can lightly dampen the microfiber cloth with a small amount of lens cleaning solution specifically designed for optical surfaces. Avoid using harsh chemicals or household cleaning agents.
- Gently clean the camera lens: Using the dampened microfiber cloth, gently wipe the camera lens again in a circular motion. Apply light pressure to remove any stubborn fingerprints or smudges, ensuring not to press too firmly on the lens.
- Dry the lens: After cleaning, use a dry section of the microfiber cloth to gently blot any excess moisture from the camera lens. Avoid using tissues or other materials that may scratch the lens.
- Reinspect and repeat if necessary: After cleaning, inspect the camera lens once more to ensure it is free from any marks or residue. If needed, repeat the cleaning process until the lens is completely clean and clear.
It’s important to be gentle while cleaning the camera lens to avoid scratching or damaging it. If you are unsure or uncomfortable performing the cleaning yourself, consider seeking professional assistance.
By regularly cleaning the camera lens of your smartphone, you can capture crystal-clear and high-quality photos, ensuring your memories are preserved beautifully.
How to Clean the Back of Your Smartphone
The back of your smartphone is often overlooked when it comes to cleaning, but it can accumulate dust, dirt, and fingerprints over time. Here’s a step-by-step guide on how to clean the back of your smartphone:
- Power off your device: Before cleaning the back of your smartphone, ensure that your device is powered off to avoid any potential damage.
- Inspect the back of your smartphone: Take a close look at the back of your smartphone to check for any visible dirt, smudges, or fingerprints. Pay attention to areas around camera lenses, sensors, and buttons.
- Use a clean, damp cloth: Find a clean cloth and dampen it slightly with water. Gently wipe the back of your smartphone to remove any surface-level dirt or fingerprints. Avoid using excessive moisture to prevent damage to your device.
- Focus on stubborn stains: For tougher stains or grime, you can mix a small amount of mild soap with water. Dampen a corner of the cloth with this solution and gently wipe the affected areas. Avoid getting water or soap into any ports or openings.
- Dry the back of your smartphone: After cleaning, use a dry cloth to carefully dry the back of your smartphone. Ensure that there is no remaining moisture left on the surface before turning your device back on.
- Avoid harsh chemicals and abrasive materials: It’s important to note that you should avoid using harsh chemicals, abrasive materials, or cleaning products not specifically designed for smartphones. These substances can damage the finish of your device.
Always exercise caution when cleaning the back of your smartphone to prevent any accidental damage. If you are unsure or uncomfortable performing the cleaning yourself, consider seeking professional assistance.
By regularly cleaning the back of your smartphone, you can maintain its aesthetic appeal and keep it looking fresh and presentable.
How to Clean Your Smartphone Case
Your smartphone case acts as a protective shield for your device, but it can also accumulate dirt, grime, and bacteria over time. Here’s a step-by-step guide on how to clean your smartphone case:
- Remove your smartphone from the case: Take your smartphone out of the case before cleaning. This ensures that you can thoroughly clean both the case and the device separately.
- Inspect the case: Examine the smartphone case for any visible dirt, stains, or debris. Pay extra attention to the corners, edges, and openings where dust and grime tend to accumulate.
- Wash with mild soap and water: Fill a bowl with warm water and add a small amount of mild soap. Dip a soft cloth or sponge into the soapy water and gently clean the smartphone case, focusing on the dirty or stained areas. Avoid soaking the case in water to prevent any damage.
- Rinse and dry the case: After cleaning, rinse the case thoroughly with clean water to remove any soap residue. Use a dry cloth to pat it dry or let it air dry completely. Ensure that there is no moisture trapped inside the case before reinserting your smartphone.
- Remove stubborn stains: If there are stubborn stains or marks on the case that do not come off with soap and water, you can try using a gentle rubbing alcohol solution. Apply a small amount to a cloth and gently rub the stained areas. Wipe away the alcohol with a clean, damp cloth and allow the case to dry.
- Disinfectant wipes: As an additional step, if you want to disinfect your smartphone case, you can use disinfectant wipes or a solution of isopropyl alcohol and water. Lightly wipe the case with the disinfectant wipe or a cloth dampened with the solution. Allow the case to air dry completely.
It’s important to follow the manufacturer’s recommendations for cleaning your specific smartphone case, as different materials may require different cleaning methods. Always avoid using harsh chemicals or abrasive materials that can damage the case.
By regularly cleaning your smartphone case, you can keep it looking fresh and hygienic, ensuring that your device remains protected and in good condition.
Tips to Keep Your Smartphone Clean
Keeping your smartphone clean is essential for its optimal performance and longevity. Here are some tips to help you maintain a clean and hygienic device:
- Wash your hands: Before using your smartphone, make it a habit to wash your hands thoroughly with soap and water. This will help prevent the transfer of dirt, oils, and bacteria to your device.
- Use a screen protector: Applying a screen protector can help protect your smartphone screen from scratches and minimize the buildup of fingerprints and smudges. It also makes cleaning the screen easier.
- Invest in a quality smartphone case: A good quality smartphone case not only provides protection but also helps prevent dirt and debris from accumulating on the back and sides of your device. Choose a case that is easy to clean and fits your needs.
- Regularly wipe down your smartphone: Use a clean microfiber cloth or screen cleaning wipe to wipe down your smartphone regularly. This helps remove fingerprints, smudges, and surface-level dirt from the screen and back of your device.
- Keep your smartphone away from liquids: Liquids can damage your smartphone’s internal components. Avoid using your device near water, keeping it away from spills, and using a waterproof case if necessary.
- Avoid storing your smartphone in dusty or dirty environments: Dust and dirt particles can make their way into your smartphone’s ports and openings, affecting its functionality. Store your device in a clean and dust-free environment, such as a dedicated pocket or a protective pouch.
- Regularly clean your accessories: If you use earphones or headphones with your smartphone, make sure to clean them regularly to prevent the transfer of dirt and bacteria to your device.
- Avoid using your smartphone with dirty hands: Using your smartphone with dirty or greasy hands can leave residue on the screen and buttons. Clean your hands before using your device to keep it clean.
- Disinfect your smartphone: To maintain a hygienic device, consider periodically disinfecting your smartphone using disinfectant wipes or a solution of isopropyl alcohol and water. Be sure to follow the manufacturer’s guidelines and avoid getting any liquid into the ports or openings.
- Frequently clean your smartphone accessories: Clean your charger, cables, and other smartphone accessories regularly to remove any dirt or debris that can transfer to your device.
By following these tips, you can keep your smartphone clean, hygienic, and in optimal condition for a longer lifespan.


