Introduction
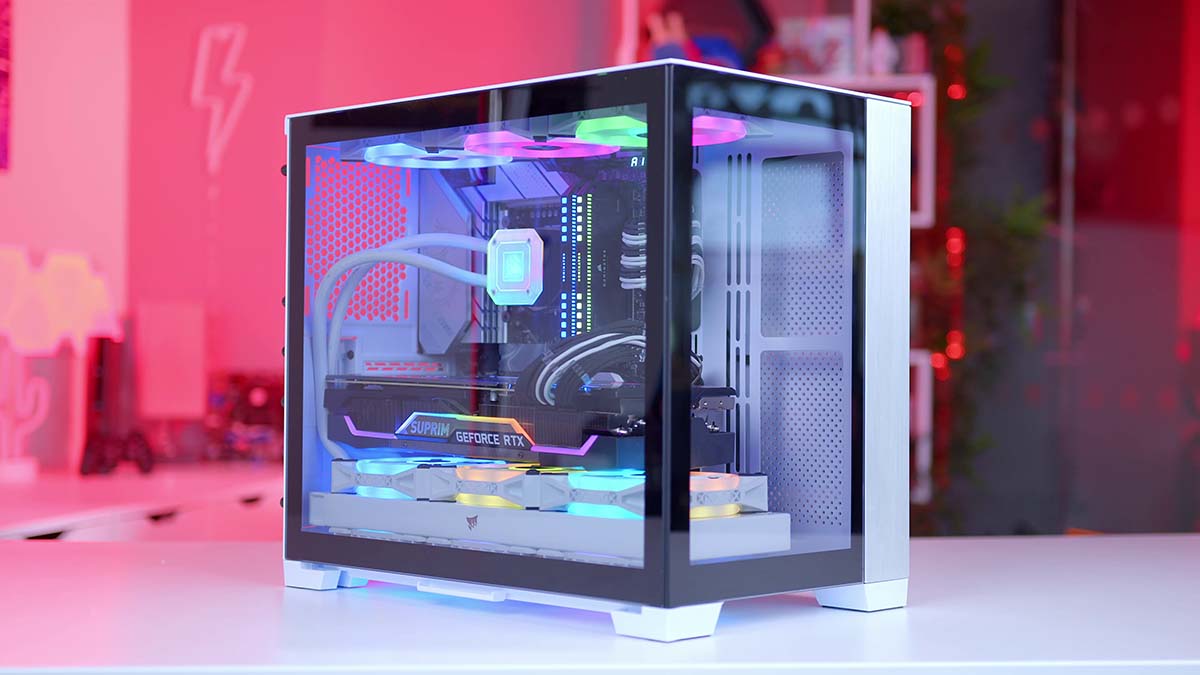
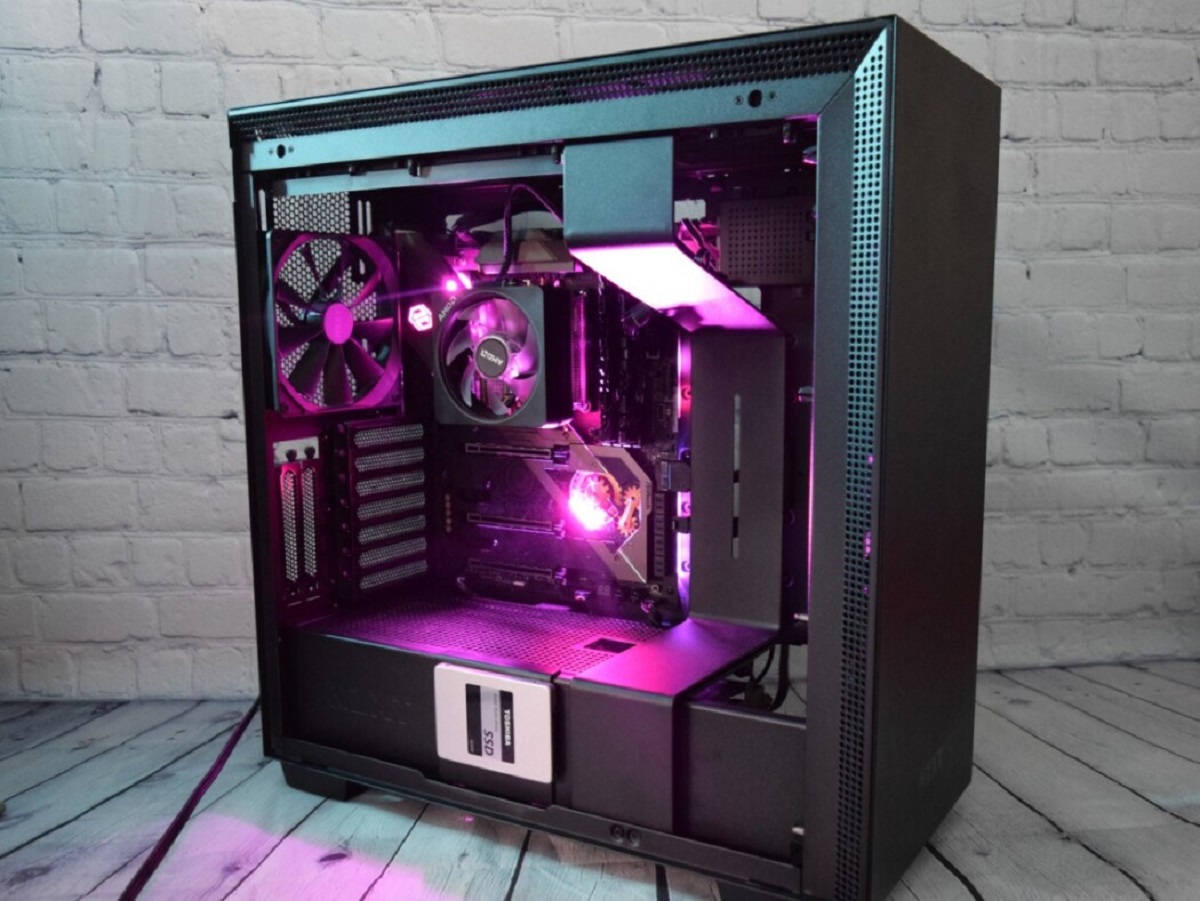
When it comes to keeping your PC running smoothly and efficiently, regular maintenance is key. One often overlooked aspect of maintenance is cleaning the metal mesh PC case. Over time, dust, dirt, and other debris can accumulate on the mesh, impairing airflow and potentially causing the PC to overheat.
Regularly cleaning the metal mesh PC case not only helps to keep your computer cool but also improves its overall performance, ensuring that it runs at its optimal level. While it may seem like a daunting task, cleaning the metal mesh PC case is relatively straightforward and can be done with a few simple tools and materials.
In this guide, we will walk you through the step-by-step process of cleaning your metal mesh PC case, ensuring that you can do it effectively and efficiently. By following these instructions, you can maintain the longevity of your computer and prevent potential issues caused by clogged airflow.
Before we dive into the cleaning process, let’s take a look at the tools and materials you will need:
Tools and Materials Needed
Before you begin cleaning your metal mesh PC case, gather the following tools and materials:
- A screwdriver or any appropriate tool to remove the mesh panel
- A can of compressed air
- A soft microfiber cloth or an old toothbrush
- Mild detergent or cleaning solution
- A bucket or basin
- Warm water
The screwdriver or appropriate tool will be used to remove the mesh panel from your PC case. Make sure you have the correct size and type of screwdriver to avoid any damages. The can of compressed air will help you remove loose dust and debris from the mesh. It is important to use a soft microfiber cloth or an old toothbrush to gently wipe the mesh panel without scratching it.
In addition, you will need a mild detergent or cleaning solution. Avoid using harsh chemicals or abrasive cleaners as they can damage the mesh. Using warm water and a bucket or basin, you will create a cleaning solution to dampen your cloth or toothbrush.
Once you have gathered all the necessary tools and materials, you are ready to begin cleaning your metal mesh PC case. Follow the step-by-step instructions provided in the next sections to ensure a thorough and effective cleaning process.
Step 1: Removing the Mesh Panel
The first step in cleaning your metal mesh PC case is to remove the mesh panel. This will allow easier access to clean the mesh thoroughly. Follow these steps:
- Make sure your PC is turned off and unplugged from the power source.
- Locate the screws or fasteners holding the mesh panel in place. These are typically located on the back or side of the PC case.
- Using the appropriate screwdriver or tool, carefully remove the screws or fasteners. Keep them in a safe place to avoid losing them.
- Gently pull or slide the mesh panel out of the case. Be cautious not to force it as it may be secured in other ways, such as hooks or clips.
Once you have successfully removed the mesh panel, you are ready to move on to the next step: dusting off loose debris.
Remember, different PC cases may have slightly different mechanisms for removing the mesh panel. If you encounter any difficulties or are unsure, refer to your PC case’s instruction manual or search for specific instructions online for your particular model.
Step 2: Dusting off Loose Debris
Once you have removed the mesh panel from your metal mesh PC case, it’s time to dust off any loose debris that may have accumulated on the mesh. Follow these steps:
- Hold the mesh panel over a trash bin or an area where you can easily clean up any falling debris.
- Use a can of compressed air to blow air onto the mesh surface. Start from the top and work your way down, ensuring that the airflow pushes the dust and debris off the mesh.
- Move the can of compressed air in short bursts to loosen and dislodge any stubborn debris.
- If there are still particles remaining on the mesh, use a soft brush or an old toothbrush to gently brush off the loose debris.
Take your time to thoroughly remove all visible dust and debris. Pay extra attention to the corners and edges of the mesh panel, as these areas tend to accumulate more dirt. The goal is to clear away as much loose debris as possible before proceeding to the next steps.
Remember, when using compressed air, ensure that you hold the can in an upright position and follow the instructions provided by the manufacturer. Be cautious not to tilt the can excessively, as this can cause the propellant to escape unevenly and potentially damage the equipment.
Once you have completed this step and cleared the mesh panel of loose debris, you can move on to preparing the cleaning solution in the next step.
Step 3: Preparing the Cleaning Solution
Before you start cleaning the metal mesh PC case, it’s important to prepare a suitable cleaning solution. This solution will help break down any stubborn dirt or grime on the mesh. Follow these steps to prepare the cleaning solution:
- Fill a bucket or basin with warm water. The water should be warm to the touch but not too hot.
- Add a small amount of mild detergent or a specially formulated cleaning solution for electronics. Avoid using harsh chemicals or abrasive cleaners, as they can damage the mesh.
- Gently swirl the water and detergent mixture to ensure they are well combined.
It is important to note that you only need a small amount of detergent or cleaning solution. Using too much can leave residue on the mesh, which can be difficult to remove and may impact airflow. Aim for a gentle and diluted cleaning solution that can effectively break down dirt without leaving behind any unwanted residue.
Once you have prepared the cleaning solution, proceed to the next step to dampen the cloth or toothbrush for cleaning the mesh panel.
Step 4: Dampening the Cloth
Now that you have prepared the cleaning solution, it’s time to dampen a soft cloth or an old toothbrush to begin cleaning the metal mesh panel of your PC case. Follow these steps:
- Take a soft microfiber cloth or an old toothbrush and dip it into the cleaning solution you prepared in the previous step.
- Squeeze out any excess liquid from the cloth or toothbrush. It should be damp but not dripping with water.
The purpose of dampening the cloth or toothbrush is to avoid over-saturating the mesh panel with water. Excessive moisture can seep into sensitive components and cause damage. By ensuring that the cloth or toothbrush is only damp, you can effectively clean the mesh without putting your PC at risk.
If you are using a cloth, ensure that it is soft and lint-free to prevent any fibers from getting stuck on the mesh. If you are using an old toothbrush, choose one with soft bristles that will not scratch or damage the mesh.
Now that your cloth or toothbrush is properly dampened, you are ready to move on to the next step: gently wiping the metal mesh panel.
Step 5: Gently Wiping the Mesh Panel
With your dampened cloth or toothbrush in hand, it’s time to start cleaning the metal mesh panel of your PC case. Follow these steps to ensure a thorough and gentle cleaning:
- Starting from the top of the mesh panel, gently wipe the surface using smooth, even strokes. Move in a downward motion to remove any dirt or grime.
- Apply light pressure while wiping to avoid damaging the mesh. The goal is to remove any stubborn residue without causing any harm.
- Work your way across the entire mesh panel, paying attention to any areas that appear particularly dirty or clogged.
- If necessary, dip the cloth or toothbrush back into the cleaning solution to replenish the cleaning power and continue to clean.
- Avoid scrubbing the mesh vigorously or using abrasive motions, as this can cause damage. Remember to be patient and gentle throughout the process.
Take your time to clean each section of the mesh panel, ensuring that you cover the entire surface. If you notice any stubborn stains or areas that are difficult to clean, you can lightly agitate the surface with the toothbrush in a circular motion. However, always exercise caution to avoid exerting too much pressure.
After you have finished gently wiping the mesh panel and are satisfied with the cleanliness, proceed to the next step to address any hard-to-reach areas.
Step 6: Cleaning Hard-to-Reach Areas
While cleaning the main surface of the metal mesh panel is important, it’s equally crucial to address any hard-to-reach areas that may have accumulated dirt or debris. Follow these steps to effectively clean these areas:
- Inspect the corners, crevices, and edges of the mesh panel for any accumulated dust or grime.
- If you have a can of compressed air, use short bursts to blow air into these hard-to-reach areas. This can dislodge and remove loose dirt.
- If compressed air is not available, you can use a soft brush or an old toothbrush to gently brush away the dirt from these areas. Be sure to use light strokes and be mindful of the pressure applied.
- You may also dampen the tip of the toothbrush or cloth with the cleaning solution and carefully clean these hard-to-reach areas.
When cleaning hard-to-reach areas, it’s important to be patient and thorough. Take your time to ensure that all corners, crevices, and edges are cleaned properly. Pay special attention to areas where dust tends to accumulate, such as around fan vents or near the PC case’s edges.
Remember to be cautious when using the toothbrush or cloth near delicate components. Avoid touching any internal parts or connectors to prevent any accidental damage.
Once you are confident that you have cleaned all the hard-to-reach areas, proceed to the next step to learn how to dry the mesh panel before reinstallation.
Step 7: Drying the Mesh Panel
After cleaning the metal mesh panel of your PC case, it’s essential to ensure that it is completely dry before reinstallation. Properly drying the mesh panel helps prevent any moisture buildup that could potentially damage your computer. Follow these steps to effectively dry the mesh panel:
- Using a clean, dry cloth, gently pat the mesh panel to remove any excess moisture. Avoid rubbing the surface, as this can cause lint or fibers to stick to the mesh.
- Set the mesh panel aside and allow it to air dry naturally for at least 30 minutes, or until it is completely dry to the touch.
Avoid using heat sources such as hair dryers or placing the mesh panel under direct sunlight for drying. Excessive heat can damage the mesh or cause warping, so it’s best to allow it to dry at room temperature.
During the drying process, you can also take this time to clean and dry any other components that you may have removed, such as fan filters or dust covers. Ensure that everything is thoroughly dry before proceeding to the next step.
Once the mesh panel is completely dry, you are ready to move on to the final step: reinstalling the mesh panel back into your PC case.
Step 8: Reinstalling the Mesh Panel
Now that you have cleaned and dried the metal mesh panel of your PC case, it’s time to reinstall it back into the case. Follow these steps to ensure a proper reinstallation:
- Position the mesh panel in its correct orientation, aligning it with the screw holes or fasteners on the PC case.
- Gently slide the mesh panel back into place, ensuring that it fits securely and snugly.
- Retrieve the screws or fasteners that you removed earlier and carefully insert them back into their respective holes or slots.
- Using the screwdriver or appropriate tool, tighten the screws or fasteners until they are snug, but be careful not to overtighten as this can damage the PC case.
Ensure that all screws or fasteners are securely tightened, but leave a little bit of play to allow for easy removal in the future if necessary. Double-check the mesh panel to verify that it is properly and securely installed.
With the mesh panel successfully reinstalled, you can now power on your PC and enjoy the improved airflow and performance that comes with a clean metal mesh PC case.
Remember to periodically clean your PC case to maintain optimal airflow and prevent dust accumulation. Regular cleaning will help keep your system running efficiently for a longer period of time.
By following these step-by-step instructions, you can effectively clean and maintain your metal mesh PC case, ensuring proper airflow and optimal performance for your computer.
Conclusion
Cleaning the metal mesh PC case is an essential part of maintaining your computer’s performance and longevity. By regularly cleaning the mesh panel, you can prevent dust and debris from obstructing airflow, which can lead to overheating and potential performance issues.
In this guide, we have provided a step-by-step process to help you effectively clean your metal mesh PC case. We started by removing the mesh panel and dusting off loose debris using a can of compressed air. We then prepared a cleaning solution and dampened a soft cloth or toothbrush to gently wipe the mesh panel. Additionally, we covered cleaning hard-to-reach areas and thoroughly drying the mesh panel before reinstalling it back into the PC case.
Remember to choose the right tools and materials, be patient and gentle throughout the cleaning process, and follow the specific guidelines for your PC case model. Taking these steps will ensure a thorough and safe cleaning process.
Regular maintenance of your metal mesh PC case is crucial in extending the lifespan of your computer and maintaining optimal performance. We recommend incorporating this cleaning routine into your regular PC maintenance schedule to keep your system running smoothly and efficiently.
By dedicating a little time and effort to clean your metal mesh PC case, you can enjoy a cleaner and cooler computer that performs at its best.