Introduction
The trackpad is an essential component of any laptop or computer, allowing users to navigate and interact with their devices seamlessly. However, over time, the trackpad can accumulate dirt, fingerprints, and grime, hindering its performance and responsiveness. To ensure optimal functionality, it is crucial to regularly clean your trackpad.
Cleaning a trackpad may seem like a daunting task, but with the right technique and a few simple supplies, you can easily restore its smooth and precise operation. In this guide, we will take you through the step-by-step process of cleaning a trackpad, ensuring that your device stays in top shape.
But before we dive into the cleaning process, it is important to note that different laptops or computers may have variations in the design of their trackpads. Therefore, it’s always a good idea to consult your device’s user manual for any specific instructions or precautions. Additionally, make sure to power off your device before cleaning the trackpad to avoid any accidental clicks or changes while cleaning.
Now, let’s get started and learn how to effectively clean your trackpad, so you can enjoy smooth and accurate navigation on your device once again.
Step 1: Gather the necessary supplies
Before embarking on the trackpad cleaning process, it is essential to gather all the necessary supplies. Ensuring you have the right tools at hand will make the cleaning process smoother and more efficient.
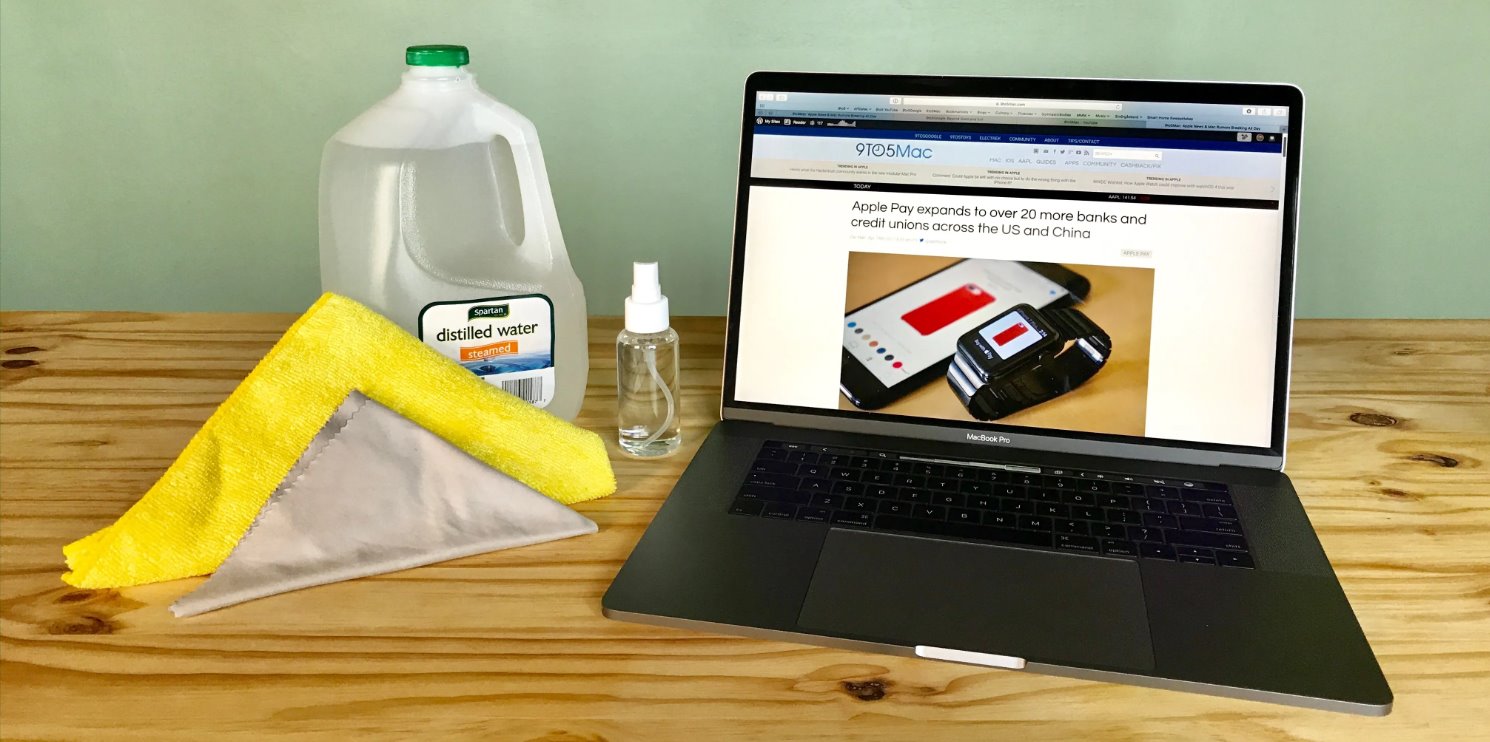
Here are the supplies you will need:
- Microfiber cloth: This soft, lint-free cloth is ideal for cleaning delicate surfaces without causing scratches or damage.
- Isopropyl alcohol or screen cleaner: A small amount of isopropyl alcohol or a specifically designed screen cleaner can help remove stubborn stains and disinfect the trackpad.
- Cotton swabs or soft-bristled brush: These tools can be used to clean hard-to-reach areas and remove dirt or debris from the edges of the trackpad.
- Compressed air: This can be useful for blowing out any dust or particles that may be trapped in the trackpad.
Note: It is crucial to ensure that the cloth and other cleaning tools are clean and free from any debris or particles before starting the cleaning process. This will help prevent any additional scratches or damage to the trackpad.
Once you have gathered these supplies, you’re ready to move on to the next step: powering off your device.
Step 2: Power off your device
Before you begin cleaning the trackpad, it is crucial to power off your device to avoid any accidental clicks or changes while cleaning. This step ensures the safety of your data and prevents any potential damage during the cleaning process.
To power off your device, follow these steps:
- Save any open files or documents you are working on.
- Close all running applications and programs.
- Click on the Start menu (Windows) or the Apple menu (Mac) located at the bottom left corner of your screen.
- From the menu, select “Shut Down” (Windows) or “Shutdown” (Mac).
- Wait for your device to completely shut down before proceeding to the next step.
By powering off your device, you ensure that the trackpad is in a safe state, reducing the risk of accidental interactions or damage while cleaning. Once your device is powered off, you can proceed to the next step of the trackpad cleaning process.
Step 3: Use a microfiber cloth
Now that your device is powered off, it’s time to start cleaning the trackpad. The first step is to use a microfiber cloth, which is gentle on the trackpad’s surface and helps remove dust, smudges, and fingerprints.
Follow these steps to clean the trackpad with a microfiber cloth:
- Take the microfiber cloth and gently wipe the surface of the trackpad in circular motions. Start from the center of the trackpad and work your way outwards.
- Apply light pressure to ensure that the cloth picks up any dirt or debris without damaging the trackpad.
- Continue wiping the trackpad until you have covered the entire surface area.
Using a microfiber cloth is an effective way to remove superficial dirt and smudges from the trackpad’s surface. It is important to avoid using excessive force or abrasive materials that can potentially scratch or damage the trackpad. Remember to be gentle and thorough in your cleaning process.
Once you have wiped the trackpad with a microfiber cloth, you can proceed to the next step of dampening the cloth for deeper cleaning.
Step 4: Dampen the cloth
To achieve a deeper clean and remove stubborn stains, it is beneficial to dampen the microfiber cloth slightly. Dampening the cloth with water or a suitable cleaning solution helps to break down and lift dirt and grime effectively.
Here’s how you can dampen the cloth:
- Moisten the corner of the microfiber cloth with a small amount of water or a designated screen cleaner. Be cautious not to saturate the cloth. A few drops or spritzes are usually sufficient.
- Wring out any excess moisture to ensure the cloth is only slightly damp.
It is essential to note that different devices may have varying recommendations on what cleaning solutions are safe to use. Check the manufacturer’s instructions or user manual for any specific guidelines to avoid potential damage to your device.
Once you have slightly dampened the microfiber cloth, you are now ready to proceed to the next step: cleaning the trackpad in circular motions.
Step 5: Clean the trackpad in circular motions
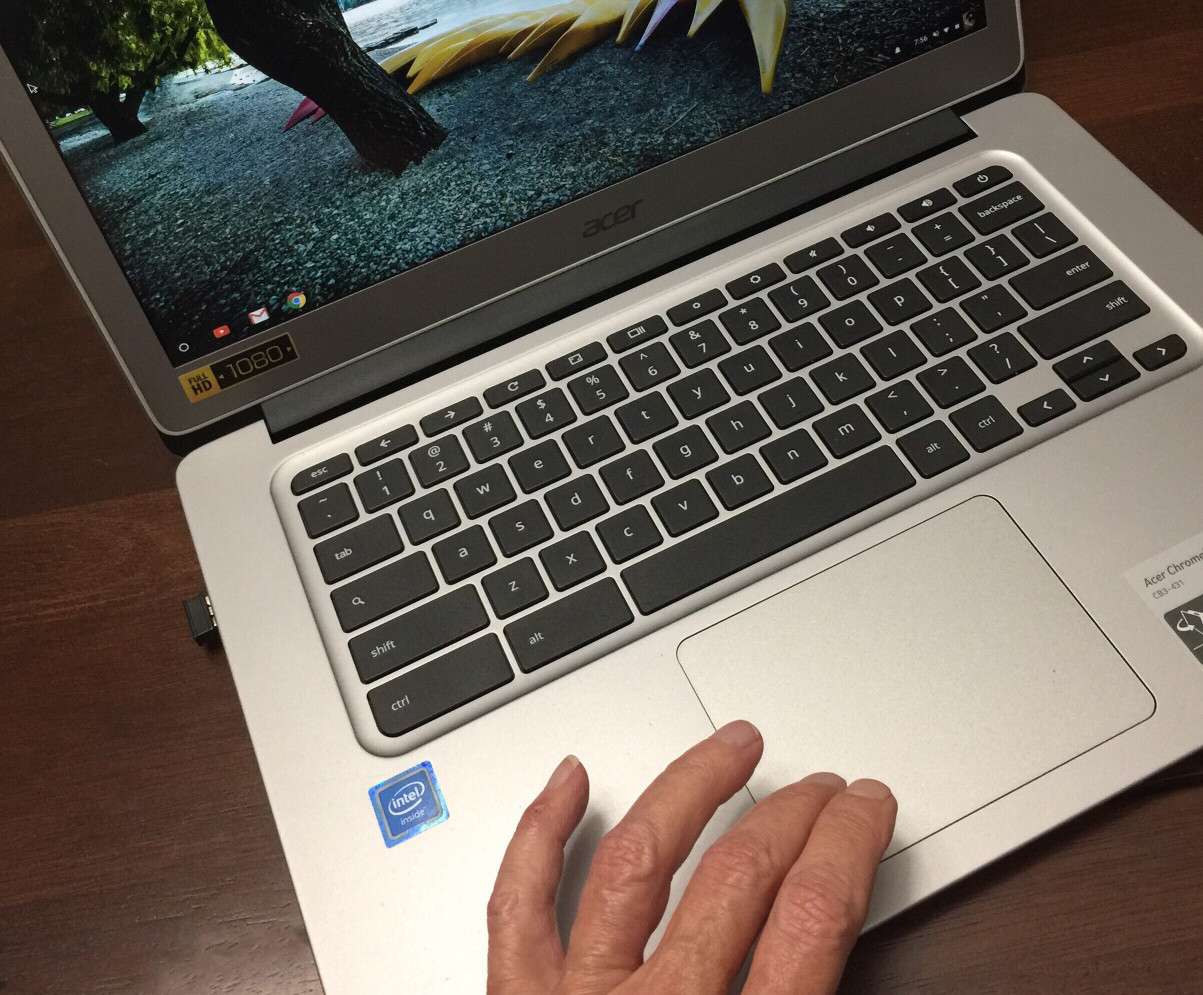
With the slightly dampened microfiber cloth, it’s time to clean the trackpad using gentle circular motions. This technique helps to effectively lift and remove any dirt, oils, or grime that may have accumulated on the trackpad’s surface.
Follow these steps to clean the trackpad in circular motions:
- Start from the center of the trackpad and move your way outward in circular motions.
- Apply light pressure as you clean to ensure thorough coverage without exerting too much force.
- Continue cleaning the entire surface of the trackpad, making sure to clean any edges or corners as well.
- If you encounter any stubborn stains or sticky spots, you can apply slightly more pressure on those areas, but be careful not to damage the trackpad.
As you clean, periodically check the microfiber cloth for any dirt or grime buildup. If necessary, you might need to fold or switch to a clean area of the cloth to prevent spreading particles on the trackpad.
Cleaning the trackpad in circular motions allows for even coverage and effective removal of dirt and grime. As you complete this step, you can move on to the next step: removing any stubborn stains.
Step 6: Remove any stubborn stains
In some cases, you may encounter stubborn stains or sticky residue on your trackpad that require a bit more attention. Fortunately, there are techniques that can help remove these stubborn stains without causing damage to the trackpad.
Follow these steps to remove stubborn stains from your trackpad:
- Dampen a cotton swab or a soft-bristled brush with a small amount of isopropyl alcohol or screen cleaner.
- Gently rub the stained area with the dampened cotton swab or brush, applying light pressure.
- Maintain circular motions as you work on the stain, being careful not to rub too forcefully or scrub aggressively.
- Continue this process until the stain is significantly diminished or completely removed.
It is essential to exercise caution when using isopropyl alcohol or screen cleaner, as different devices have varying recommendations on using these substances. Check the manufacturer’s instructions or user manual to ensure compatibility and prevent any potential damage to your trackpad.
If the stain persists or you’re unsure about using alcohol or screen cleaner, it’s best to consult a professional or contact the device’s manufacturer for guidance.
Once you have successfully removed the stubborn stains, you can proceed to the next step: drying the trackpad.
Step 7: Dry the trackpad
After cleaning the trackpad and removing any stubborn stains, it’s important to ensure that it is properly dried before powering on your device. Drying the trackpad helps to avoid any moisture-related issues and ensures that it is ready for use.
Follow these steps to dry the trackpad effectively:
- Take a clean, dry portion of the microfiber cloth and gently wipe the trackpad in circular motions, absorbing any remaining moisture.
- Make sure to pay extra attention to the edges and corners of the trackpad where moisture may be more likely to accumulate.
- Allow the trackpad to air dry for a few minutes to ensure complete drying.
It is essential to ensure that the trackpad is completely dry before turning on your device. This will help prevent any potential damage or malfunctions.
If you’re in a hurry, you can use a hairdryer on its lowest heat setting from a safe distance to expedite the drying process. However, be cautious not to hold the hairdryer too close to the trackpad to avoid any heat-related damage.
Once the trackpad is thoroughly dried, you can proceed to the final step: powering on your device and testing the trackpad.
Step 8: Power on your device and test the trackpad
Now that the trackpad is clean and dry, it’s time to power on your device and make sure the trackpad is functioning properly. Testing the trackpad after cleaning ensures that it is responsive and accurately detects your touch.
Follow these steps to power on your device and test the trackpad:
- Press the power button on your device to turn it on.
- Wait for your device to boot up and reach the home screen or login screen.
- Once you’re on the home or login screen, move your finger across the trackpad to test its responsiveness.
- Try clicking and performing various gestures to ensure that the trackpad is detecting your touch accurately and functioning as expected.
- If the trackpad is not responding correctly or if you notice any issues, power off your device again and retrace the cleaning steps to ensure that no residue or debris is interfering with its operation. You may need to repeat the cleaning process or seek professional assistance if the problem persists.
If the trackpad is functioning properly, congratulations! You have successfully cleaned and restored your trackpad to its optimal state. Enjoy the smooth and precise navigation while using your device.
Remember that regular cleaning and maintenance of your trackpad can help prolong its lifespan and ensure optimal performance. It’s a good practice to incorporate trackpad cleaning into your routine maintenance to prevent future buildup of dirt and grime.
With a clean and responsive trackpad, you can now enjoy a seamless and comfortable user experience on your laptop or computer. Happy navigating!
Conclusion
Cleaning your trackpad is an essential part of maintaining your laptop or computer’s performance. By following the steps outlined in this guide and utilizing the necessary supplies, you can easily clean your trackpad and restore its smooth and accurate operation.
Remember to gather the necessary supplies, power off your device, and use a microfiber cloth to wipe away dust and smudges. Dampening the cloth can help remove deeper stains, while being cautious of the cleaning solution you use. Clean the trackpad in circular motions, and for stubborn stains, apply gentle pressure with a cotton swab or soft-bristled brush. Afterward, ensure the trackpad is properly dried before powering on your device and testing its responsiveness.
Regularly cleaning your trackpad helps prevent dirt and grime buildup, ensuring a reliable and comfortable user experience. Incorporating this cleaning routine into your overall device maintenance will contribute to the longevity of your trackpad and overall device performance.
So, take some time to clean your trackpad today and enjoy the smooth, precise navigation it provides. Your device will thank you!