Introduction
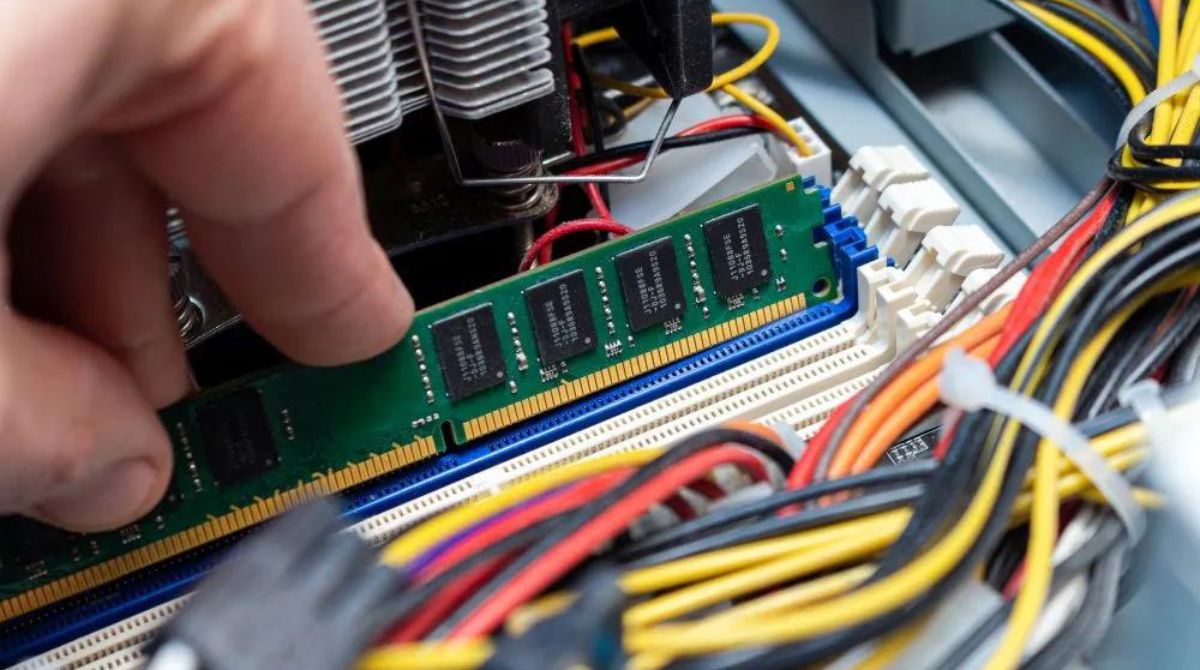
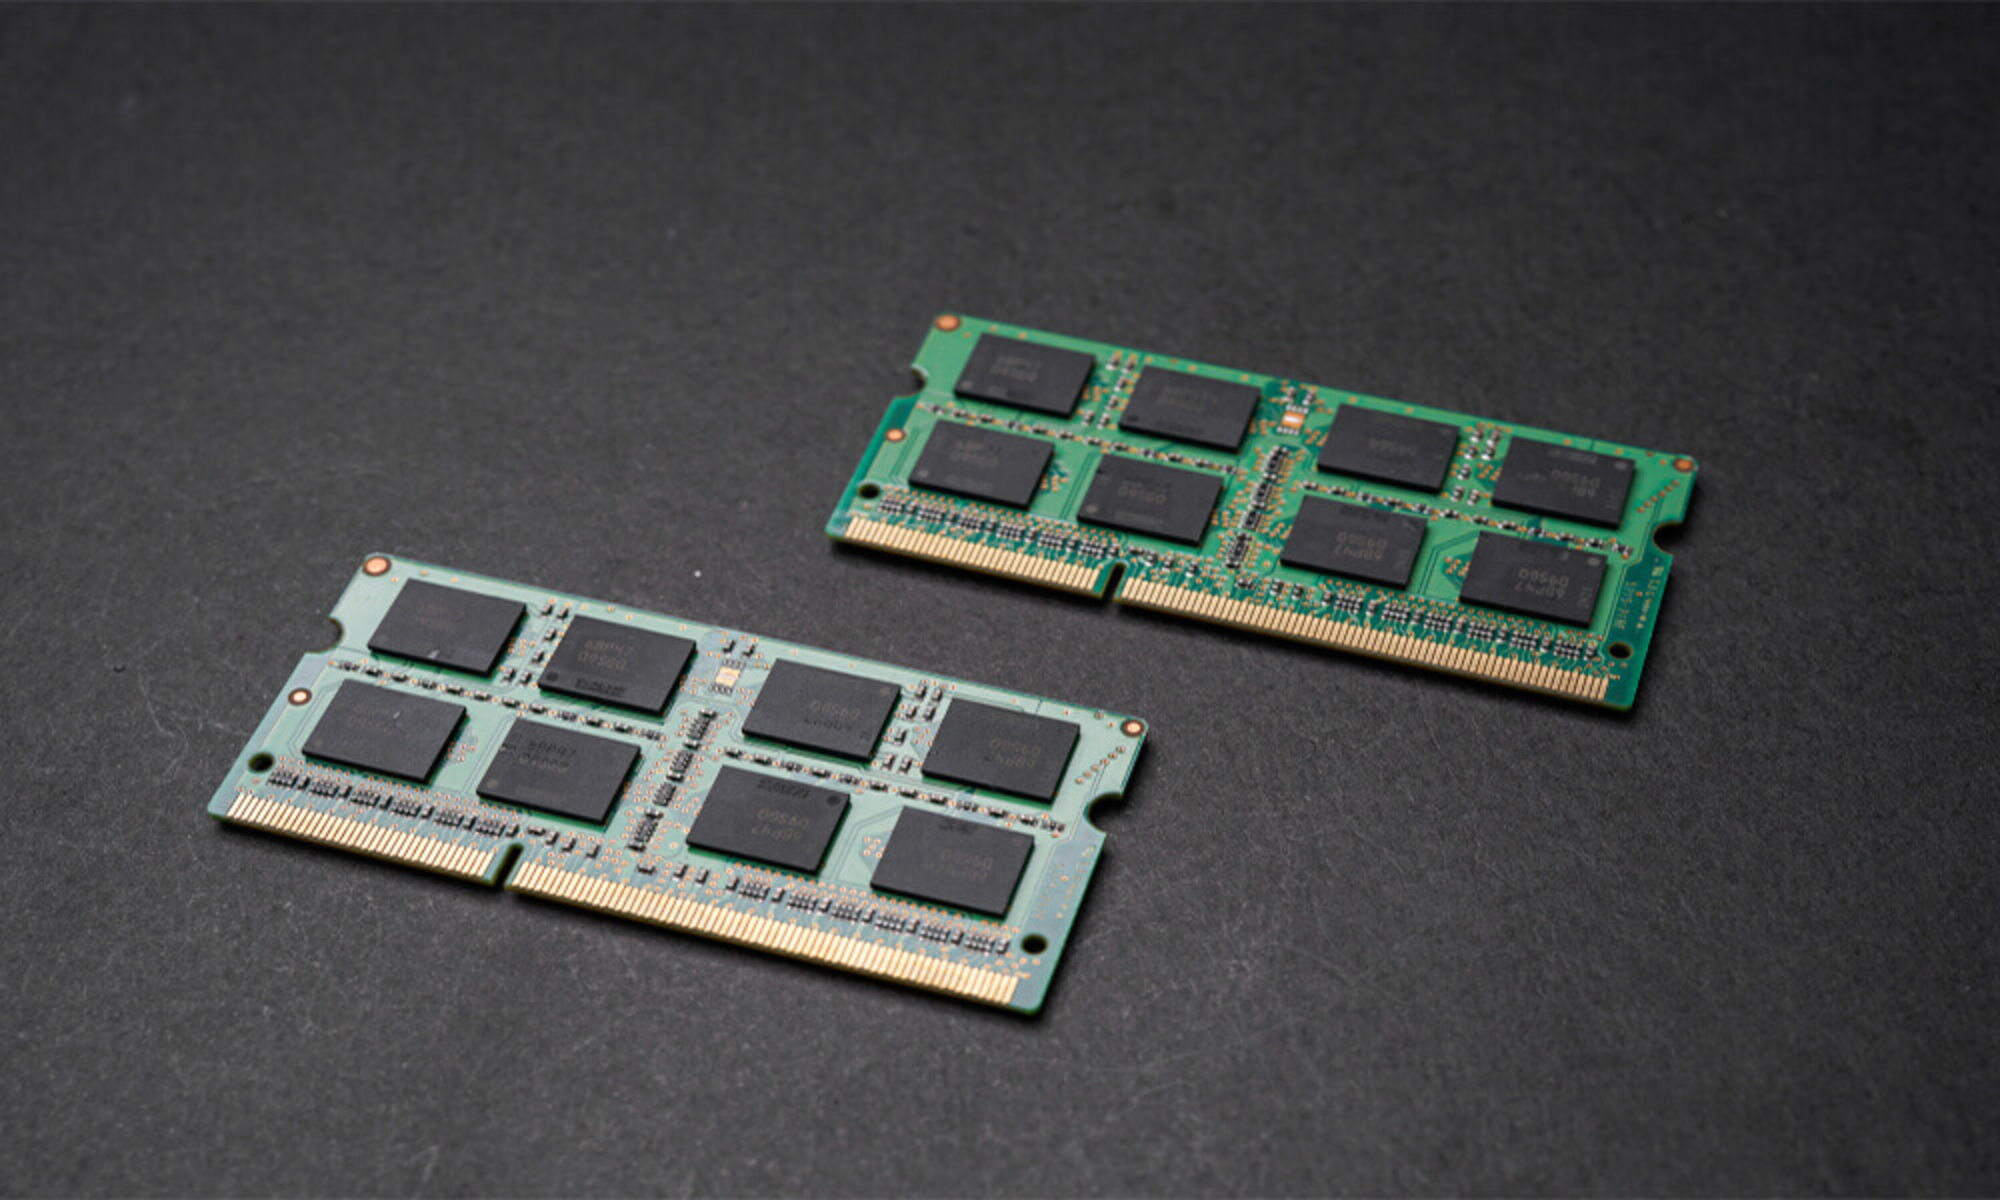
RAM (Random Access Memory) is an essential component of a computer that stores data temporarily for quick access by the processor. The efficiency of RAM greatly impacts the overall performance of your system. One aspect of RAM that directly influences its speed and efficiency is RAM timings.
RAM timings refer to the set of numbers that indicate the latency of various operations performed by the RAM. These timings include values such as CAS latency (CL), RAS to CAS delay (tRCD), and RAS precharge time (tRP). Understanding and optimizing RAM timings can help improve your computer’s performance, especially during resource-intensive tasks like gaming or video editing.
Checking RAM timings is crucial for several reasons. Firstly, it allows you to ensure that your RAM is functioning at its optimum potential. By verifying the timings, you can identify if the RAM is running at the advertised speed or if any adjustments need to be made in the BIOS settings. Secondly, if you are planning to upgrade your RAM or troubleshoot performance issues, knowing the timings will help you make informed decisions regarding compatibility and performance.
In this article, we will discuss three methods to check RAM timings on a Windows 10 computer. These methods include using the Task Manager, Command Prompt, and third-party software. Each method offers its own advantages and suitable for different user preferences. So, let’s dive in and check the timings of your RAM!
What are RAM Timings?
RAM timings, also known as memory timings or RAM latency, are a set of numbers that indicate the speed at which data can be accessed from the RAM modules. They represent the time it takes for the RAM to respond to various operations initiated by the processor.
The primary timings include CAS latency (CL), RAS to CAS delay (tRCD), RAS precharge time (tRP), and RAS active time (tRAS). These timings are expressed in clock cycles or nanoseconds and play a crucial role in determining how quickly your computer can access and transfer data from the RAM.
CAS Latency (CL): CAS latency is the most important RAM timing and represents the number of clock cycles required for the RAM to respond to a request from the processor. Lower CAS latency indicates faster responsiveness and better performance. For example, a RAM module with CAS latency 9 will be faster than one with CAS latency 11.
RAS to CAS Delay (tRCD): RAS to CAS delay measures the delay between the activation of a Row Address Strobe (RAS) and the beginning of a Column Address Strobe (CAS) operation. It determines the time taken by the RAM to retrieve data from a specific column in response to a request.
RAS Precharge Time (tRP): RAS precharge time refers to the delay between completing one access to a row and initiating the next access to a different row. It represents the time taken by the RAM to return to an idle state before responding to a new request.
RAS Active Time (tRAS): RAS active time defines the minimum number of clock cycles a row must remain active before it can be deactivated. It determines the time period during which the RAM is accessible after a request is made.
Understanding RAM timings is crucial as they impact the overall speed and efficiency of your system. Lower latency values indicate faster data access and improved performance. However, it’s important to note that the impact of RAM timings on real-world performance may vary depending on the applications and tasks you run on your computer.
Now that we have a clear understanding of what RAM timings are, let’s move on to the next section and explore why checking RAM timings is important.
Why Should You Check RAM Timings?
Checking RAM timings is essential for several reasons. It allows you to ensure that your RAM is operating at its optimal speed and performance. Here are a few key reasons why checking RAM timings is important:
- Verify RAM Performance: By checking RAM timings, you can confirm whether your RAM is running at the advertised speed. RAM modules often come with specific speed ratings, such as DDR4-3200 or DDR3-1600. By checking the timings, you can ensure that your RAM is set to the correct frequency and is operating as intended. If the timings are not set correctly, it may result in lower performance or stability issues.
- Identify Potential Issues: RAM timings can be an indicator of potential problems. If you notice unusual latencies or inconsistencies in the timings, it could be a sign of RAM compatibility issues or a faulty RAM module. Checking the timings regularly can help you identify these issues early on and take appropriate measures to resolve them, such as updating BIOS settings, replacing faulty RAM, or adjusting voltage settings.
- Optimize System Performance: RAM timings have a direct impact on the overall performance of your system, especially in tasks that require frequent data access, such as gaming, video editing, and multitasking. By fine-tuning the timings, you can potentially improve the responsiveness and speed of your computer. However, it is important to note that the impact of RAM timings on real-world performance may vary depending on other factors like CPU, GPU, and the specific applications you use.
- Compatibility and Upgrades: When upgrading or replacing RAM modules, checking the timings becomes crucial. Ensuring that the new RAM modules have compatible timings with your existing setup helps prevent compatibility issues and ensures proper functioning of the system. Additionally, checking the timings before purchasing new RAM modules allows you to make informed decisions based on your system’s requirements and performance needs.
Checking RAM timings is an important part of optimizing and maintaining the performance of your computer. Whether you want to verify the performance, identify potential issues, optimize system responsiveness, or ensure compatibility during upgrades, keeping an eye on RAM timings is essential. Now that we understand the importance of checking RAM timings, let’s explore different methods to check RAM timings on a Windows 10 computer.
Method 1: Using Task Manager
Windows Task Manager is a built-in utility that provides information about the performance and processes running on your computer. You can also use Task Manager to check the RAM timings in Windows 10. Here’s how to do it:
- Open Task Manager by right-clicking on the taskbar and selecting “Task Manager” from the menu that appears. Alternatively, you can press Ctrl + Shift + Esc on your keyboard to open Task Manager directly.
- In the Task Manager window, click on the “Performance” tab at the top.
- Under the “Performance” tab, click on “Memory” in the left-hand side menu.
- In the “Memory” section, you will see information about your RAM, including the speed, form factor, and the number of slots used and available. Look for the “Speed” field, which indicates the frequency of your RAM in megahertz (MHz).
- While Task Manager provides information about the RAM speed, it does not display detailed timing values like CAS latency or other timings. To view the specific timings, you will need to use alternative methods like Command Prompt or third-party software, which we will discuss in the following sections.
Using Task Manager is a quick and straightforward way to check the overall speed of your RAM in Windows 10. However, if you need more detailed information about the specific timings, you can proceed to the next methods discussed below.
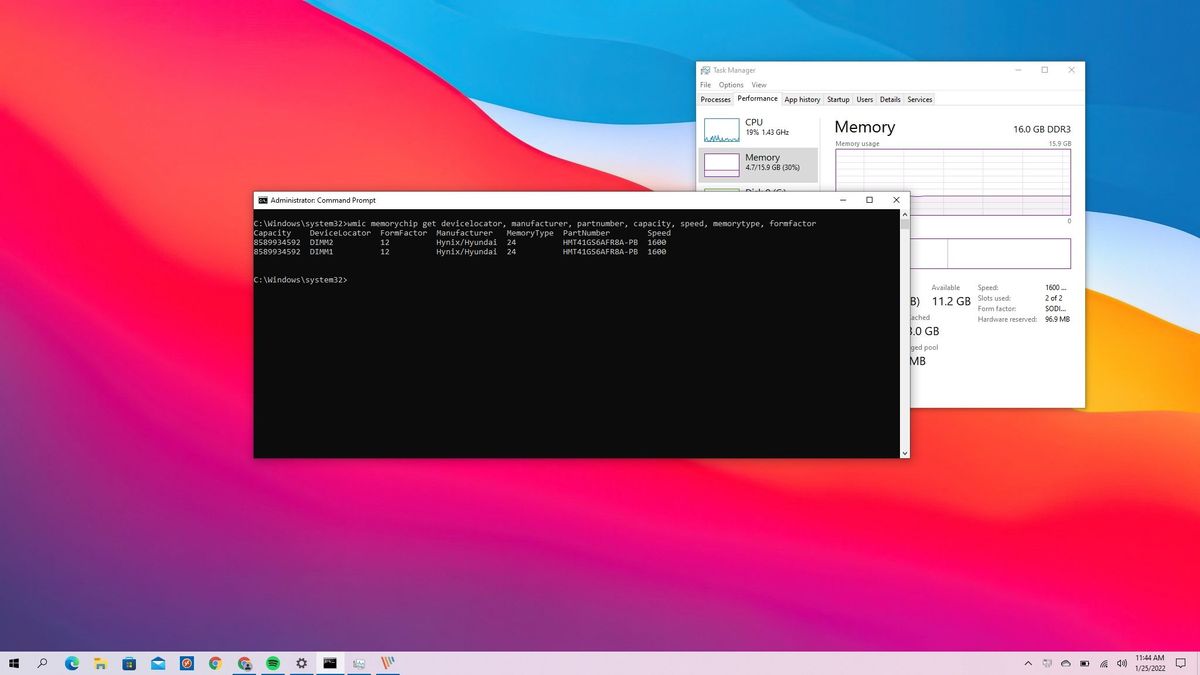
Method 2: Using Command Prompt
Another method to check RAM timings in Windows 10 is by using the Command Prompt utility. Command Prompt allows you to access and retrieve detailed information about your system, including the RAM timings. Here’s how you can do it:
- Press the Windows key + R on your keyboard to open the Run dialog box.
- Type “cmd” in the Run dialog box and press Enter or click “OK” to open the Command Prompt.
- In the Command Prompt window, type the following command and press Enter:
wmic memorychip get speed, caslatency - The command will display the RAM speeds and timings for each installed memory module. Look for the “Speed” and “CASLatency” values to determine the RAM speed and CAS latency respectively.
- Note that the CAS latency value represents the primary timings, and you may not see additional timings like RAS to CAS delay or RAS precharge time using this method. For a more comprehensive view of RAM timings, you can use third-party software as discussed in the next section.
Using Command Prompt provides a convenient way to retrieve basic information about the RAM timings, including the CAS latency and speed. However, for more detailed and comprehensive information, you may want to consider using third-party software. We will explore this option in the following section.
Method 3: Using Third-Party Software
If you want more detailed information about your RAM timings, utilizing third-party software can be a reliable option. There are several tools available that provide comprehensive insights into your RAM modules and their timings. Here’s how you can check RAM timings using third-party software:
- Choose a reputable third-party software that specializes in providing detailed information about your system’s hardware. Some popular options include CPU-Z, HWiNFO, and Speccy, among others.
- Download and install the software on your Windows 10 computer.
- Launch the software and navigate to the section dedicated to RAM or memory information.
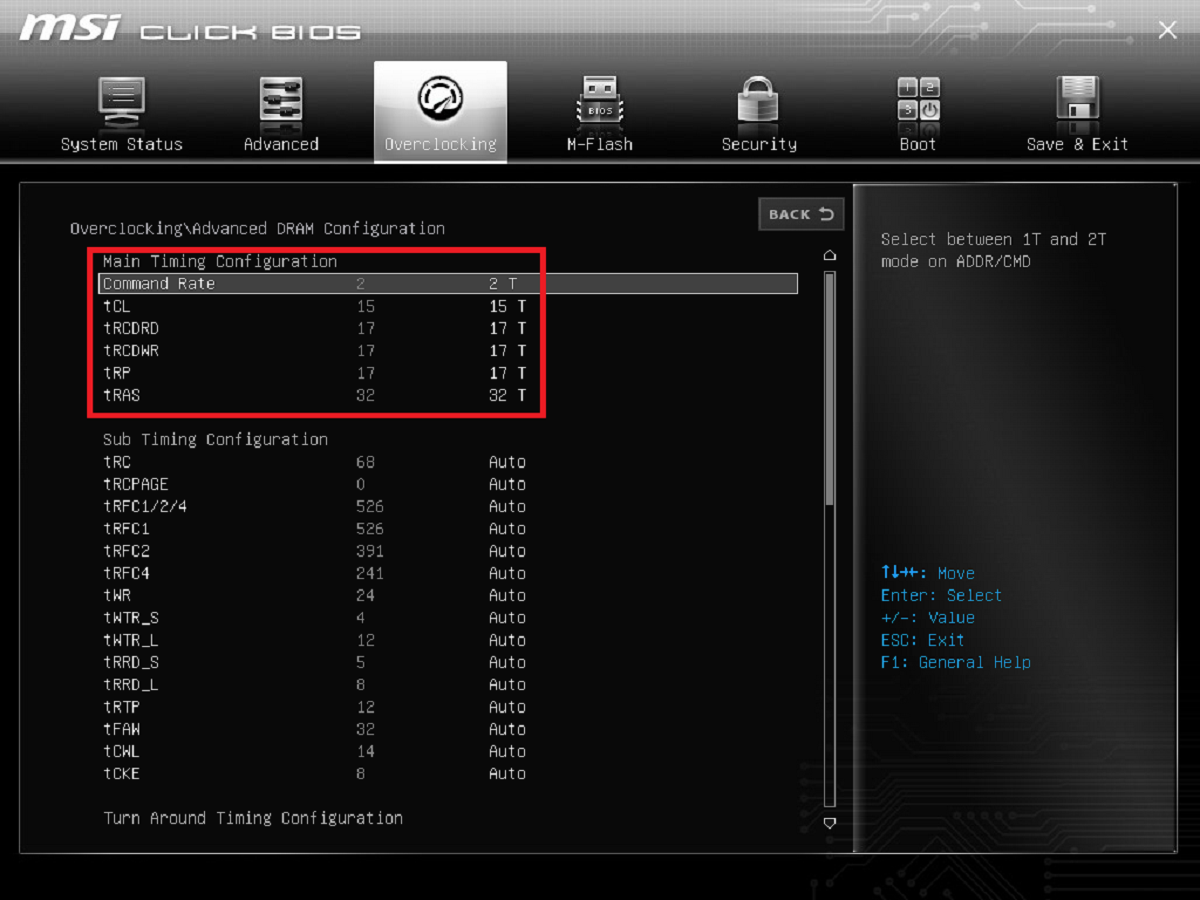
- Within this section, you will find comprehensive details about your RAM modules, including the timings such as CAS latency, RAS to CAS delay, RAS precharge time, and more.
- Take note of the timings provided by the software and compare them with the specifications of your RAM modules. Ensure that the reported timings match the advertised values or the settings you have configured in the BIOS, if applicable.
- Make any necessary adjustments to the RAM timings through the BIOS settings if you want to optimize the performance further. However, exercise caution when modifying BIOS settings, as improper changes may lead to system instability.
Using third-party software allows you to access detailed and accurate information about your RAM timings, ensuring that you have complete control over the performance and optimization of your system. These tools provide a convenient way to view all the relevant information in one place and make any necessary adjustments if needed.
By utilizing third-party software, you can gain a deeper understanding of your RAM’s performance characteristics and make informed decisions about upgrades or optimizations to enhance your computer’s overall performance.
Conclusion
Checking RAM timings in Windows 10 is crucial for optimizing system performance and ensuring that your RAM is operating at its optimum potential. Understanding the timings and their impact on your computer’s speed and responsiveness can help you make informed decisions regarding upgrades, troubleshooting, and overall system maintenance.
In this article, we explored three methods to check RAM timings on a Windows 10 computer: using Task Manager, Command Prompt, and third-party software. While Task Manager provides a quick overview of the RAM speed, it does not offer detailed timing values. Command Prompt allows you to retrieve basic information, including CAS latency, but may not display additional timings. For comprehensive insights into RAM timings, third-party software can be an excellent choice.
By checking RAM timings, you can verify RAM performance, identify potential issues, optimize system performance, and ensure compatibility and efficiency during upgrades. Whether you are a casual user or a power user, understanding how to check RAM timings empowers you to take control of your computer’s performance and make informed decisions when it comes to upgrading or troubleshooting.
Remember that while checking RAM timings can be helpful, it’s important to exercise caution when making changes to BIOS settings or upgrading your RAM. Always refer to the official documentation provided by your hardware manufacturer and follow best practices to prevent any unintended consequences or system instability.
Now that you have a better understanding of RAM timings and the methods to check them, you can confidently optimize your system’s RAM performance and ensure that your computer is running at its best.