Introduction
Welcome to the world of Chromebooks, the lightweight and affordable laptops that run on Google’s Chrome OS. Chromebooks are known for their simplicity, speed, and reliability, making them a popular choice for students, professionals, and anyone looking for a hassle-free computing experience. While Chrome OS is designed to work seamlessly with web-based applications, there may be times when you need to check the available RAM on your Chromebook.
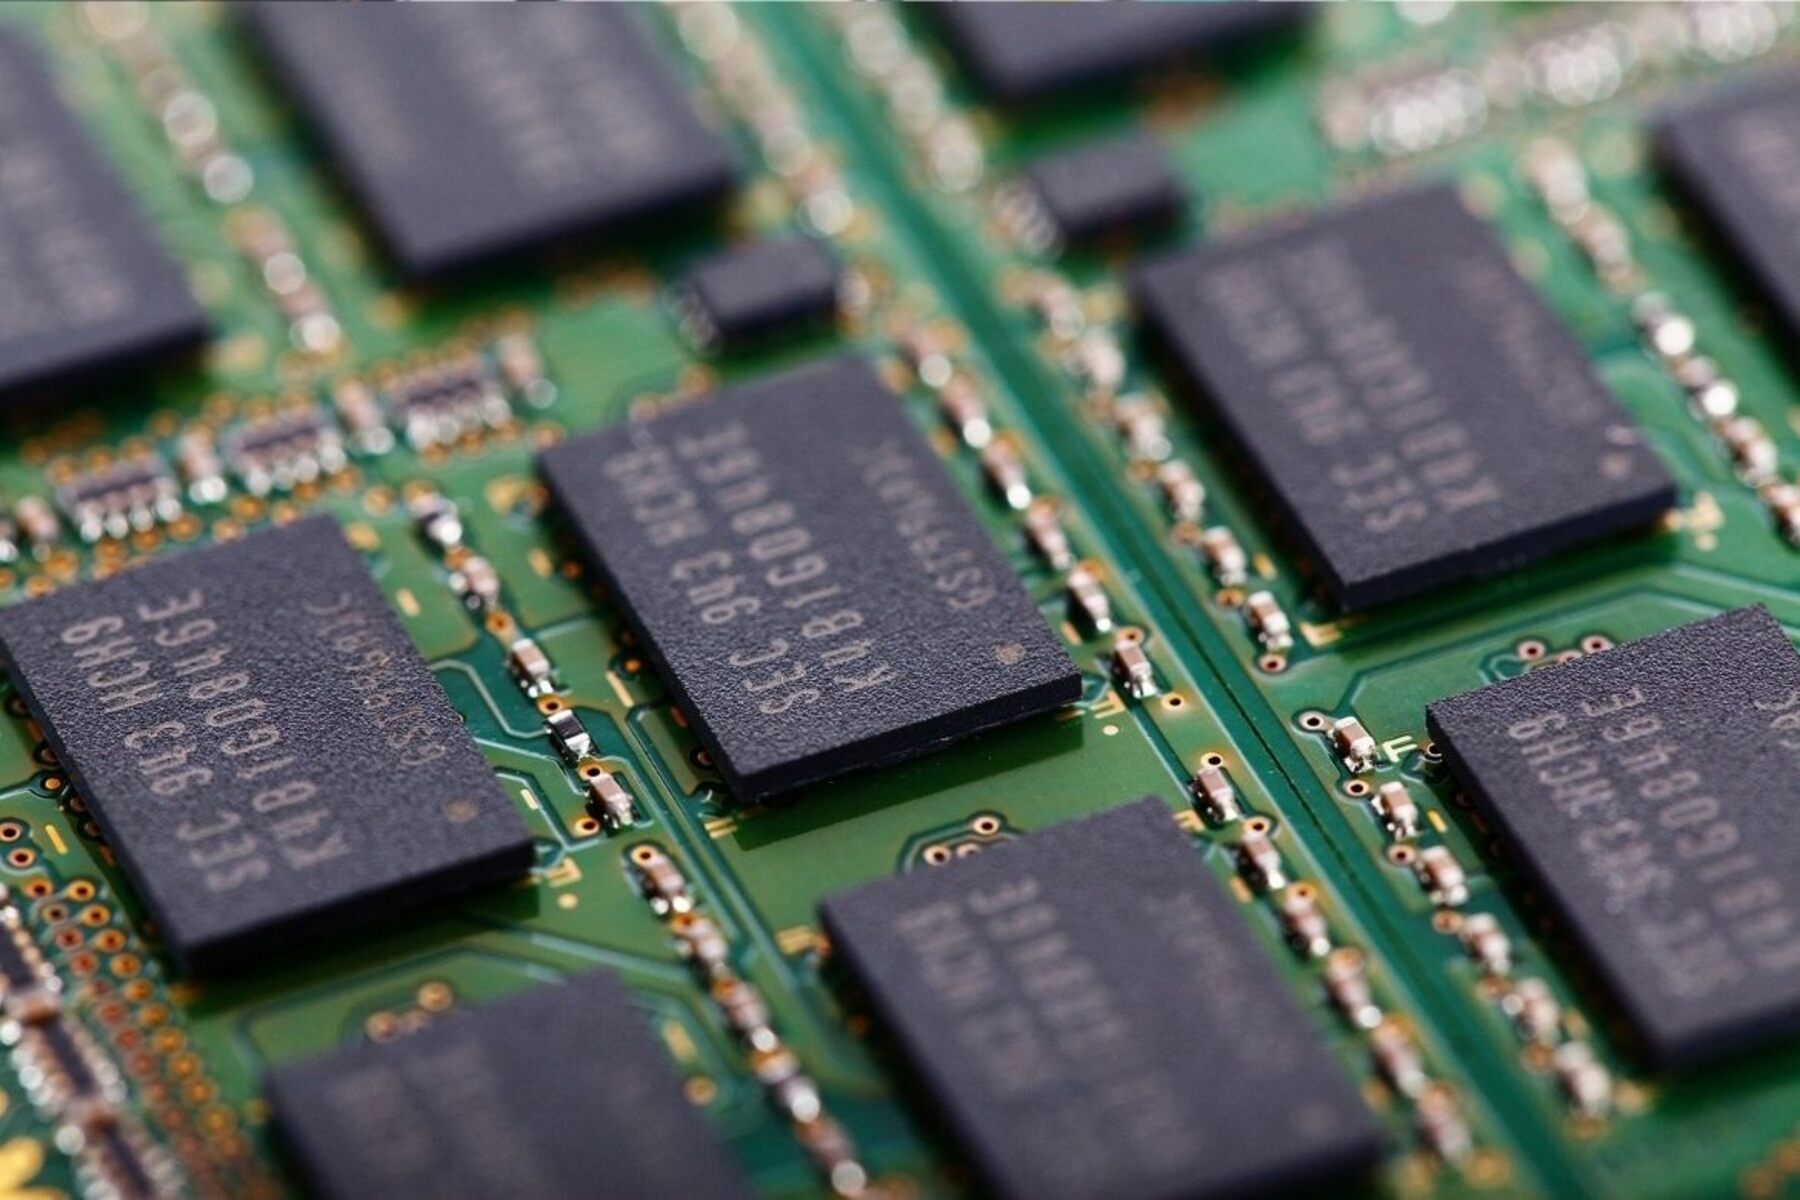
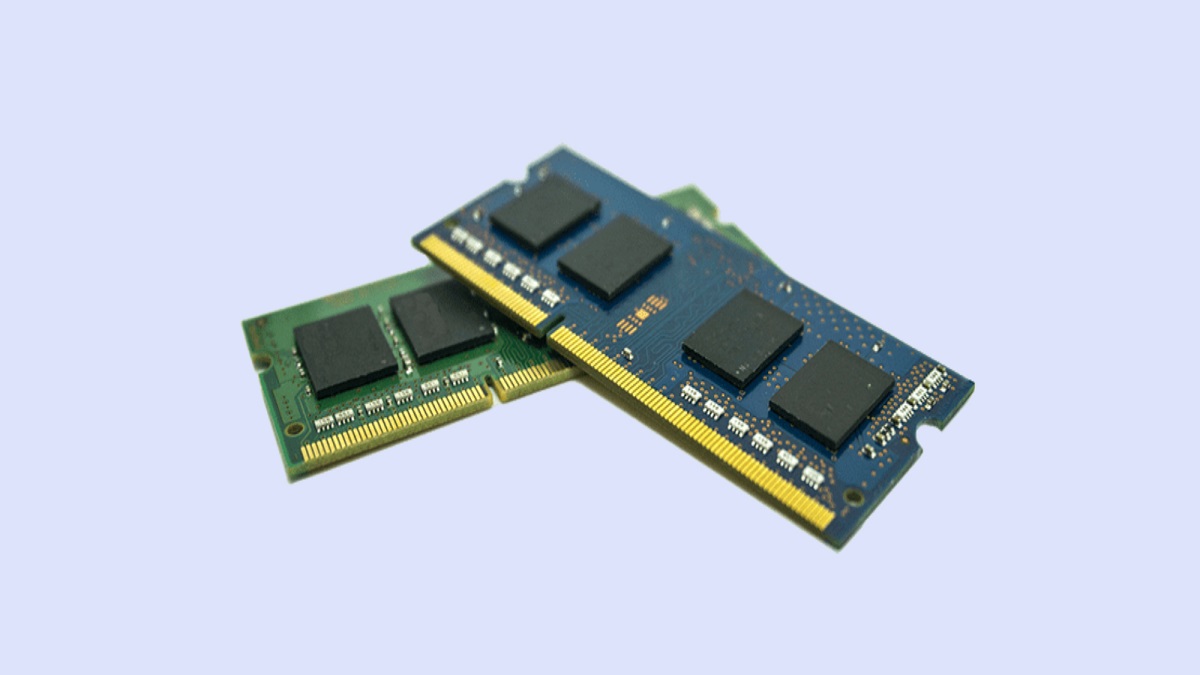
RAM, or Random Access Memory, is a crucial component of any computer system. It is responsible for storing data that is currently being used by the operating system and applications, allowing for quick access and smooth multitasking. Monitoring your Chromebook’s RAM usage can provide valuable insights into its performance and help you identify any potential bottlenecks or memory-intensive tasks.
In this article, we will explore different methods to check the RAM on your Chromebook. Whether you want to ensure that your device has enough memory to handle demanding tasks or simply satisfy your curiosity, we’ve got you covered.
So, let’s dive into the various ways you can check the RAM on your Chromebook and gain a better understanding of your device’s memory usage.
Method 1: Using the Task Manager
The Task Manager is a built-in tool in Chrome OS that allows you to monitor and manage the performance of your Chromebook. It provides real-time information about the processes and resources, including RAM usage.
To access the Task Manager, you can either use the keyboard shortcut “Shift + Esc” or right-click on the taskbar at the bottom of the screen and select “Task Manager” from the context menu.
Once the Task Manager is open, you will see a list of processes running on your Chromebook along with their CPU and memory usage. To check the RAM usage, look for the “Memory” column. It will display the amount of RAM being used by each process in real-time.
If you want to dig deeper into the RAM usage, click on the “Sort by Memory” option at the top of the Task Manager. This will arrange the processes in descending order based on their RAM usage, allowing you to identify any memory-hungry applications or extensions that might be impacting your Chromebook’s performance.
Additionally, you can also view a graphical representation of the RAM usage by clicking on the “Stats for nerds” link at the bottom of the Task Manager. It will open a new tab with detailed system information, including the total amount of RAM installed on your Chromebook and the current memory usage.
By using the Task Manager, you can get a comprehensive overview of your Chromebook’s RAM usage and take necessary actions to optimize its performance.
Method 2: Using the Chrome OS Settings
If you prefer a more intuitive and visual way to check the RAM on your Chromebook, you can use the Chrome OS Settings. This method allows you to access detailed system information, including the amount of RAM installed and the current memory usage.
To access the Chrome OS Settings, click on the clock in the bottom-right corner of the screen, then click on the gear icon to open the settings menu. Alternatively, you can also use the keyboard shortcut “Ctrl + Shift + S” to access the settings directly.
In the settings menu, scroll down and click on the “About Chrome OS” option. This will open a new tab with information about your Chromebook’s version and device details.
Next, click on the “Additional details” option. Here, you will find detailed system information, including the amount of RAM installed on your Chromebook. The “Device memory” section will display the total system memory in gigabytes (GB).
Additionally, you can also view the current memory usage by clicking on the “Performance” tab. It will show you a graphical representation of the memory usage over time, allowing you to monitor any fluctuations or spikes.
Using the Chrome OS Settings provides a user-friendly approach to check the RAM on your Chromebook. It offers detailed system information and allows you to keep track of the memory usage effortlessly.
Method 3: Using a Chrome App or Extension
If you prefer a dedicated tool for monitoring your Chromebook’s RAM usage, you can utilize a Chrome app or extension specifically designed for this purpose. There are several available options that can provide real-time information about your device’s memory usage and performance.
One popular Chrome app is “System Monitor”, which can be found in the Chrome Web Store. Once installed, you can launch the app from the Chrome OS launcher. System Monitor offers a comprehensive overview of the system resources, including CPU, memory, disk, and network usage. It provides detailed graphs and statistics to help you monitor and analyze the RAM usage on your Chromebook.
Another handy option is the “Chrome Task Manager” extension. This extension adds a task manager icon to the Chrome toolbar, making it easily accessible. When clicked, it displays a list of all active tabs and their memory usage. This can be helpful if you want to identify any memory-intensive websites or extensions that might be affecting your Chromebook’s performance.
Alternatively, you can explore other Chrome apps or extensions available in the Chrome Web Store, such as “RAM Checker” or “Task Manager – CPU, GPU, RAM, and Network”. These tools provide varying levels of detail and functionality, allowing you to choose the one that best suits your needs.
By using a dedicated Chrome app or extension, you can have a specialized tool at your fingertips to monitor and analyze your Chromebook’s RAM usage. This can help you identify any memory-related issues and optimize your device’s performance.
Conclusion
Checking the available RAM on your Chromebook is essential for optimizing its performance and ensuring smooth multitasking. By understanding your device’s memory usage, you can identify any potential issues and take necessary actions to improve its efficiency.
In this article, we explored three methods to check the RAM on your Chromebook:
- Using the Task Manager: This built-in tool in Chrome OS allows you to monitor real-time RAM usage and identify memory-hungry processes or extensions.
- Using the Chrome OS Settings: Accessing the settings menu provides detailed system information, including the total RAM installed and current memory usage.
- Using a Chrome App or Extension: Utilizing dedicated tools like System Monitor or Chrome Task Manager offers in-depth insights into your Chromebook’s RAM usage and performance.
Each method provides a unique approach to checking the RAM on your Chromebook, allowing you to choose the one that suits your preferences and requirements. Whether you prefer a user-friendly interface or a specialized tool, there are options available to meet your needs.
By regularly monitoring the RAM usage on your Chromebook, you can optimize its performance, extend its lifespan, and ensure a seamless computing experience. So, take advantage of these methods and gain a better understanding of your Chromebook’s memory usage.
Remember, your Chromebook’s RAM is a valuable resource, and by managing it effectively, you can unlock its full potential!


