Introduction
Welcome to this guide on how to charge your HP tablet using its charger. HP tablets are popular portable devices that allow you to stay connected and productive on the go. Like any electronic device, your HP tablet requires regular charging to keep it powered up and ready for use. In this article, we will walk you through the steps on how to properly charge your HP tablet using its charger.
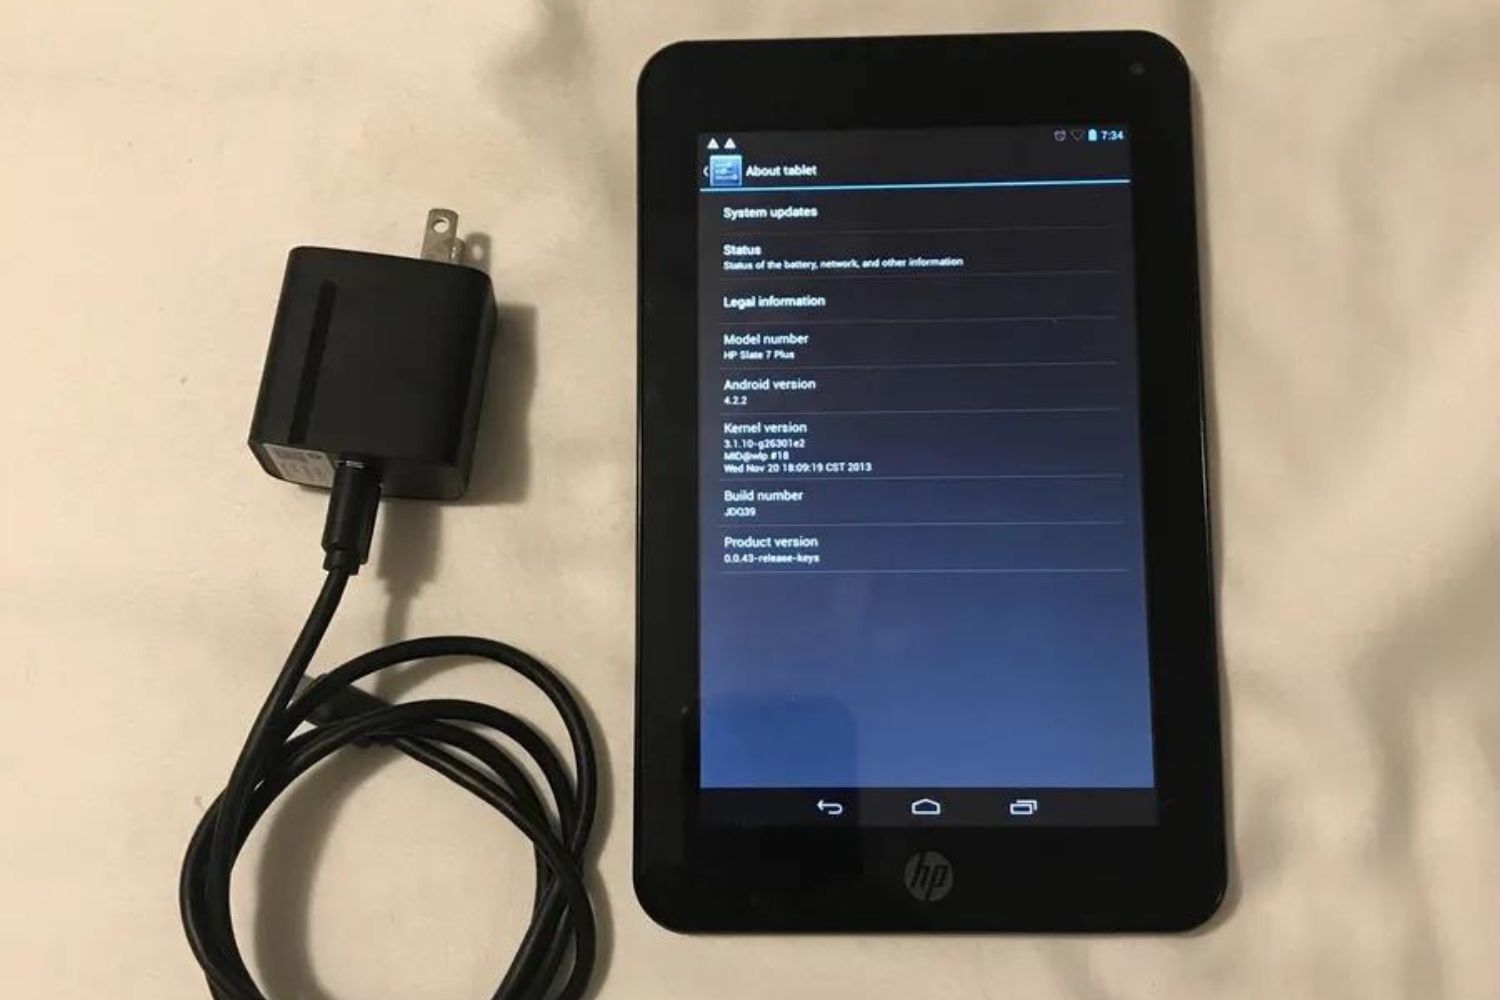
Before we begin, it’s important to understand the components of the HP tablet charger. The charger consists of two main parts: the wall adapter and the USB cable. The wall adapter is the portion that plugs into a power outlet, while the USB cable connects the charger to your tablet. It’s essential to have both components in good working condition for the charging process to be successful.
Now, let’s dive into the steps required to charge your HP tablet. Whether you’re a seasoned HP tablet user or a beginner, this guide will provide you with the knowledge you need to keep your tablet’s battery charged and ready for use.
Understanding the HP Tablet Charger
Before we learn how to charge the HP tablet, let’s take a moment to understand the HP tablet charger and its components. The charger consists of two main parts: the wall adapter and the USB cable.
The wall adapter is the part that you plug into a power outlet. It’s important to ensure that the wall adapter is compatible with the power outlet you’re using. Some HP tablets come with a detachable wall adapter, while others have a built-in adapter. Regardless of the style, the wall adapter provides the power needed to charge your tablet’s battery.
The USB cable is the second component of the HP tablet charger. It connects the wall adapter to your tablet, allowing the transfer of power from the outlet to the device. The USB cable usually has a standard USB connection on one end, which plugs into the wall adapter, and a USB Type-C or micro-USB connection on the other end, which connects to the tablet.
When it comes to charging your HP tablet, it’s crucial to ensure that both the wall adapter and the USB cable are in good working condition. Check for any frayed or damaged wires, as these can affect the charging process. If you notice any issues with the charger, it’s best to replace it with a new one to avoid any potential damage to your tablet.
Additionally, it’s worth mentioning that HP tablet chargers are designed to provide the optimal charging voltage and current for your tablet’s battery. This ensures safe and efficient charging, resulting in a longer lifespan for your tablet’s battery. Avoid using generic or third-party chargers that may not meet the necessary specifications, as they could potentially harm your tablet or cause slower charging times.
Now that we have a good understanding of the HP tablet charger and its components, let’s move on to the step-by-step process of charging your HP tablet.
Step 1: Connect the Charger to the Tablet
The first step in charging your HP tablet is to connect the charger to the device. Start by locating the charging port on your tablet. Depending on the model, it can be situated on the bottom, side, or top of the device.
Once you have identified the charging port, take the USB cable that came with your HP tablet charger. Insert the appropriate end of the cable into the charging port on your tablet. Make sure it is securely plugged in to ensure a proper connection.
It’s important to note that some HP tablets may have a reversible USB Type-C connector, which means there is no specific orientation when plugging it in. However, if you have a tablet with a micro-USB connector, make sure the flat side of the connector is facing up when plugging it into the tablet’s charging port.
After you have successfully connected the charger to your tablet, you should see a charging indicator appear on the screen. This can be in the form of a battery icon with a lightning bolt or a percentage indicating the current charge level.
If you don’t see any indication that the tablet is charging, double-check the connection and ensure that both ends of the USB cable are securely plugged in. If the problem persists, it could be a sign of a faulty charger or a damaged charging port on your tablet. In such cases, it’s advisable to contact HP support or consult a technician for assistance.
Now that you have successfully connected the charger to your tablet, let’s move on to the next step, which is plugging the charger into a power outlet.
Step 2: Plug the Charger into a Power Outlet
Once you have connected the charger to your HP tablet, the next step is to plug the charger into a power outlet. Locate a nearby power outlet that is easily accessible.
Take the wall adapter, which is the part of the charger that has a plug, and insert it into the power outlet. Ensure that the plug is firmly inserted, and if necessary, give it a slight twist to secure it in place.
Depending on the model of your HP tablet charger, you may have a detachable wall adapter that can be removed from the USB cable. In this case, make sure the USB cable is securely connected to the wall adapter before plugging it into the power outlet.
Once the charger is plugged into the power outlet, you should see the charging indicator on your HP tablet change to indicate that it is charging. The indicator may be a battery icon with a lightning bolt, a percentage indicating the charge level, or a combination of both.
It’s important to note that the charging time can vary depending on factors such as the tablet model, battery capacity, and the power output of the charger. Generally, it is recommended to let the tablet charge for a few hours to ensure a full battery.
During the charging process, it is advisable to leave the tablet undisturbed and avoid using it excessively. This allows the battery to charge more efficiently and effectively. However, it is safe to use the tablet for light tasks such as checking emails or browsing the internet, as long as it is not intensely using power-consuming applications.
Now that you have plugged the charger into a power outlet, let’s move on to the next step, which is waiting for the tablet to charge.
Step 3: Wait for the Tablet to Charge
After plugging your HP tablet charger into a power outlet, it’s time to patiently wait for the tablet to charge. Charging times can vary depending on the battery capacity and the current charge level of your tablet. It is recommended to allow the tablet to charge uninterrupted until it reaches a satisfactory battery level.
While waiting for the tablet to charge, it’s a good idea to ensure that the charger and tablet are in a stable position, preferably on a flat surface. This helps to avoid any accidental disconnections or strain on the charging port.
During the charging process, you may notice that the tablet’s screen remains off or displays a charging symbol. This is normal and indicates that energy is being directed to charging the battery instead of powering the device.
If you need to check the progress of the charging or want to use the tablet while it’s charging, it’s safe to unplug briefly to do so. However, keep in mind that consistently interrupting the charging process or using power-intensive apps may slow down the charging time.
To avoid any potential overheating issues, it’s best to keep the tablet in a well-ventilated area while charging. If you notice any unusual heat coming from the tablet or charger, it’s advisable to disconnect and seek assistance from HP support.
The charging indicator on your tablet should gradually increase as the battery level rises. Depending on the initial charge level, the tablet may reach a full charge in a few hours. However, it’s important to note that it’s not necessary to wait for the battery to reach 100% if you need to use the tablet sooner.
Once you are satisfied with the battery level or need to use the tablet, you can proceed to the next step, which is disconnecting the charger.
Step 4: Disconnect the Charger
When your HP tablet has reached a satisfactory battery level, it’s time to disconnect the charger. Following the proper procedure ensures the safety of both your tablet and the charger.
First, unplug the charger from the power outlet by firmly gripping the wall adapter and gently pulling it out. Avoid yanking the cord, as this can damage the charger or the power outlet.
Next, carefully remove the USB cable from the charging port of your tablet. Hold the cable near the connector, rather than pulling it directly from the tablet’s charging port, to prevent any strain on the port.
It’s essential to handle the charger and cable with care to prevent any damage. Avoid bending or twisting the cables and store the charger in a safe place when not in use.
Once the charger is disconnected, your HP tablet is now ready to be used on battery power. You can power on the tablet with a simple press of the power button and begin enjoying all its features and functions.
Remember, it’s important to keep the charger and USB cable in good condition for future use. Regularly inspect them for any signs of wear or damage, and replace them if necessary to ensure optimal charging performance.
Charging your HP tablet regularly and following these simple steps will help to maintain a healthy battery life and keep your device ready for use whenever you need it.
With that, you have successfully learned how to charge your HP tablet using its charger. We hope this guide has been helpful, and you now feel confident in charging your HP tablet in the correct way.
Conclusion
Charging your HP tablet with its charger is a straightforward process that ensures your device remains powered up and ready for use. By following the steps outlined in this guide, you can effectively charge your tablet and maintain its battery life.
We started by understanding the components of the HP tablet charger, including the wall adapter and USB cable. It’s crucial to ensure both components are in good working condition to ensure a successful charging process.
We then walked through the step-by-step process, beginning with connecting the charger to the tablet. It’s important to securely plug in the USB cable to establish a proper connection.
Next, we discussed how to plug the charger into a power outlet. Ensuring a stable connection between the charger and the power outlet is vital for uninterrupted charging.
We then explored the waiting period for the tablet to charge. It’s recommend to allow the tablet to charge undisturbed until it reaches a satisfactory battery level. Maintaining a well-ventilated area and avoiding power-intensive activities during charging can help prevent any overheating issues.
Finally, we covered the process of disconnecting the charger once the tablet has reached the desired battery level. Properly unplugging the charger and handling the components with care ensures their longevity.
By following these simple steps, you can effectively charge your HP tablet and prolong its battery life. Remember to regularly inspect and maintain the charger and its components for optimal performance.
We hope this guide has equipped you with the knowledge necessary to charge your HP tablet with confidence. Now, go ahead and enjoy the convenience and portability of your fully charged HP tablet!