Introduction
Changing your PlayStation name is an exciting process that allows you to personalize your online gaming experience. Whether you’re tired of your old name or simply looking for a fresh start, updating your PlayStation Network (PSN) ID can breathe new life into your gaming persona. In this guide, we’ll walk you through the steps to change your PlayStation name and provide you with some helpful tips along the way.
It’s important to note that changing your PSN ID is a relatively straightforward process, but there are a few things to consider before diving in. First, changing your name will have an impact on your online presence, as you’ll need to inform your friends and connections of your new ID. Additionally, while most games will support the new name, there may be some disruptions or compatibility issues with older titles. It’s always a good idea to double-check the list of supported games provided by Sony to ensure a smooth transition.
Furthermore, it’s essential to keep in mind that changing your PlayStation name comes with some restrictions. You can only make the change once for free, and subsequent changes will incur a fee. Therefore, it’s wise to choose a new name that you’ll be satisfied with for the long term to avoid any additional expenses.
Now that we’ve covered the basics, let’s dive into the step-by-step process of changing your PSN ID. By following these instructions, you’ll be well on your way to giving yourself a fresh, new digital identity in the PlayStation gaming community.
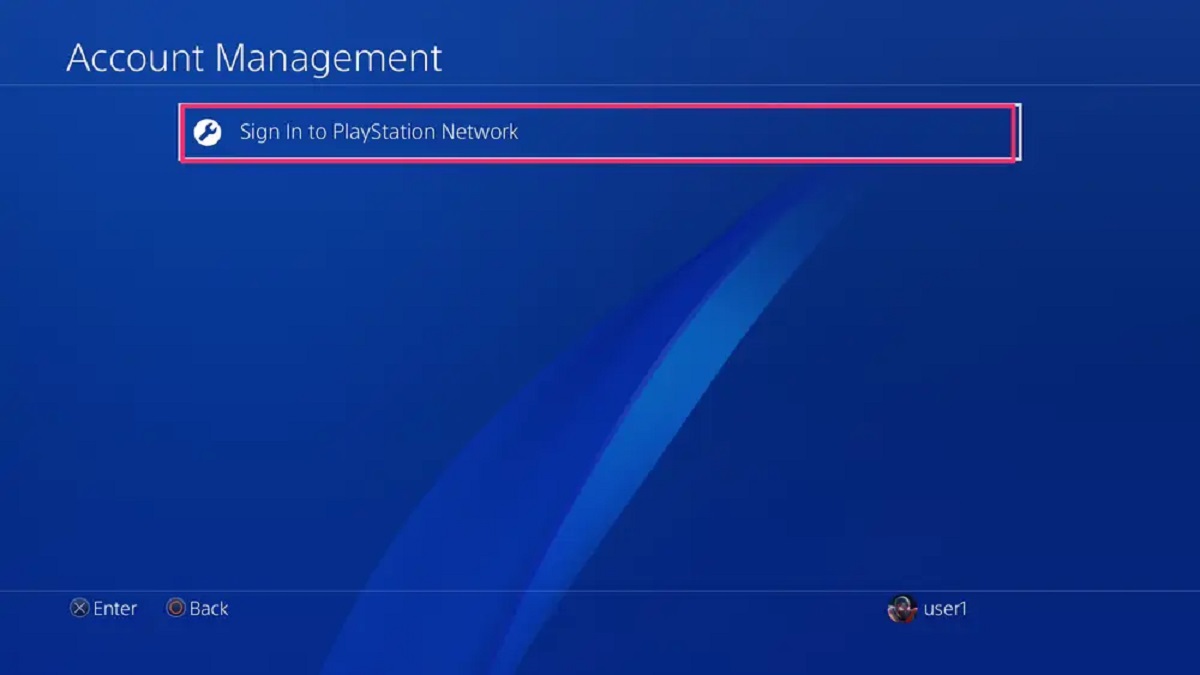
Step 1: Sign into your PlayStation Network account
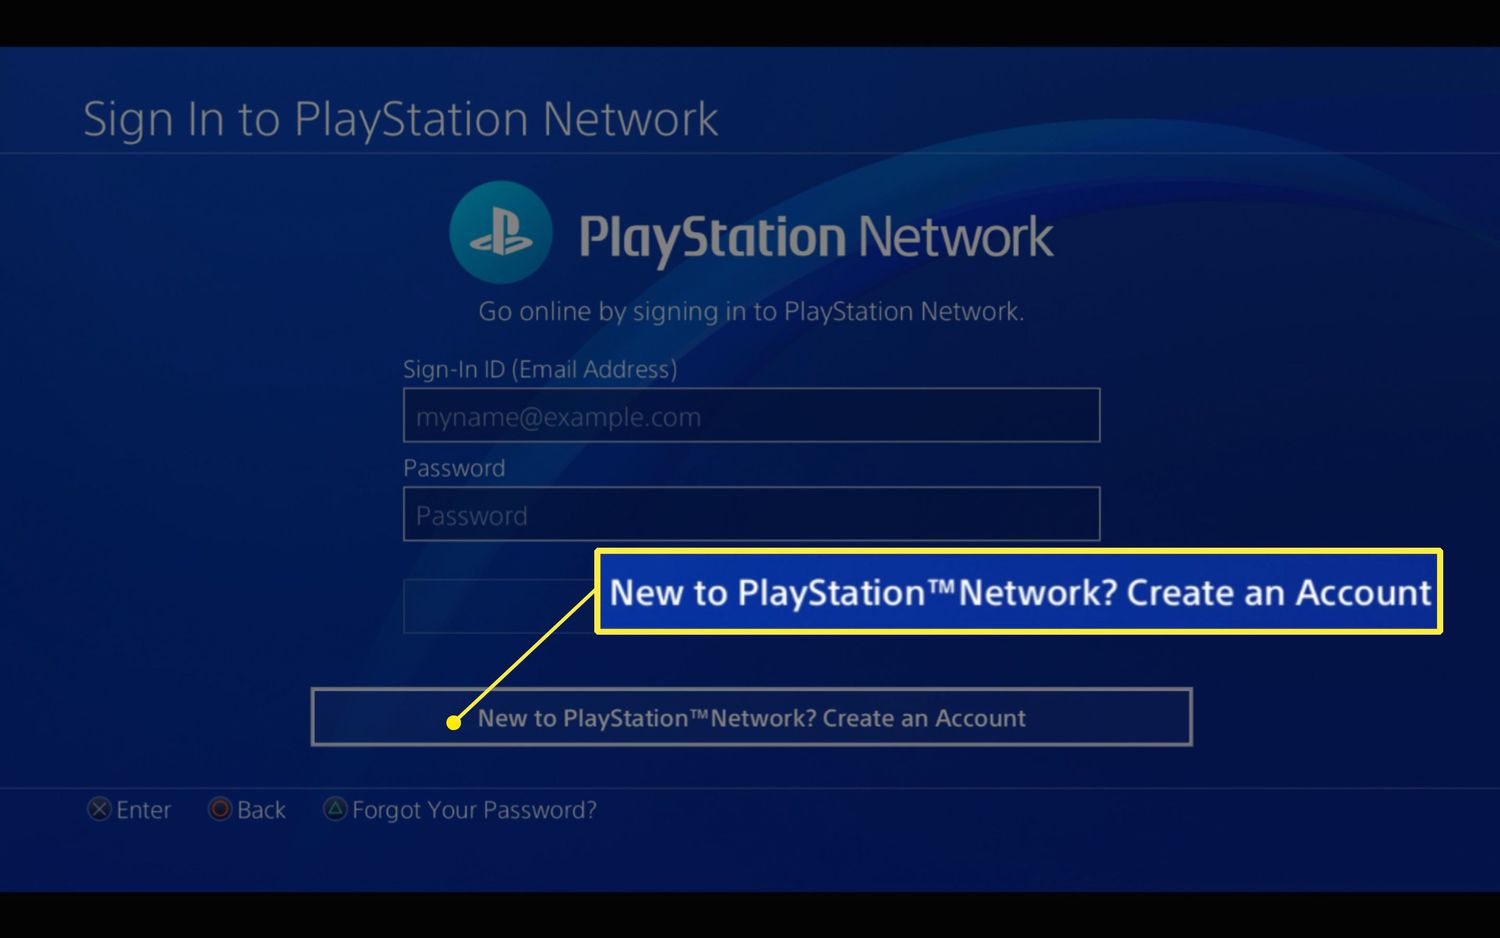
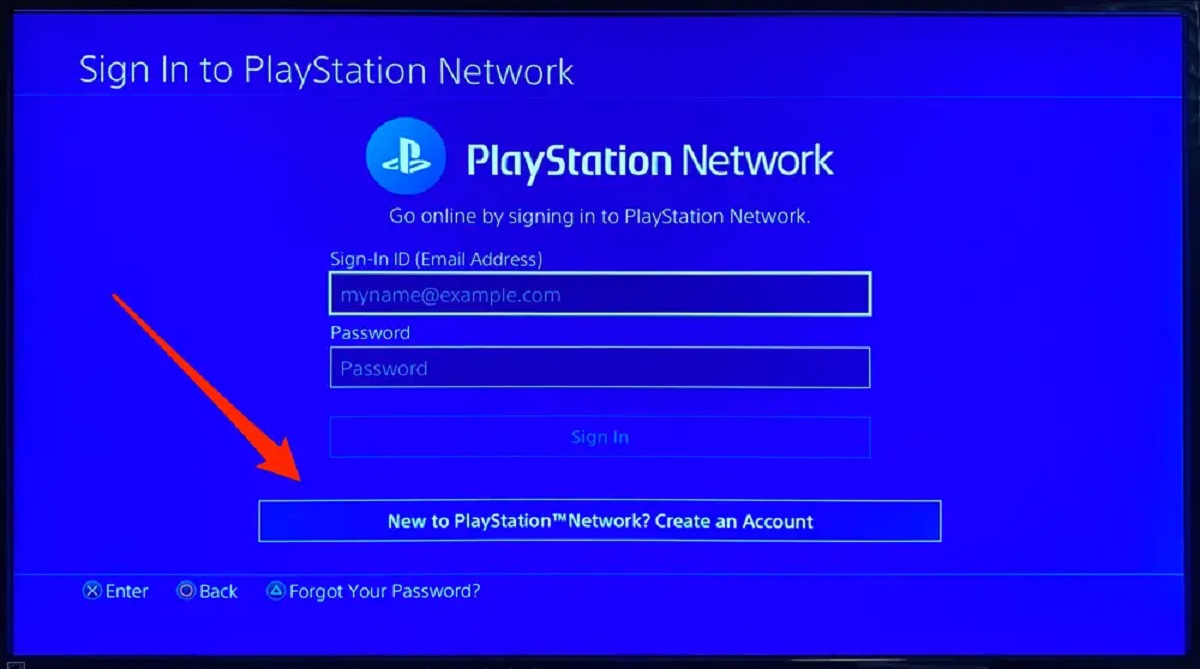
The first step in changing your PlayStation Network (PSN) name is to sign into your PSN account. To do this, power on your PS4 console and wait for it to boot up. Once it’s ready, navigate to the home screen and select the “Settings” option located at the top right corner of the screen. If you’re using a PlayStation 5, the process is similar – just access the settings from the main menu.
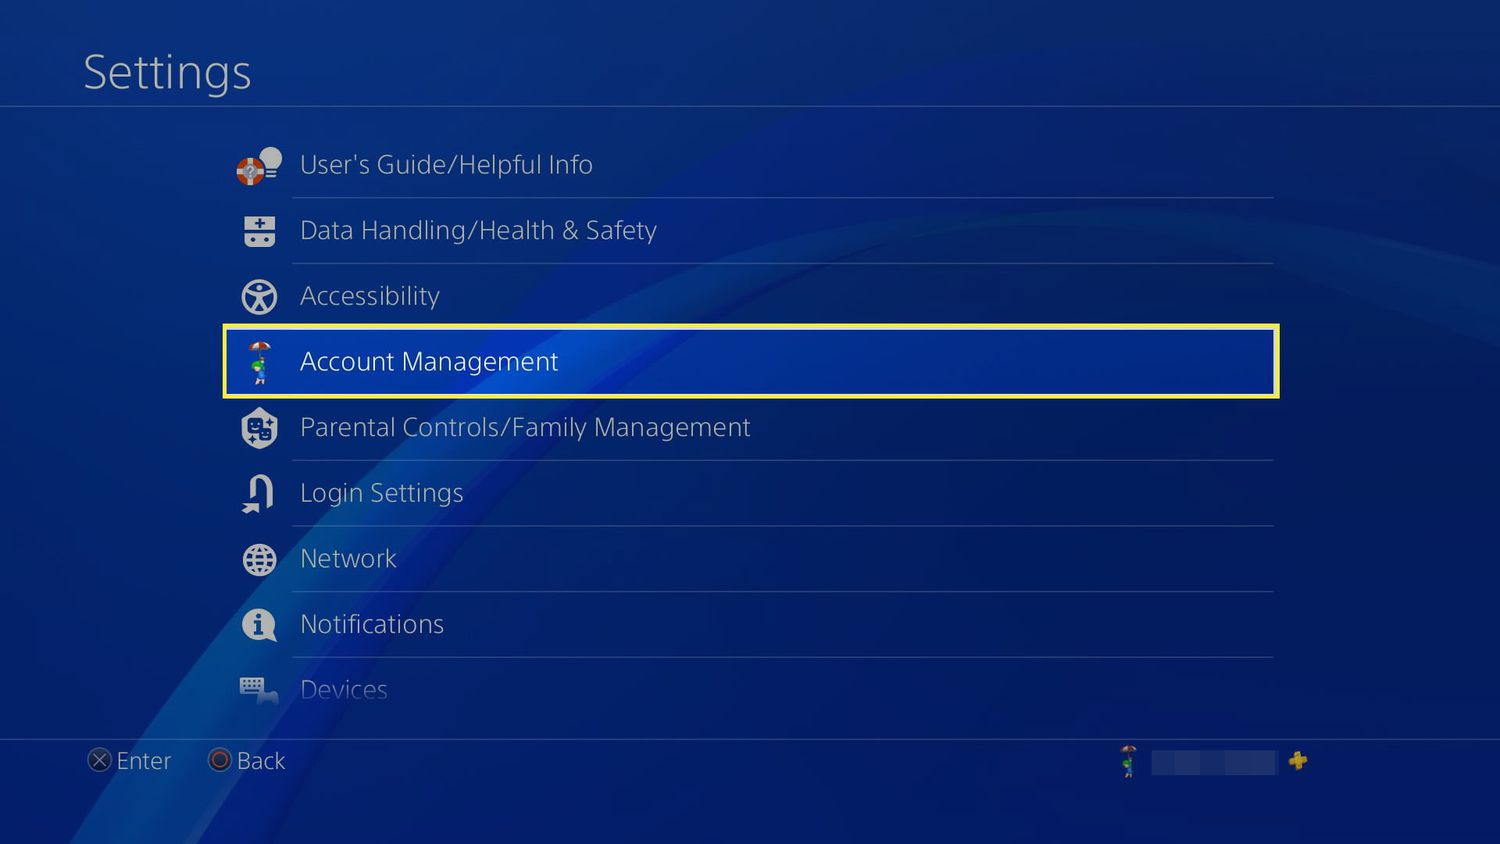
After selecting “Settings,” scroll down the menu on the left-hand side of the screen until you find the “Account Management” option. Click on it to proceed to the next step.
Now, you should see a list of account management options. Look for and select the “Sign In” option to log into your PSN account. If you have multiple accounts on your console, ensure that you sign in with the account associated with the current PSN ID you wish to change.
If you’re already signed in, you can skip this step and move on to the next one.
Once you’ve signed in, you have successfully completed the first step towards changing your PSN name. Let’s move on to the next step in the process.
Step 2: Go to the Settings menu
Now that you’re signed into your PlayStation Network (PSN) account, it’s time to navigate to the Settings menu. This is where you’ll find the option to change your PSN ID. From the previous step, you should now be in the Account Management menu.
To access the Settings menu, scroll down the list of options on the left-hand side of the screen until you see the “Settings” option. It is usually located towards the bottom of the Account Management menu. Select it by pressing the X button on your controller.
Once you’ve selected Settings, a new menu will appear with various settings and options. You’ll want to look for the “Account Management” section, which is typically indicated by an icon or text that represents account-related options. Use the directional buttons on your controller to highlight the Account Management section and press the X button to enter it.
Now that you’re in the Account Management section, you’re one step closer to changing your PSN ID. Take a moment to familiarize yourself with the options available here, as it is where you’ll find other account-related settings as well.
By reaching the Settings menu, you’re making progress towards changing your PSN name. In the next step, we’ll guide you through selecting the Account Information tab, where you’ll find the option to change your Online ID. Let’s continue to the next step.
Step 3: Select the Account Management option
After accessing the Settings menu, it’s time to select the “Account Management” option. This is a crucial step in the process of changing your PlayStation Network (PSN) name, as it will lead you to the specific settings related to your account.
From the Settings menu, use the directional buttons on your controller to scroll through the available options. Look for the “Account Management” option, which is typically indicated by an icon or text that represents account-related settings. Once you’ve located it, press the X button on your controller to select it.
Upon selecting the Account Management option, a new menu will appear with various account-related settings and options. This is where you’ll find the specific settings to change your PSN ID.
Take a moment to explore the Account Management menu and familiarize yourself with the other options available. This menu provides access to various account-related features, such as activating your PS4 as your primary console or linking other accounts to your PlayStation Network account.
By selecting the Account Management option, you’re making progress towards changing your PSN name. In the next step, we’ll guide you to choose the Account Information tab, which is where you’ll find the option to change your Online ID. Let’s move on to the next step.
Step 4: Choose the Account Information tab
Now that you have accessed the Account Management menu, it’s time to navigate to the Account Information tab. This is where you’ll find the specific settings related to your PlayStation Network (PSN) account, including the option to change your PSN ID.
Within the Account Management menu, use the directional buttons on your controller to scroll through the available options. Look for the “Account Information” tab, which is usually indicated by an icon or text that represents account details. Once you’ve located it, press the X button on your controller to select it.
After selecting the Account Information tab, a new menu will appear with various account-related settings and details. This menu contains essential information about your PSN account, such as your email address, sign-in ID, and privacy settings. It is also where you’ll find the option to change your PSN ID.
Take a moment to review the information in the Account Information tab and ensure that everything is up to date. This is also a good opportunity to make any necessary changes to your account details, such as updating your email address or password if needed.
By choosing the Account Information tab, you’re getting closer to the step where you can change your PSN ID. In the next step, we’ll guide you through selecting the Profile option, which is where you’ll find the specific settings to update your Online ID. Let’s move on to the next step.
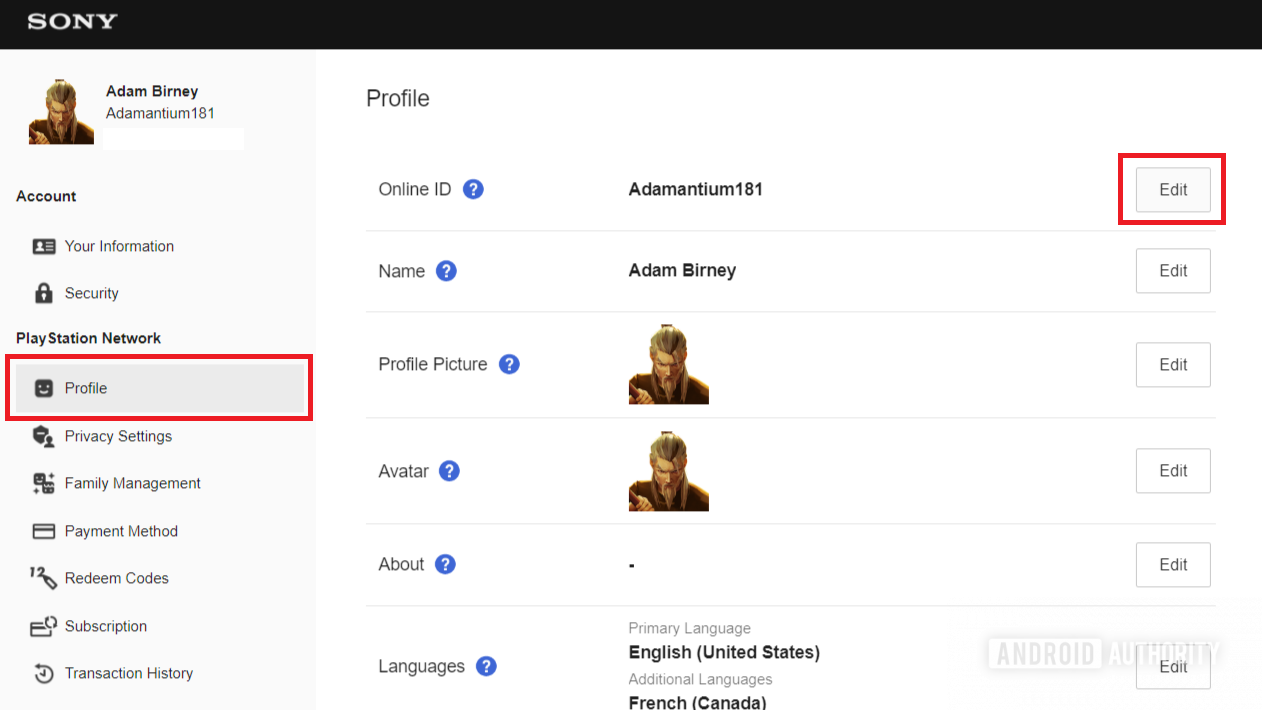
Step 5: Select Profile
Once you’ve accessed the Account Information menu, the next step in changing your PlayStation Network (PSN) name is to select the “Profile” option. This is where you’ll find the settings specifically related to your profile information, including the option to update your online ID.
From the Account Information menu, use the directional buttons on your controller to scroll through the available options. Look for the “Profile” option, which is typically indicated by an icon or text that represents personal details. Once you’ve located it, press the X button on your controller to select it.
After selecting the Profile option, you’ll be taken to a new menu that displays your profile information. This includes your profile picture, bio, and other customizations you may have made. It’s worth taking a moment to review and update this information as desired.
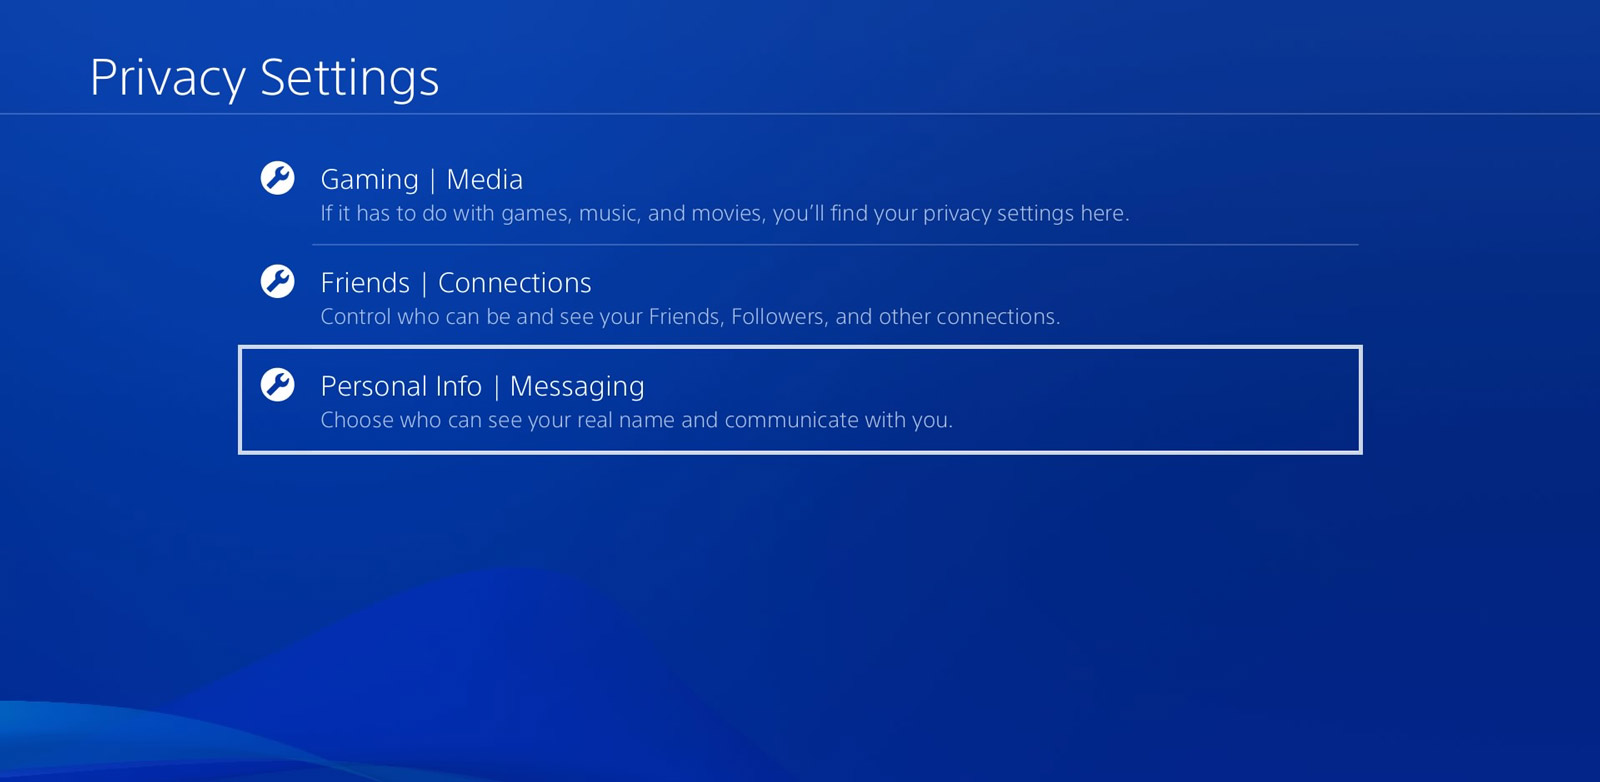
In the Profile menu, you’ll also find additional settings related to your PSN activity and privacy. This includes options to manage your privacy preferences, such as whether you want your real name to be displayed to others or if you want your gaming activity to be visible on your profile.
By selecting the Profile option, you’re one step closer to changing your PSN ID. In the next step, we’ll guide you through clicking on Online ID, which is where you’ll find the specific settings to change your online name. Let’s move on to the next step.
Step 6: Click on Online ID
After selecting the Profile option, the next step in changing your PlayStation Network (PSN) name is to click on “Online ID.” This is where you’ll find the specific settings to update your online name and choose a new PSN ID that reflects your desired persona.
Within the Profile menu, use the directional buttons on your controller to navigate through the available options. Look for the “Online ID” or “Change Online ID” option, which is typically located near your profile picture or bio. Once you’ve located it, press the X button on your controller to select it.
After clicking on Online ID, you’ll be directed to a new screen that provides you with the option to change your PSN ID. This is where you’ll enter your desired new name and determine its availability.
Take note of the guidelines and restrictions provided by Sony regarding the selection of your new PSN ID. Ensure that your chosen name meets the specified character limits, does not violate any community standards, and adheres to Sony’s policies. It’s always a good idea to choose a name that represents you and is easy to remember.
Additionally, keep in mind that changing your PSN ID may have implications for your friends and connections. They may not immediately recognize your new name, so it’s a good idea to inform them of the change to avoid any confusion or lost connections.
By clicking on Online ID, you’re just a few steps away from changing your PSN name. In the next step, we’ll guide you through checking the availability of your new Online ID. Let’s move on to the next step.
Step 7: Enter your desired new Online ID
After clicking on Online ID in the previous step, you’ll now have the opportunity to enter your desired new PlayStation Network (PSN) ID. This is the name that you want to be associated with your online gaming profile, so choose something that reflects your personality and gaming style.
In the designated text field, use the on-screen keyboard or a connected USB keyboard to enter your desired new PSN ID. Take your time to think of a name that is unique, memorable, and complies with Sony’s guidelines for PSN IDs. Keep in mind that your new ID must be 3-16 characters long, can consist of letters, numbers, hyphens, and underscores, and cannot contain inappropriate or offensive language.
When choosing your new Online ID, consider how it will represent you in the gaming community. Will it convey your gaming expertise? Your favorite game character? Your creativity? It’s an opportunity to create a name that resonates with you and stands out among other players.
Once you have entered your desired new Online ID, take a moment to review it for any spelling errors or formatting issues. Double-check that it aligns with your expectations and accurately represents the image you want to project in the gaming world.
By entering your desired new Online ID, you’re moments away from confirming the availability and making the final decision to change your PSN name. In the next step, we’ll guide you through checking the availability of the new Online ID. Let’s move on to the next step.
Step 8: Check the availability of the new Online ID
After entering your desired new PlayStation Network (PSN) ID, the next step is to check its availability. This will ensure that the name you’ve chosen is not already in use by another player. Checking availability is an essential part of the process to ensure you can successfully change your PSN name.
Once you have entered your desired new Online ID, the system will automatically check its availability. It will let you know if the name is already taken or if it is available for you to use.
If your desired Online ID is available, congratulations! You’re one step closer to changing your PSN name. You can proceed to the next step to confirm your selection and make the necessary purchase if required.
However, if your desired Online ID is not available, you’ll need to choose a different name. Take this opportunity to get creative and think of an alternative that still expresses your gaming identity. It’s always a good idea to have a few backup options in mind in case your preferred Online ID is already taken.
Remember, your chosen PSN ID will be your online identity within the PlayStation gaming community, so you want it to be unique and representative of yourself.
Checking the availability of your new Online ID is an important step before making the final decision to change your PSN name. In the next step, we’ll guide you through confirming your selection and making the purchase if required. Let’s move on to the next step.
Step 9: Confirm your selection and make the purchase if required
After checking the availability of your desired new PlayStation Network (PSN) ID, it’s time to confirm your selection and proceed with the necessary steps to change your PSN name. Depending on the availability of the name and your account history, there may be a purchase required to complete the process.
If your chosen Online ID is available and you are eligible for a free name change, you can proceed to confirm your selection without any additional charges. Review your chosen Online ID once more to ensure it’s the name you truly want.
However, if the name is available but you have already exhausted your free name change, or if you are making the change for the first time, you will need to make a purchase to complete the process. Sony usually charges a nominal fee for subsequent name changes or for the initial change, depending on your account status.
Once you have confirmed your selection and are ready to proceed, follow the on-screen instructions to complete the purchase if required. Make sure to review the pricing details and any applicable terms and conditions before finalizing the transaction.
If a purchase is necessary, you’ll be prompted to enter your payment information, such as credit card details, to complete the transaction. Ensure that you provide accurate and valid information to avoid any delays or issues.
Once the purchase is completed, your PlayStation Network account will be updated with the new Online ID. You can now enjoy your fresh online gaming identity and connect with others using your newly chosen name.
Confirming your selection and making the purchase, if required, is the final step in the process of changing your PSN name. In the next step, we’ll briefly review the restrictions and guidelines to keep in mind when selecting a new Online ID. Let’s move on to the next step.
Step 10: Review the restrictions and guidelines
Before finalizing your new PlayStation Network (PSN) ID, it’s important to review the restrictions and guidelines set forth by Sony. These guidelines ensure that the names chosen by players are appropriate and comply with the community standards.
When selecting a new PSN ID, consider the following restrictions:
- Your new Online ID must be between 3 and 16 characters long.
- It can consist of alphanumeric characters, hyphens, and underscores.
- Special characters or spaces are not allowed.
- The new ID cannot be offensive, discriminatory, or violate any copyright or trademark laws.
By adhering to these restrictions, you’ll ensure that your new PSN ID is in compliance with Sony’s guidelines and will be accepted by the PlayStation community.
In addition, it’s important to note that changing your PSN ID can have some consequences, such as potential compatibility issues with older games. While the majority of games are designed to support the new ID, there may be some instances where your previous PSN name is still displayed. It’s recommended to check Sony’s official list of supported games to ensure a smooth transition.
Furthermore, it’s crucial to update your friends and connections about the change. Since they may not immediately recognize your new ID, it’s considerate to inform them to avoid any confusion or loss of connections within the gaming community.
By reviewing the restrictions and guidelines associated with changing your PSN ID, you’ll have a clear understanding of what is expected and ensure that your new Online ID complies with Sony’s standards. With that, you’ve successfully completed the final step in the process of changing your PSN name.
Conclusion
Changing your PlayStation Network (PSN) name can be an exciting and personalizing experience. By following the step-by-step process outlined in this guide, you can successfully update your online gaming identity and make it reflect your unique personality and gaming style.
Remember to sign into your PSN account, navigate to the Settings menu, and select the Account Management option. From there, choose the Account Information tab and click on Profile. Then, proceed to click on Online ID and enter your desired new PSN ID. Make sure to check its availability and confirm your selection before making any necessary purchases.
Throughout the process, it’s essential to keep in mind the guidelines and restrictions provided by Sony to ensure your new Online ID complies with community standards. Additionally, be aware of any compatibility issues or discrepancies that may arise with older games, and inform your friends and connections about your name change to maintain seamless communication within the gaming community.
Changing your PSN name allows you to rejuvenate your online gaming persona and create a fresh digital identity. Whether you’re seeking a change or looking to align your PSN ID with your evolving gaming interests, this guide has provided you with the necessary steps to successfully update your PlayStation Network name.
Now that you’re armed with the knowledge and understanding required to change your PSN name, go ahead and embark on the journey of personalization and self-expression within the PlayStation gaming community.