Introduction
Keeping the time on your Android phone accurate is crucial for ensuring that you don’t miss appointments, meetings, or important deadlines. Whether you’re traveling to a different time zone or simply need to adjust the time manually, knowing how to change the time on your Android phone is essential.
Fortunately, Android devices offer a user-friendly interface that allows you to easily access and modify the date and time settings. In this guide, we’ll walk you through the step-by-step process of changing the time on your Android phone. Whether you prefer manual adjustments or want to enable automatic updates, we’ve got you covered.
By following the instructions outlined in this article, you’ll be able to keep your Android phone’s time accurate and ensure that you stay organized and on schedule. So, whether you’re a frequent traveler or simply want to adjust the time to match your preferences, let’s dive in and learn how to change the time on your Android phone.
Step 1: Accessing the Settings
To begin the process of changing the time on your Android phone, you’ll first need to access the device’s Settings menu. The location of the Settings may vary slightly depending on the Android version and device manufacturer, but the general steps remain the same. Here’s how to get started:
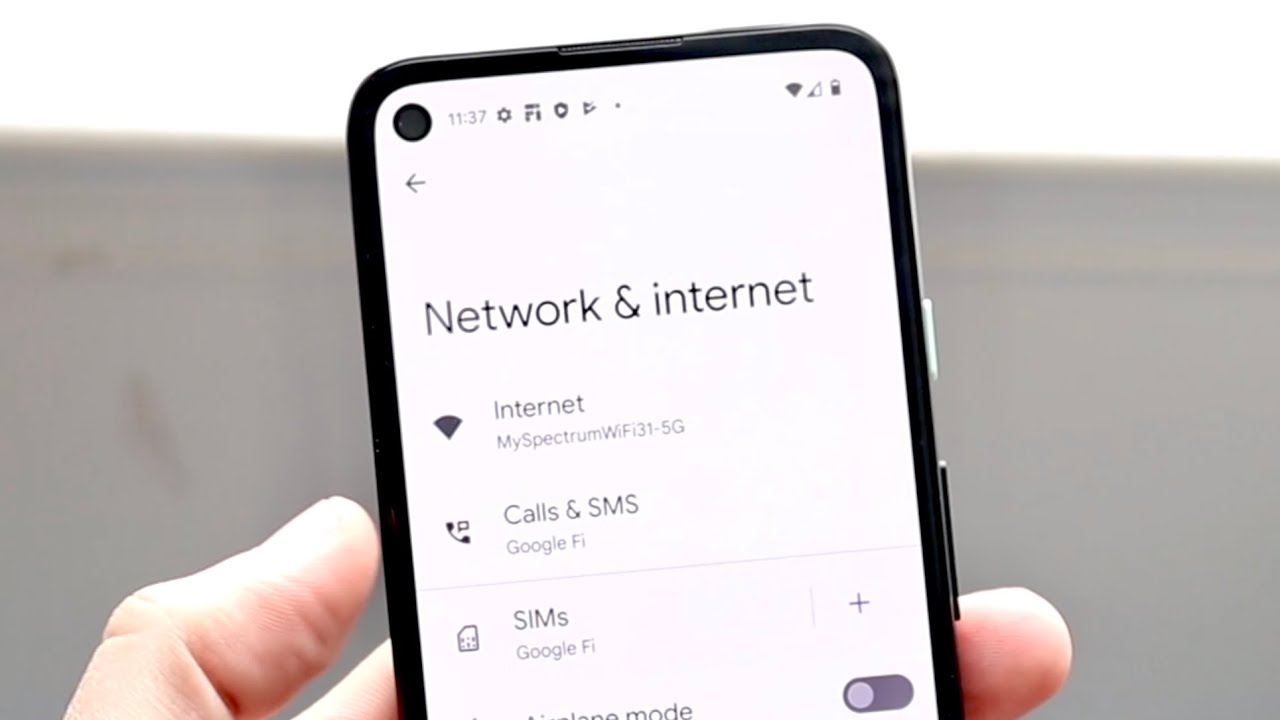
- Unlock your Android phone and navigate to the home screen. Look for the gear icon, usually labeled “Settings,” and tap on it.
- If you can’t find the Settings icon on the home screen, try swiping down from the top of the screen to reveal the notification panel. Look for the gear icon in the upper right corner and tap on it to access the Settings.
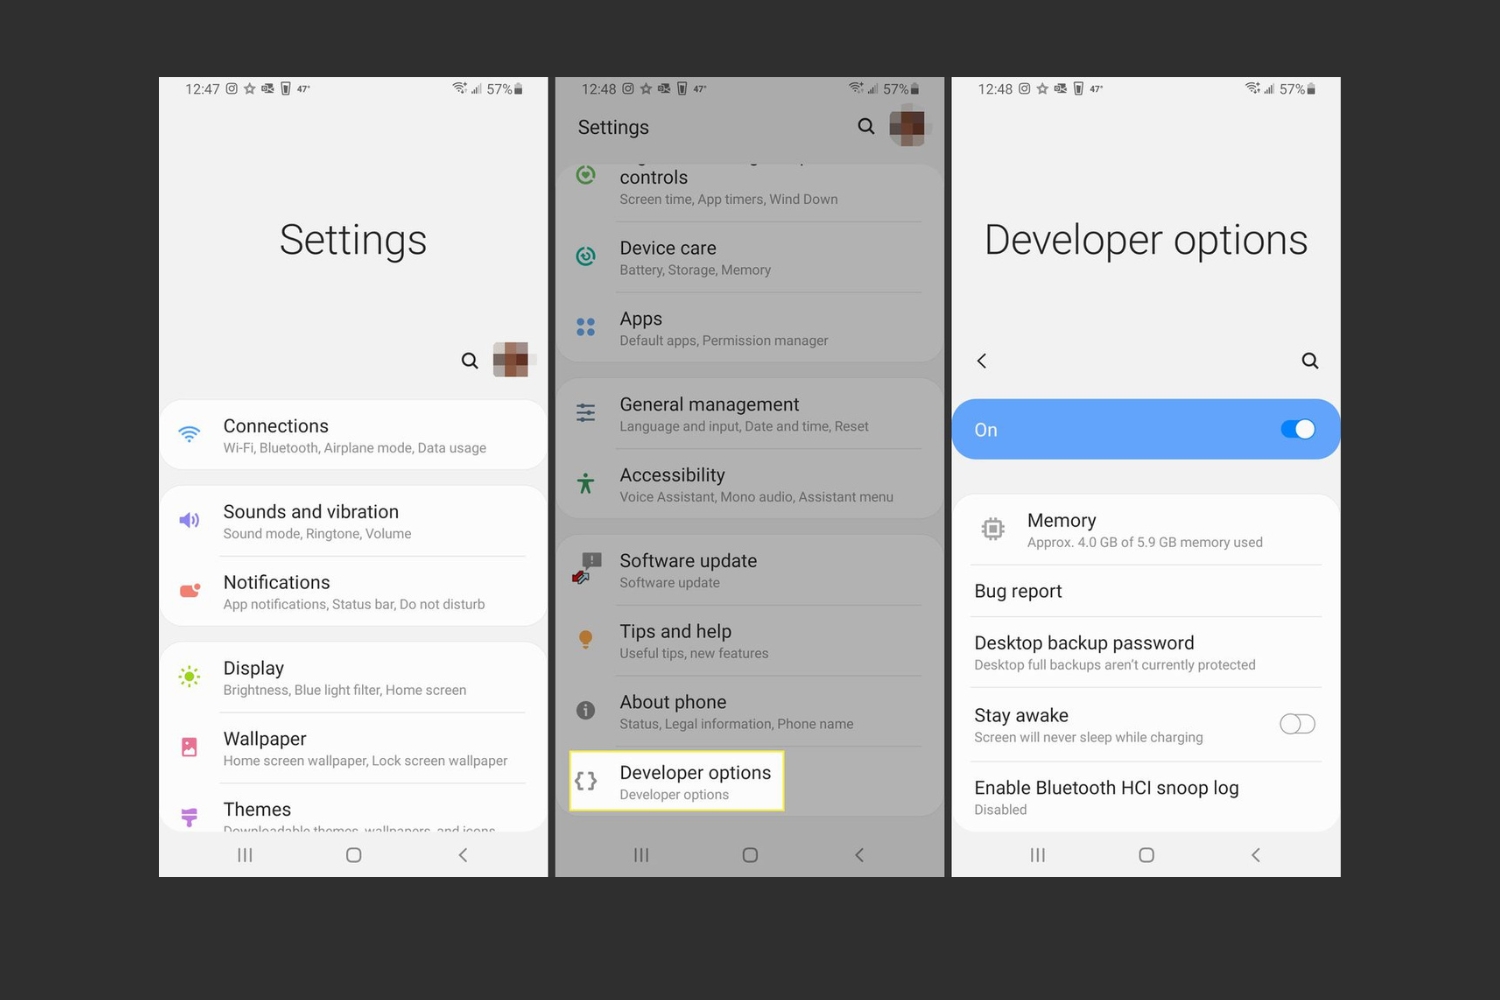
- Some Android devices may have a different way of accessing the Settings. For example, Samsung devices may have a separate “Apps” or “Utilities” folder on the home screen where you can find the Settings app.
Once you’ve successfully accessed the Settings menu, you can proceed to the next step and locate the Date & Time settings.
Step 2: Finding the Date & Time Settings
After accessing the Settings on your Android phone, the next step is to locate the Date & Time settings. These settings allow you to modify the time on your device. Here’s how to find the Date & Time settings:
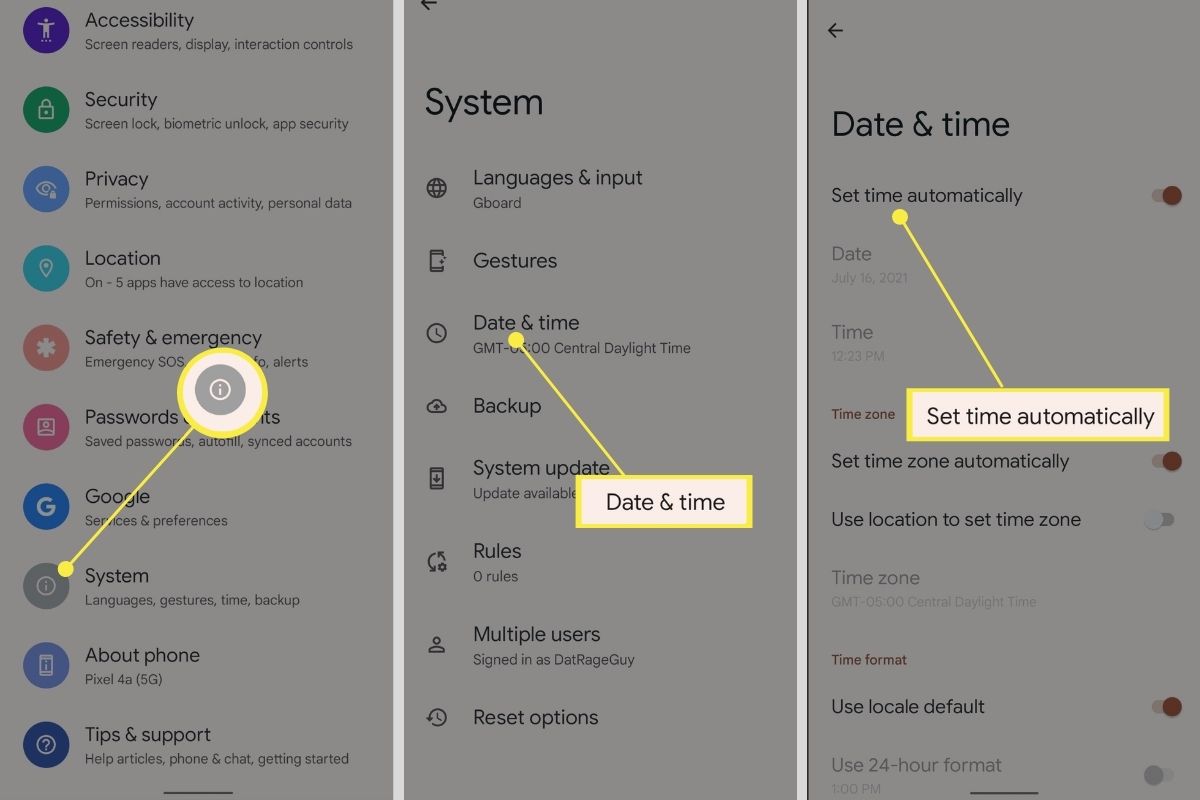
- Scroll through the Settings menu until you find the “Date & Time” option. It is usually located under the “System” or “General” category.
- If you are using a newer version of Android, you may need to tap on “System” first and then look for “Date & Time” within the System settings.
- On some devices, you may need to tap on “Display” or “Display & Brightness” before finding the Date & Time settings.
Once you’ve located the Date & Time settings, you’re ready to move on to the next step and adjust the timezone on your Android phone.
Step 3: Adjusting the Timezone
To ensure that your Android phone displays the correct time based on your location, you may need to adjust the timezone settings. Here’s how you can do it:
- Within the Date & Time settings, look for the option labeled “Timezone” or “Set timezone.”
- Tap on the Timezone option to open a list of available timezones.
- Scroll through the list and find your current timezone. You can also use the search bar at the top to quickly locate your timezone.
- Once you have selected the correct timezone, the time on your Android phone will automatically adjust to match the local time in that timezone. This ensures that your device accurately reflects the time of your current location.
Adjusting the timezone is particularly useful when you are traveling or have recently moved to a different region. It helps to keep your device’s time synchronized with the local time, allowing you to seamlessly adjust to the new time zone without any confusion.
With the timezone settings properly adjusted, you can move on to the next step and learn how to manually set the time on your Android phone if needed.
Step 4: Setting the Time Manually
Sometimes, you may need to manually set the time on your Android phone, such as when you want to synchronize it with another device or adjust it for daylight saving time. Here’s how you can set the time manually:
- In the Date & Time settings, look for the option labeled “Set time” or “Set time manually.”
- Tap on this option to access the manual time setting.
- In the manual time setting, you will see the current time displayed. You can adjust the hours, minutes, and seconds using the provided controls or by entering the values directly.
- Once you have set the desired time, tap on the “Set” or “Save” button to save the changes.
When setting the time manually, it’s important to ensure accuracy to avoid any conflicts or discrepancies. Double-check the time against a reliable source, such as a clock or timekeeping app, to ensure it is accurate and aligned with your intended settings.
Setting the time manually can come in handy when your device’s automatic time update is disabled or if you prefer to have more control over the time settings. Once you have manually set the time, you can move on to the next step to enable automatic date and time updates.
Step 5: Enabling Automatic Date & Time
Enabling automatic date and time updates on your Android phone ensures that your device stays synchronized with the official time servers. This feature is especially useful if you frequently travel or want to ensure that your device always displays the accurate time. Here’s how to enable automatic date and time:
- In the Date & Time settings, look for the option labeled “Automatic date & time” or “Use network-provided time.”
- Toggle the switch or checkbox next to this option to enable it.
- Once enabled, your Android device will automatically retrieve and update the date and time information from the network or time servers.
By enabling this feature, you don’t have to worry about manually adjusting the time or dealing with time discrepancies. Your Android phone will consistently display the correct time, whether you’re at home, traveling, or changing time zones.
It’s important to note that enabling automatic date and time requires a stable internet connection to retrieve the time information from the network. Therefore, ensure that you have a reliable internet connection to ensure accurate time updates.
With the automatic date and time feature enabled, your Android phone will constantly stay updated with the correct time, allowing you to stay organized and on schedule effortlessly.
Conclusion
Changing the time on your Android phone is a simple and straightforward process that can be done through the device’s Settings. Whether you need to adjust the time manually, synchronize it with another device, or enable automatic updates, these steps ensure that your Android phone’s time remains accurate and reliable.
In this guide, we covered the essential steps to change the time on your Android phone. We started by accessing the Settings menu and finding the Date & Time settings. From there, we discussed how to adjust the timezone to ensure that your device displays the correct local time. Additionally, we explored how to manually set the time when needed and how to enable automatic date and time updates.
By following these steps, you can keep your Android phone’s time in sync with your current location and ensure that you stay on top of your schedules and appointments. Whether you’re a frequent traveler or simply want to maintain accurate time settings, these instructions provide you with the necessary guidance.
Remember, it’s important to periodically check and adjust the time on your Android phone to account for changes in time zones or daylight saving time. By keeping your device’s time accurate, you can confidently rely on it for time-sensitive tasks and stay organized in your daily life.
Now that you’ve learned how to change the time on your Android phone, you can confidently manage your device’s time settings and ensure that it aligns with your needs and preferences. Stay punctual and in sync with the correct time on your Android phone!