Introduction
Are you looking to change the region on your Samsung Smart TV 8 Series? Whether you have recently moved to a different country or simply want access to content available in another region, changing the region on your TV can help you achieve this. The region settings on your Samsung Smart TV determine the available apps, content, and other features specific to that region.
While it may seem like a complex task, changing the region on your Samsung Smart TV 8 Series is actually quite straightforward. In this guide, we will walk you through the step-by-step process to help you navigate the settings and make the necessary changes.
Please note that altering the region on your Samsung Smart TV may have some limitations and consequences. For example, certain apps or features available in one region may not be accessible in another. It’s also important to remember that modifying the region settings may void any warranty or support from Samsung, so proceed at your own risk.
However, if you are ready to proceed and want to explore the possibilities of changing the region on your Samsung Smart TV 8 Series, let’s dive into the step-by-step instructions below. Take your time to carefully follow each step and ensure you don’t miss any important details.
Note: The instructions provided in this guide are specifically for Samsung Smart TV 8 Series models. If you have a different model, the steps may vary slightly. It is always recommended to refer to your TV’s user manual or contact Samsung support for model-specific instructions.
Step 1: Accessing the Settings Menu
The first step to change the region on your Samsung Smart TV 8 Series is to access the settings menu. Follow the instructions below:
- Using your TV remote, press the “Menu” button to open the main menu.
- Using the arrow keys on the remote, navigate to the “Settings” option.
- Press the “Enter” or “OK” button to enter the settings menu.
Once you have successfully accessed the settings menu, you will be able to proceed to the next step in changing the region on your Samsung Smart TV 8 Series.
It is worth noting that the exact button labels and remote control layout may vary depending on your specific TV model. However, most Samsung Smart TVs have similar menu navigation, so you should be able to find the settings menu using the instructions provided above.
Take your time to familiarize yourself with the layout of the settings menu before proceeding to the next step. This will make it easier for you to navigate and find the options you need to change the region settings.
Now that you have successfully accessed the settings menu, let’s move on to the next step to continue the process of changing the region on your Samsung Smart TV 8 Series.
Step 2: Navigate to the General Tab
Once you are in the settings menu of your Samsung Smart TV 8 Series, the next step is to navigate to the General tab. Follow the steps below:
- Using the arrow keys on your TV remote, scroll down or sideways to find the “General” option.
- Once you have highlighted the “General” option, press the “Enter” or “OK” button on your remote to enter the General settings.
After you enter the General tab, you will have access to various settings and options related to the general functioning of your Samsung Smart TV. This is where you will be able to modify the region settings.
If you are having trouble finding the General tab, keep in mind that the exact labeling and menu layout may vary slightly depending on your TV model. However, most Samsung Smart TVs have a similar user interface, so you should be able to locate the General tab using the instructions provided above.
Take your time to explore the General settings menu and familiarize yourself with the available options. This will help you navigate to the specific region settings option when you reach the next step.
Now that you have successfully navigated to the General tab, let’s move on to the next step and learn how to change the region settings on your Samsung Smart TV 8 Series.
Step 3: Select the System Manager
After accessing the General tab in the settings menu of your Samsung Smart TV 8 Series, the next step is to select the System Manager option. Follow the steps below:
- Using the arrow keys on your TV remote, scroll down or sideways to locate the “System Manager” option.
- Once you have highlighted the “System Manager” option, press the “Enter” or “OK” button on your remote to enter the System Manager settings.
By accessing the System Manager settings, you are getting closer to changing the region on your Samsung Smart TV. This section contains important options related to the management and configuration of your TV’s system settings.
It is worth noting that the labels and layout of the settings menu may vary slightly depending on your specific TV model. However, most Samsung Smart TVs have a similar user interface, so you should be able to find the System Manager option using the instructions provided above.
Take a moment to explore the System Manager settings and familiarize yourself with the available options. This will help you locate the specific region settings option in the next step.
Now that you have successfully selected the System Manager option, let’s move on to the next step and learn how to change the region settings on your Samsung Smart TV 8 Series.
Step 4: Change the Country Code
After entering the System Manager settings on your Samsung Smart TV 8 Series, you are now ready to change the country code, which will determine the region settings of your TV. Follow the steps below:
- In the System Manager settings, locate and select the “Country” or “Country/Region” option.
- Using the arrow keys on your TV remote, navigate through the list of available countries or regions.
- Once you find the desired country or region, press the “Enter” or “OK” button on your remote to select it.
Changing the country code will update the region settings on your Samsung Smart TV 8 Series, giving you access to the specific apps, content, and features available in that particular region.
It’s important to note that the available options for country or region may vary depending on your TV model. The list may include both specific countries and broader regions. Make sure to select the one that aligns with your preferences and desired content access.
Take your time to carefully navigate through the list of available countries or regions. If you don’t find the desired option, double-check to ensure you selected the correct input method (e.g., using the arrow keys) or consult your TV’s user manual for any specific instructions related to changing the country code.
Now that you have successfully changed the country code, you are one step closer to modifying the region settings on your Samsung Smart TV 8 Series. In the next step, we will apply the changes you made.
Step 5: Apply the Changes
After selecting the desired country or region in the System Manager settings on your Samsung Smart TV 8 Series, it is time to apply the changes you have made. Follow the steps below to apply the new region settings:
- In the System Manager settings, locate the “Apply” or “Save” button.
- Using the arrow keys on your TV remote, highlight the “Apply” or “Save” button.
- Press the “Enter” or “OK” button on your remote to apply the changes.
By applying the changes, the new region settings will take effect on your Samsung Smart TV 8 Series. This means that the apps, content, and features specific to the selected country or region will become accessible on your TV.
Take a moment to ensure that you have made the correct selection and that you are ready to proceed with applying the changes. Once applied, it may not be possible to revert to the previous region settings without going through the same process again.
It is worth noting that the exact labeling and location of the “Apply” or “Save” button may vary depending on your TV model. However, most Samsung Smart TVs have a similar user interface, so you should be able to find the button using the instructions provided above.
Congratulations! You have successfully applied the changes to the region settings on your Samsung Smart TV 8 Series. The next step is to restart your TV to ensure the changes take effect.
Step 6: Restart the TV
After applying the changes to the region settings on your Samsung Smart TV 8 Series, the final step is to restart your TV. Restarting your TV will ensure that the new region settings take effect and that any necessary updates or adjustments are applied. Follow the steps below to restart your TV:
- On your TV remote, locate the power button.
- Press the power button to turn off your TV.
- Once your TV is turned off, wait for a few seconds.
- Press the power button again to turn on your TV and allow it to boot up.
After the restart, your Samsung Smart TV 8 Series will have the new region settings applied, and you will be able to access the apps, content, and features specific to the selected country or region.
It is important to note that restarting your TV may take a few moments. During this time, your TV will go through the boot-up process, and you may see the Samsung logo or a loading screen before the home screen is displayed.
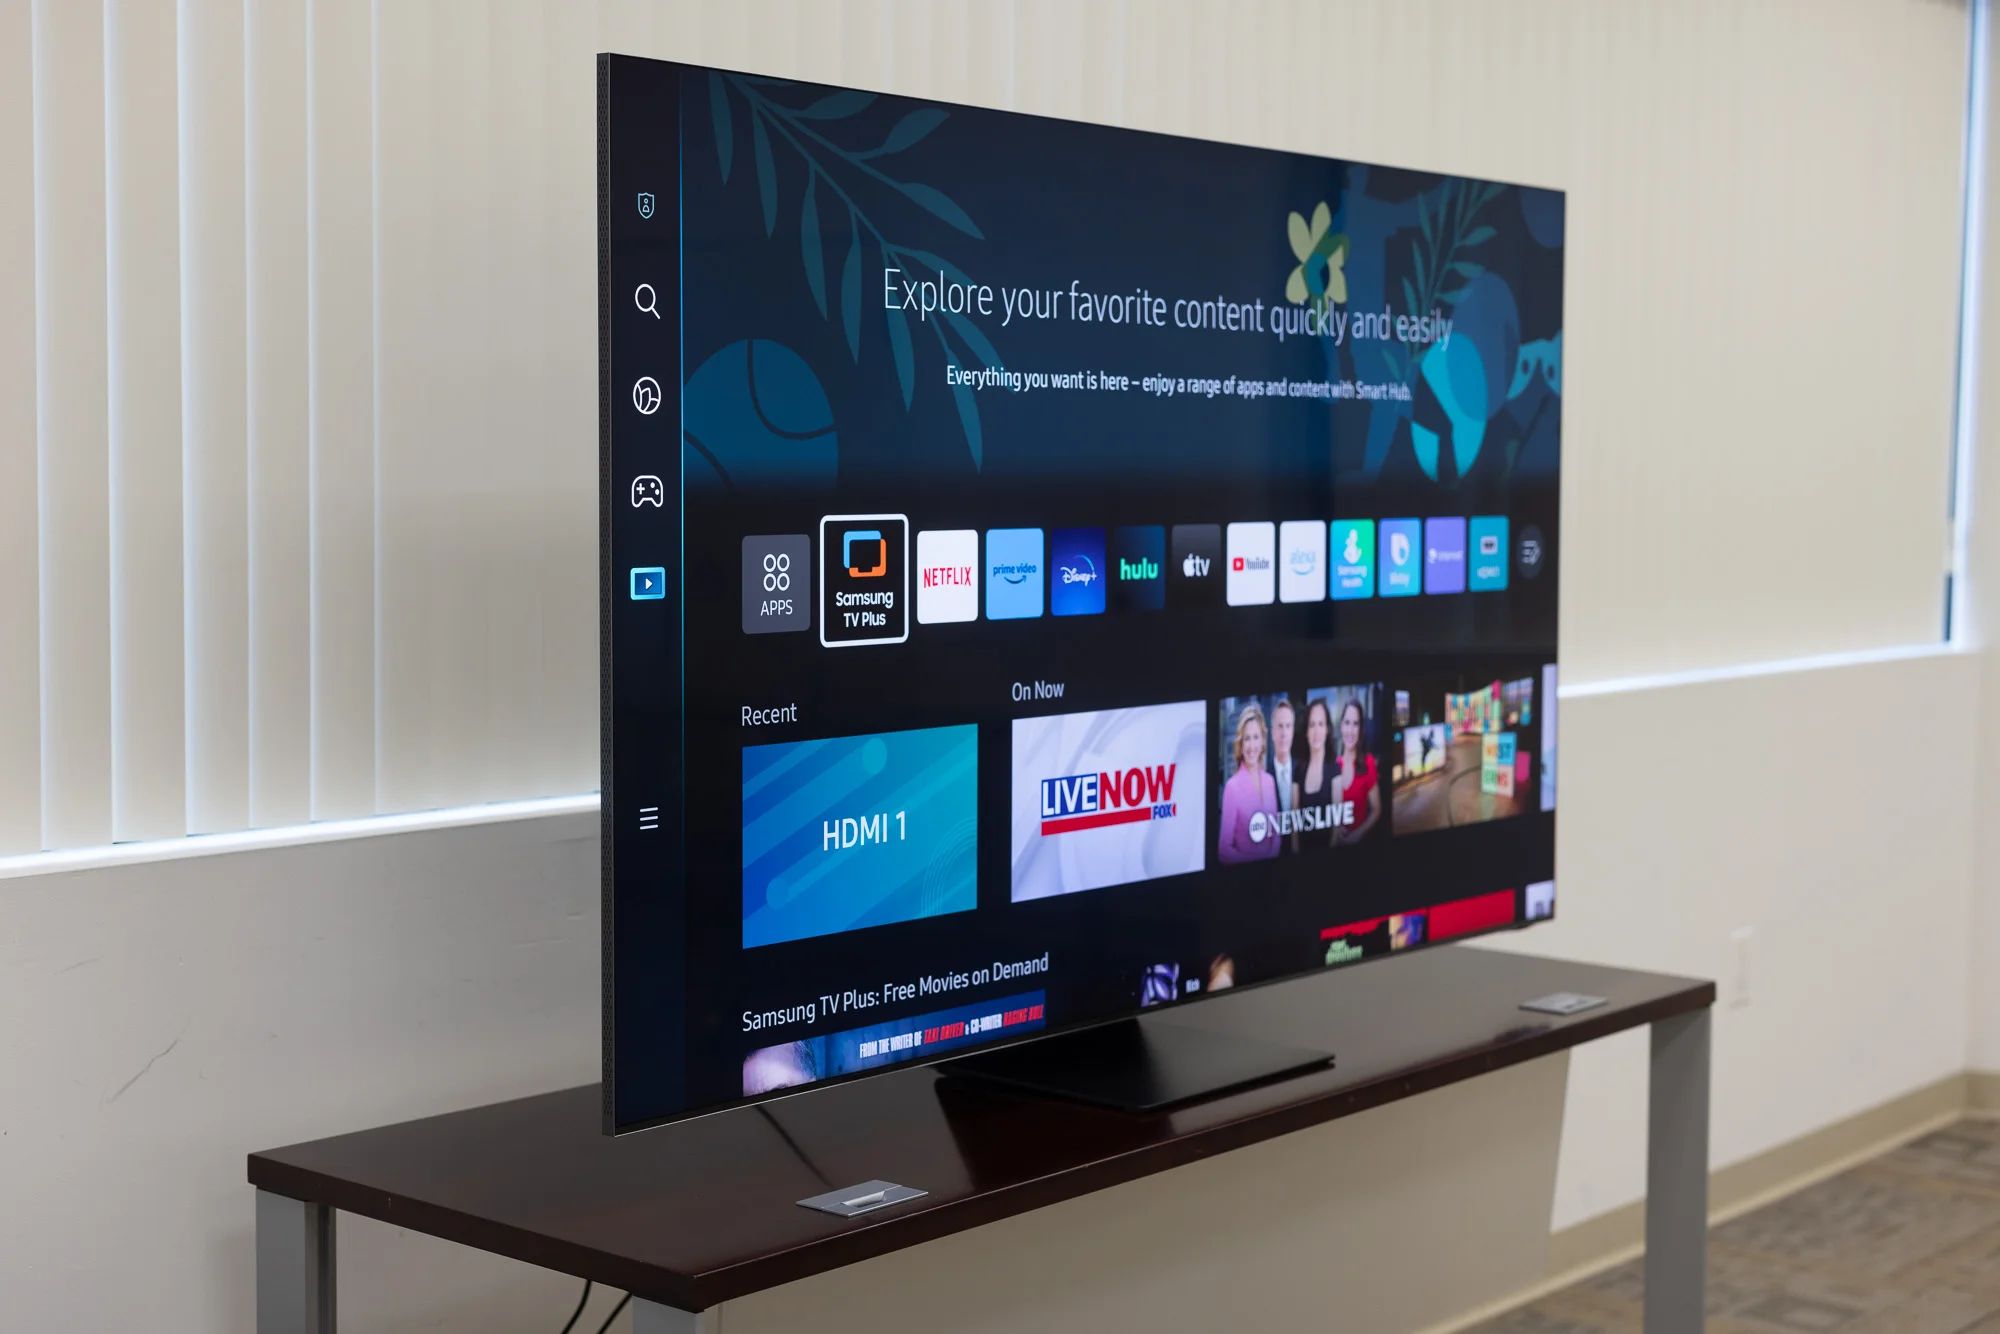
Once your TV has successfully restarted, take some time to explore the available apps and content in your new region. Enjoy the diverse range of entertainment options that are now accessible on your Samsung Smart TV 8 Series.
Now that you have completed the final step of restarting your TV, you have successfully changed the region on your Samsung Smart TV 8 Series. Enjoy your newly customized viewing experience!
Conclusion
Changing the region on your Samsung Smart TV 8 Series can open up a whole new world of entertainment and content options. By following the step-by-step instructions provided in this guide, you have successfully modified the region settings on your TV, allowing you to access apps, content, and features specific to the selected country or region.
It is important to note that changing the region on your Samsung Smart TV may have some limitations and consequences. Certain apps or features available in one region may not be accessible in another. Additionally, modifying the region settings may void any warranty or support from Samsung. Therefore, it is important to understand the implications and proceed at your own discretion.
Throughout this guide, we have explored the process of changing the region on your Samsung Smart TV 8 Series, from accessing the settings menu to selecting the region and applying the changes. By carefully following each step, you have successfully customized your TV to suit your preferences and gain access to a wider range of content.
Should you encounter any difficulties or have questions specific to your TV model, it is always recommended to refer to your TV’s user manual or reach out to Samsung’s support for further assistance.
We hope this guide has been helpful in guiding you through the process of changing the region on your Samsung Smart TV 8 Series. Now, sit back, relax, and enjoy the diverse range of entertainment options available to you in your newly selected region!


