Introduction
Netflix is a popular streaming platform that offers a wide range of movies and TV shows for its subscribers. However, the content available on Netflix may vary depending on your geographical location. Certain shows and movies that are available in one country may not be accessible in another.
While this regional restriction could be frustrating, there is a way to bypass it and access content from different regions on Netflix. By changing your region on Netflix, you can unlock a whole new world of entertainment.
In this article, we will explore various methods that will help you change your region on Netflix. Whether you want to watch a show that is only available in the United States or access content from other countries, we’ve got you covered.
Before we delve into the different methods, it’s important to note that altering your region on Netflix may violate the platform’s terms of use. However, many users still use these methods without any repercussions. You should proceed with caution and understand the risks involved.
So, if you are ready to explore a diverse range of movies and shows from around the world, let’s dive into the methods that will enable you to change your region on Netflix!
Why Change Region on Netflix?
Netflix operates in different regions and licenses content based on the agreements it has with studios and production companies. This leads to variations in the available content across different countries. Here are a few reasons why you might want to change your region on Netflix:
- Access to Exclusive Content: Some shows and movies are only available in specific regions. By changing your region, you can unlock a treasure trove of exclusive content that is otherwise inaccessible in your country.
- Language Learning: If you are learning a new language, watching movies and TV shows in that language can be a great way to immerse yourself in the language and improve your proficiency.
- Explore Different Cultures: Netflix originals and international content offer a window into different cultures and perspectives. By changing your region, you can explore content from various countries and broaden your horizons.
- Stay Connected with Home Country: If you are an expatriate or living abroad, changing your region allows you to access your home country’s content. This helps you stay connected with the shows and movies that you enjoyed back home.
- Bypass Content Restrictions: Some content may be subject to censorship or licensing restrictions in certain countries. By changing your region on Netflix, you can bypass these restrictions and enjoy a broader selection of content.
It’s important to note that Netflix actively blocks and detects proxy servers and VPNs that are used to bypass region restrictions. Therefore, not all methods of changing region on Netflix may be foolproof, and there is a possibility that you may encounter some difficulties in accessing content from different regions.
Now that you understand the benefits of changing your region on Netflix, let’s explore the various methods you can use to unlock content from around the world!
Before You Begin
Before you dive into changing your region on Netflix, there are a few important factors to consider:
- Subscription Plan: Ensure that you have a Netflix subscription that allows access to content from different regions. Not all subscription plans support region changing, so it’s crucial to check your plan details.
- Device Compatibility: Different methods for changing region on Netflix may require specific devices or operating systems. Make sure that your device is compatible with the method you choose.
- Internet Speed: Streaming content from different regions requires a stable internet connection. Ensure that your internet speed is sufficient to avoid buffering or interruptions while watching.
- Legal Considerations: Changing your region on Netflix might violate the terms of service. While many users do it without any issues, it’s important to be aware of the potential risks involved. Use these methods at your own discretion.
- Proxy/VPN Legality: In some regions or countries, the use of VPNs or proxies to access restricted content may be illegal. Make sure to understand and abide by the laws in your country before using these methods.
- Availability of Content: Keep in mind that even after successfully changing your region, not all content may be available in all regions. Some shows and movies might still be limited to specific countries due to licensing agreements.
By considering the factors mentioned above, you can ensure that you are well-prepared to change your region on Netflix and make the most of the content available from different parts of the world.
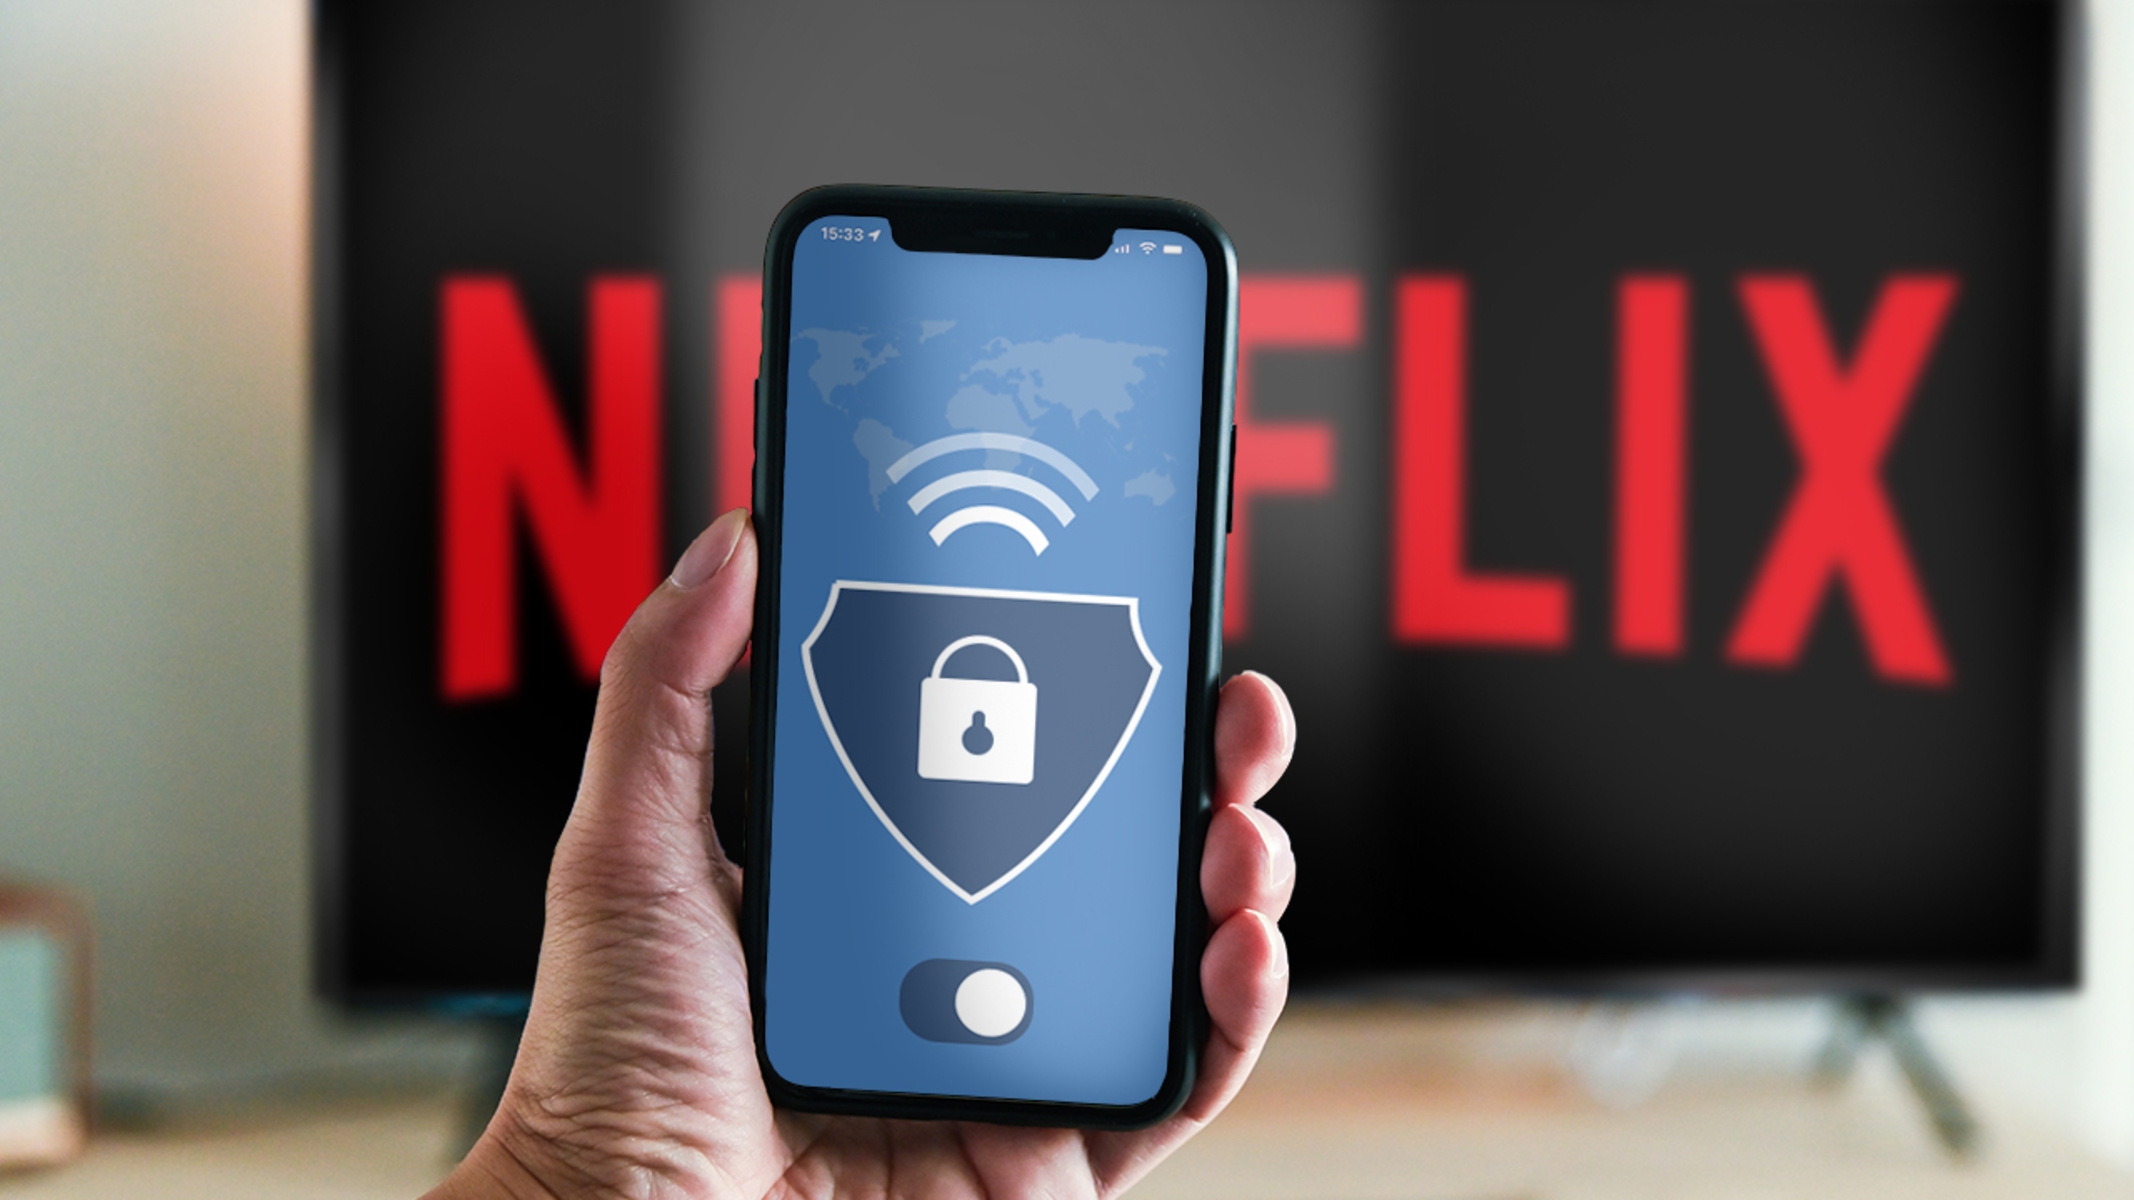
Method 1: Using a VPN
A Virtual Private Network (VPN) is a popular method for changing your region on Netflix. A VPN allows you to connect to a server in a different country, making it appear as though you are accessing Netflix from that location. Here’s how you can use a VPN to change your region on Netflix:
- Choose a Reliable VPN: Select a trusted VPN service that offers servers in the region you want to access. There are many VPN providers available, so do some research and choose one that suits your needs.
- Install and Set Up the VPN: Download and install the VPN software or app on your device. Follow the instructions provided by the VPN provider to set up and configure the VPN on your device.
- Connect to a Server in the Desired Region: Launch the VPN app and connect to a server located in the region whose content you want to access. For example, if you want to watch US-exclusive shows, connect to a server in the United States.
- Access Netflix: Once connected to the VPN server, open the Netflix website or app. You should now have access to the content from the region you selected. Browse and enjoy the shows and movies that were previously unavailable in your country.
- Note: It’s important to choose a VPN that has a strong network and reliable servers. Netflix actively works to block VPN servers, so there is a possibility that not all VPN services will bypass Netflix’s regional restrictions. Make sure to choose a VPN provider with a track record of successfully bypassing Netflix’s detection.
Using a VPN to change your region on Netflix offers a flexible and convenient solution. However, it’s important to keep in mind that using VPNs may affect your internet speed and streaming quality. Additionally, free VPNs may have limitations or restrictions, so it’s recommended to opt for a paid VPN service for a smoother experience.
Now that you are familiar with the method of using a VPN to change your region on Netflix, let’s explore another approach, using a Smart DNS Proxy.
Method 2: Using a Smart DNS Proxy
Another method to change your region on Netflix is by using a Smart DNS proxy. A Smart DNS proxy allows you to route your internet connection through a server located in a different region, thereby bypassing the Netflix region restrictions. Here’s how you can use a Smart DNS proxy to access content from different regions on Netflix:
- Select a Reliable Smart DNS Proxy Service: Choose a reputable Smart DNS proxy service that supports Netflix region changing. Look for providers that offer a wide range of region options and have a good track record of bypassing regional restrictions.
- Set Up the Smart DNS Proxy: Follow the instructions provided by your chosen Smart DNS proxy service to set up the DNS settings on your device or router. This typically involves changing the DNS server addresses to those provided by the proxy service.
- Restart Your Device: After making the necessary DNS changes, restart your device to apply the settings.
- Access Netflix: Open the Netflix website or app on your device. You should now be able to access content from the region you selected when setting up the Smart DNS proxy. Browse through the available shows and movies to enjoy the expanded content library.
- Keep in Mind: It’s important to note that Smart DNS proxies may not offer the same level of security and privacy as VPNs. Additionally, some ISPs may implement DNS hijacking or other measures to prevent the use of Smart DNS proxies. In such cases, using a VPN may be a more effective solution.
Using a Smart DNS proxy can be a convenient method for changing your region on Netflix as it doesn’t typically affect your internet speed. However, it’s important to choose a reliable service and be aware of the potential limitations and security considerations.
Now that you have learned about using a Smart DNS proxy, let’s move on and explore another method – using a browser extension or add-on.
Method 3: Using a Browser Extension or Add-on
Another convenient way to change your region on Netflix is by using a browser extension or add-on. These tools offer a simple and easy-to-use solution for accessing content from different regions directly from your web browser. Here’s how you can use a browser extension or add-on to change your region on Netflix:
- Choose a Compatible Extension/Add-on: Look for a browser extension or add-on that is compatible with your web browser. There are several options available for popular browsers like Chrome, Firefox, and Safari.
- Install the Extension/Add-on: Install the chosen extension or add-on from the respective browser’s extension store or website. Follow the instructions provided to add it to your browser.
- Enable the Extension/Add-on: Once the extension or add-on is installed, enable it by clicking on its icon in your browser’s toolbar or accessing it through the browser’s menu.
- Select the Desired Region: Open the Netflix website in your browser and access the settings or options provided by the extension/add-on. From there, choose the region you want to access and apply the changes.
- Access Netflix: Once you have selected the region, refresh the Netflix page. You should now have access to the content from the chosen region. Explore the shows and movies that were previously unavailable in your country.
- Note: It’s important to select a reliable and regularly updated extension/add-on to ensure compatibility and functionality. Some extensions/add-ons may have limitations or require a subscription for full access to all regions. Do some research and read reviews before selecting the one that suits your needs.
Using a browser extension or add-on provides a user-friendly approach to changing your region on Netflix. It eliminates the need for additional software or setup steps, making it a convenient choice for many users.
Now that you have learned about using a browser extension or add-on, let’s move on to another method – using the Netflix app on mobile devices.
Method 4: Using the Netflix App on Mobile Devices
If you prefer to watch Netflix on your mobile devices, you can also change your region using the Netflix app. The Netflix app offers built-in features that allow you to switch regions and access content from different parts of the world. Here’s how you can change your region on Netflix using the mobile app:
- Install the Netflix App: Download and install the Netflix app on your mobile device from the respective app store.
- Open the Netflix App: Launch the app and sign in to your Netflix account using your credentials.
- Access the Account Settings: Tap on the menu icon (usually three horizontal lines) located in the top-left or bottom navigation bar of the app. Scroll down and select “Account” to access your account settings.
- Manage Profiles: In the Account settings, locate and tap on the “Manage Profiles” option. This will display a list of profiles associated with your account.
- Select a Profile: Choose the profile for which you want to change the region. This step is necessary as region settings are tied to individual profiles rather than the entire account.
- Change Region Settings: Look for the “Language & Region” or “Change Profile Region” option within the profile settings. Tap on it to access the region settings.
- Select the Desired Region: From the region settings, choose the country or region you want to access. Save the changes to apply the new region settings to the selected profile.
- Access Netflix Content: Go back to the main screen of the Netflix app. You should now have access to the content from the region you selected. Browse through the shows and movies to enjoy the expanded library.
- Note: It’s important to remember that changing the region on the Netflix app only affects the specific profile you made the changes for. If you want to change the region for other profiles as well, repeat the same steps for each profile.
The Netflix app provides a convenient way to change your region directly from your mobile device. Whether you’re using your smartphone or tablet, you can effortlessly access a wider selection of content from different regions.
Now that you have learned about using the Netflix app on mobile devices, let’s explore another method – using a router with VPN or DNS settings.
Method 5: Using a Router with VPN or DNS Settings
If you want to change the region on Netflix for all devices connected to your home network, using a router with VPN or DNS settings can be an effective solution. By configuring your router, you can route the entire network traffic through a VPN or DNS service, allowing all devices to access content from different regions. Here’s how you can change your region on Netflix using a router:
- Choose a Compatible Router: Ensure that your router supports VPN or DNS configuration. Not all routers have this capability, so it’s essential to check if your router model can be configured.
- Select a VPN or DNS Service: Choose a reliable VPN service or a Smart DNS proxy service that offers router compatibility. Make sure they provide servers or DNS addresses in the regions you want to access.
- Configure Your Router: Access the admin interface of your router by entering its IP address in a web browser. Refer to the router’s manual or the manufacturer’s website for instructions specific to your router model.
- Set Up VPN or DNS: Follow the instructions provided by the VPN or DNS service to configure the settings on your router. This typically involves entering the server addresses or DNS addresses provided by the service.
- Apply the Changes: Save the settings and apply the changes on your router. Your router will now route all internet traffic through the VPN or DNS service, allowing you to access content from different regions.
- Connect Devices to the Network: Connect your devices to the network, either wired or wirelessly. All devices connected to the network will automatically benefit from the region-changing settings you configured on the router.
- Access Netflix: Open the Netflix website or app on any device connected to the network. You should now have access to the content from the region you selected in the router settings.
- Note: Configuring a router with VPN or DNS settings might require technical knowledge and can vary depending on the router model. If you are not comfortable with the setup, consider seeking assistance from tech support or a knowledgeable person.
Using a router with VPN or DNS settings offers a comprehensive solution to change the region on Netflix for all devices connected to your home network. It eliminates the need to configure VPN or DNS settings individually on each device.
Now that you have learned about using a router for region changing, let’s move on to the troubleshooting tips to help you overcome any issues you may encounter during the process.
Troubleshooting Tips
While changing your region on Netflix can be a straightforward process, you may encounter some issues along the way. Here are some troubleshooting tips to help you overcome common problems:
- Verify Your Subscription: Ensure that your Netflix subscription plan allows access to content from different regions. Certain plans may have limitations on region switching.
- Clear Cache and Cookies: If you experience any issues with Netflix after changing your region, try clearing the cache and cookies on your browser or app. This can help resolve any conflicts or glitches.
- Restart Your Device: Sometimes, a simple device restart can fix temporary connection or compatibility issues. Restart your device and try accessing Netflix again.
- Try a Different Server/Region: If your chosen server or region is not allowing access to the desired content, try connecting to another server or choosing a different region within your VPN or DNS settings.
- Update VPN or DNS Settings: Check for any updates to your VPN client or DNS settings. Outdated software or settings may cause compatibility issues. Update to the latest version if available.
- Switch VPN/DNS Service: If you are facing consistent issues with your current VPN or DNS service, consider trying a different provider. Different services may have varying success rates in bypassing Netflix’s regional restrictions.
- Contact Customer Support: If you have followed all the steps correctly and still cannot access the desired content, reach out to the customer support of your VPN or DNS service. They may be able to provide guidance or assistance in resolving the issue.
- Keep Up with Netflix Updates: Netflix actively works to detect and block VPNs, proxies, and other region-changing methods. Stay up-to-date with any changes or updates from Netflix to understand the evolving restrictions and find potential workarounds.
By following these troubleshooting tips, you can overcome potential obstacles and ensure a smooth experience while changing your region on Netflix.
Now that you have learned about troubleshooting tips, let’s summarize what we have covered in this article.
Conclusion
Changing your region on Netflix allows you to access a wide range of content from different parts of the world, expanding your entertainment options. In this article, we covered five methods for changing your region on Netflix:
- Using a VPN: This method involves routing your internet connection through a server in a different country, making it appear as if you are accessing Netflix from that location.
- Using a Smart DNS Proxy: By configuring the DNS settings on your device or router, you can route traffic through a proxy server, bypassing Netflix’s region restrictions.
- Using a Browser Extension or Add-on: These tools offer a simple and user-friendly way to change your region directly from your web browser.
- Using the Netflix App on Mobile Devices: The Netflix app allows you to change the region settings within individual profiles, giving you access to specific regions’ content.
- Using a Router with VPN or DNS Settings: Configuring your router to use a VPN or DNS service enables changing the region for all devices on your home network.
While these methods provide ways to bypass Netflix’s regional restrictions, it’s important to consider the legal implications and potential risks involved. Ensure that you comply with the terms of service and the laws in your country.
Additionally, keep in mind that Netflix actively works to detect and block VPNs, proxies, and other region-changing methods. Some methods may be more effective than others, and their success rates may vary over time.
Before diving into region-changing methods, consider the factors mentioned in the “Before You Begin” section, such as subscription plan compatibility, device requirements, and legal considerations.
If you experience any issues during the process, the troubleshooting tips provided can help you overcome common problems and ensure a smooth experience.
Now that you have a deeper understanding of the methods and considerations involved in changing your region on Netflix, you can explore a diverse world of movies and shows from various regions, enriching your viewing experience.