Introduction
Welcome to our step-by-step guide on how to change the PC name. Your computer’s name is the unique identifier that distinguishes it from other devices on your network. By changing the PC name, you can personalize your computer and make it more recognizable to you and other users.
The process of changing the PC name may vary depending on your operating system, but in this guide, we will outline the general steps that apply to most Windows versions. Whether you’re looking to rename your computer for organizational purposes or want to add a personal touch, this guide has got you covered.
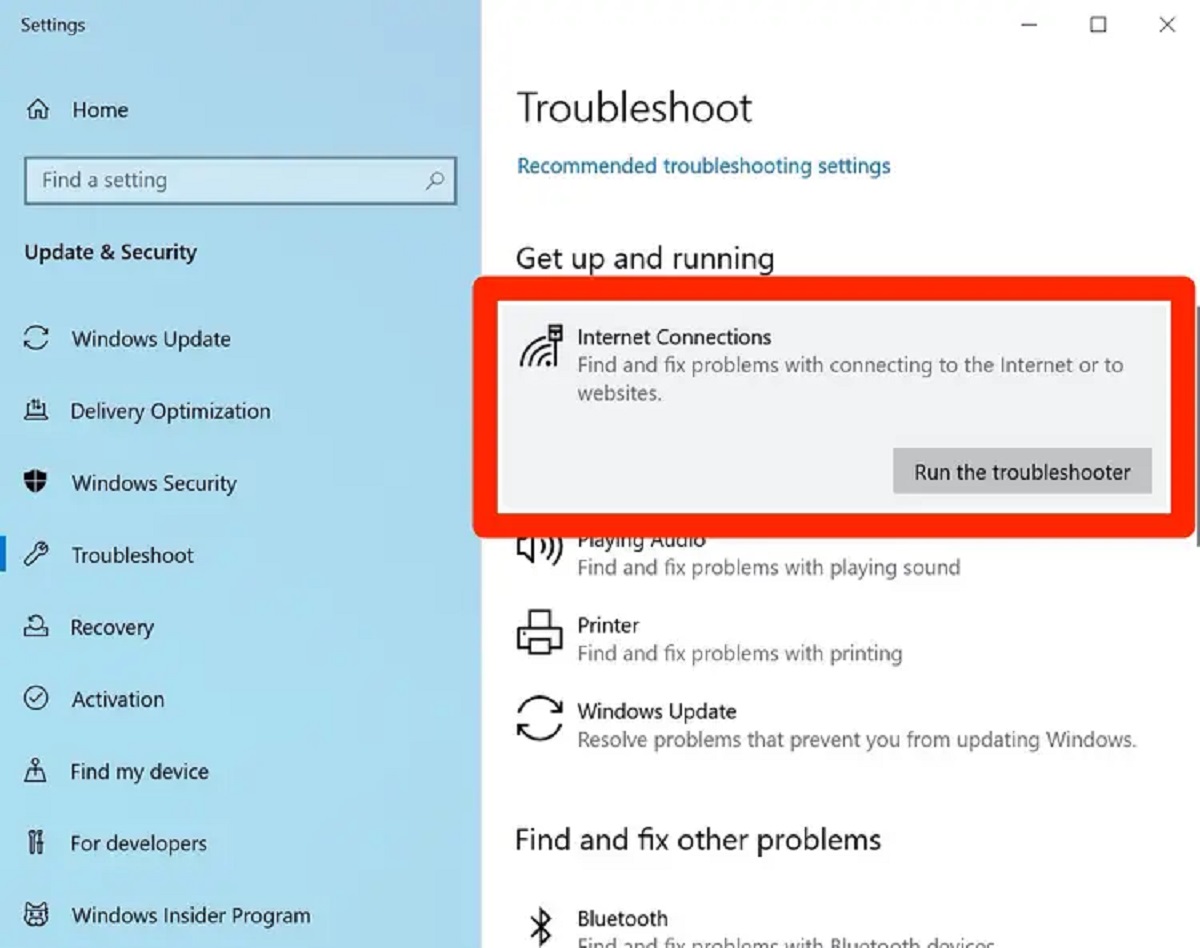
Changing the PC name not only allows you to customize your computer’s identity, but it can also help you troubleshoot network connectivity issues. Sometimes, network administrators require computers to have specific naming conventions for easier management and identification.
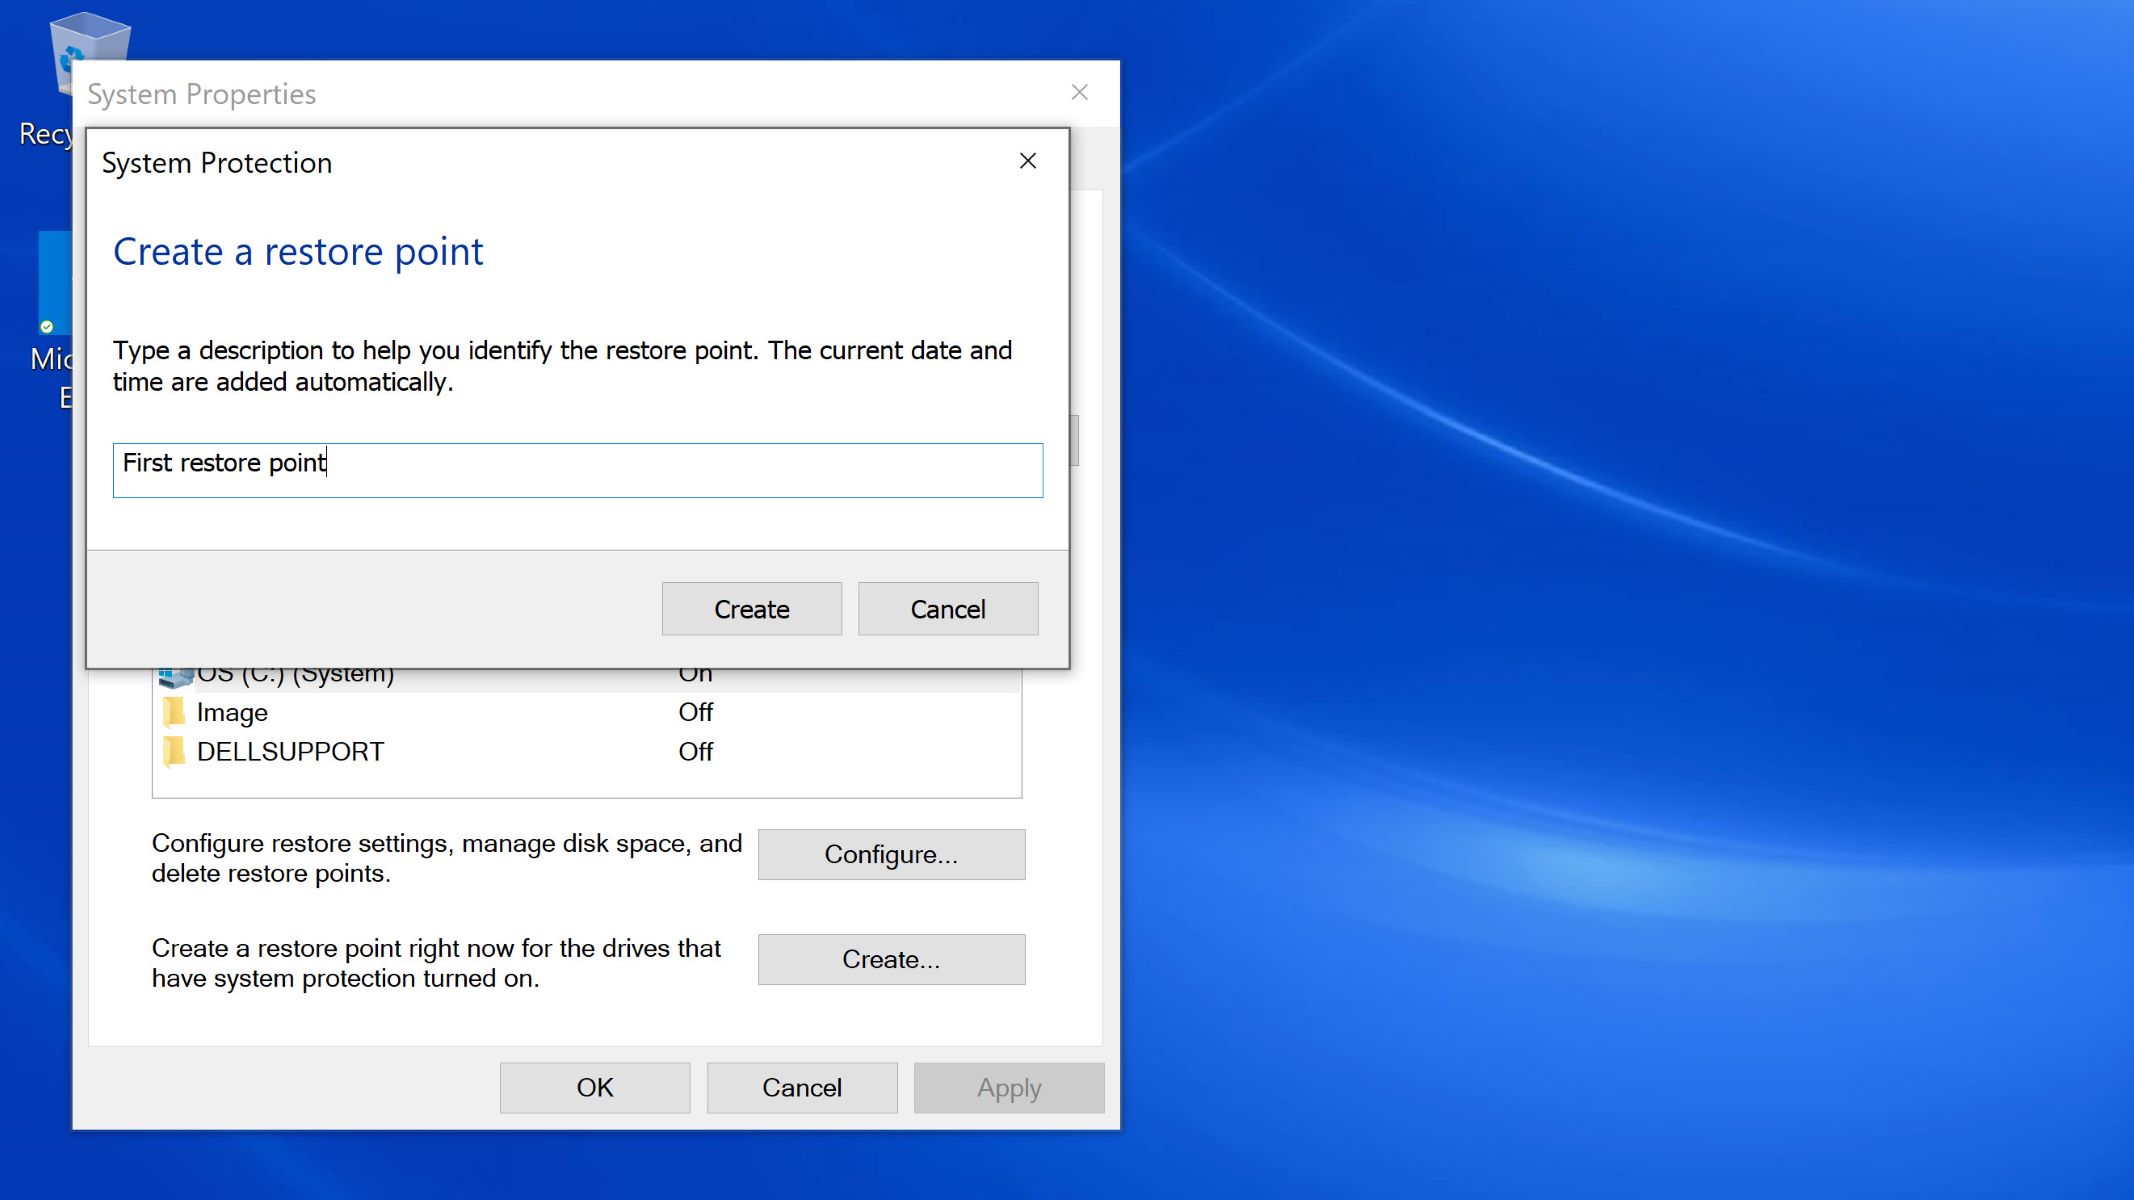
Please keep in mind that altering your PC’s name requires administrative privileges, so ensure that you have the necessary permissions before proceeding. It is also recommended to create a restore point or backup your important files before making any changes, as a precautionary measure.
So, if you’re ready to give your computer a new name, let’s dive into the step-by-step process of changing the PC name.
Step 1: Open the System Properties
The first step in changing your PC name is to open the System Properties window. This window contains various settings and information about your computer, including the option to modify the PC name. Here’s how to access it:
- On your keyboard, press the Windows logo key and the R key simultaneously. This will open the Run dialog box.
- In the Run dialog box, type sysdm.cpl and click OK. This will launch the System Properties window.
Alternatively, you can also access the System Properties window by right-clicking on the This PC or My Computer icon on your desktop or File Explorer, selecting Properties from the context menu, and then clicking on the Advanced system settings link on the left-hand side.
Once you have successfully opened the System Properties window, you are ready to move on to the next step of changing your PC name.
Step 2: Access the PC Name settings
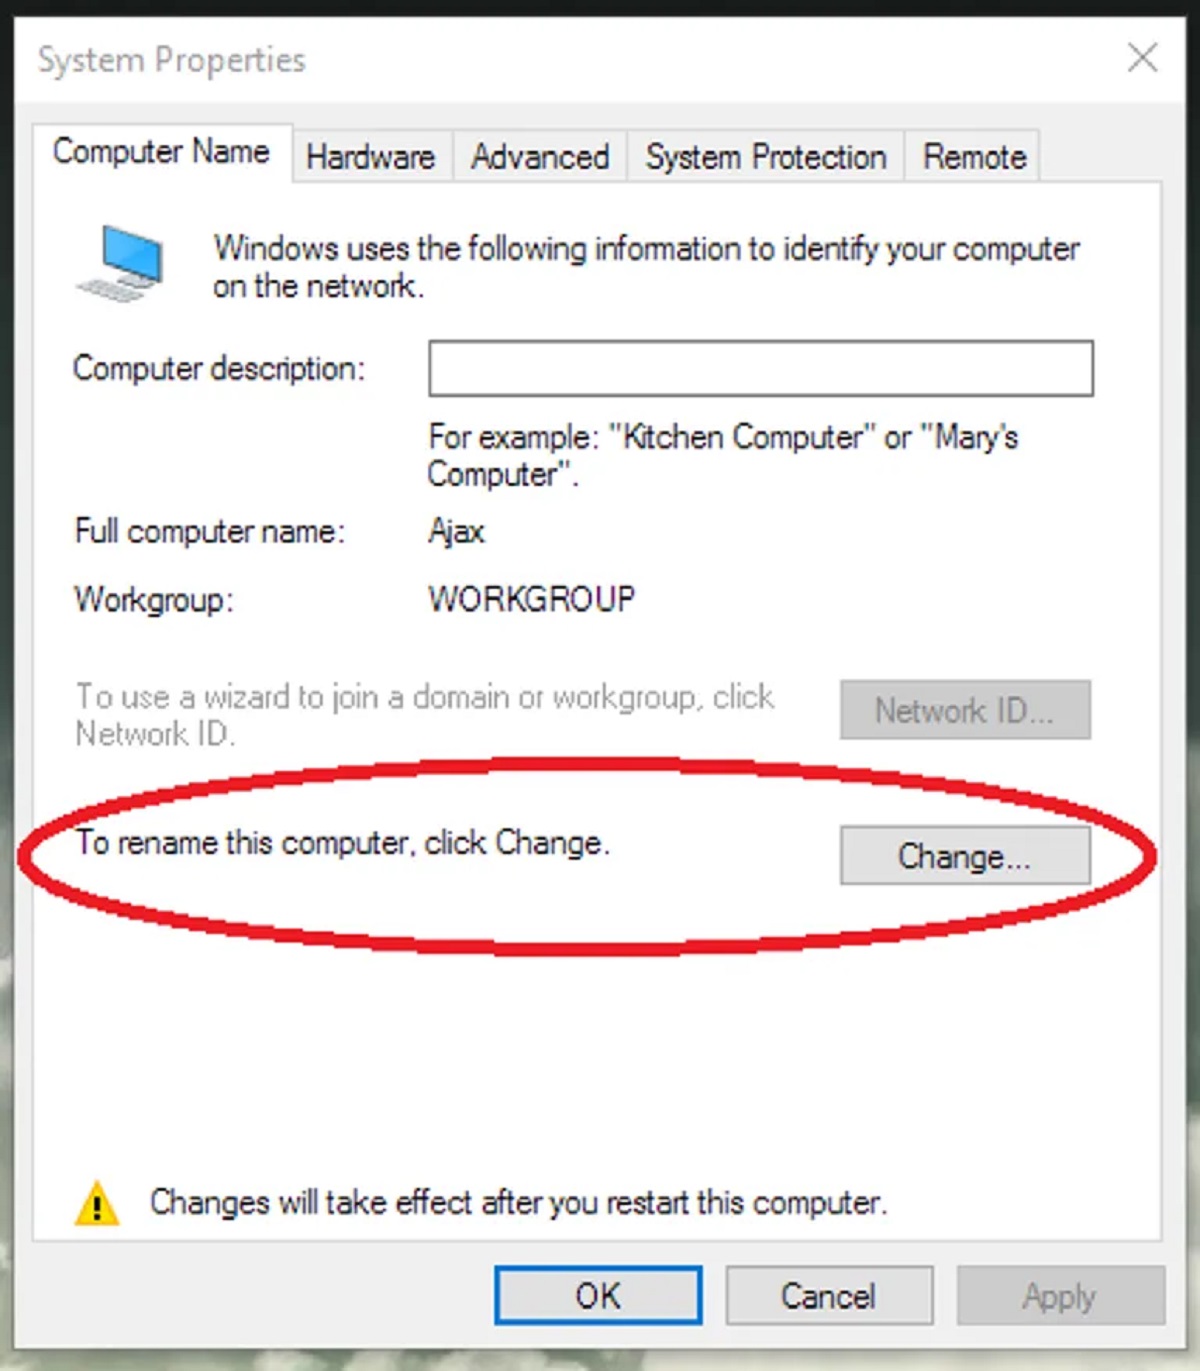
After opening the System Properties window, you need to navigate to the PC Name settings to change the name of your computer. Here’s how to access these settings:
- Click on the Computer Name tab. This tab contains the options to modify your PC name and domain.
- Next, click on the Change button. This will open the Computer Name/Domain Changes dialog box.
In some Windows versions, you might have to click on the Advanced tab first before seeing the Change button. This may vary depending on your operating system, but the overall process remains similar.
At this point, the System Properties window should display the Computer Name/Domain Changes dialog box, where you can proceed to change the name of your computer. Keep in mind that you may need administrative privileges to continue with this step.
The Computer Name/Domain Changes dialog box also provides additional options to join or leave a domain, but for the purpose of this guide, we will focus solely on changing the PC name. Now that you have accessed the PC Name settings, let’s move on to the next step.
Step 3: Change the PC Name
Now that you have opened the Computer Name/Domain Changes dialog box, you can proceed to change the name of your computer. Follow the steps below to modify your PC name:
- In the Computer Name field, you’ll see your current PC name highlighted. Simply replace it with the new name you want to assign to your computer.
- Make sure to choose a unique and descriptive name for your PC. Avoid using special characters or spaces, as they might cause compatibility issues. Stick to alphanumeric characters and hyphens if needed.
- Keep in mind that the name should not exceed 15 characters, as there is a limit to the length of computer names in Windows.
- As you type in the new PC name, the Full computer name field below will automatically update to reflect the changes you make.
While changing your PC name, it is important to note that this process only modifies the local computer name, and does not affect the network or domain name. If your computer is connected to a domain, the domain name will remain unchanged.
Once you have entered the desired new name, you are all set to proceed with the next step. But before moving on, double-check the new PC name to ensure accuracy and avoid any unwanted mistakes. Once you are confident with the changes, let’s move to the next step.
Step 4: Confirm the changes
After you have successfully entered the new name for your PC, it’s crucial to confirm the changes before applying them. Here’s how to do it:
- Click on the OK button in the Computer Name/Domain Changes dialog box. This will close the dialog box and apply the new PC name.
- At this point, Windows might prompt you to restart your computer for the changes to take effect. If you have any unsaved work, make sure to save it before proceeding.
- Choose whether to restart your computer immediately or later, based on your preference. Keep in mind that the new PC name will only be applied after the system restarts.
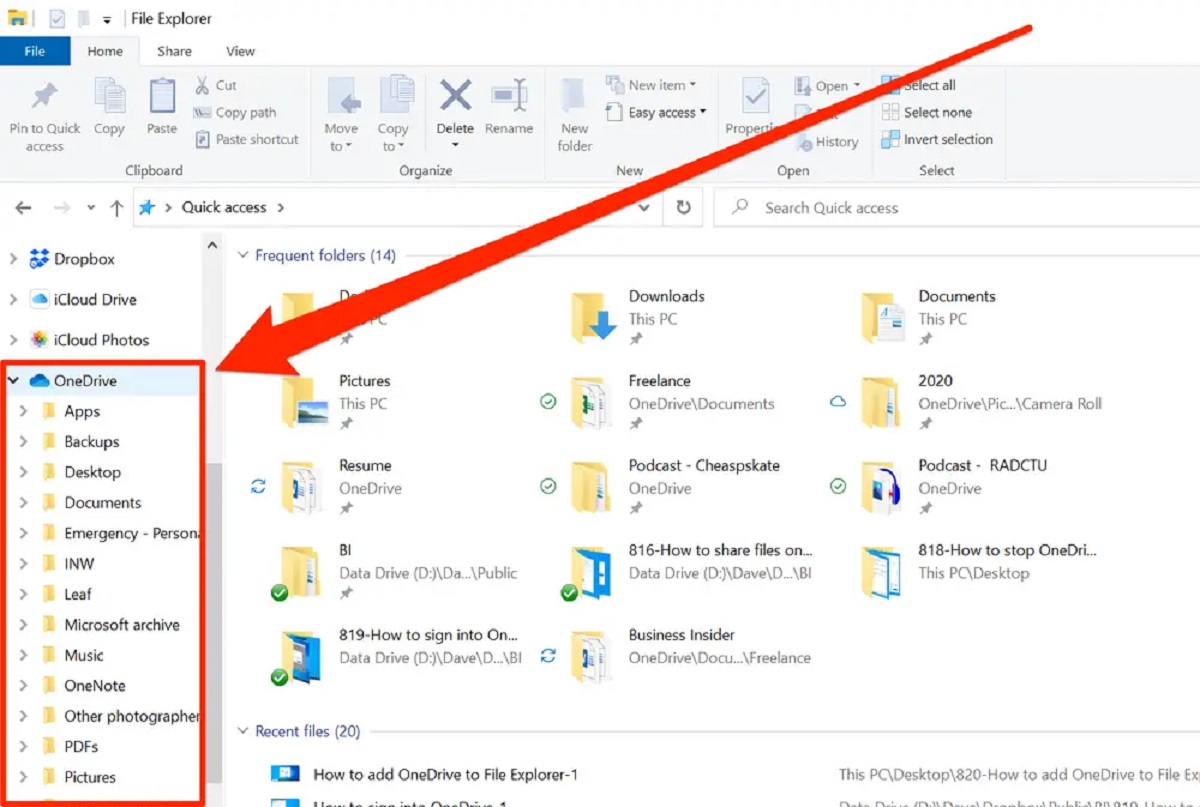
After confirming the changes and restarting your computer, the new PC name will be reflected across the system. This includes the desktop, File Explorer, network settings, and other areas where your PC name is displayed.
It’s important to note that changing your PC name might temporarily disrupt network connectivity and file sharing with other devices. Make sure to inform other users on your network about the name change, as they might need to update their network settings accordingly.
With the changes confirmed and your computer restarted, you have successfully updated the PC name. However, there is one final step to complete the process, which we will cover in the next and final step.
Step 5: Restart your computer
In order for the changes to take effect and your new PC name to be properly applied, it is necessary to restart your computer. Follow these steps to restart your computer:
- Save any unsaved work and close all open applications and programs.
- Click on the Start menu, select the Power option, and then choose Restart.
- Alternatively, you can restart your computer by pressing the Ctrl, Alt, and Delete keys simultaneously, then selecting the Restart option from the menu that appears.
- Depending on your computer’s speed and the number of open programs, the restart process might take a few moments. Allow sufficient time for the system to shut down and then start up again.
Upon rebooting, your computer will load with the new PC name that you assigned earlier. The new PC name will be visible on the desktop, as well as in the system settings and other areas where your computer’s name is displayed.
Keep in mind that after the restart, it may take a few moments for your computer to fully reconnect to the network and restore any shared files or printers. If you encounter any connectivity issues or have trouble accessing network resources, try restarting your router or contacting your network administrator for assistance.
Congratulations! You have successfully changed the name of your computer and completed the necessary steps. Your computer now has a unique and personalized identity that suits your preference. Enjoy using your newly named PC!
Conclusion
Changing the PC name is a simple yet effective way to personalize your computer and make it more recognizable. By following the step-by-step guide outlined in this article, you can easily modify your PC name to suit your preferences.
Throughout the process, it is essential to ensure that you have administrative privileges and take precautions such as creating a restore point or backing up important files. Additionally, remember to choose a unique and descriptive name that adheres to the character limit and avoids special characters or spaces.
By accessing the System Properties, navigating to the PC Name settings, changing the PC name, confirming the changes, and restarting your computer, you can successfully update the name of your PC. These steps will allow the new PC name to be applied across the system and visible in various areas.
Keep in mind that changing your PC name might temporarily disrupt network connectivity and file sharing, so it’s important to inform other users on your network about the name change. They might need to update their network settings accordingly.
Now that you have completed the process, take a moment to appreciate your newly named computer. Enjoy the personalized touch and the sense of ownership it brings. If you ever wish to change the PC name again in the future, you can always revisit this guide as a reference.
Thank you for following our guide on how to change the PC name. We hope this information has been helpful, and we wish you a pleasant computing experience with your newly named PC!