Introduction
Changing your Xfinity Wi-Fi password is an important step to ensure the security of your network. With a strong and unique password, you can prevent unauthorized access to your Wi-Fi network and protect your personal information.
In this article, we will guide you through the process of changing your Xfinity Wi-Fi password. You don’t need to be a tech expert to follow these steps. With just a few simple instructions, you can update your password and enjoy a secure and reliable connection.
Before we delve into the step-by-step guide, it’s important to mention that your Xfinity Wi-Fi password is your key to accessing the internet in your home or office. It is used to connect your devices, such as smartphones, tablets, laptops, and smart TVs, to your Xfinity network. By changing your password regularly, you can reduce the risk of hacking and ensure that only trusted individuals have access to your network.
Now, let’s get started and learn how you can change your Xfinity Wi-Fi password without any hassle.
Step 1: Accessing the Xfinity router’s admin panel
Before you can change your Xfinity Wi-Fi password, you need to access the admin panel of your Xfinity router. This panel allows you to make changes to your network settings, including the password.
To access the admin panel, follow the steps below:
- Make sure you are connected to your Wi-Fi network. You can do this by connecting your device (e.g., laptop or smartphone) to your Xfinity Wi-Fi network.
- Open a web browser of your choice (e.g., Google Chrome, Mozilla Firefox, Safari) on the device that is connected to your Wi-Fi network.
- In the address bar, type in the default IP address for Xfinity routers, which is usually “10.0.0.1”. Press “Enter” to proceed.
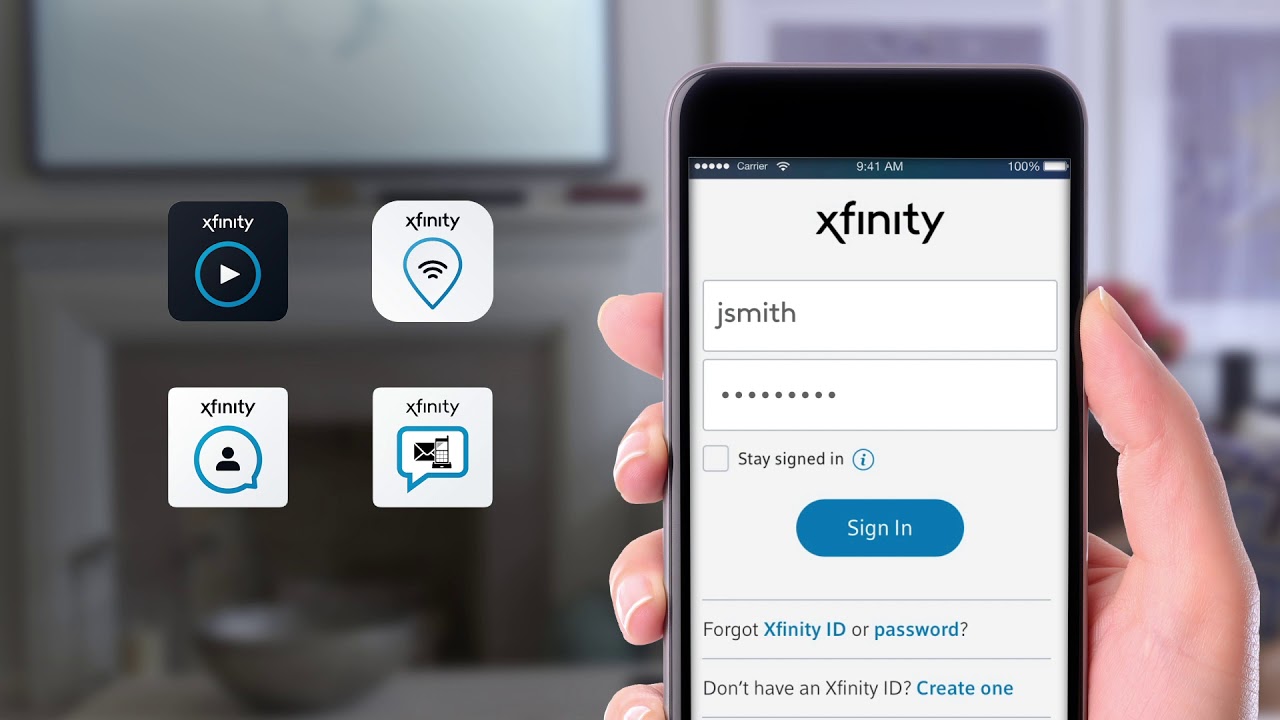
- This will take you to the Xfinity router login page. Here, you will be prompted to enter a username and password.
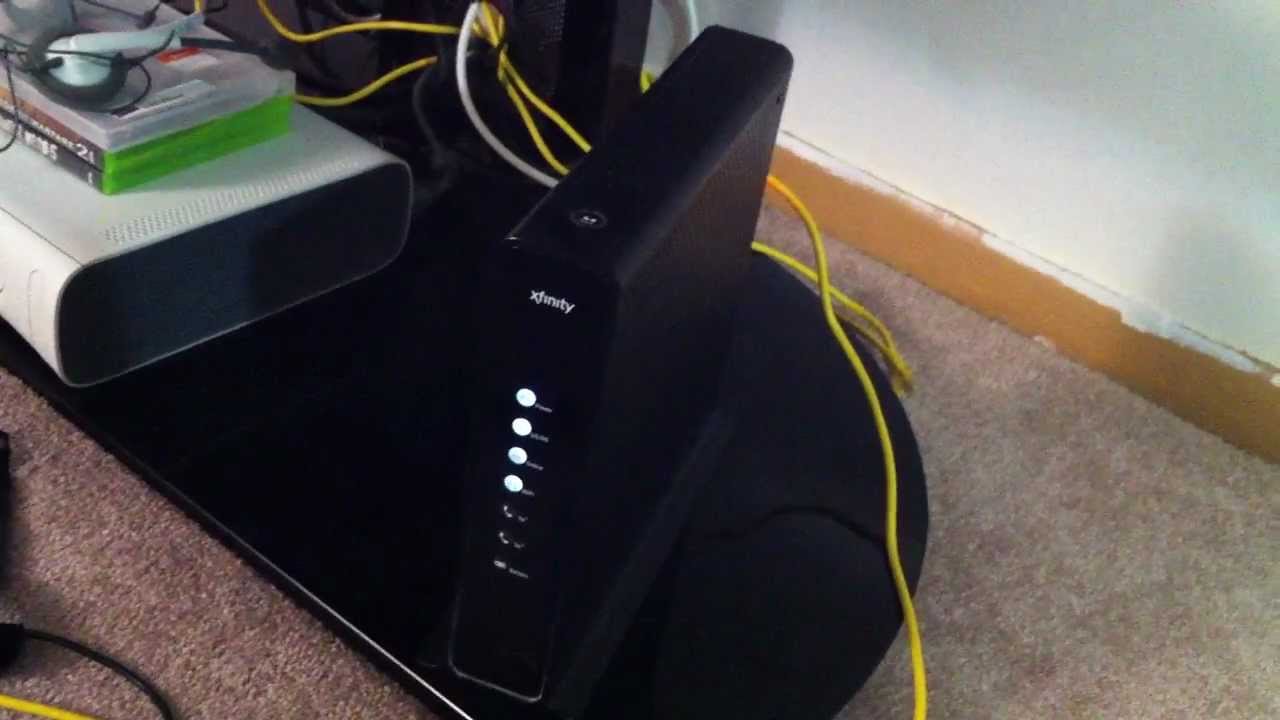
- By default, the username is usually “admin” or “cusadmin”. The password can vary depending on your router model. If you haven’t changed the default credentials, you can find them on the label attached to your router or in the documentation provided by Xfinity.
- Enter the username and password in the respective fields and click on the “Login” or “Submit” button.
If the username and password are correct, you will be granted access to the admin panel of your Xfinity router. Congratulations! You are now ready to proceed to the next step and change your Wi-Fi password.
Step 2: Logging into the router
Now that you have successfully accessed the admin panel of your Xfinity router, it’s time to log in and gain administrative privileges. This will allow you to make changes to the Wi-Fi settings, including updating the password.
Follow these steps to log into your router:
- Once you are on the Xfinity router login page, enter the username and password that you used in Step 1.
- Double-check the credentials to ensure they are correct. It’s easy to mistype or forget the password, so take a moment to verify the information.
- Click on the “Login” or “Submit” button to proceed.
If the login credentials are correct, you will be granted access to the router’s admin dashboard. Here you will have access to various settings and options to manage your network.
It’s worth noting that if you have changed the default username and password in the past, make sure to enter the updated credentials during the login process.
Now that you are logged in, you can move on to the next step to navigate to the Wi-Fi settings and change your Xfinity Wi-Fi password.
Step 3: Navigating to the Wi-Fi settings
After logging into the admin dashboard of your Xfinity router, you’ll need to locate the Wi-Fi settings section. This is where you can make changes to your Wi-Fi network, including updating the Wi-Fi password.
Follow these steps to navigate to the Wi-Fi settings:
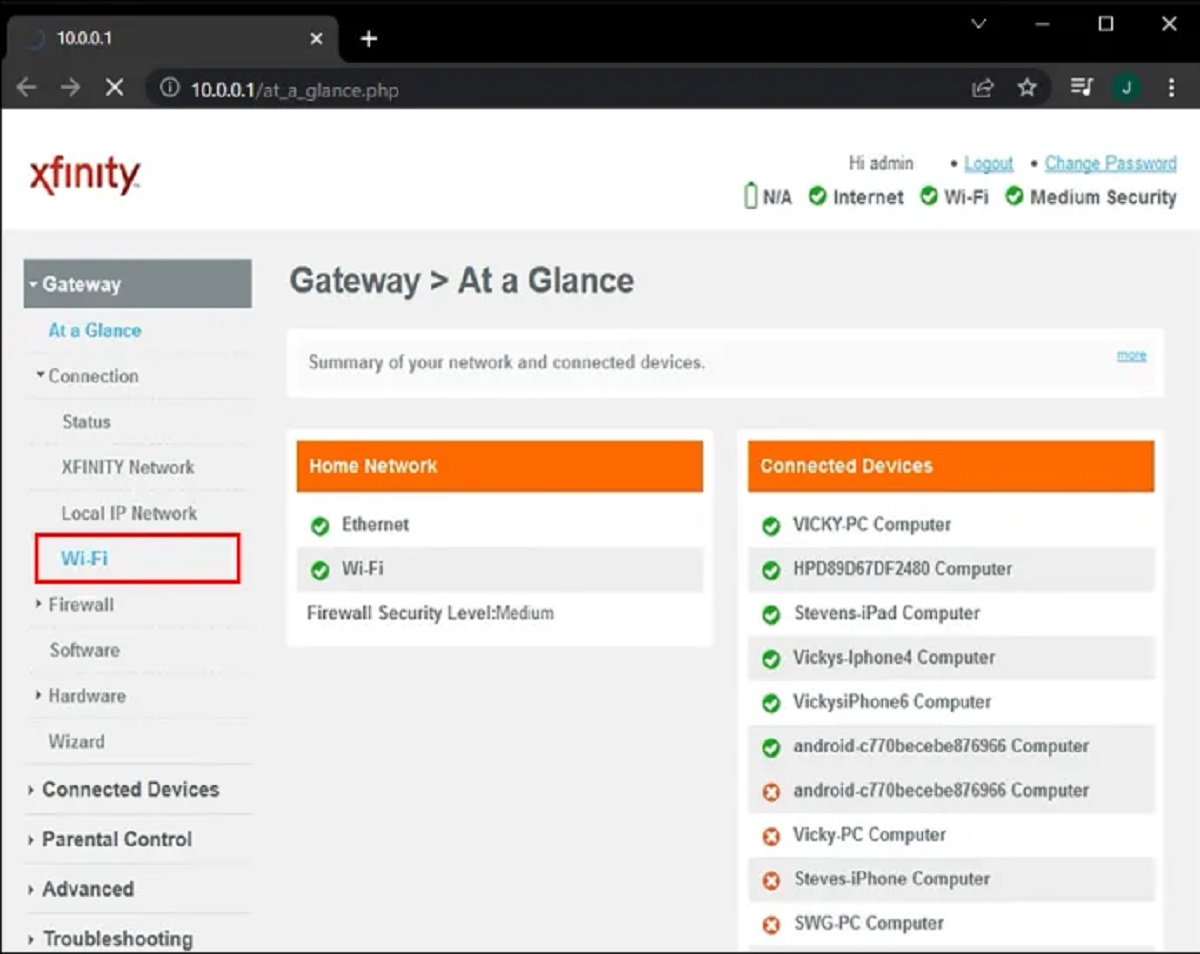
- Once you’re logged in, you’ll be presented with a dashboard or main menu that contains various options and settings.
- Look for a tab or menu option labeled “Wi-Fi” or “Wireless”. This may vary depending on the specific model of your Xfinity router.
- Click on the “Wi-Fi” or “Wireless” tab to access the Wi-Fi settings page.
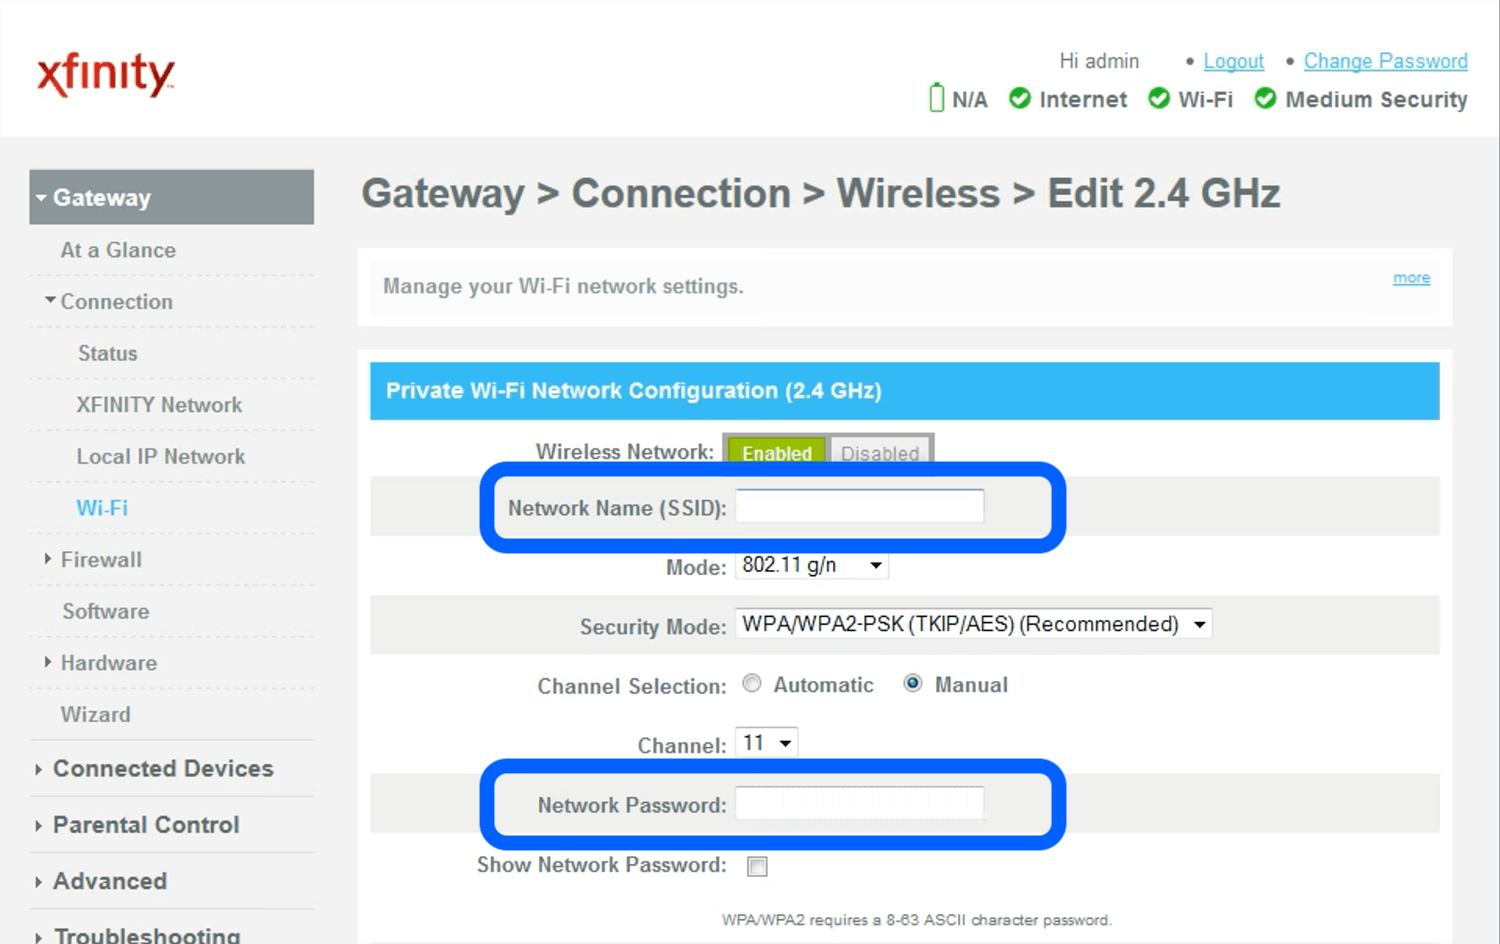
On the Wi-Fi settings page, you will find information related to your Wi-Fi network, such as the network name (SSID), security mode, and password.
Take a moment to familiarize yourself with the page and locate the section where the Wi-Fi password settings are located. This is where you will be able to update your Xfinity Wi-Fi password.
Once you have successfully navigated to the Wi-Fi settings page and located the password section, you are now ready to move on to the next step and change your Xfinity Wi-Fi password.
Step 4: Changing the Wi-Fi password
Now that you have accessed the Wi-Fi settings page of your Xfinity router, you can proceed to change your Wi-Fi password. Changing your password regularly helps maintain the security of your network and prevents unauthorized access.
Follow these steps to change your Xfinity Wi-Fi password:
- Locate the section on the Wi-Fi settings page that allows you to change the password. This section may be labeled as “Password,” “Security Key,” or similar.
- Click on the field where the current password is displayed.
- Remove the existing password and enter your new desired password. Make sure to choose a strong and unique password to enhance the security of your network.
- Take note of the password you choose, as you will need to enter it when connecting your devices to the Wi-Fi network.
- Some routers may require you to confirm the password by entering it a second time. If prompted to do so, re-enter the new password to confirm the change.
It’s important to note that different router models can have slightly different user interfaces, so the exact steps and options may vary. However, the general idea of changing the Wi-Fi password remains the same.
Once you have entered the new password and confirmed it (if required), proceed to the next step to confirm the changes and apply them to your Wi-Fi network.
Step 5: Confirming the changes and applying them
After changing the Wi-Fi password on your Xfinity router, it’s important to confirm the changes and ensure they are applied to your Wi-Fi network. This step finalizes the password update process and secures your network with the new password.
Follow these steps to confirm and apply the changes:
- Look for a “Save” or “Apply” button on the Wi-Fi settings page. This button is usually located at the bottom or top-right corner of the page.
- Click on the “Save” or “Apply” button to apply the new password to your Wi-Fi network.
- Wait for a few moments while the router applies the changes and updates your network settings. The router may automatically reboot or restart during this process.
- Once the changes are applied, you will receive a confirmation message or be redirected to a new page indicating that the changes have been successfully saved. Take note of this confirmation for future reference.
It’s important to note that after changing the Wi-Fi password, you will need to reconnect all your devices to the network using the new password. This applies to any device that was previously connected to your Xfinity Wi-Fi network.
Congratulations! You have successfully changed your Xfinity Wi-Fi password and secured your network against unauthorized access. Remember to update the Wi-Fi password on all your devices to ensure seamless connectivity.
With a strong and unique Wi-Fi password, you can enjoy a secure and reliable connection, providing peace of mind knowing that your network is protected.
Conclusion
Changing your Xfinity Wi-Fi password is a vital step in maintaining the security and privacy of your network. By following the step-by-step guide outlined in this article, you can easily update your password and ensure that only authorized individuals have access to your Wi-Fi network.
We began by accessing the Xfinity router’s admin panel, which allowed us to log in and gain administrative privileges. Navigating to the Wi-Fi settings page, we located the section where the Wi-Fi password could be changed.
In the next step, we successfully updated the Wi-Fi password to a strong and unique one, enhancing the security of the network. Finally, we confirmed and applied the changes, ensuring that the new password was implemented and protecting our Wi-Fi network.
Remember, regular password changes are an essential part of network security. It is recommended to update your Wi-Fi password periodically, as well as employ other security measures such as enabling WPA2 encryption and changing default router credentials.
By following these best practices, you can protect your personal information, prevent unauthorized access, and maintain a secure and reliable Wi-Fi connection. Enjoy the peace of mind that comes with knowing your network is secure!