Introduction
Welcome to our comprehensive guide on how to change your graphics card RGB! Whether you’re a gaming enthusiast looking to add a personal touch to your rig or simply someone who appreciates aesthetically pleasing visuals, customizing the RGB lighting on your graphics card can elevate the overall look and feel of your computer.
In this guide, we will walk you through the step-by-step process of changing your graphics card RGB lighting. From selecting the right graphics card to connecting the RGB lighting and customizing the settings, we have you covered. So, let’s dive in and transform your PC into a glowing masterpiece!
Before we begin, it’s important to note that the steps outlined in this guide may vary slightly depending on your specific hardware and software configurations. However, the general principles and procedures remain the same for most setups.
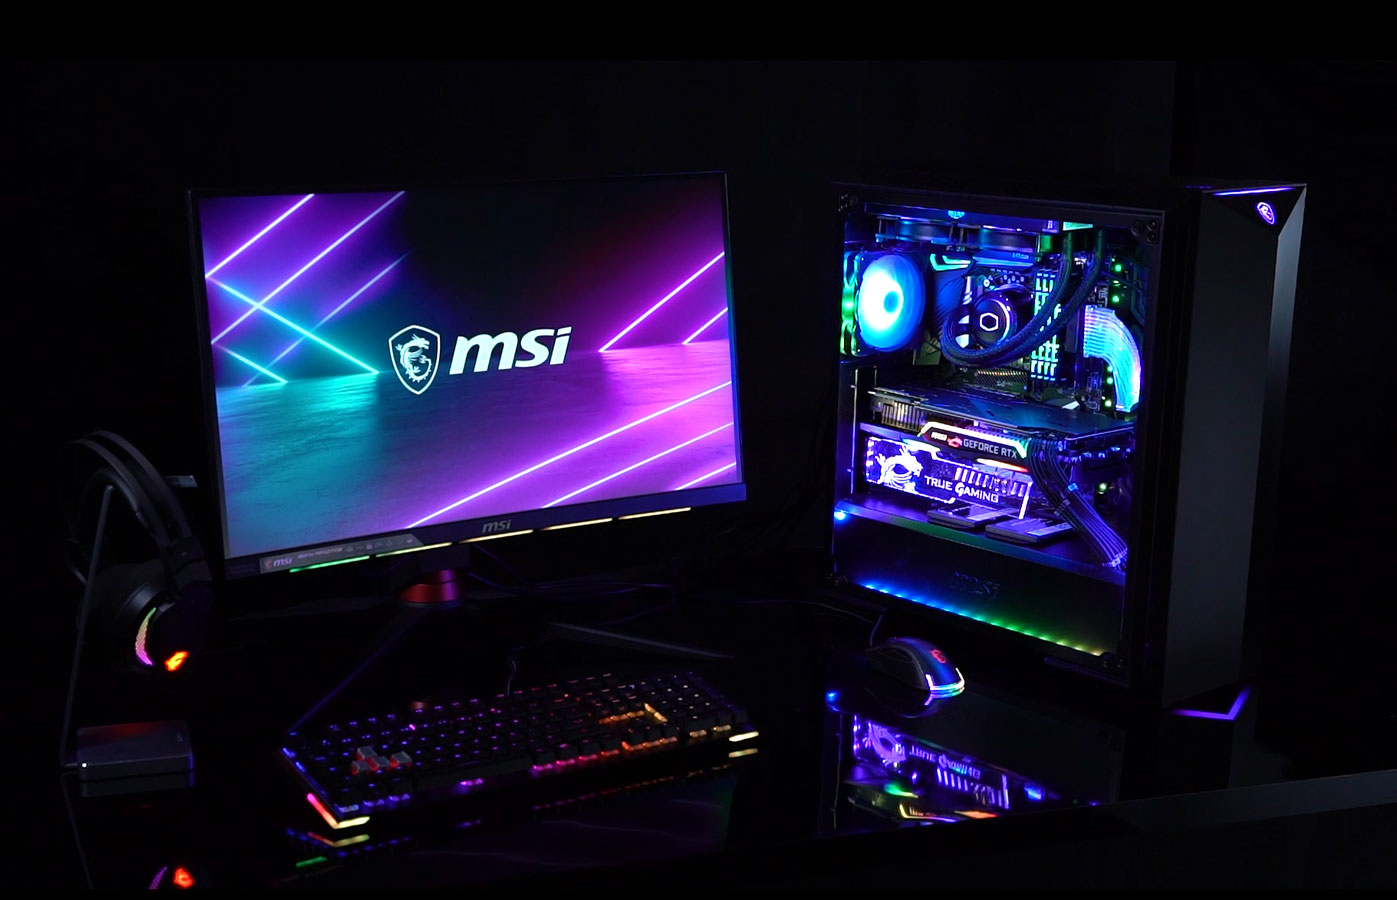
During this process, we will be referencing the RGB lighting present on the graphics card itself. RGB, which stands for Red, Green, Blue, refers to the colors of light combined to create a vast spectrum of customizable lighting effects. These effects allow you to personalize your graphics card to match your preferences and create a visually stunning gaming or working environment.
Now that we have a basic understanding of what RGB lighting is, let’s move on to the next section, where we will discuss the importance of preparing your system before changing the graphics card RGB.
Prepare Your System
Before diving into the process of changing your graphics card RGB, it’s crucial to prepare your system for the smoothest experience possible. Taking the time to prepare your system ensures that you have everything you need and reduces the chances of encountering any issues along the way.
The first step in preparing your system is to shut down your computer and disconnect it from the power source. This ensures your safety and prevents any electrical mishaps while working with the hardware components of your PC.
Next, you’ll want to gather all the necessary tools and equipment required for the RGB installation process. Some common tools include a screwdriver and an antistatic wristband, which helps protect sensitive components from electrostatic discharge. Make sure you have these tools readily available before proceeding.
Once you’ve gathered the tools, it’s essential to identify the specific RGB connectors on your graphics card. Some cards feature standard RGB connectors, while others may have proprietary connectors. It’s crucial to know the type of connector you’ll be working with to ensure compatibility with your RGB lighting setup.
Additionally, it’s a good idea to read the instruction manual or documentation provided by the graphics card manufacturer. This will give you a better understanding of the RGB lighting capabilities and any specific instructions or precautions for your particular graphics card model.
Another important consideration is the availability of free expansion slots on your motherboard. Check to ensure there is an available expansion slot that matches the physical interface of your new graphics card. This will allow for a seamless installation process without any compatibility issues.
Last but not least, it’s highly recommended to update your graphics card drivers to the latest version. New driver updates often include improvements and bug fixes that can enhance RGB functionality and compatibility. Visit the manufacturer’s website or use a dedicated driver management software to ensure your drivers are up to date.
With your system now prepared and all the necessary information at hand, you’re ready to move on to the next section, where we’ll discuss how to choose the right graphics card for your RGB needs.
Choose the Right Graphics Card
When it comes to changing the RGB lighting on your graphics card, it’s important to choose a card that not only meets your performance needs but also offers extensive RGB customization options. Here are some factors to consider when selecting the right graphics card for your RGB setup:
Performance: Determine your usage requirements, whether you’re a casual gamer or a professional with demanding graphical tasks. Look for a graphics card that can handle your desired applications and games at the desired settings and resolutions.
RGB Lighting Compatibility: Check if the graphics card supports RGB lighting and the specific RGB connector type used. Some manufacturers have proprietary RGB lighting systems, while others may be compatible with popular RGB platforms such as Aura Sync, Mystic Light, or RGB Fusion.
Availability of RGB Zones: Consider the number and location of RGB zones on the graphics card. Some cards have multiple zones that allow independent control and customization of lighting effects. This provides more flexibility to create unique and personalized lighting setups.
Software Control: Look for graphics cards that offer intuitive and user-friendly software for controlling and customizing the RGB lighting. Good software allows you to adjust colors, effects, and brightness, sync lighting with other compatible components, and even create custom lighting profiles.
Brand Compatibility: If you already have RGB components from a specific brand, consider getting a graphics card from the same brand. This can often lead to better integration and synchronization of RGB effects across your entire system.
Budget: Determine your budget for the graphics card purchase. While there are high-end options with extensive RGB lighting capabilities, there are also more affordable choices that still offer a decent level of customization.
Reviews: Read reviews and user feedback to get an idea of the overall RGB experience offered by different graphics cards. Consider factors like build quality, brightness, color accuracy, and ease of customization when evaluating user opinions.
By carefully considering these factors, you can choose a graphics card that not only delivers exceptional performance but also provides an immersive RGB lighting experience. Once you’ve selected the right card, it’s time to move on to the next step: checking the compatibility of your chosen graphics card with your system.
Check Compatibility
Before proceeding with the installation of your new graphics card and RGB lighting, it’s crucial to ensure compatibility between the card and your system. This step helps prevent any hardware or software conflicts that may arise during the installation process. Here’s how you can check the compatibility:
System Requirements: Begin by checking the system requirements specified by the manufacturer of your chosen graphics card. This includes factors such as the minimum power supply wattage, available PCIe slots, and supported operating systems. Make sure your system meets or exceeds these requirements.
Physical Dimensions: Take into consideration the physical dimensions of the graphics card. Ensure that it fits comfortably within your computer case and does not interfere with other components such as the CPU cooler or RAM modules. Double-check the available space to avoid any surprises during the installation process.
Power Supply: Verify that your power supply unit (PSU) has the necessary connectors and wattage to support the new graphics card. Some high-end cards require additional power connectors, such as 6-pin or 8-pin PCIe power connectors. Make sure your PSU can handle the power demands of the card.
Motherboard Compatibility: Check if your motherboard has a compatible PCIe slot for the graphics card. Most modern motherboards come with PCIe 3.0 or higher slots, which are backward compatible with older cards. However, it’s essential to ensure that the slot type matches the graphics card interface (e.g., PCIe x16).
Operating System and Driver Support: Confirm that your operating system is compatible with the graphics card and that the necessary drivers are available. Visit the manufacturer’s website to download and install the latest drivers specifically designed for your operating system.
BIOS Updates: Check if there are any BIOS updates available for your motherboard. Sometimes, motherboard manufacturers release updates that improve compatibility with newer graphics cards. It’s a good idea to update your BIOS to ensure smooth operation.
Additional Compatibility Considerations: Depending on your specific setup, you may need to consider other compatibility factors like monitor connectivity (HDMI, DisplayPort, DVI, etc.), available case fans and their connections, and the overall airflow within your computer case.
By thoroughly checking compatibility between your chosen graphics card and your system, you can avoid potential issues and ensure a hassle-free installation process. Once you are confident in the compatibility, you can proceed to the next step: removing the old graphics card.
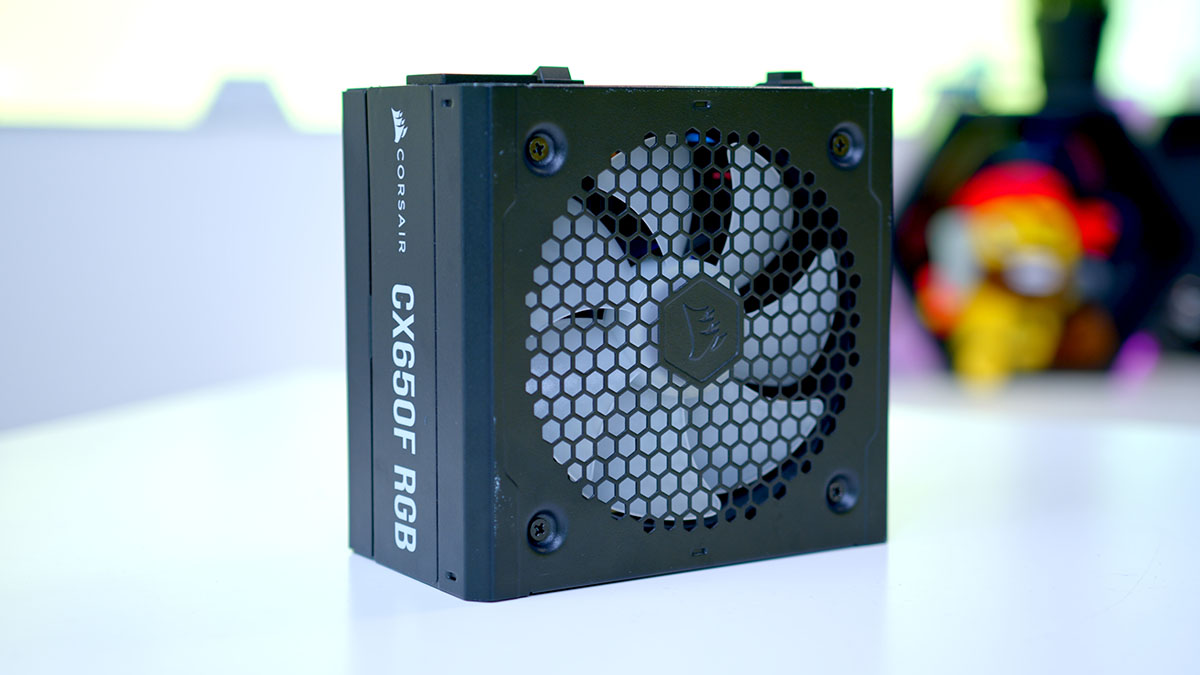
Tools and Equipment Needed
Before you begin the process of changing the RGB lighting on your graphics card, it’s essential to have the right tools and equipment on hand. Having these items readily available will ensure a smooth and efficient installation process. Here are the tools and equipment you’ll need:
Screwdriver: A small Phillips head screwdriver is typically required to remove the screws that hold the graphics card in place. Make sure the screwdriver fits properly and is in good condition to avoid any damage to the screws or the components.
Antistatic Wristband: An antistatic wristband helps protect your hardware components from electrostatic discharge (ESD) during the installation process. This prevents damage to sensitive components, such as the graphics card or motherboard, caused by static electricity build-up on your body.
Rubbing Alcohol and Microfiber Cloth: It’s a good idea to have rubbing alcohol and a microfiber cloth on hand for cleaning purposes. Before installing the new graphics card, it’s recommended to clean the PCIe slot and any dust or debris from the previous card.
Diagnostic Tools: While not essential, having diagnostic tools such as a multimeter or thermal paste handy can be useful in case you encounter any issues during the installation process. These tools can help troubleshoot and resolve common problems that may arise.
Additional Cables and Adapters: Depending on your specific setup, you may require additional cables or adapters to connect the graphics card properly. For example, if your power supply doesn’t have the necessary GPU power connectors, you may need a PCIe power adapter to provide the required power.
Documentation and Manuals: It’s always a good idea to keep the documentation and user manuals provided with your graphics card and other hardware components nearby. These documents can be helpful in case you need to refer back to specific instructions or troubleshooting steps.
Workspace and Lighting: Ensure that you have a clean and well-lit workspace to comfortably work on your computer. Having adequate lighting helps prevent accidental damage and makes it easier to see small components and connections.
Patience and Care: While not physical tools or equipment, having patience and being careful during the installation process is crucial. Take your time, follow the instructions carefully, and handle the hardware components delicately to avoid any accidental damage.
Having these tools and equipment prepared before starting the installation process will set you up for success. Now that you have everything you need, it’s time to move on to the next step: removing the old graphics card.
Remove the Old Graphics Card
Before you can install your new graphics card and change the RGB lighting, you’ll need to remove the old graphics card from your system. Follow these steps to safely and properly remove the old graphics card:
- Power Off: Begin by shutting down your computer and disconnecting it from the power source. This is crucial to avoid any potential electrical hazards while working with the hardware components.
- Ground Yourself: To prevent any static electricity discharge that could damage your components, ground yourself by wearing an antistatic wristband. Alternatively, you can touch a grounded metal surface before handling any components.
- Open the Case: Remove the side panel of your computer case to gain access to the internal components. Refer to the documentation provided with your computer case for specific instructions on how to open it.
- Locate the Graphics Card: Identify the current graphics card in your system. It is usually located in the PCIe slot on the motherboard. The graphics card will have one or more screws holding it securely in place.
- Disconnect Cables: Carefully disconnect any cables or connectors that are attached to the graphics card. This may include power connectors, display cables (HDMI, DisplayPort, etc.), and any other connections specific to your setup. Take note of their positions for easy reconnection later.
- Remove Mounting Screws: Using a screwdriver, remove the screws holding the graphics card to the case or the metal bracket. Depending on your setup, there may be one or more screws securing the card in place. Set the screws aside for future use or storage.
- Gently Remove the Graphics Card: With the screws removed, carefully grasp the edges of the graphics card and gently pull it straight out of the PCIe slot. Be cautious not to apply excessive force or twist the card, as this can cause damage to the card or the motherboard.
- Inspect and Clean: Take a moment to inspect the PCIe slot and the surrounding area for any dust or debris. Use a can of compressed air or a soft brush to remove any accumulated dust. This will help ensure a clean and secure installation of the new graphics card.
Once you have successfully removed the old graphics card, you’re ready to move on to the exciting part: installing the new graphics card and transforming your system with custom RGB lighting.
Install the New Graphics Card
Now that you have removed the old graphics card, it’s time to install your new graphics card and bring in the vibrant RGB lighting. Follow these steps to properly install the new graphics card:
- Prepare the Graphics Card: Before inserting the new graphics card into the PCIe slot, ensure that any protective covers or plastic caps are removed from the card. These covers are often present to safeguard the sensitive connectors and components during shipping and handling.
- Identify the PCIe Slot: Locate the available PCIe slot on your motherboard where the new graphics card will be inserted. PCIe slots are usually longer than other slots on the motherboard and are typically located closest to the processor.
- Align and Insert: Carefully align the gold contacts on the bottom of the graphics card with the PCIe slot. Ensure that the card is inserted straight into the slot and that it is fully seated. Apply gentle and even pressure until you hear a click or feel the card securely seated in the slot.
- Secure the Graphics Card: Once the card is inserted, secure it in place by reattaching the screws that were removed earlier. Ensure that the card is held firmly and does not wobble or move excessively when touched.
- Connect Power Cables: Depending on the power requirements of your new graphics card, it may require one or more power connectors. Connect the necessary power cables from your power supply unit (PSU) to the appropriate connectors on the graphics card. These connectors are typically located on the top edge of the card.
- Reconnect Cables: Reattach any cables or connectors that were disconnected from the old graphics card. This includes display cables (HDMI, DisplayPort, etc.) and any other connections specific to your setup. Ensure that the connections are secure and properly aligned.
- Close the Case: With the new graphics card installed and all cables connected, carefully close the side panel of your computer case. Ensure that the panel is secured in place using the appropriate fastening mechanism, such as screws or latches.
- Power On and Test: Finally, reconnect your computer to the power source and power it on. Check if the new graphics card is recognized by your system and ensure that the RGB lights are functioning properly. Depending on your setup, you may need to install the driver software provided by the graphics card manufacturer to enable full functionality.
Once you have successfully installed the new graphics card and confirmed that it is working correctly, you can move on to the next step: connecting and configuring the RGB lighting.
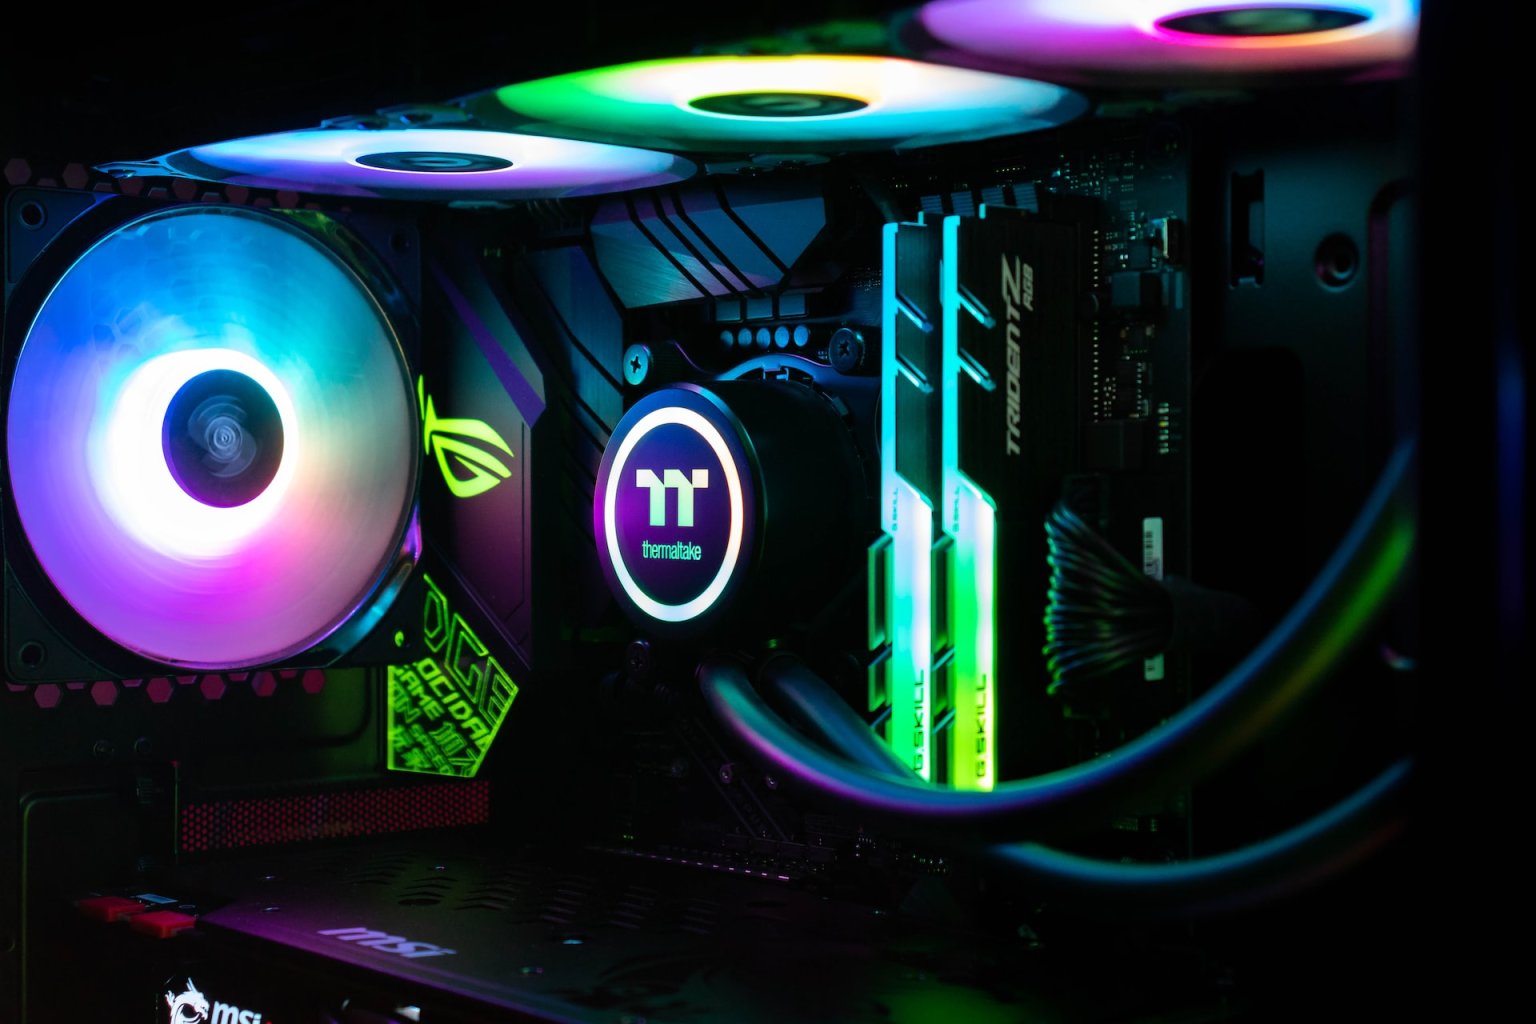
Connect the RGB Lighting
Now that you have installed the new graphics card, it’s time to connect the RGB lighting to create stunning visual effects. The process may vary depending on the specific graphics card and RGB lighting setup you have, but here are the general steps to follow:
- Identify the RGB Connectors: Locate the RGB connectors on your graphics card. These connectors are typically located near the power connectors or on the edge of the card. They may be labeled as RGB, LED, or similar.
- Check the RGB Cable: Review the RGB cable that came with your graphics card or RGB lighting kit. Ensure that it matches the type of connector on your graphics card (e.g., 4-pin, 3-pin, or proprietary connector).
- Align and Connect: Align the connector on the RGB cable with the corresponding RGB connector on the graphics card. Gently insert the connector, making sure it is properly aligned before applying gentle pressure to secure the connection. Avoid using excessive force to prevent damage.
- Repeat for Additional RGB Zones: If your graphics card has multiple RGB zones, repeat the previous steps to connect the RGB cable to each zone individually. Each zone may have its own dedicated connector or share a common connector.
- Connect to RGB Control Hub (Optional): If your graphics card requires an RGB control hub to manage the lighting effects, follow the manufacturer’s instructions to connect the RGB cable to the hub. These hubs often provide more advanced controls and synchronization options.
- External RGB Lighting: If you have additional RGB components in your system, such as RGB fans or LED strips, you may need to connect them separately. Consult the documentation provided with the components to properly connect and control their RGB lighting.
- Secure and Tidy Up: Once all the RGB connections are made, ensure that the cables are neatly routed and secured to prevent them from interfering with other components or blocking airflow. Use zip ties or cable management clips to keep the cables organized and out of the way.
Once you have successfully connected the RGB lighting, it’s time to move on to the next step: installing the RGB software and customizing the lighting effects to suit your preferences.
Install RGB Software
To unlock the full potential of the RGB lighting on your graphics card, you’ll need to install the appropriate RGB software. This software allows you to control and customize the RGB lighting effects to match your preferences. Follow these steps to install the RGB software:
- Check Manufacturer’s Website: Visit the website of the graphics card manufacturer to find the RGB software for your specific model. Look for the “Support” or “Downloads” section of the website.
- Search for RGB Software: Once you’re on the manufacturer’s website, search for the RGB software specifically designed for your graphics card model. The software may have different names depending on the manufacturer, such as “RGB Control,” “Mystic Light,” “Aura Sync,” or “RGB Fusion.”
- Download the Software: Locate the download link for the RGB software and click on it to start the download. Choose the version compatible with your operating system. It’s always recommended to download the latest version to ensure you have access to the most up-to-date features and bug fixes.
- Run the Installer: Once the download is complete, locate the installer file and run it. Follow the on-screen instructions to install the RGB software on your system. Make sure to read and agree to any terms and conditions presented during the installation process.
- Complete the Installation: After the installation is complete, you may be prompted to restart your computer. If prompted, save any ongoing work and restart your computer to finalize the installation.
- Launch the RGB Software: Once your computer is restarted, locate the RGB software in your Start menu or desktop shortcuts and launch it. Depending on the manufacturer, the software may open automatically upon installation.
- Familiarize with the Software: Take some time to explore the features and interface of the RGB software. Familiarize yourself with the available customization options, such as adjusting colors, brightness, and lighting effects. Some software also offers advanced features like syncing the RGB lighting with other components.
- Update the Software: To ensure you have access to the latest features and improvements, check for software updates within the RGB software or on the manufacturer’s website. Install any available updates for the best experience with your RGB lighting.
- Customize RGB Lighting: Once you’re comfortable with the RGB software, start customizing the lighting effects to match your preferences. Experiment with different color schemes, effects, and profiles to create a truly unique and personalized RGB setup.
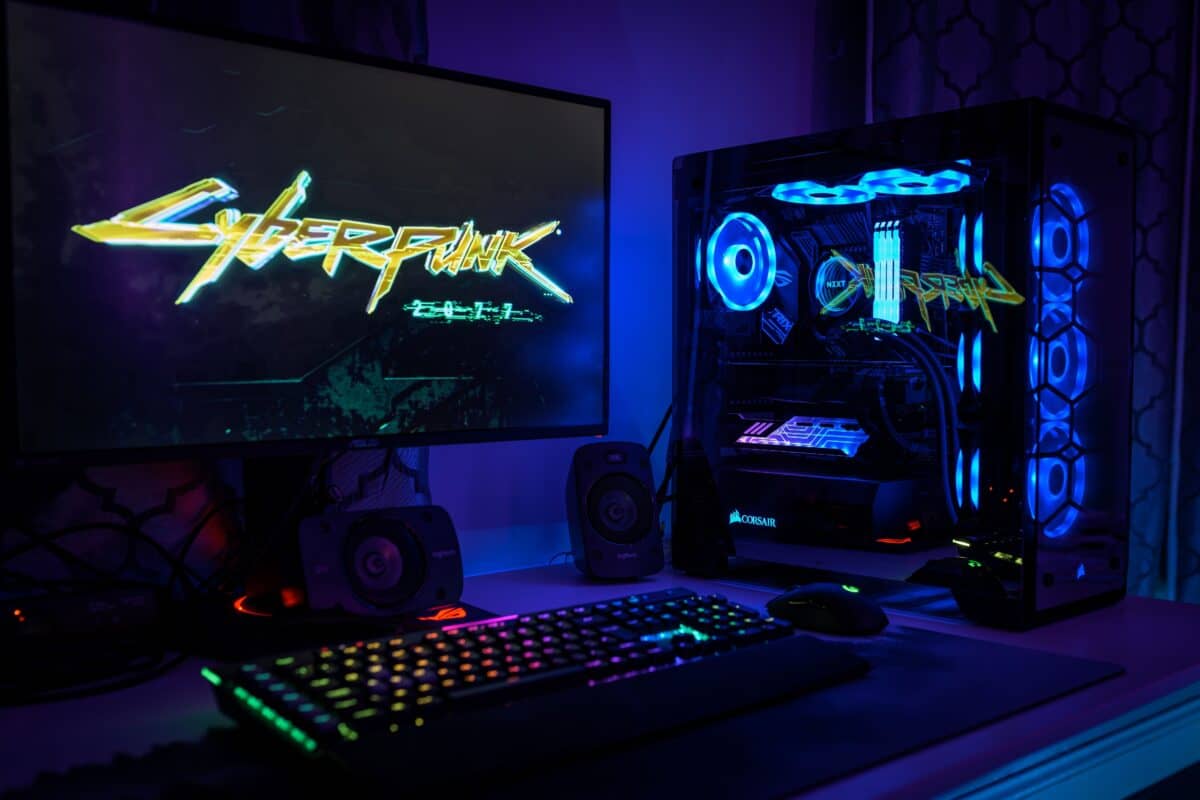
With the RGB software successfully installed, you now have full control over the RGB lighting on your graphics card. Enjoy the stunning visuals and get ready to take your PC gaming or working experience to the next level!
Customize RGB Settings
Now that you have installed the RGB software, it’s time to unleash your creativity and customize the RGB settings to create the desired lighting effects for your graphics card. Follow these steps to personalize and fine-tune your RGB settings:
- Open the RGB Software: Launch the RGB software on your computer. Depending on the manufacturer, you may need to access it from the system tray, desktop shortcut, or start menu.
- Choose the Graphics Card: If you have multiple RGB-enabled components, make sure to select the graphics card from the software’s interface to access the specific settings for your card.
- Color Customization: Most RGB software allows you to choose from a wide range of colors. Experiment with different hues and shades to find the perfect color that matches your desired aesthetic. Some software even offers color synchronization with popular music or in-game activities.
- Brightness and Intensity: Adjust the brightness and intensity levels of the RGB lighting to your preference. Fine-tune the lighting to achieve the desired balance between visibility and subtlety.
- Lighting Effects: Get creative and explore the various lighting effects provided by the software. Common effects include static, breathing, color cycles, and strobing. Experiment with different effects to find the ones that suit your style.
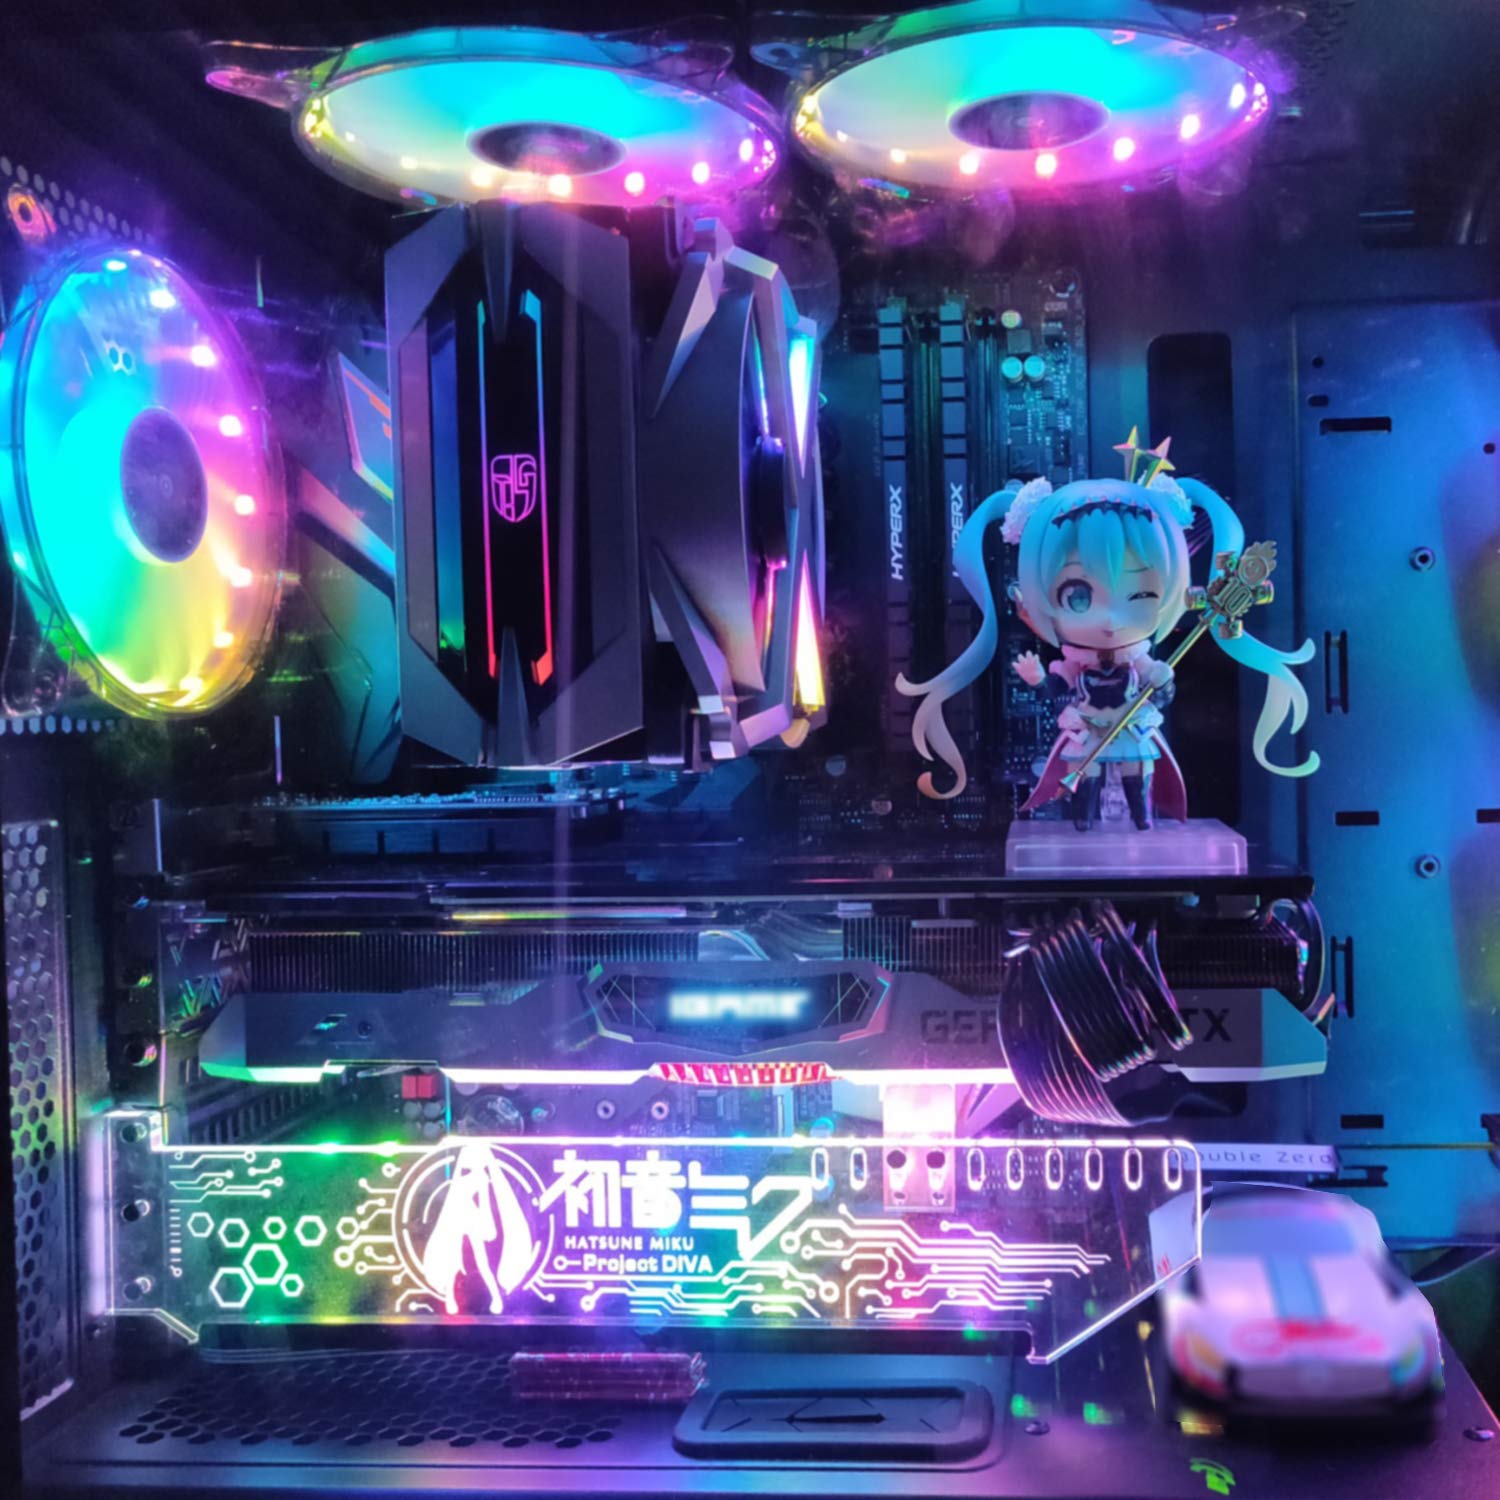
- Advanced Settings: Some RGB software provides advanced customization options. These may include features like individual zone control, gradient effects, and interactive lighting. Dive into the settings and discover the possibilities for creating unique lighting patterns.
- Sync with Other Components: If you have other RGB components in your system, such as fans or RAM modules, explore the options to synchronize the lighting effects across all components. This creates a cohesive and harmonious RGB setup.
- Create Custom Profiles: Many RGB software allows you to save custom profiles. Take advantage of this feature to create and save multiple profiles with different lighting schemes for different occasions or moods.
- Community and Preset Profiles: Check if the RGB software offers a community or preset profile feature where users can share their custom lighting setups. Browse through the community profiles for inspiration or use the preset profiles as a starting point for your customization.
- Test and Refine: Apply the desired RGB settings and observe the result. Take the time to carefully observe the lighting effects from different angles and distances. Make any necessary adjustments to fine-tune the settings until you achieve the desired look.
By customizing the RGB settings, you can create a visually captivating and unique lighting experience for your graphics card. Let your imagination soar and transform your PC into a dazzling masterpiece that reflects your personality and style!
Troubleshooting RGB Issues
While RGB lighting adds a visually appealing touch to your graphics card, it’s not uncommon to encounter occasional issues or challenges. Here are some common troubleshooting steps to help you address RGB-related problems effectively:
- Check Connections: Ensure that all RGB cables and connectors are properly seated and securely connected. Loose connections can result in flickering or inconsistent lighting effects. Reconnect the cables if necessary, making sure they are aligned correctly.
- Power Supply: Verify that your power supply unit (PSU) is supplying sufficient power to your graphics card and RGB lighting system. Inadequate power can lead to RGB instability. Consider upgrading your PSU if necessary, keeping in mind the power requirements of your components.
- Software Updates: Keeping your RGB software up to date is crucial. Check for any available updates from your graphics card manufacturer’s website or within the software itself. Updating the software can resolve compatibility issues, bugs, and introduce new features.
- Driver Updates: Ensure that your graphics card drivers are up to date. Outdated drivers can cause RGB issues and software conflicts. Visit the manufacturer’s website or use a driver management tool to download and install the latest drivers specifically designed for your graphics card model.
- Reset RGB Settings: If you’re experiencing unusual or erratic RGB behavior, try resetting the RGB settings to their default values. This can help resolve any software glitches or conflicts that may be affecting the lighting effects.
- Disable Overclocking: If you have overclocked your graphics card, it could potentially interfere with the RGB lighting performance. Try disabling any overclocking settings and check if it resolves any RGB-related issues.
- Compatibility Issues: Ensure that all your RGB components (graphics card, motherboard, RGB hub, etc.) are compatible with each other and are from the same ecosystem if necessary. Mixing different brands or models may lead to compatibility issues or limited functionality.
- Consult Manufacturer Support: If you’ve exhausted all troubleshooting steps and are still facing RGB issues, reach out to the manufacturer’s support channels. They have dedicated support teams who can provide further assistance and guidance specific to your graphics card and RGB setup.
- Community Forums and User Groups: Engage with online forums and user groups dedicated to RGB lighting and customization. Other users may have faced similar issues and can provide valuable insights and solutions.
- Professional Assistance: If all else fails, consider seeking professional assistance from a computer technician or an expert in RGB lighting. They can diagnose and resolve any underlying hardware or software issues that may be causing the RGB problems.
Remember to keep patience and maintain a systematic approach when troubleshooting RGB issues. With persistence and the right troubleshooting steps, you can overcome any challenges and enjoy your personalized RGB lighting experience.
Conclusion
Changing the RGB lighting on your graphics card is an exciting way to personalize your computer and create a visually stunning setup that reflects your style. By following the steps outlined in this guide, you can successfully change the RGB lighting and elevate your gaming or working experience.
We started by preparing your system and checking the compatibility of your chosen graphics card. Then, we discussed the tools and equipment needed for the installation process. After that, we walked through the steps of removing the old graphics card and installing the new one.
Once the new graphics card was in place, we explored how to connect the RGB lighting and install the necessary software to control it. We emphasized the importance of customizing the RGB settings to suit your preferences, and we offered troubleshooting suggestions for any issues you may encounter along the way.
Remember, while the steps provided here are a comprehensive guide, it’s important to refer to the specific instructions and documentation provided by your graphics card manufacturer. Every system and configuration can have slight variations, so following the manufacturer’s guidelines is essential for a successful RGB lighting installation.
Now it’s time to let your creativity shine! Take advantage of the RGB software and explore the vast array of colors, effects, and customization options to create a visually striking and unique RGB setup. Let your graphics card become the centerpiece of your PC, dazzling your senses with its stunning RGB lighting effects.
As you continue to customize and fine-tune your RGB settings, don’t forget to share your creations with the community. Engage in online forums and groups dedicated to RGB lighting to inspire and be inspired by other enthusiasts.
With the knowledge and guidance provided in this guide, you are well-equipped to embark on your RGB lighting journey. Enjoy the mesmerizing visuals and transform your computer into a captivating sight that reflects your personality and style!